
High-ISO files can look fine at thumbnail size, then fall apart the moment you zoom in and see the grit crawling through feathers, skin, or shadows. If you rely on noise reduction, the real question is what each tool does to detail when the file is already stressed at ISO 12,800.
Coming to you from Anthony Morganti, this practical video lines up five popular AI denoise options and forces them to fight on the same image: Adobe Lightroom Classic, DxO PureRAW 5, Luminar Neo, ON1 Photo RAW 2026, and Topaz Photo AI. The setup is disciplined: sharpening and color noise reduction in Lightroom are set to zero so nothing “helps” behind the scenes. The file is then sent through each app as a plug-in so you can flip between results without losing your place. That sounds small, but it prevents the usual comparison trap where one version looks “better” because it got extra sharpening or a different baseline treatment.
You also get a clear look at the hidden workflow costs that start showing up once you stop treating denoise like a single button. Lightroom’s AI denoise works directly on a raw file, but it is also limited to raw, which can be a dealbreaker if you often round-trip TIFFs or JPEGs. PureRAW 5 behaves differently, generating a processed file that lands back in Lightroom, with its own quirks around where that file shows up and how it gets organized. Luminar Neo, used as a plug-in, pushes you into a TIFF output, so the “what file am I editing now” question becomes part of the decision. ON1 Photo RAW 2026 gives you a choice that many people miss: you can keep things in a DNG-based workflow, which changes how flexible the rest of your edit stays.
The most useful parts are the moments where Morganti stops trusting the default settings and starts watching for specific failure modes. He keeps his view locked on the same crop, then judges the background and the bird’s eye for two things at once: leftover noise and softened detail. He also points out a common slider temptation across apps: anything labeled like “detail” or “enhance” can bring texture back, and it can also bring noise back. In one app, the image turns blotchy in the background even after pushing the controls, and the overall exposure drifts darker than the other versions. In another, the denoise looks decent but takes more effort to dial in cleanly, especially if you are trying to avoid that smeary, plastic look around fine edges.
If you have ever wondered why two people can use the same software and get completely different results, this video shows the mechanics without turning it into a software demo. Render time varies, and Morganti calls out that hardware changes the wait, especially when the tool leans hard on the GPU. He also makes a point that is easy to ignore until it bites you: stacking lens corrections in multiple places can create its own problems, so he tries to avoid applying the same correction twice. The comparisons are close enough that the “best” choice depends on what you shoot, what file types you hand off, and how much time you want to spend babysitting sliders at 200% zoom. Check out the video above for the full rundown from Morganti.


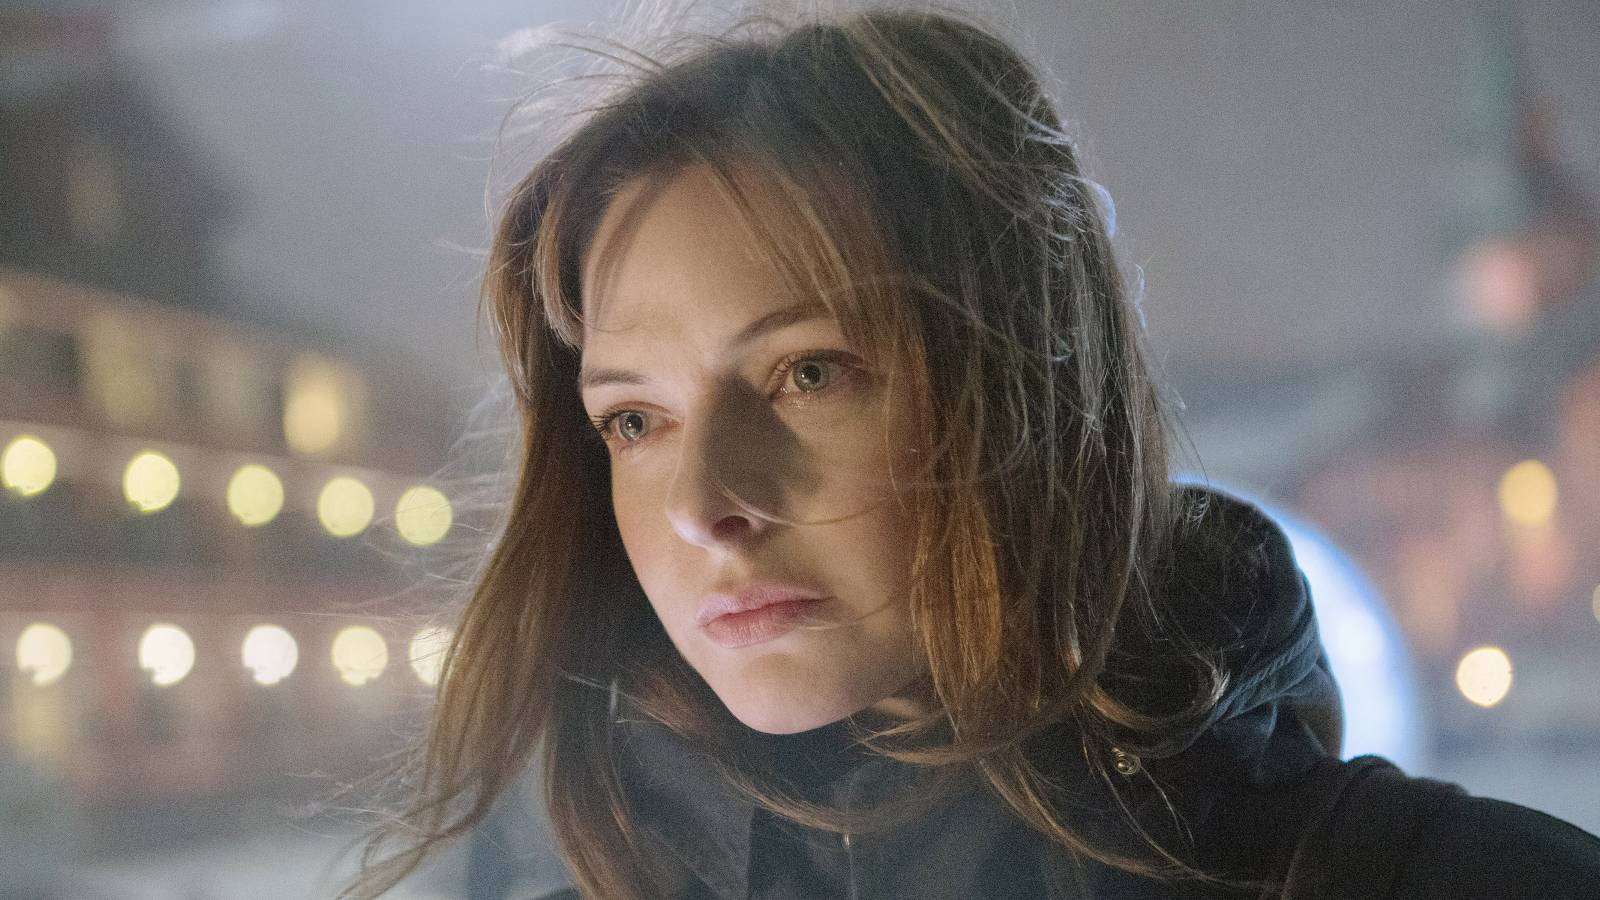
![The Greatest Fantasy Series Since ‘Game of Thrones’ Debuts Final Season Sneak Peek [Exclusive]](https://static0.colliderimages.com/wordpress/wp-content/uploads/2026/02/outlander-season-8.jpg?w=1600&h=900&fit=crop)
 English (US) ·