


Published Nov 5, 2026, 4:00 AM EST
Chris is a Gaming Editor at ScreenRant. He has been a professional writer since 2009, and has written for top TV, comics, movie, and video game outlets like Engadget, Polygon, Destructoid, and more. He brings with him an expertise in every game genre, no matter how niche or mainstream.
You may know him as the former Managing/Reviews Editor of Destructoid, where he published hundreds of game reviews across every genre, including MMOs, sports games, and Metroidvanias.
Find Chris on Twitter @_SRChris.
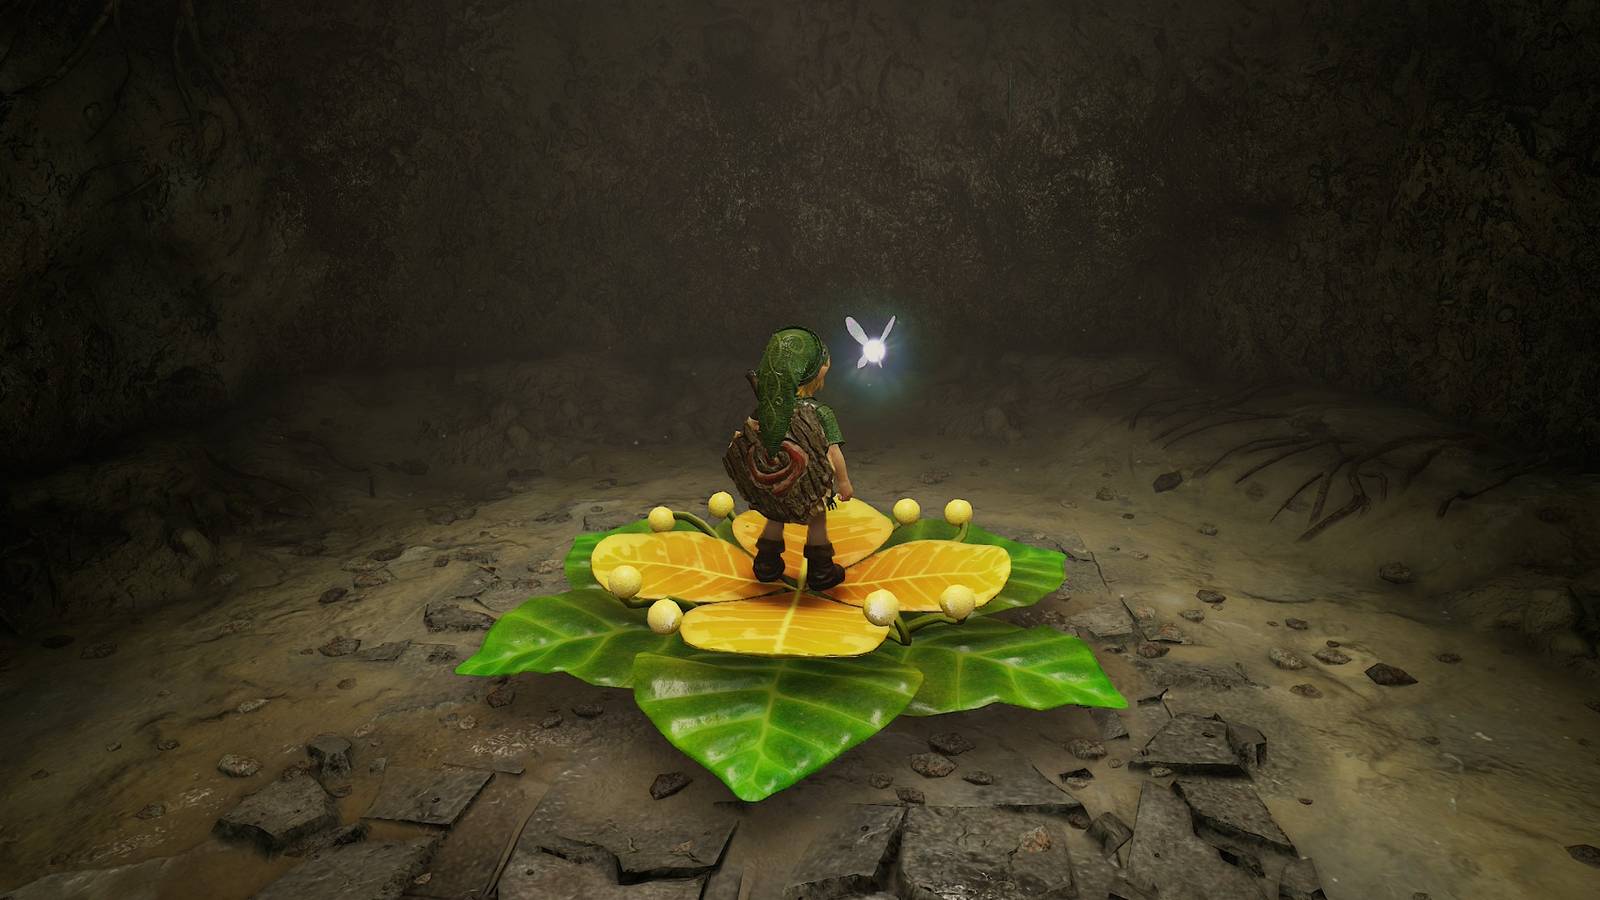
Nearly every area in The Legend of Zelda: Ocarina of Time is memorable, and that list of revered locations includes Dodongo Cavern. Tucked away in the lava-fueled Death Mountain, it's an unassuming locale, but it's one that sticks with you far after the credits of Ocarina of Time roll, and your journey comes to a close.
Although not much has changed in the remake of this cave dungeon, the layout and rewards differ slightly. Plus, some players will need to wipe away the dust they've accrued since playing the original version, so here's a full refresher, along with the strategy for taking down the dungeon boss.
Where To Find The Bomb Bag In Dodongo Cavern
Enter the cavern and head left, using the platforms to reach the left cavern platform. Use the bomb to open the cracked wall on your left for a Blue Rupee (five bucks), and the wall on the right for a dungeon map. Open the door and climb up to start your first miniboss battle with a pair of Lizalfos.
To take them out, hang back and snipe them with a few shots from your slingshot, but once they get close, slash them and backflip to dodge their only real attack. After some patience, you can take them both out and head to the next room.
In the dark area, you'll need to light up all the torches with a Deku Stick while avoiding the enemies. To do this more easily, you can "kite" (distract) enemies to one corner of the room, then sprint over and light the fires unassailed.

After entering the next area, step on a switch to open the door on the other side of the room. Head back over to the main hub area and jump up to that door to continue with the dungeon.
Head down the hallway and up the ladder to grab the compass (you don't need to defeat the Armos statue, but you can bomb it if you want), then drop down into the next room with a staircase.
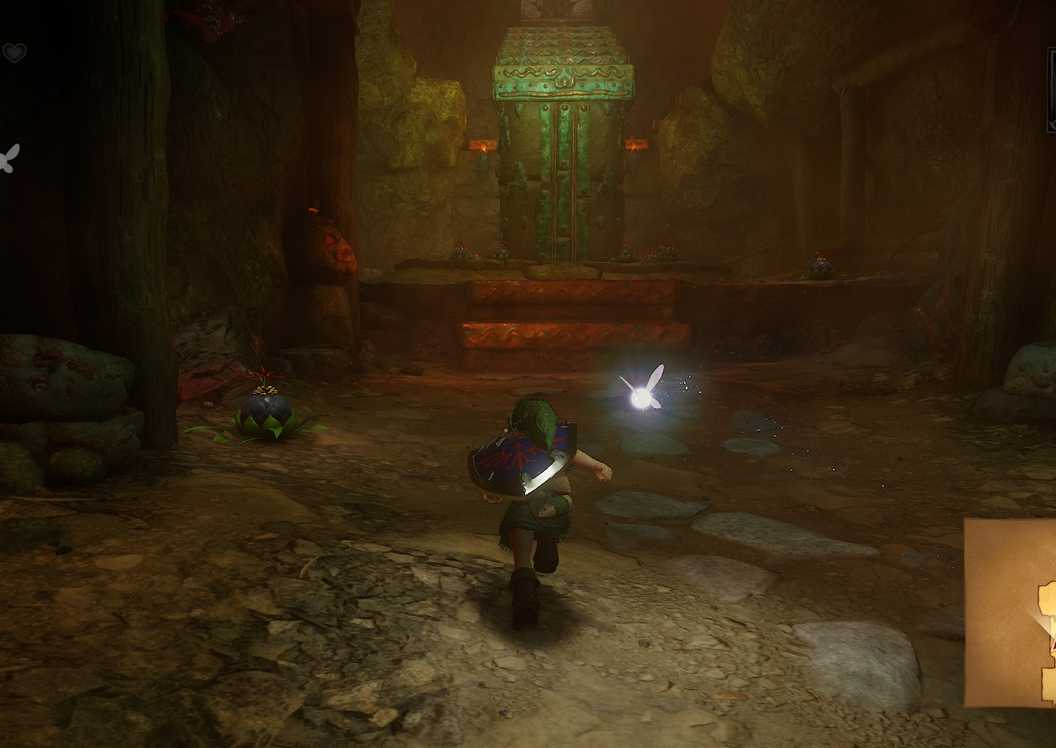
Take a bomb flower and place it directly on the ground to connect the chain of bombs, which will subsequently go off and lower the stairwell to the next zone.
Run up the stairs (the left or right takes you to the same area), ignoring the giant cracked wall for now. If you want, there's a Gold Skulltula for the taking on a net behind the door you need to take on the second level. Go through the door, walk up to an Armos statue, bait them away, then head up the ladder and press the button to open a gated door.
Head in there, and you'll find a giant rope bridge, which you can walk across. Go all the way across the bridge to the next area, jump onto the boxes, and throw a bomb flower into the cracked wall. Climb the ladder (or jump up) and go into the fiery lava area, carefully jumping across and avoiding the enemies where you can.
Here is another Lizalfos fight (use the same strategy as before, playing defensively to avoid damage). Defeat them to grab a Business Scrub seed, a new item for the Switch 2 edition that can essentially summon a shop.
Go through the newly opened door, shoot your slingshot at the eye above to stop the furnace, and let Link cross over. Jump to the next platform after shooting another eye, then turn left and shoot the eye in the tunnel-like structure jutting from the wall to stop the second flame.
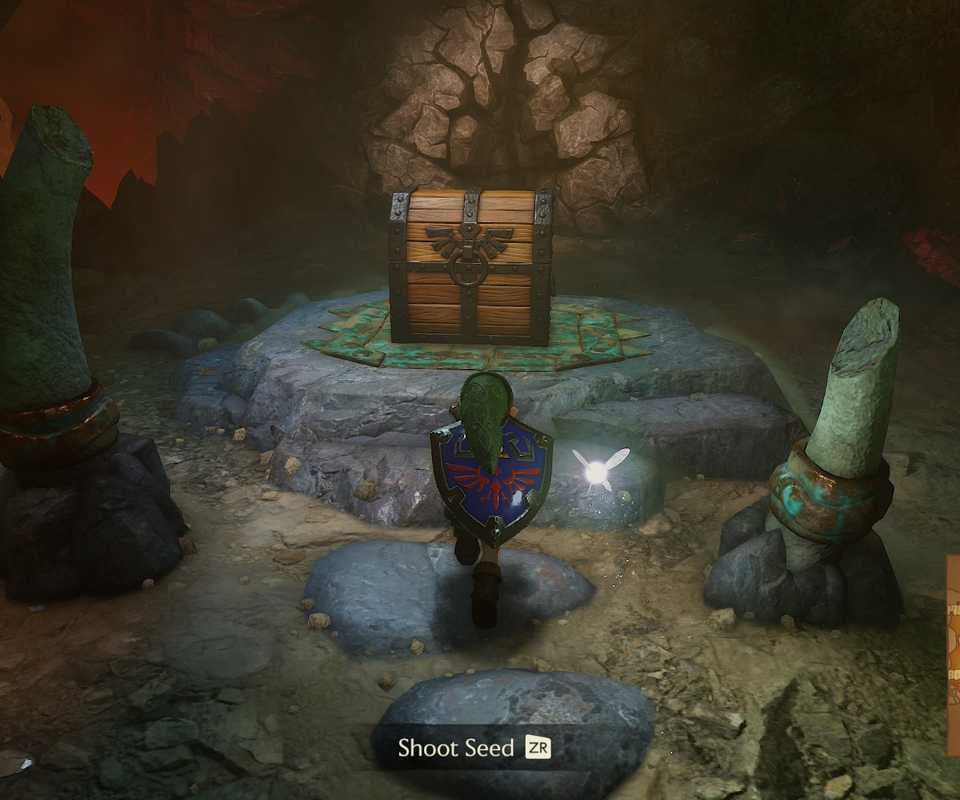
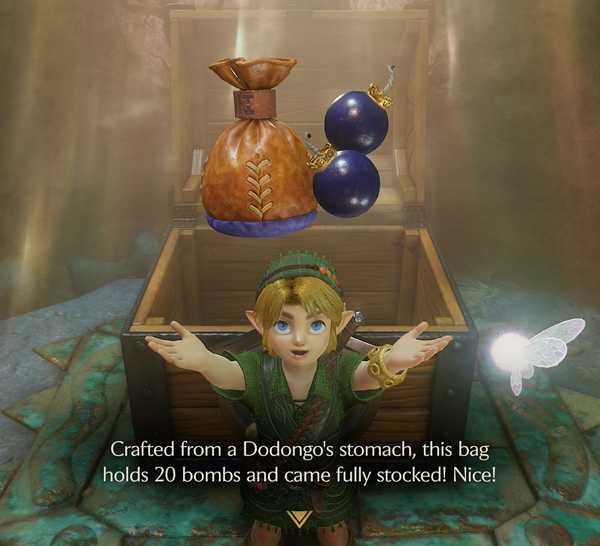
Continue onward to get the Bomb Bag, a crucial item that you'll be using in this dungeon, and for the rest of the game. Bomb the cracked wall behind the chest, then press the button to get the right rising platform in the hub area to soar all the way to the highest point.
From here, go to the aforementioned rope bridge, then look for small openings near the eyes of the giant skull in the hub room. Drop bombs into each eye; this triggers a cutscene where its eyes light up red. You're nearly home free, but there are a few more things to do before the dungeon is over.
Go into the next room and head straight up the hill (eventually, you'll run around and push the block down into the hole, opening the boss room). Before you can do that, you'll need to solve a few more block puzzles.
This one seems tricky, but it only takes a few seconds. Push the lowest block near the block slightly raised on the wooden platform. Climb onto the lower block and use it to push the higher block directly onto the ground level. Push that block through the metal structure next to the raised cracked wall, climb up, and drop a bomb on it. A Gold Skulltula is in the room for your efforts.
Drop back down and push the block to the other protruding block on the right (facing out of the Gold Skulltula cave). Push that block down and enter the next area, containing the block on the hill you saw before. Push it down into the hole, then get ready to face King Dodongo.
How To Beat King Dodongo

King Dodongo is huge, but it's much easier to take down than it seems. The secret to King Dodongo is bombs. When it's opening its mouth and sucking up the environment, it's susceptible to bombs thrown in its mouth.

Use a bomb flower or a bomb from your bomb bag and toss it in. After it explodes, you can wail on King Dodongo's tongue with your sword. Rinse and repeat roughly three times to take him out.
If King Dodongo starts rolling, run away immediately, and prep for him to stop rolling after hitting the wall twice. Little Dodongos will pop up to stop you, but you can run past them and toss the bomb into King Dodongo's mouth to repeat the process and weaken him with sword attacks.

If he gets his full breath attack off, he'll launch a giant fireball that rolls around. To avoid it, just hug the wall (or the corner) and it'll safely pass you by.
After that, Link gets another full Heart Container, which will be useful in the tougher dungeons ahead in The Legend of Zelda: Ocarina of Time. Link also gets the Goron Ruby, and is one step closer to having all three for the Temple of Time. Next stop, onto the Zoras.
Released November 5, 2026
ESRB Everyone 10+ / Animated Blood, Fantasy Violence
Developer(s) Nintendo
Publisher(s) Nintendo



 English (US) ·