
 6 months ago
159
6 months ago
159
Linux runs on hardware as diverse as the Raspberry Pi and powerful supercomputers, making it a flexible choice of operating system. Linux can be used via a graphical user interface similar to Windows or macOS. Or it can be used via a powerful terminal / command line.
The command line interface provides you with a lot more control over the computer than you can get using the GUI. Many important tasks are easier, quicker or only possible via commands. That's why, below we've listed the most important commands for navigating the file system, installing software, editing files and monitoring performance.
Opening a Terminal
To open a terminal from the desktop, you can either click on the Terminal icon found in the applications menu or hit CTRL+ ALT + T. Once open, you will see a black screen appear with a flashing prompt.
les@ThinkpadX390:~ $This prompt is telling us that we are logged in as a user called "les" and that our machine is called ThinkpadX390 (this is the hostname). The $ refers to our permissions, in this case that we are logged on as a user with no special privileges, and that we have permission to edit any file or folder in our home directory, which in this case is /home/les/.
In our home directory we can store our work, projects, pictures etc. But we cannot harm the underlying filesystem as we do not have permission to do so. To make system wide changes we either need to be a user called “root” which has similar powers to the administrator on Windows, or we need to use sudo (see below) to temporarily give us extra permissions.
So let's start our adventure by testing out a few Linux commands and learn how to use the terminal
sudo - Super User Do
Many forms of Linux do not, by default or design, give you the admin privileges you need to perform some core tasks like installing software. This is done to make sure that the operating system is protected. However, by prefacing any command with the word "sudo," you can have admin rights for that execution. To use "sudo," you will have to be in the "sudoers" permission group, but the good news is that many Linux distros already put the main user in this group.
We can check if our user is in the sudoers group by running this command. Just swap for your username
groups <username>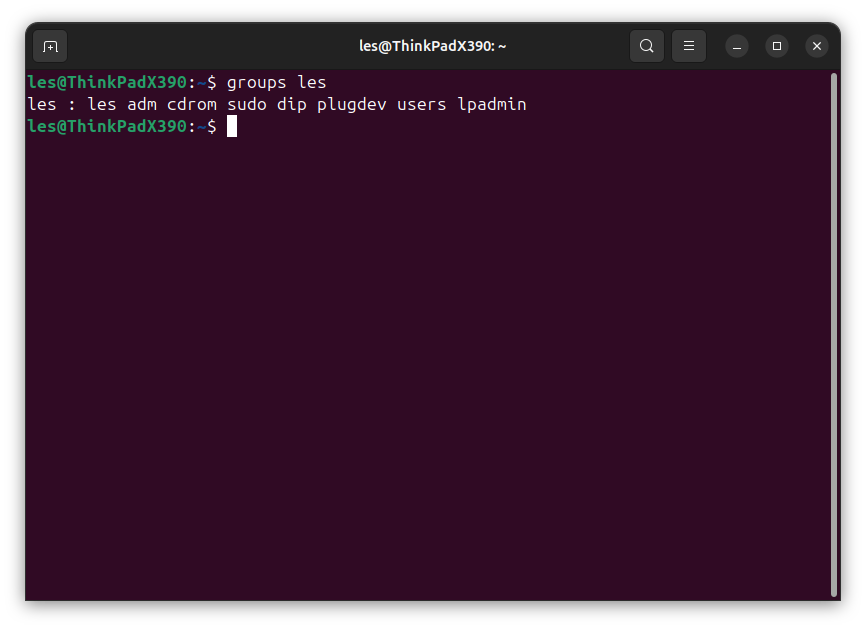
This shows that my user, les, is in the sudoers group.
To use sudo to upgrade your operating system, you'd type:
sudo apt upgrade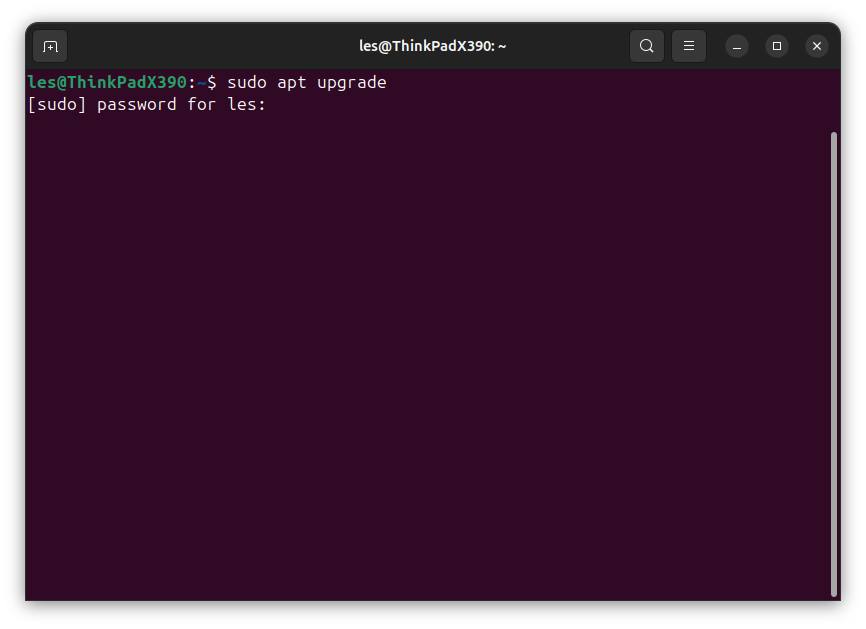
Navigating the Linux file system
Moving around the filesystem is something we take for granted in a desktop environment. But with the terminal we can do everything, and often with greater speed and precision. We just need to know the correct commands. If you don't have permission to perform any of these actions on a particular file or directory, prefacing the command with sudo will probably let you, but think before doing so. There is no undo button.
We've got a full guide on the Linux file system, showing you what each directory is for.
pwd - Print working directory
This command will show the full path to the directory we are in, for example /home/les. It is a useful command to clearly show where we are in the filesystem. Typically our location forms part of the prompt, but with pwd we get a clearer indication of our location.
pwd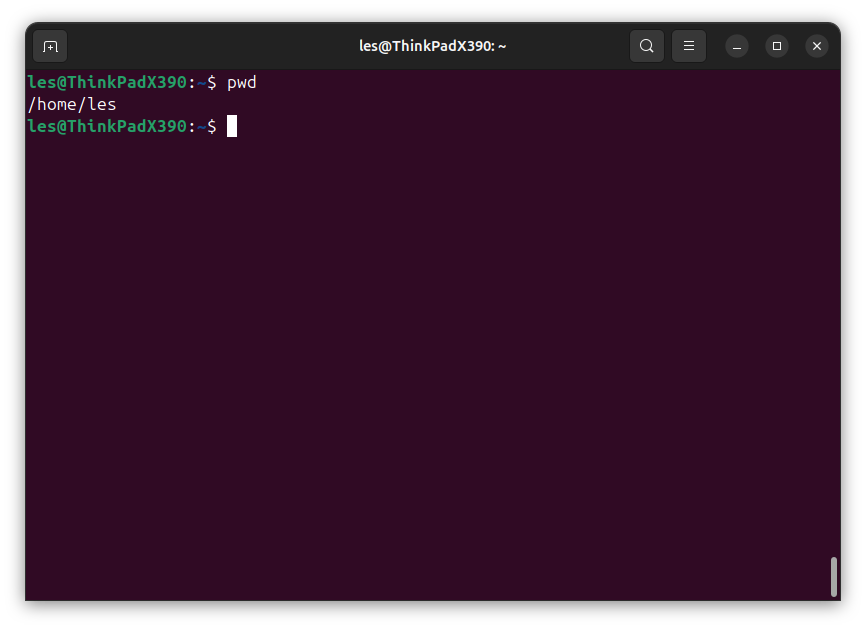
ls - List directory content
This command is used to list the contents of a directory. You may already be familiar with dir used in Windows and MS DOS.
You can use the command to list files in your current working directory.
ls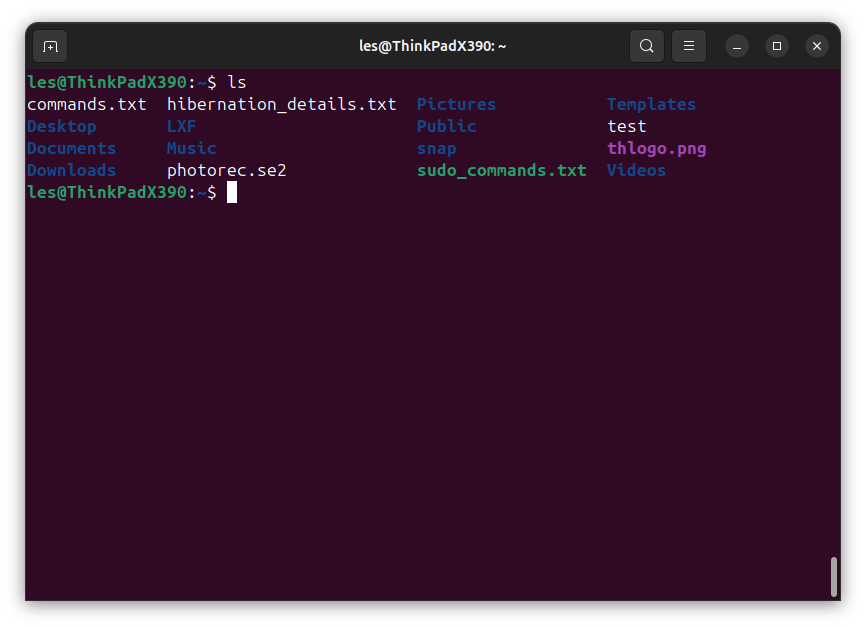
We can also list the files in another directory, such as /var/log:
ls /var/log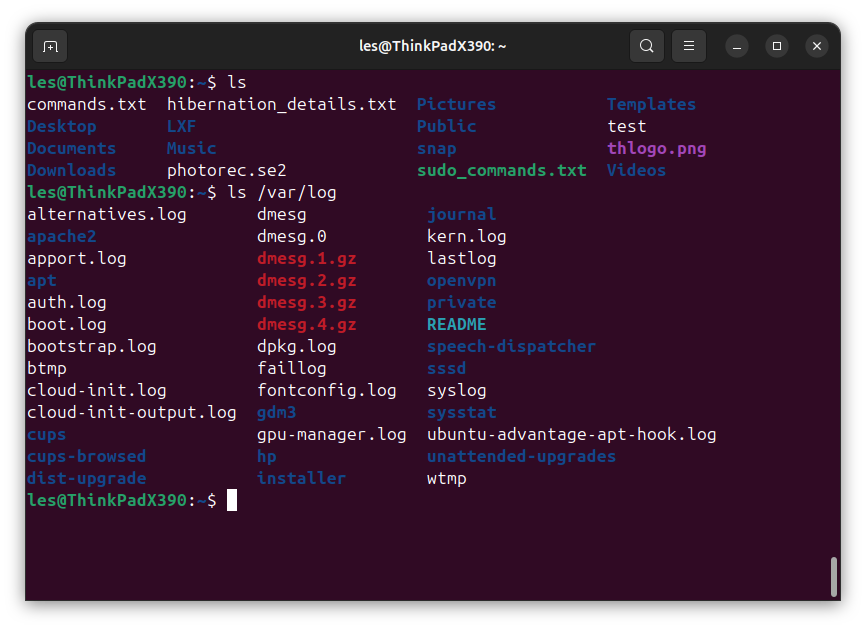
See hidden files and directories, in a long list with extra details.
ls -lha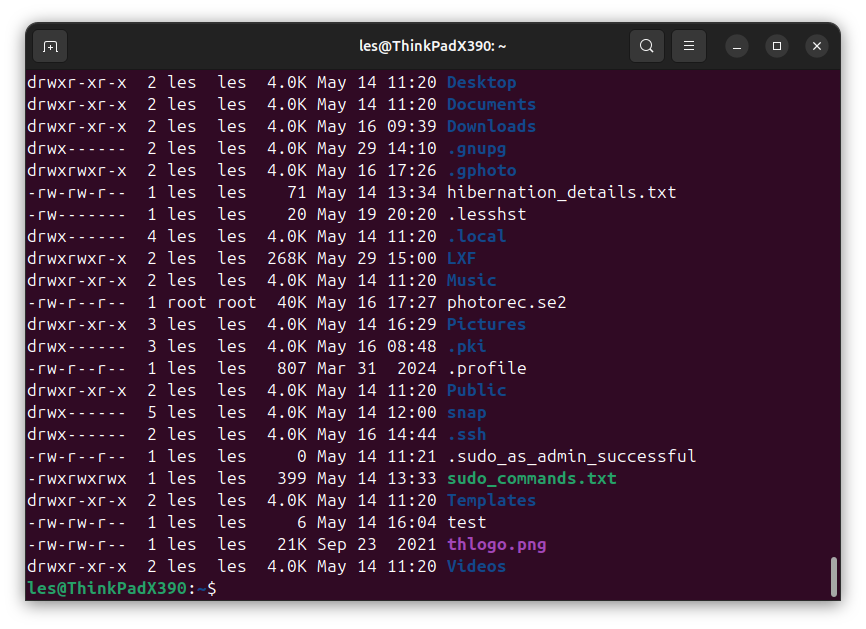
List all files of a certain type, for example .py Python files.
ls *py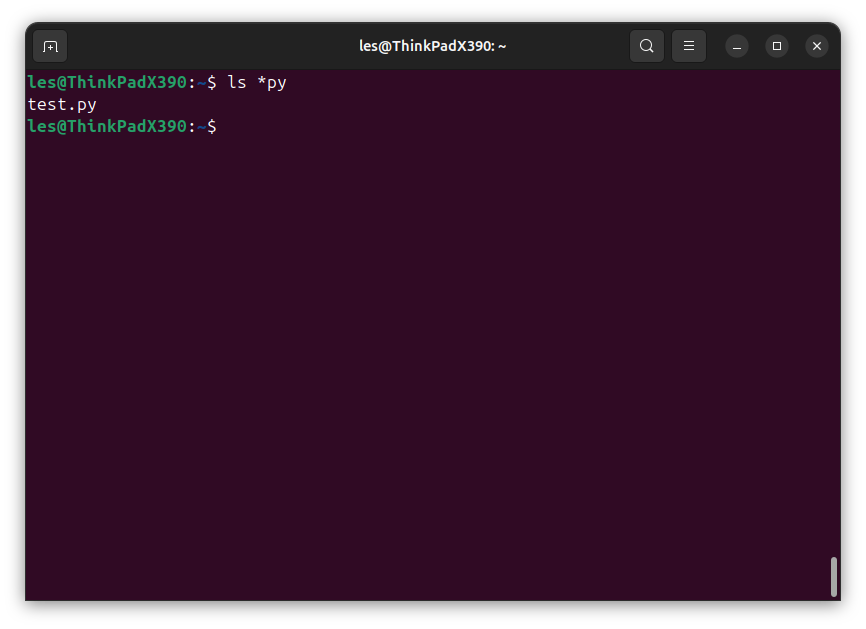
cd - Change directory
Using cd, change directory we can move around the filesystem. For example to move from our home directory to Downloads
cd Downloads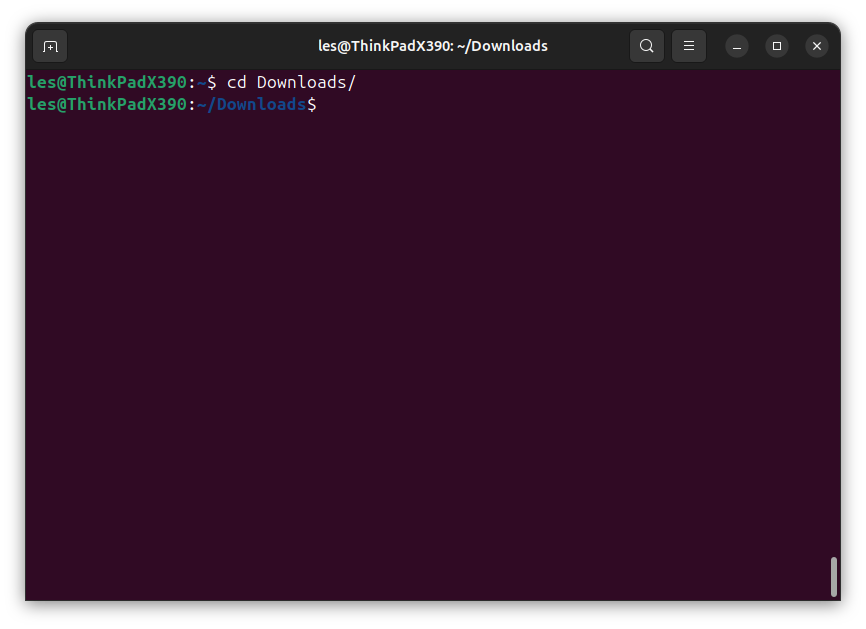
Move to a directory in another part of the filesystem, for example /var/log.
cd /var/log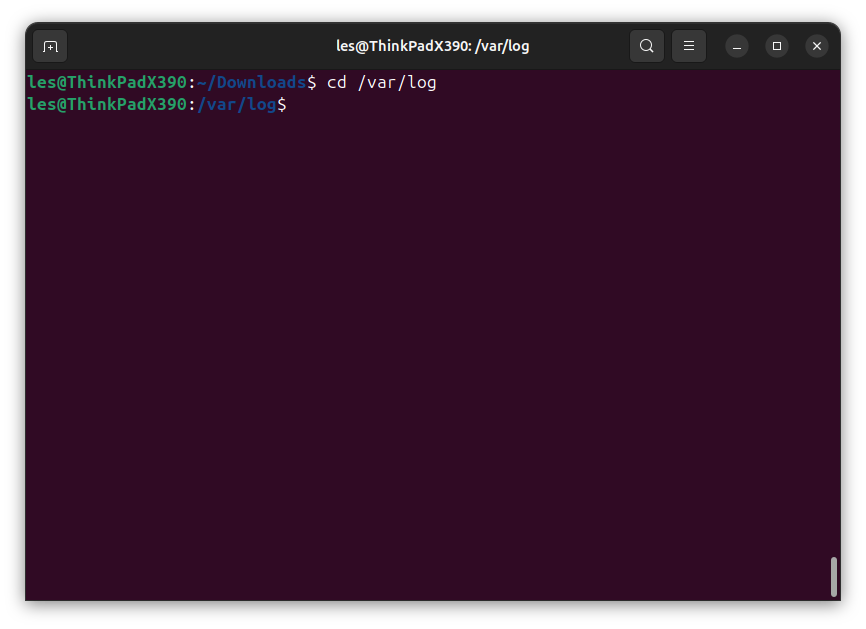
Go back to the previous directory that we were in.
cd -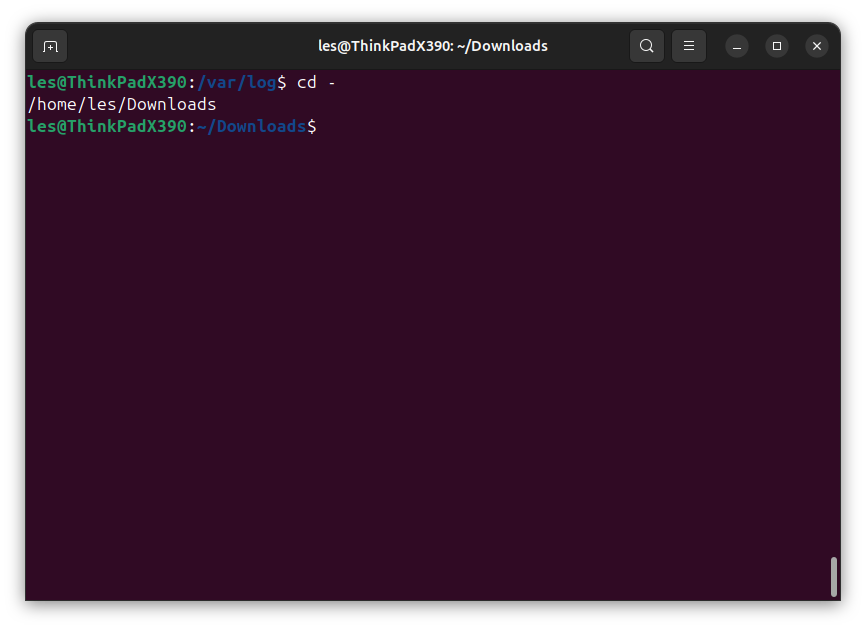
Go back to our home directory.
cd ~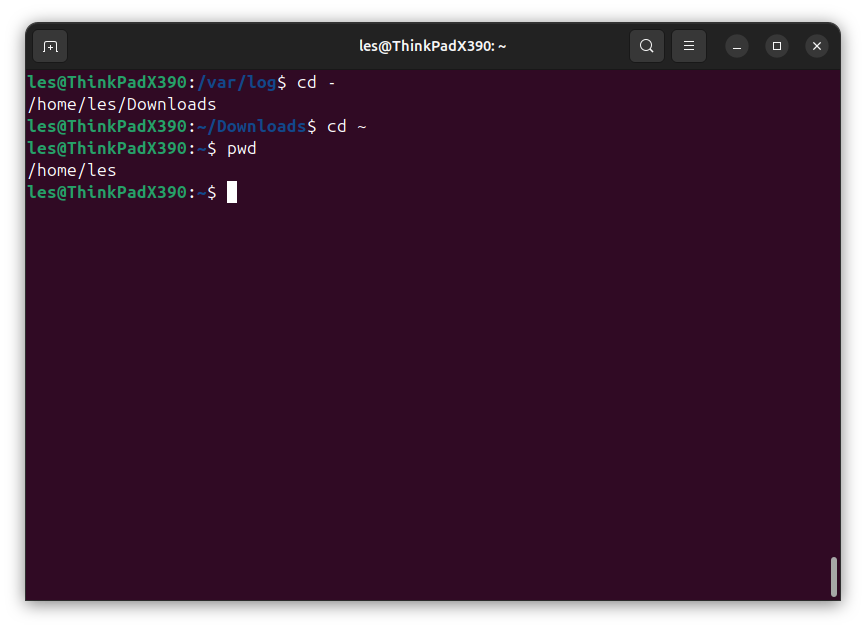
Working with files
Sometimes we need to take a peek inside a file, look for a specific command, error or bug and with these commands we can do just that all from the terminal.
cat - Print files to the terminal
With cat we can print the contents of a file to the terminal, for example a Python file.
cat test.py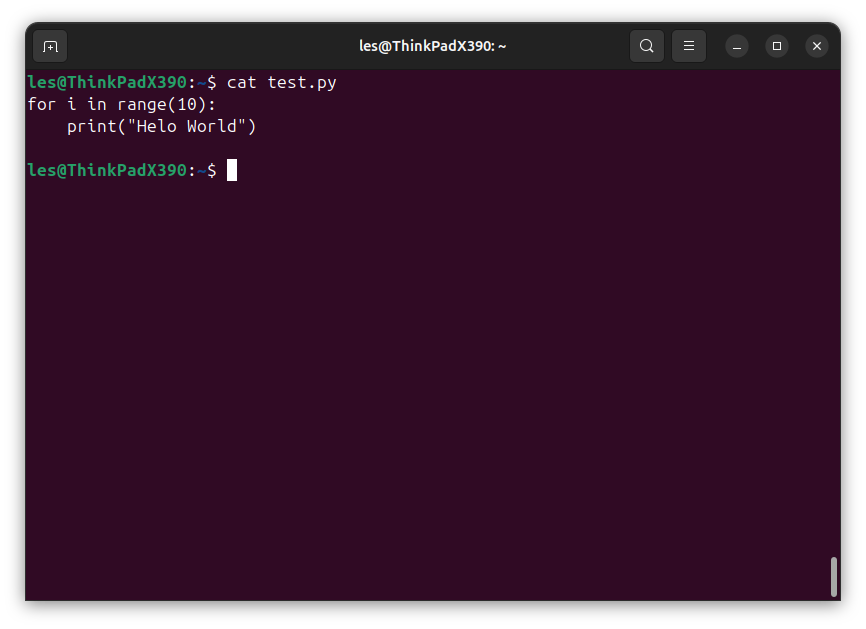
Print contents of the file to the terminal with line numbers. Useful when debugging a file, and you need to tell a colleague exactly where to find the issue.
cat -n test.py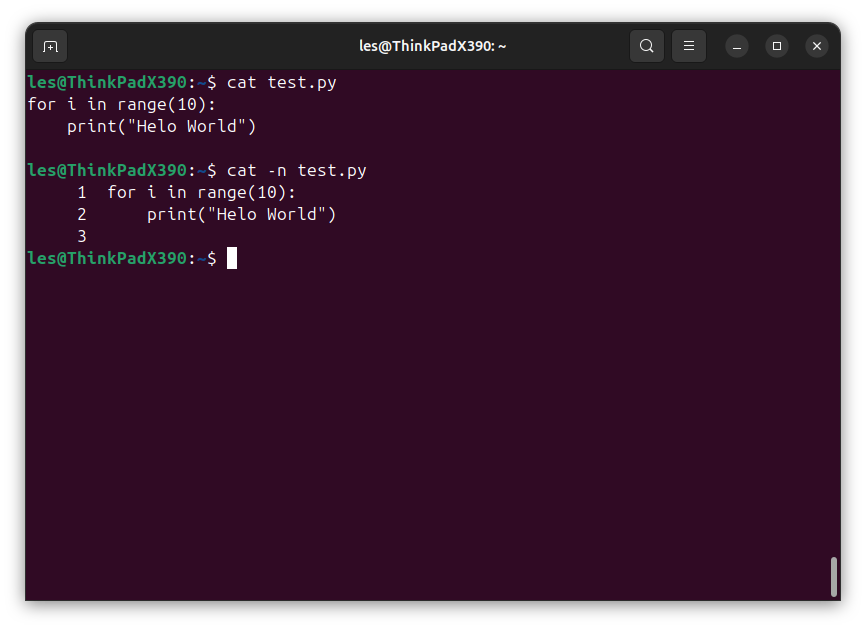
less - Print files to the terminal
The less command will print the contents of a file in sections and we can scroll through the file using the arrow keys, Page Up / Down and Home / End.
less /var/log/syslog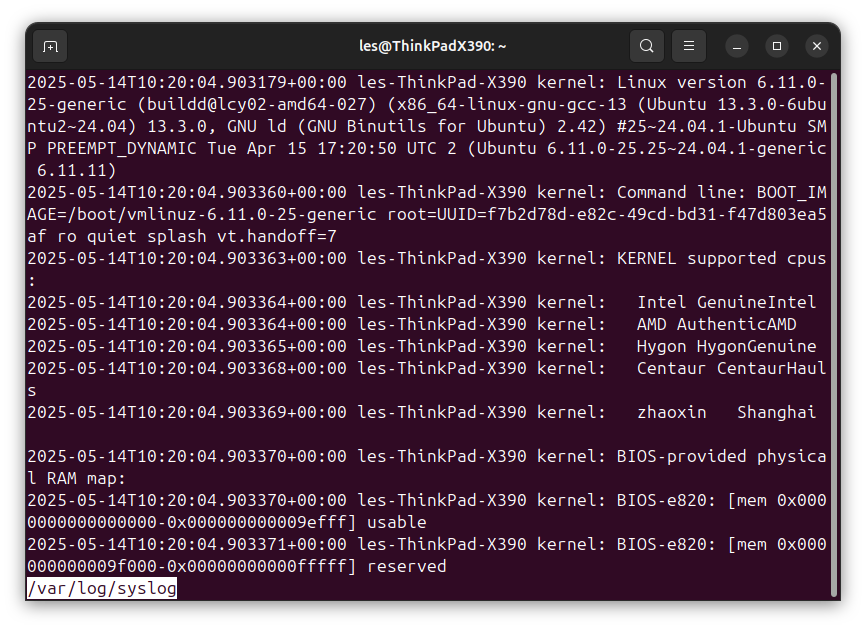
grep - Looking inside a file
To search inside a file for a specific word / section of text. Typically used with log files when looking for issues. In this example we use lscpu to print the details of the CPU which is passed via a pipe | to grep which we instruct to look for “MHz”.
lscpu | grep “MHz”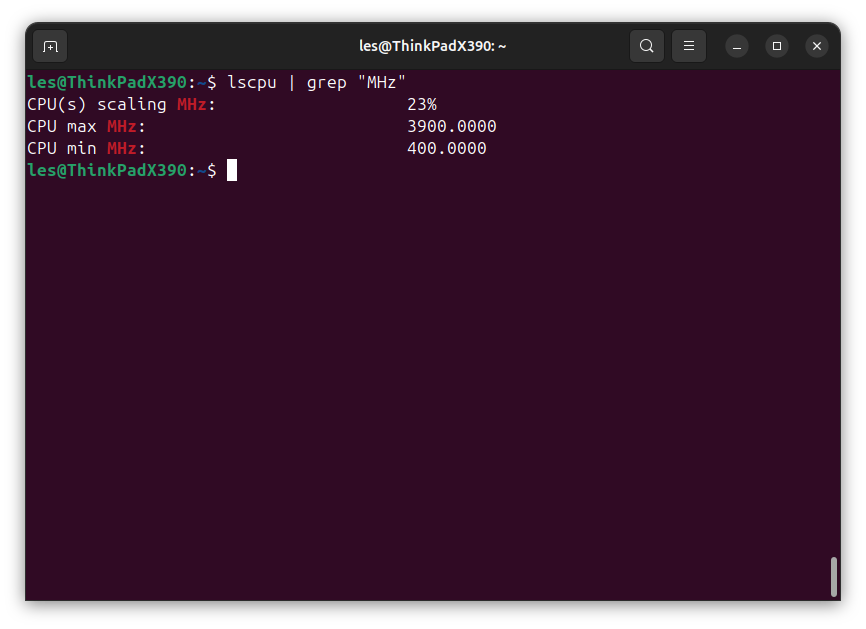
Edit a file
For when you quickly need to edit a config file, Python code or just write a to do list. Yes, there are many different text editors for the terminal, nano, Vi, Vim etc. But for this how to, we will stick with nano.
nano
Nano is the easiest command-line editor for beginners.
Create a new file, for example newfile.txt.
If the file doesn't exist, the command will create it. If it exists, it will open the file.
nano newfile.txt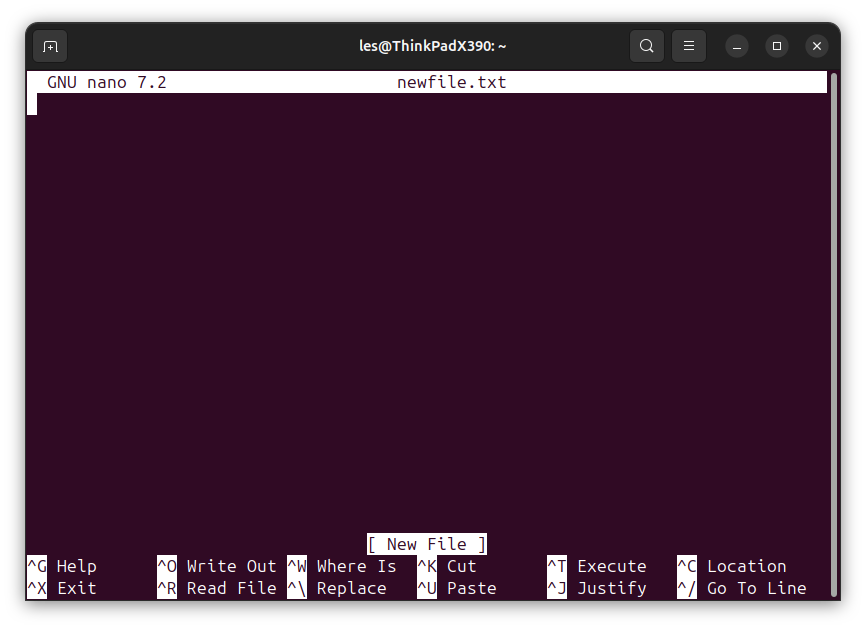
Edit an existing file, for example test.py.
nano test.py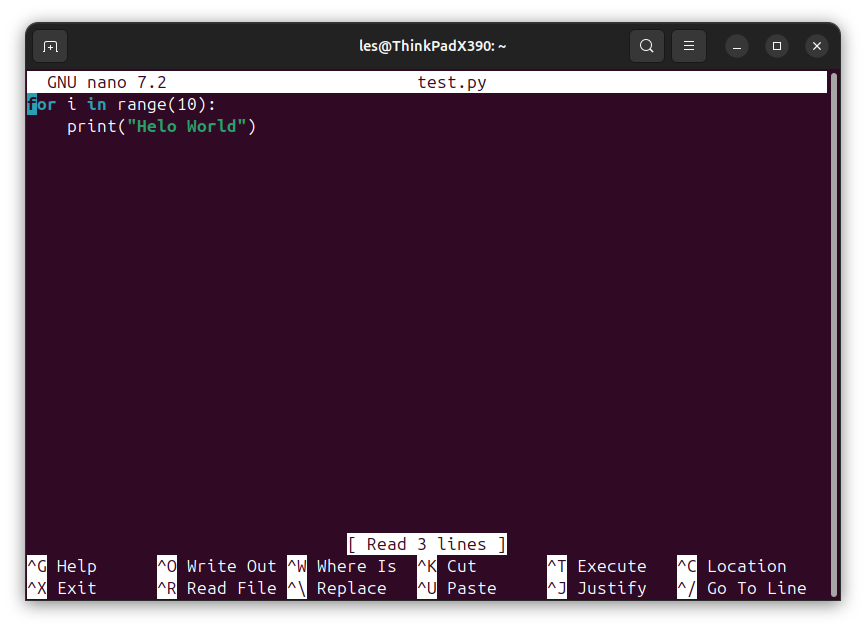
Inside nano we navigate using the arrow keys and it works just like a regular text editor.
To save your work press CTRL + O, then confirm the filename. Finally, press Enter
To exit nano, press CTRL + X.
System Resources & Management
Managing our operating system and checking system resources is standard practice for system administrators. Here we show a few commands that will show you key details at a glance.
htop - Display system processes
Shows the current CPU load, RAM usage and running system processes. Useful for closing non responsive applications and seeing which processes are bottlenecking your system.
htop
free - Show amount of free and used RAM
Free will tell us how much RAM is in use, and what is free for applications. Using the -m option we can set the values in Megabytes. By default, free will show the values in KB.
free -m
dmesg - Monitor kernel events
The kernel is the core of the operating system and with dmesg we can see what events are happening behind the scenes. Useful for debugging issues with devices. You will need to run the command using sudo, otherwise you will not have access to all of the data.
sudo dmesg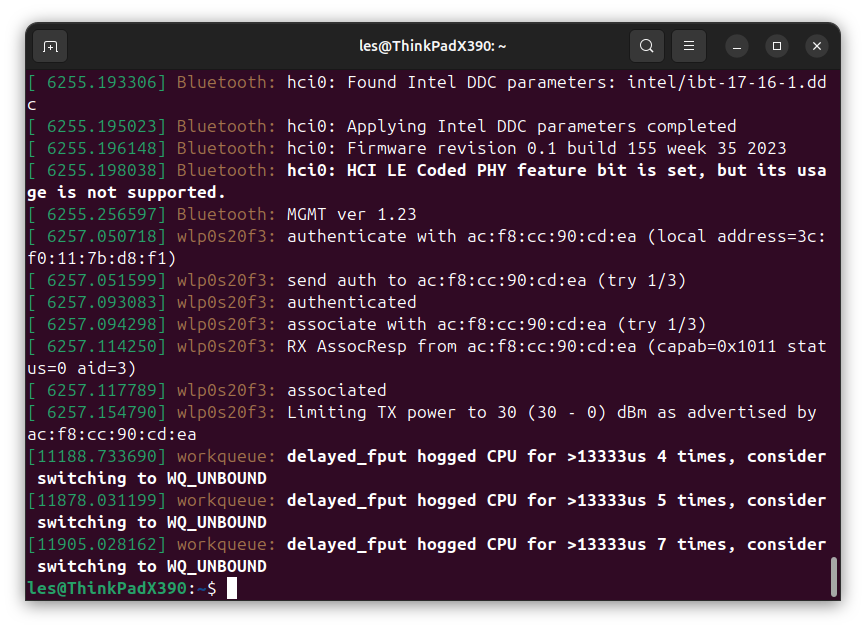
File Management
Moving, deleting, copying and creating new files and directories are some of the most basic actions that we need to do. All of this, and much more is possible via the terminal.
mv - Move / rename a file
This command offers two functions. We can move a file from one location to another. For example here we move test.py to the Documents directory.
mv test.py Documents/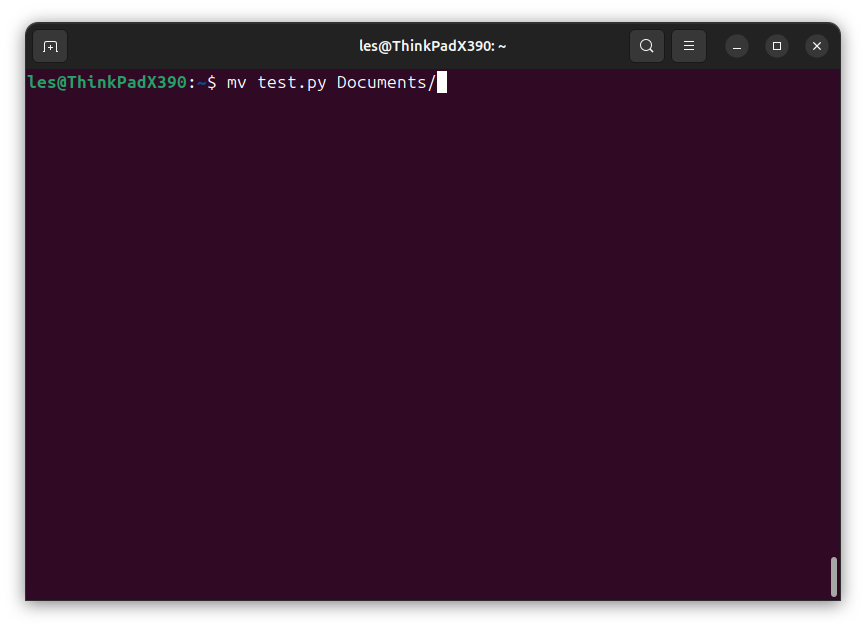
The command can also be used to rename a file or directory. Here we rename test.py to test2.py.
mv test.py test2.py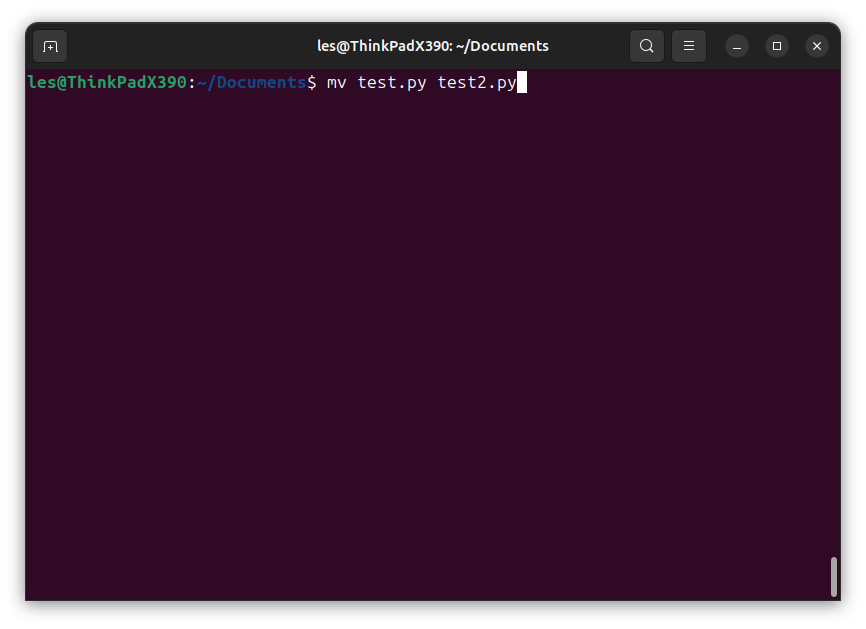
rm - Delete a file
With this command we can delete files and directories. In this example we delete the file test.py.
rm test.py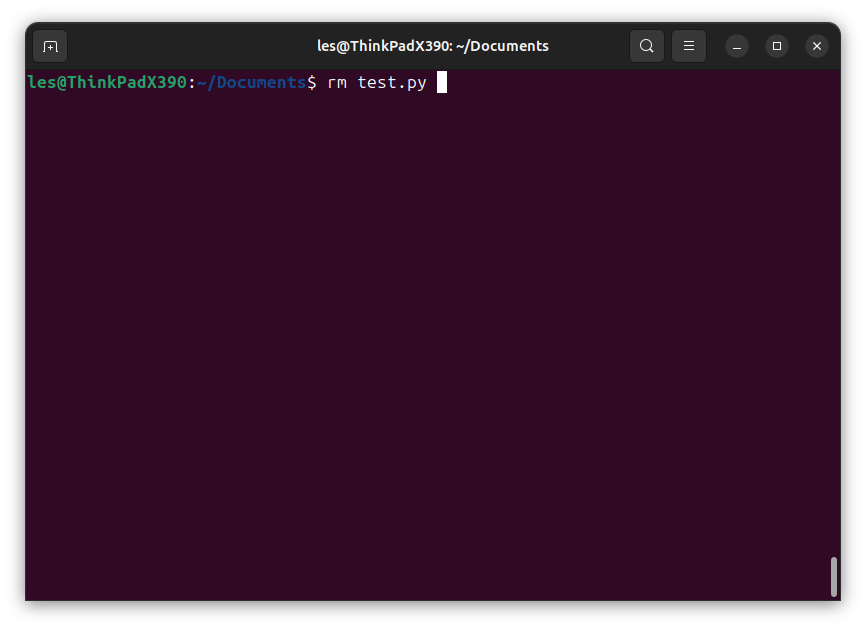
cp - Copy a file
To copy a file, for example test.py to our Documents directory.
cp test.py Documents/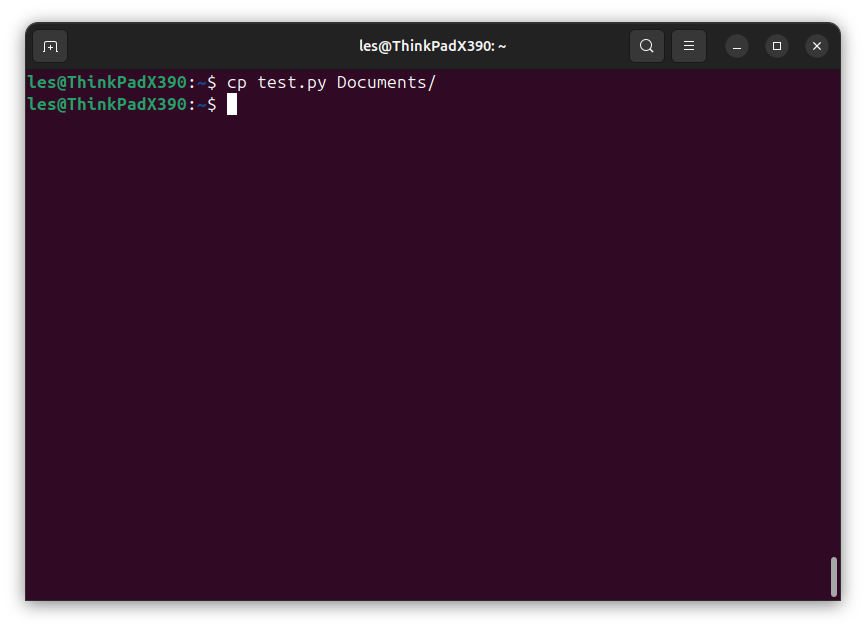
To copy a directory, for example /home/pi/test2 to /home/pi/Documents/ we need to use the -r option to copy everything across.
cp -r test2/ Documents/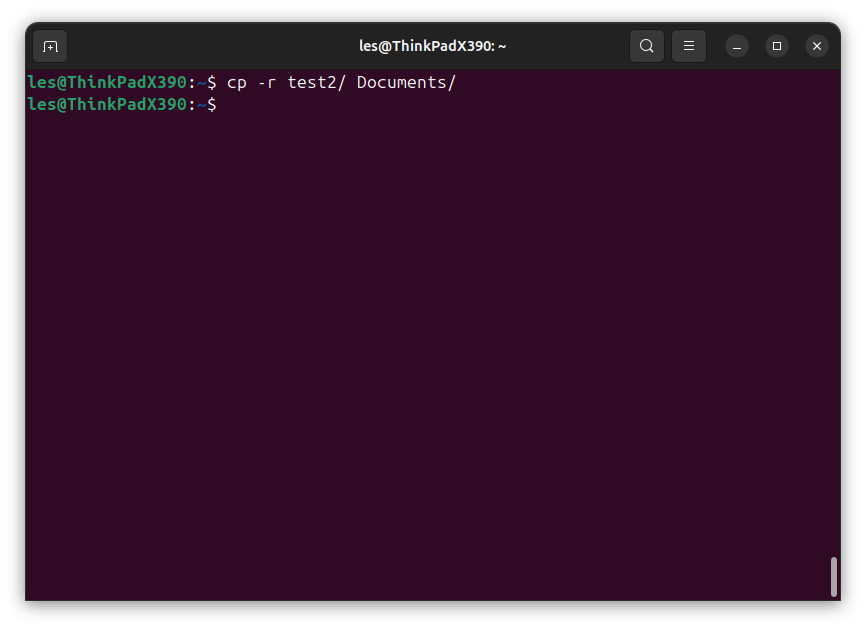
mkdir - Create a directory
Create a new directory to store work. For example let's create a directory called Work in our home directory.
mkdir Work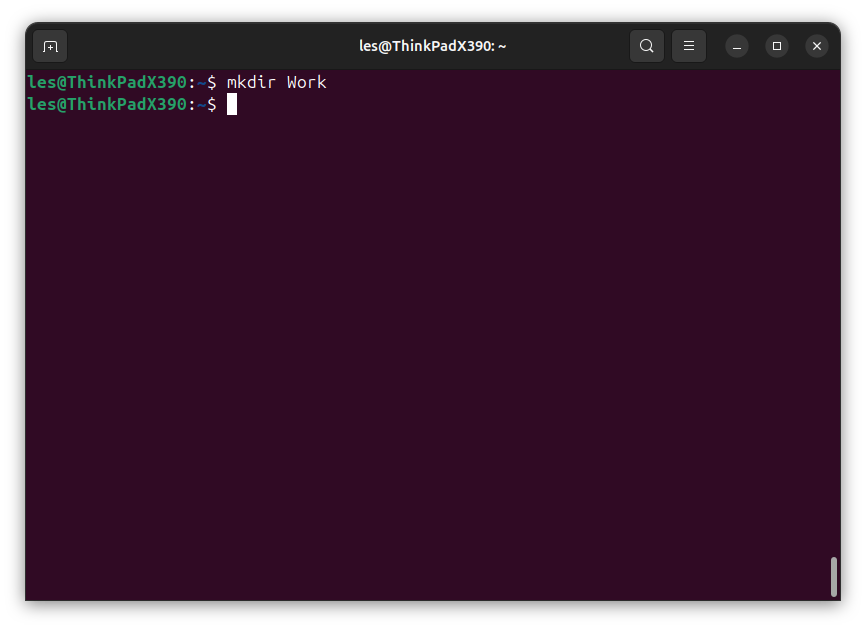
Software Installation
Just like any computer we need to make sure that our software is up to date and on our Linux machine the tool to do just that is called apt.
apt - Install and manage software on Debian and Ubuntu based systems
Apt, the Advanced Packaging Tool. The app store of Debian and Ubuntu flavors of Linux. To use apt we will need to use sudo as it will make changes to the operating system.
First we update the list of installable software.
sudo apt update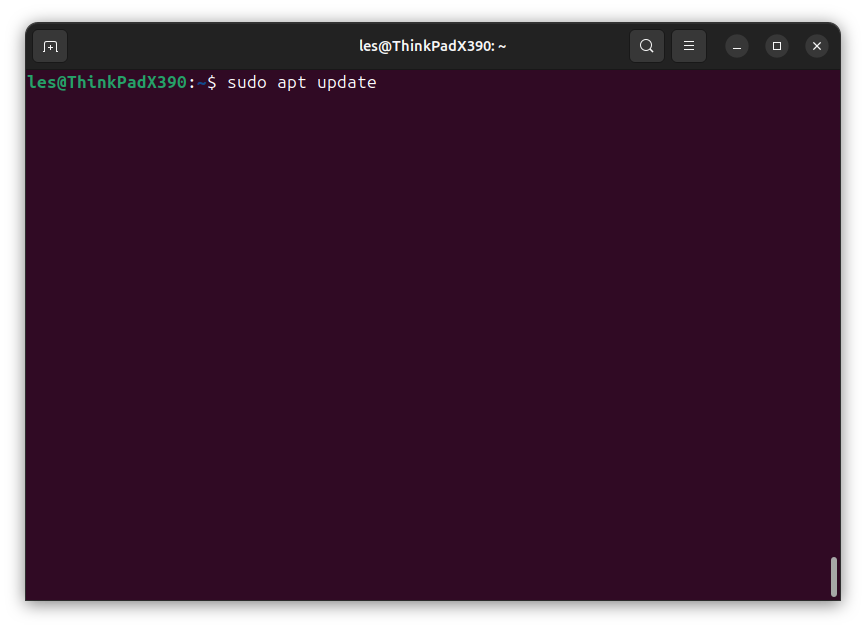
Then we can install a specific application, for example to install vlc.
sudo apt install vlc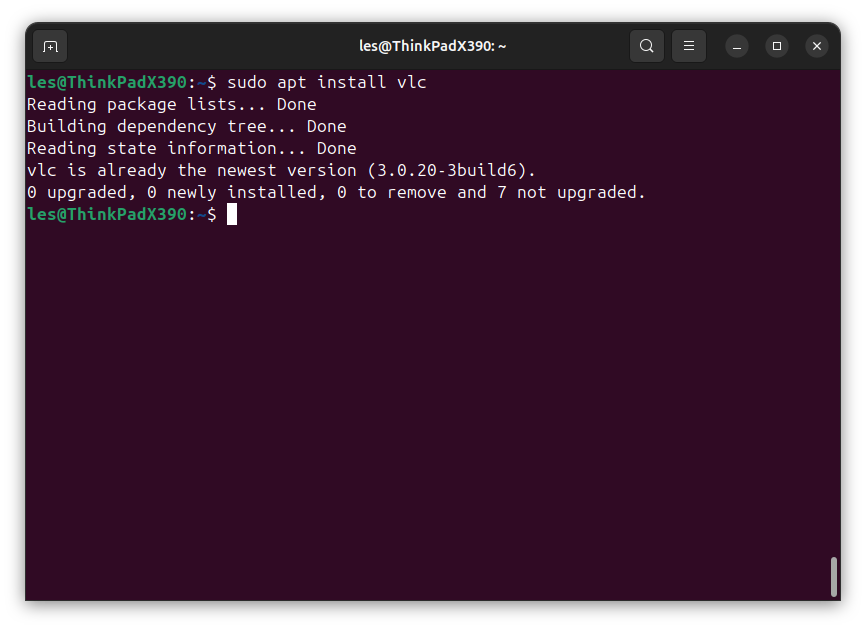
Or we can upgrade all of the software on our system. Note that for this command we pass the -y option to automatically agree to install every package. But this is optional and if you prefer, you can omit the -y and be prompted for confirmation.
sudo apt upgrade -y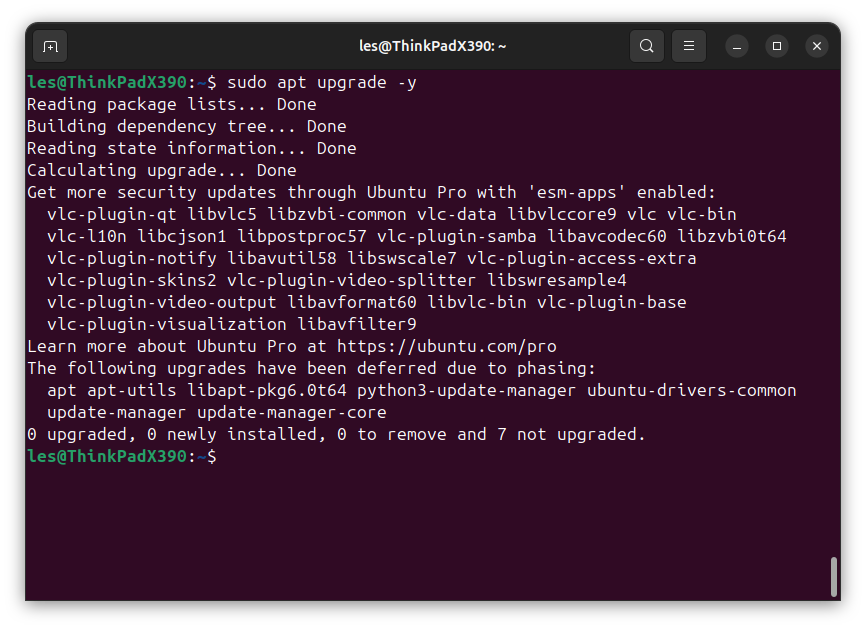
Network Connectivity & Internet
Checking that your Linux machine is connected to the Internet is a basic yet crucial task. It enables us to debug our servers, watch YouTube videos, and get work done.
ping - Check that we are connected
The ping command is used to test that our Linux machine is connected to the Internet / home network.
We can send a ping to a website.
ping google.com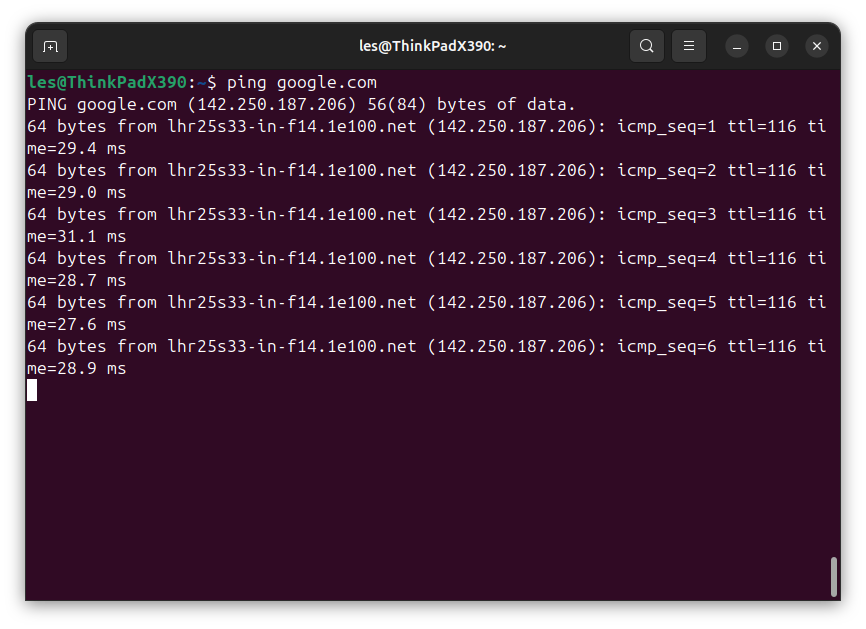
Or to an IP address such as Google’s DNS server.
ping 8.8.8.8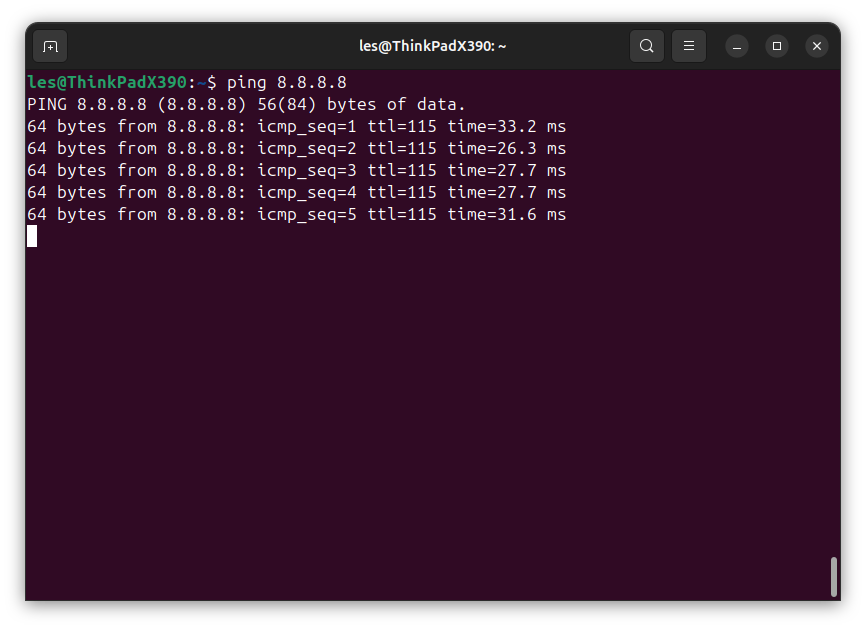
Or for internal connectivity checks we can send a ping to devices on our home network. This example assumes that our IP range is 192.168.1.114 but your range may be different.
ping 192.168.1.114hostname - Get the IP address of your Linux device
The easiest way to find the IP address of our Linux machine is using hostname with the -I (uppercase i) which will show all IP addresses (Wi-Fi and Ethernet)
hostname -I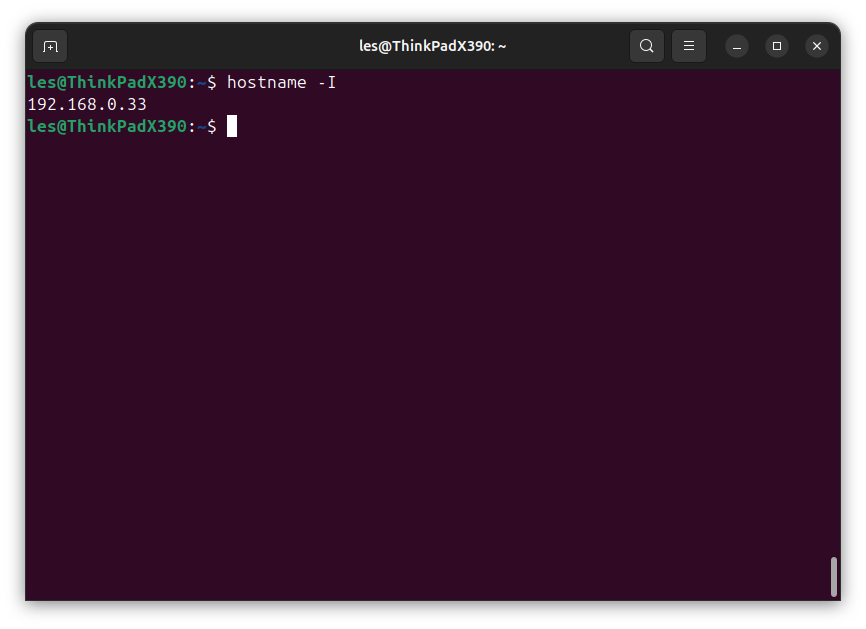
Curl - Transfer data over a network
With this command we can transfer a file to and from our Linux machine. For example if we wanted to download an image from a website we would use curl along with the -o option to create a file named image.jpg.
Note, curl may not be installed on your system, so you may need to install using sudo apt install curl
curl http://link-to-theimage.com/image.jpg -o image.jpg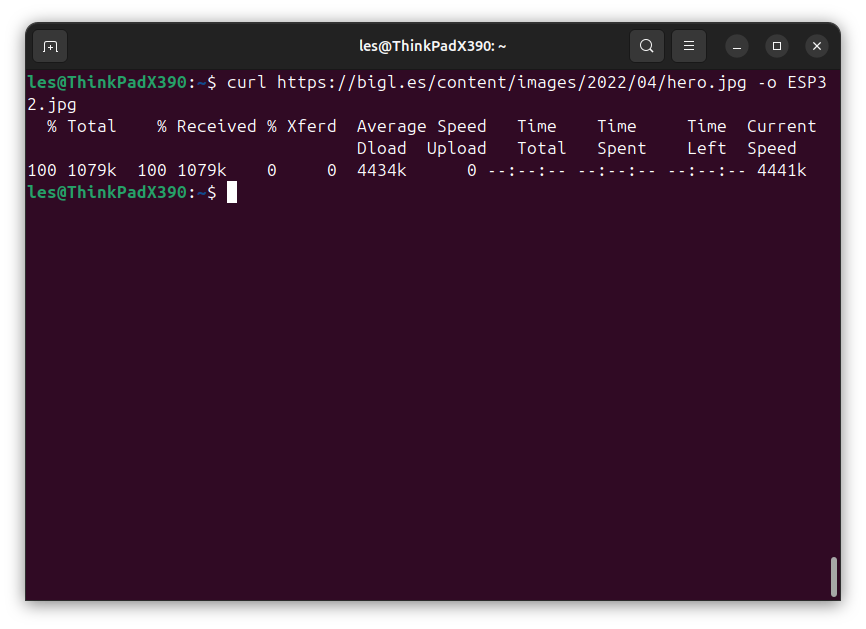
The curl command is particularly useful for downloading installation scripts to automatically install add on boards. But it should be used with caution and any code reviewed before it is used.
Time Savers
The Linux terminal has many secrets and tricks, all designed to save you time and become a keyboard ninja.
history
The history command will display the history of the commands entered in the terminal. When used it will output all of the commands at once as a long list.
history
At the start of each line in the list is a number and we can use this number to run that command once again. But we must precede the number with an exclamation mark.
!117history with grep
By using a pipe “|” with the history command we can send the output of history to grep where we can then search for specific commands. Here we look for all the occurences of “apt” in history.
history | grep “apt”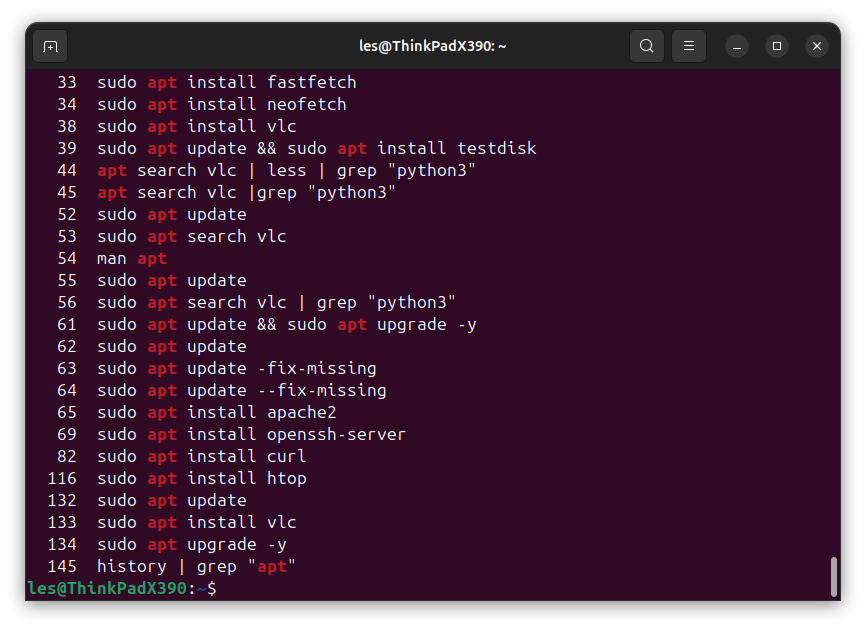
CTRL + R search
Using this we can interactively search through our command history for a specific command. To start we press CTRL + R together and then start typing part of the command. For example we have just used the history | grep “apt” command so we can now press CTRL + R and start typing history and the search will find that command.
TAB completion
Think of this as “auto complete” for the terminal. The TAB key is located just above the Caps Lock key and we can use TAB completion to help complete long commands, directory listings. If we type in the first few letters of a command, for example his and press TAB it will complete the command to show history.
But if we wanted to complete a long directory path, for example /usr/lib/python3/dist-packages then we could start typing /usr/lib/ and then press TAB to show us all the directories available along that path. We could then start typing python3 and by pressing TAB a few more times, the command will narrow down the options that we can use.
Arrow keys
Another way to search through your history is to use the up and down arrow keys. With these keys we can go backwards and forwards through our command history and when the correct command is displayed, press Enter to run.
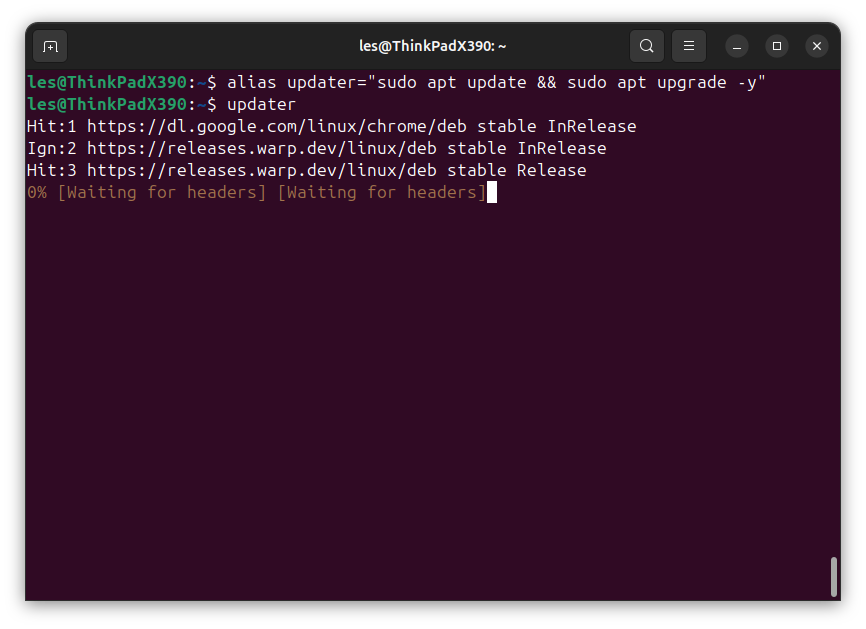
alias
Using this command we can create shortcuts / short commands from much longer ones. For example here we create an alias called updater and use that to call two commands. The first will update our list of installable software, and if that works successfully, denoted by using “&&” to chain the commands together, then it will run the upgrade on our Linux machine.
alias updater=”sudo apt update && sudo apt upgrade -y”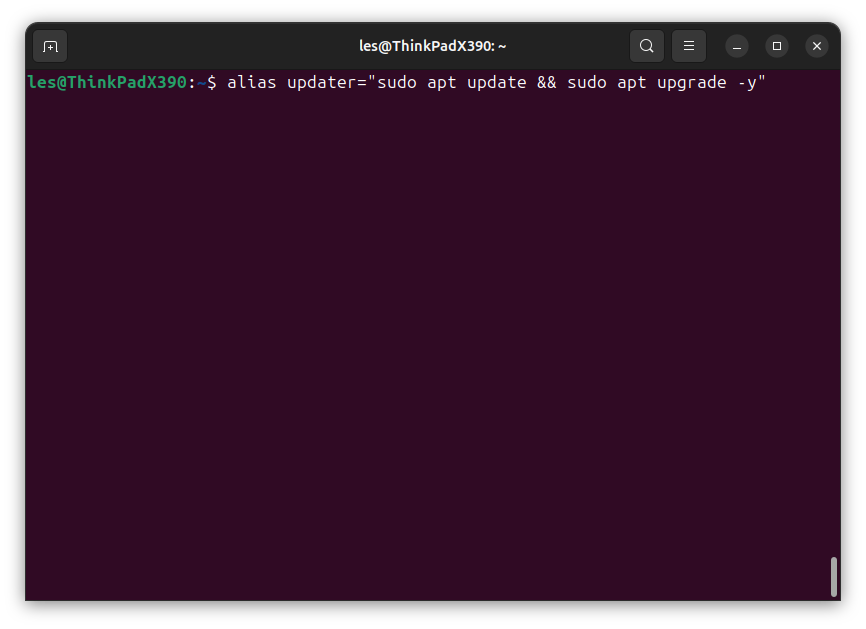
Now we can run our update command just by typing updater in the terminal. Note that once the Linux machine is switched off, this alias is deleted.


 English (US) ·