
 6 months ago
92
6 months ago
92
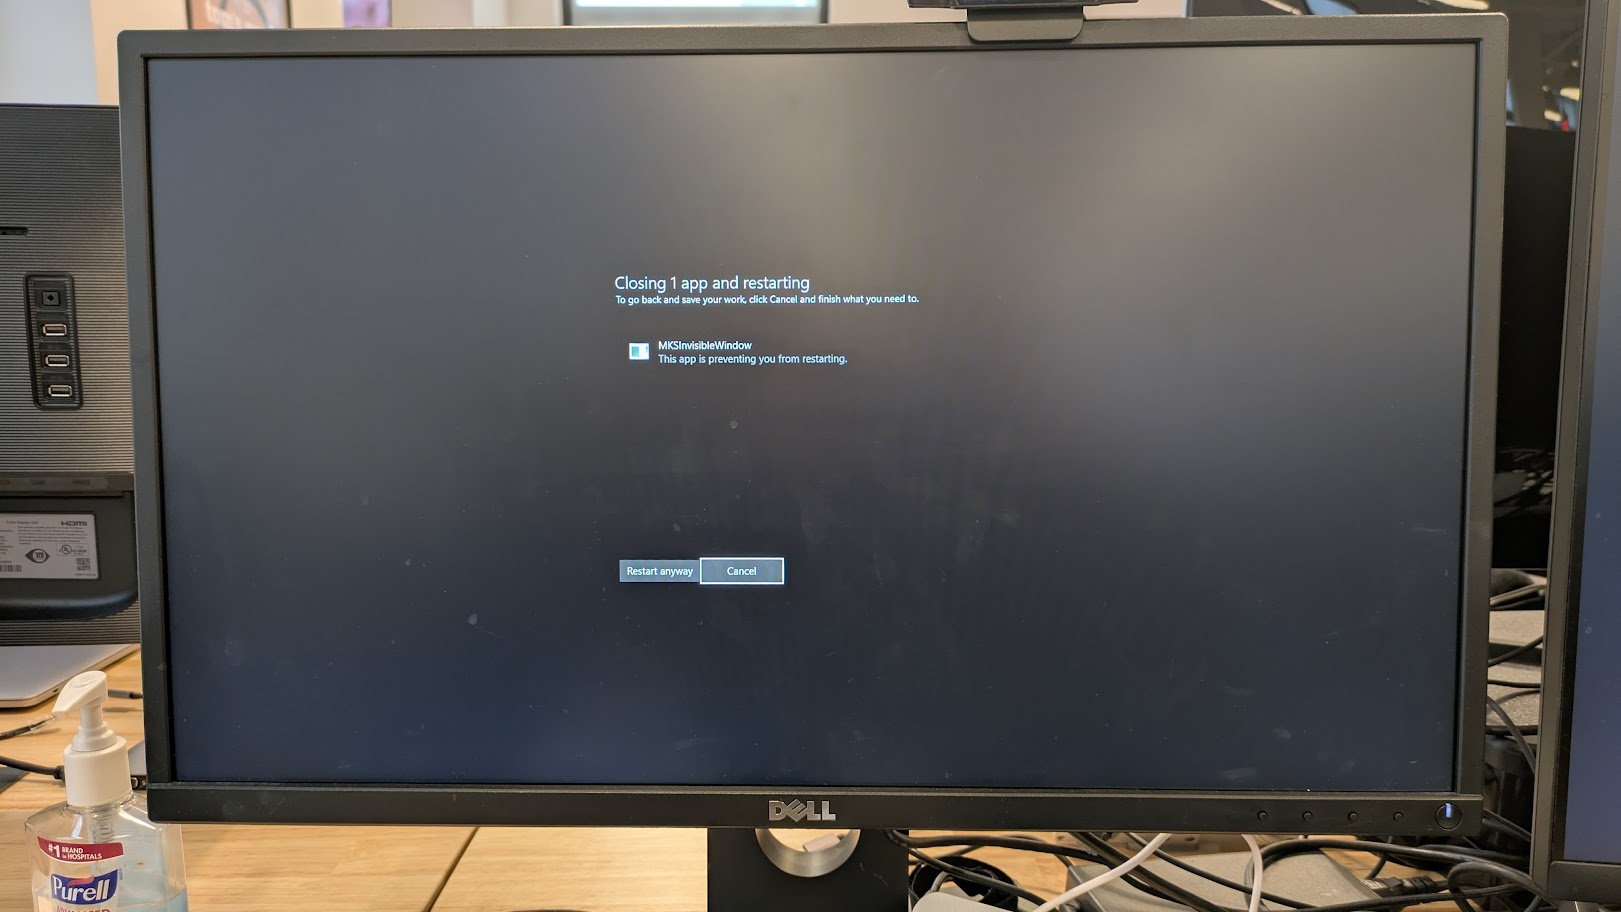
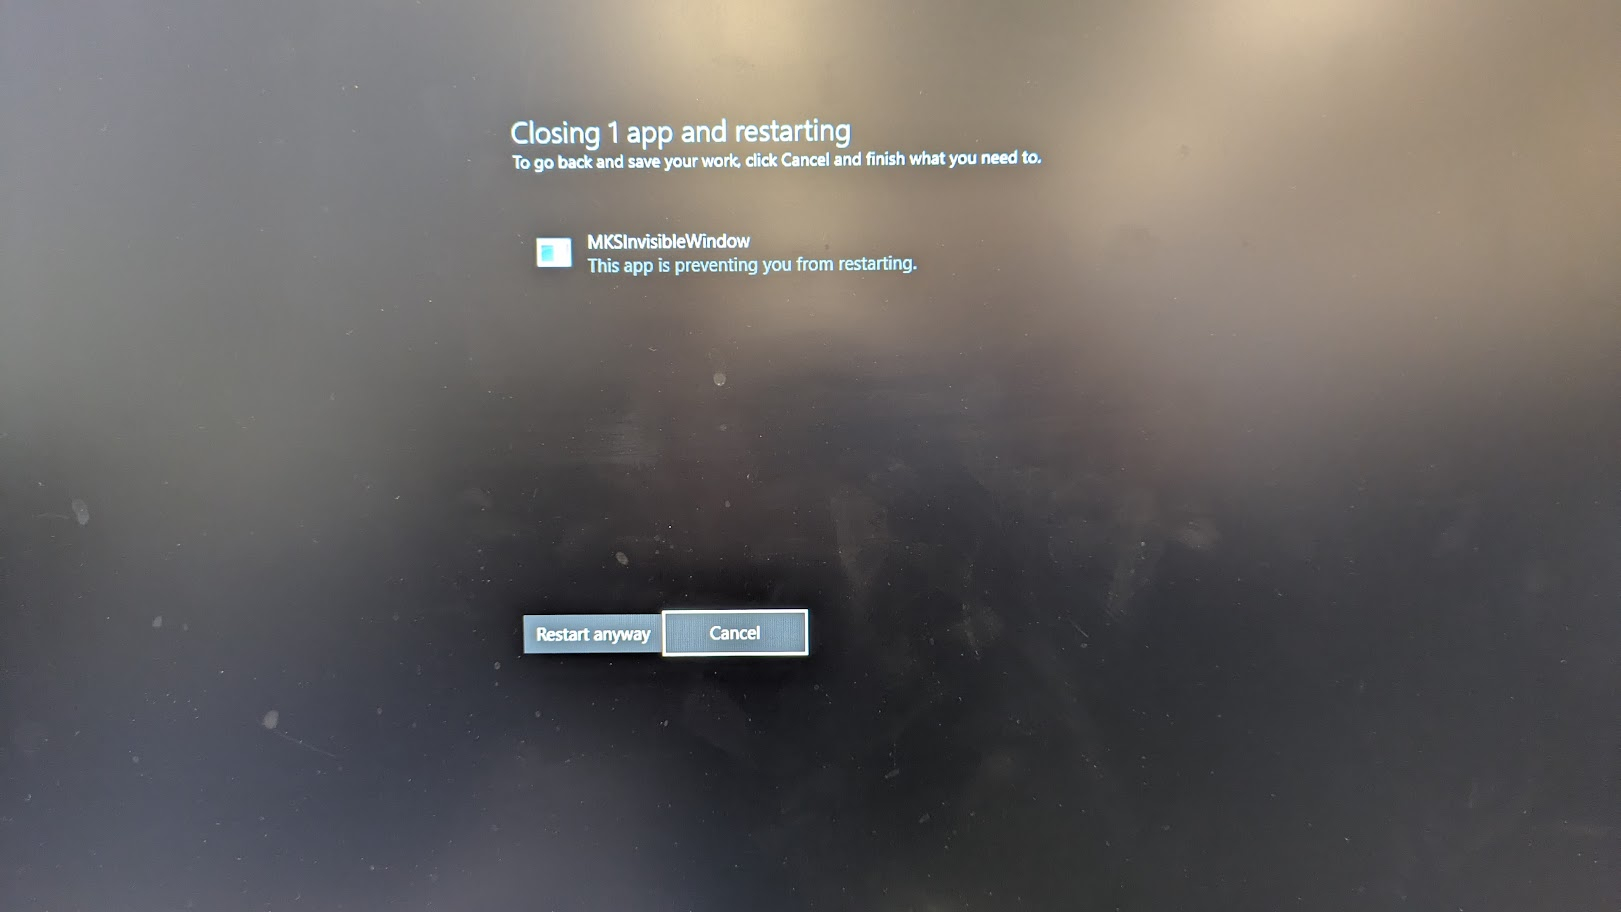
Before I made a change, this happened to me all the time. I'd go to shut down or restart my Windows 11 PC and then I'd get up to use the bathroom, expecting the PC to be off or completely rebooted by the time I got back. Instead, I'd get an error message like the one below: "This app is preventing you from restarting."
What's really going on here is not a bug, but a safety feature, one which is very annoying. Windows 111 notices that one or more apps has not been closed and therefore it won't shut down, because it thinks that you may have unsaved work in one of those apps, work which you would lose if the apps autoclosed.
Unfortunately, you can get this error even if you don't have a text editor or photo editor open with unsaved work in it. In my case, I got the error for an app called MKSInvisibleWindow and I don't even know what that is. Other times, maybe you had some text typed into notepad, but you never needed to or intended to hit save. Now, at shut down, Windows 11 won't move on until you either hit Cancel and go back to save / close the app or hit the "Restart anyway" or "Shutdown anyway" button.
But if you meant to shut down Windows, what you really want is for Windows to just turn off or reboot without you having to hit any extra buttons. Fortunately, you can configure Windows 11 to auto end tasks by making a small change to the registry.
How to Stop Apps from Preventing Windows 11 Shutdown
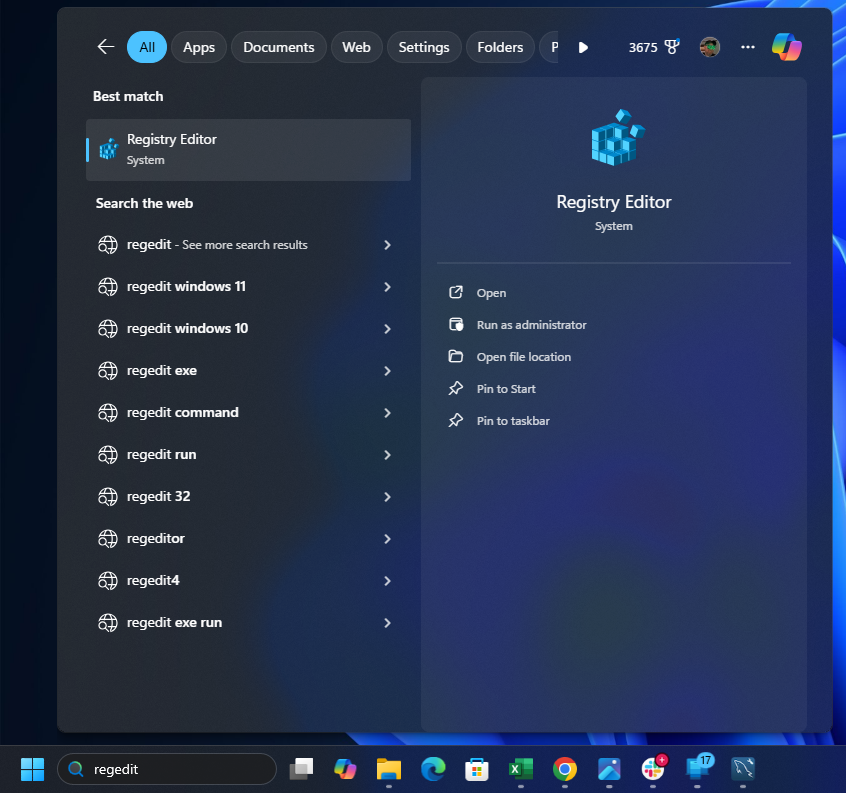
1. Open regedit. You can get there by searching for regedit. Make sure to say "Yes" if prompted by User Account Control.
2. Navigate to HKEY_CURRENT_USER\Control Panel\Desktop
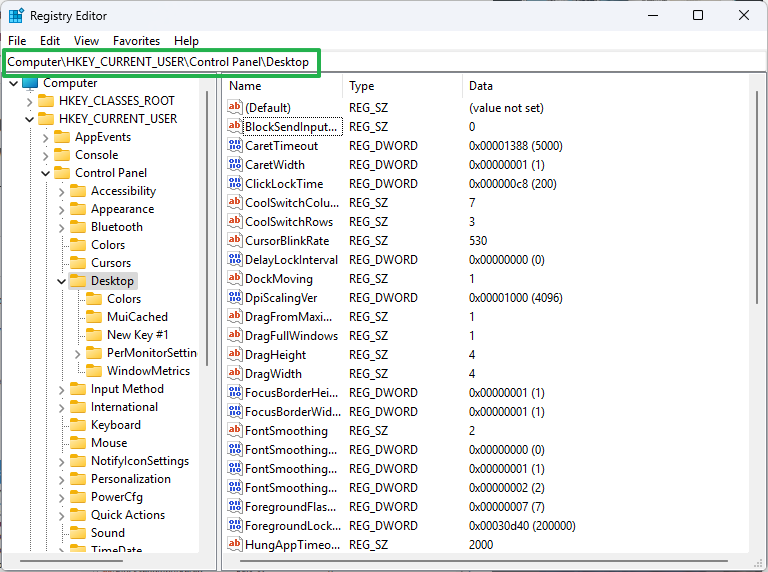
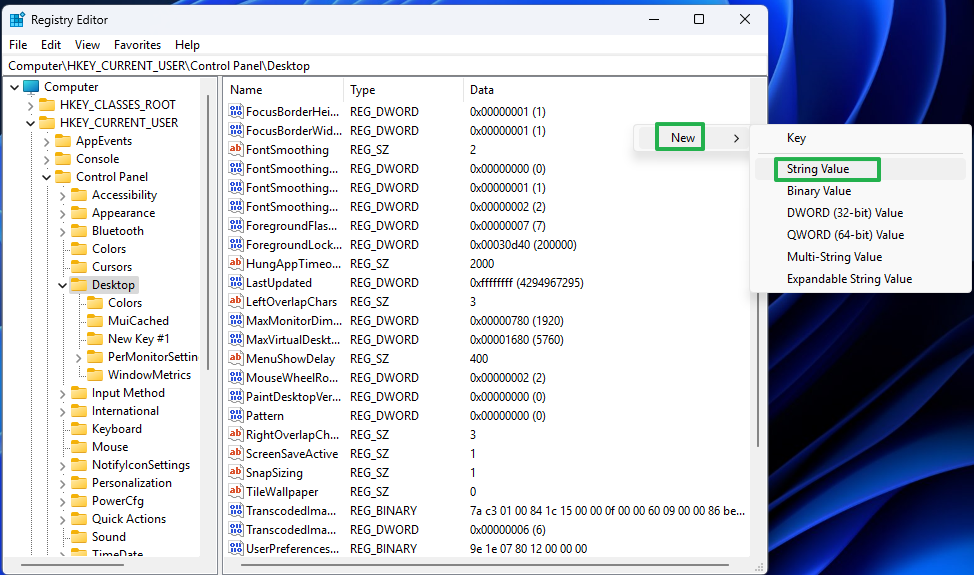
3. Create a String Value called AutoEndTasks if it doesn't already exist. Right click in the right pane and select New->String Value. Then rename the one it creates to AutoEndTasks.
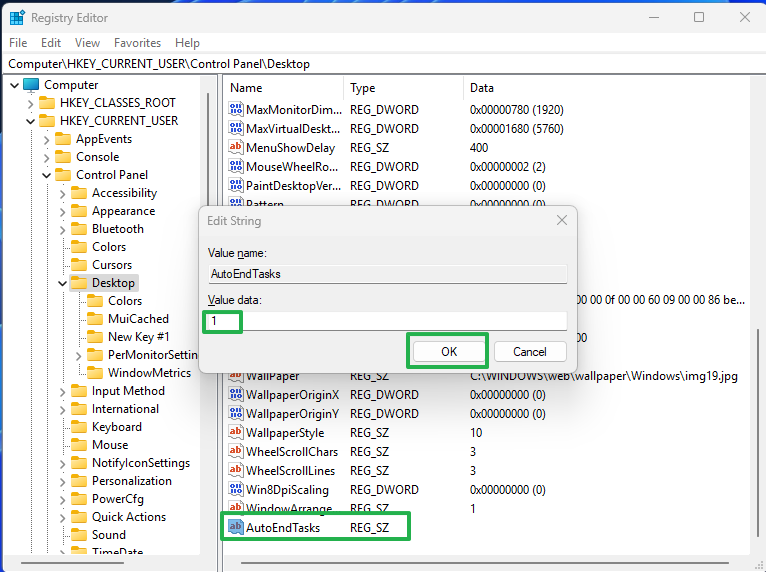
4. Set AutoEndTasks to 1 by double clicking it and entering 1.
5. Add these strings to speed up the timeout process.
- WaitToKillAppTimeout: This is the amount of milliseconds Windows 11 waits before killing an open app. It defaults to 20,000 milliseconds (20 seconds), but I'd set it to 2,000 (2 seconds) for less wait time.
- HungAppTimeout: This is the amount of milliseconds Windows waits for a non-responsive app to close itself. The default is 5,000 milliseconds but you can cut it to 2,000.
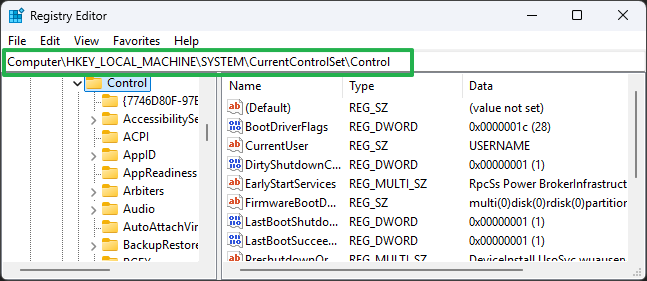
6. Navigate to HKEY_LOCAL_MACHINE\SYSTEM\CurrentControlSet\Control
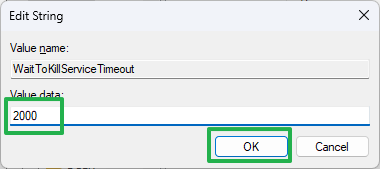
7. Set WaitToKillServiceTimeout to 2,000.
7. Close regedit and restart your PC.
From this point forward, Windows 11 should wait just a couple of seconds before force-closing your apps on shutdown. So be sure you really have saved any work that you want to keep.
To change another annoying default Window setting that slows you down, see how to disable Windows web search.


 English (US) ·