
 6 months ago
120
6 months ago
120
Thermalright is well known for delivering quality competitive coolers at rock-bottom prices, often raising the bar in performance and value. The company can do this because it typically directly manufactures its own products, having strong vertical integration as part of its business model. Its latest budget air cooler, the Royal Knight 120 SE, is currently available for just $30 on Amazon, making it one of the cheapest dual-tower air coolers you can buy.
Will the Royal Knight 120 SE make our list of the best CPU coolers? Let’s take a look at the specifications and features of the cooler, then we’ll go over thermal performance with both Intel and AMD CPUs, as well as noise levels.
Cooler specifications
Swipe to scroll horizontally
Cooler | Thermalright Royal Knight 120 SE |
MSRP | $31.99 (U.S.) |
Radiator Material | Aluminum |
Lighting | None |
Warranty | 3 Years |
Socket Compatibility | Intel Socket LGA 1851/1700/1200/115x AMD AM5 / AM4 |
Unit Dimensions (including fans) | 120 (L) x 114 (W) x 155mm (H) |
Maximum TDP (Our Testing) | >248W with Core i7-14700K >234W with AMD’s Ryzen 9 9950X3D |
Packing and included contents

The cooler packaging is a plain brown box that showcases the design of the heatsink. The inner contents are well protected by molded foam and plastic coverings.
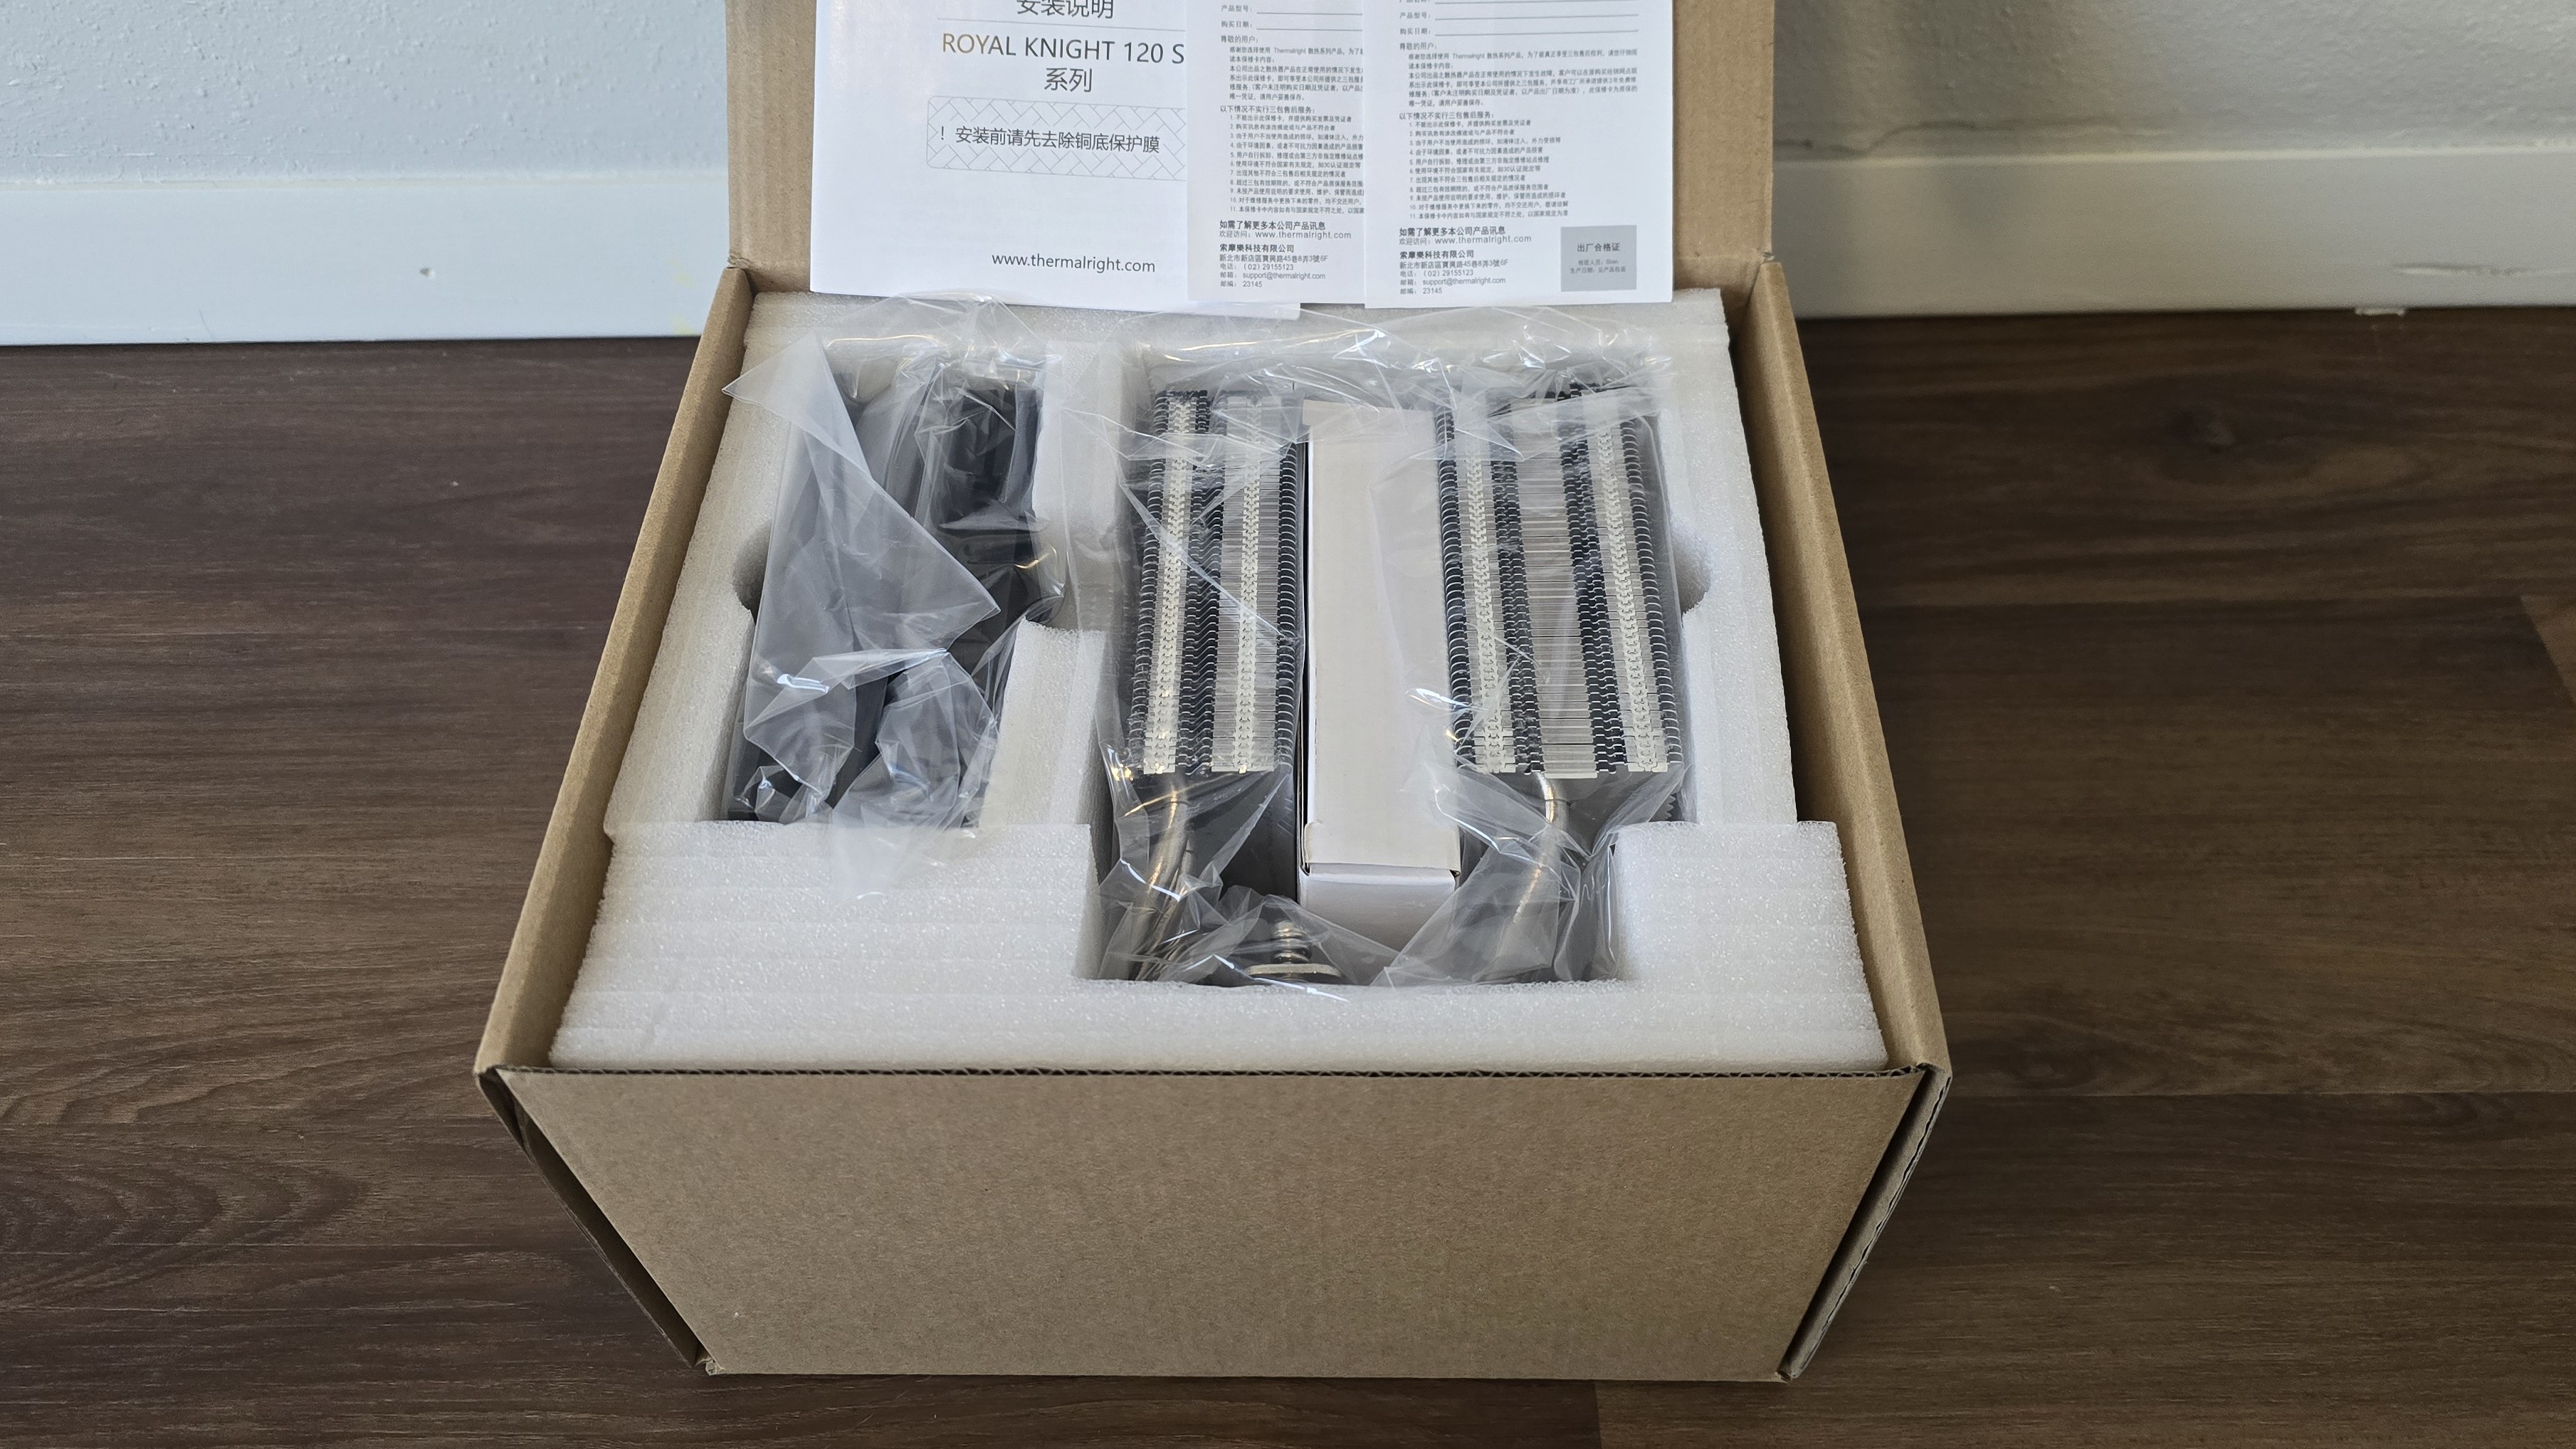
Included in the box are the following:
- 15mm TL-C12015B 120mm fan
- 25mm TL-C12B V2 120mm fan
- Offset Dual-Tower heatsink
- TF7 Thermal paste
- Mounting accessories for modern AMD & Intel platforms
- Installation Manual

Features of Thermalright’s Royal Knight 120 SE
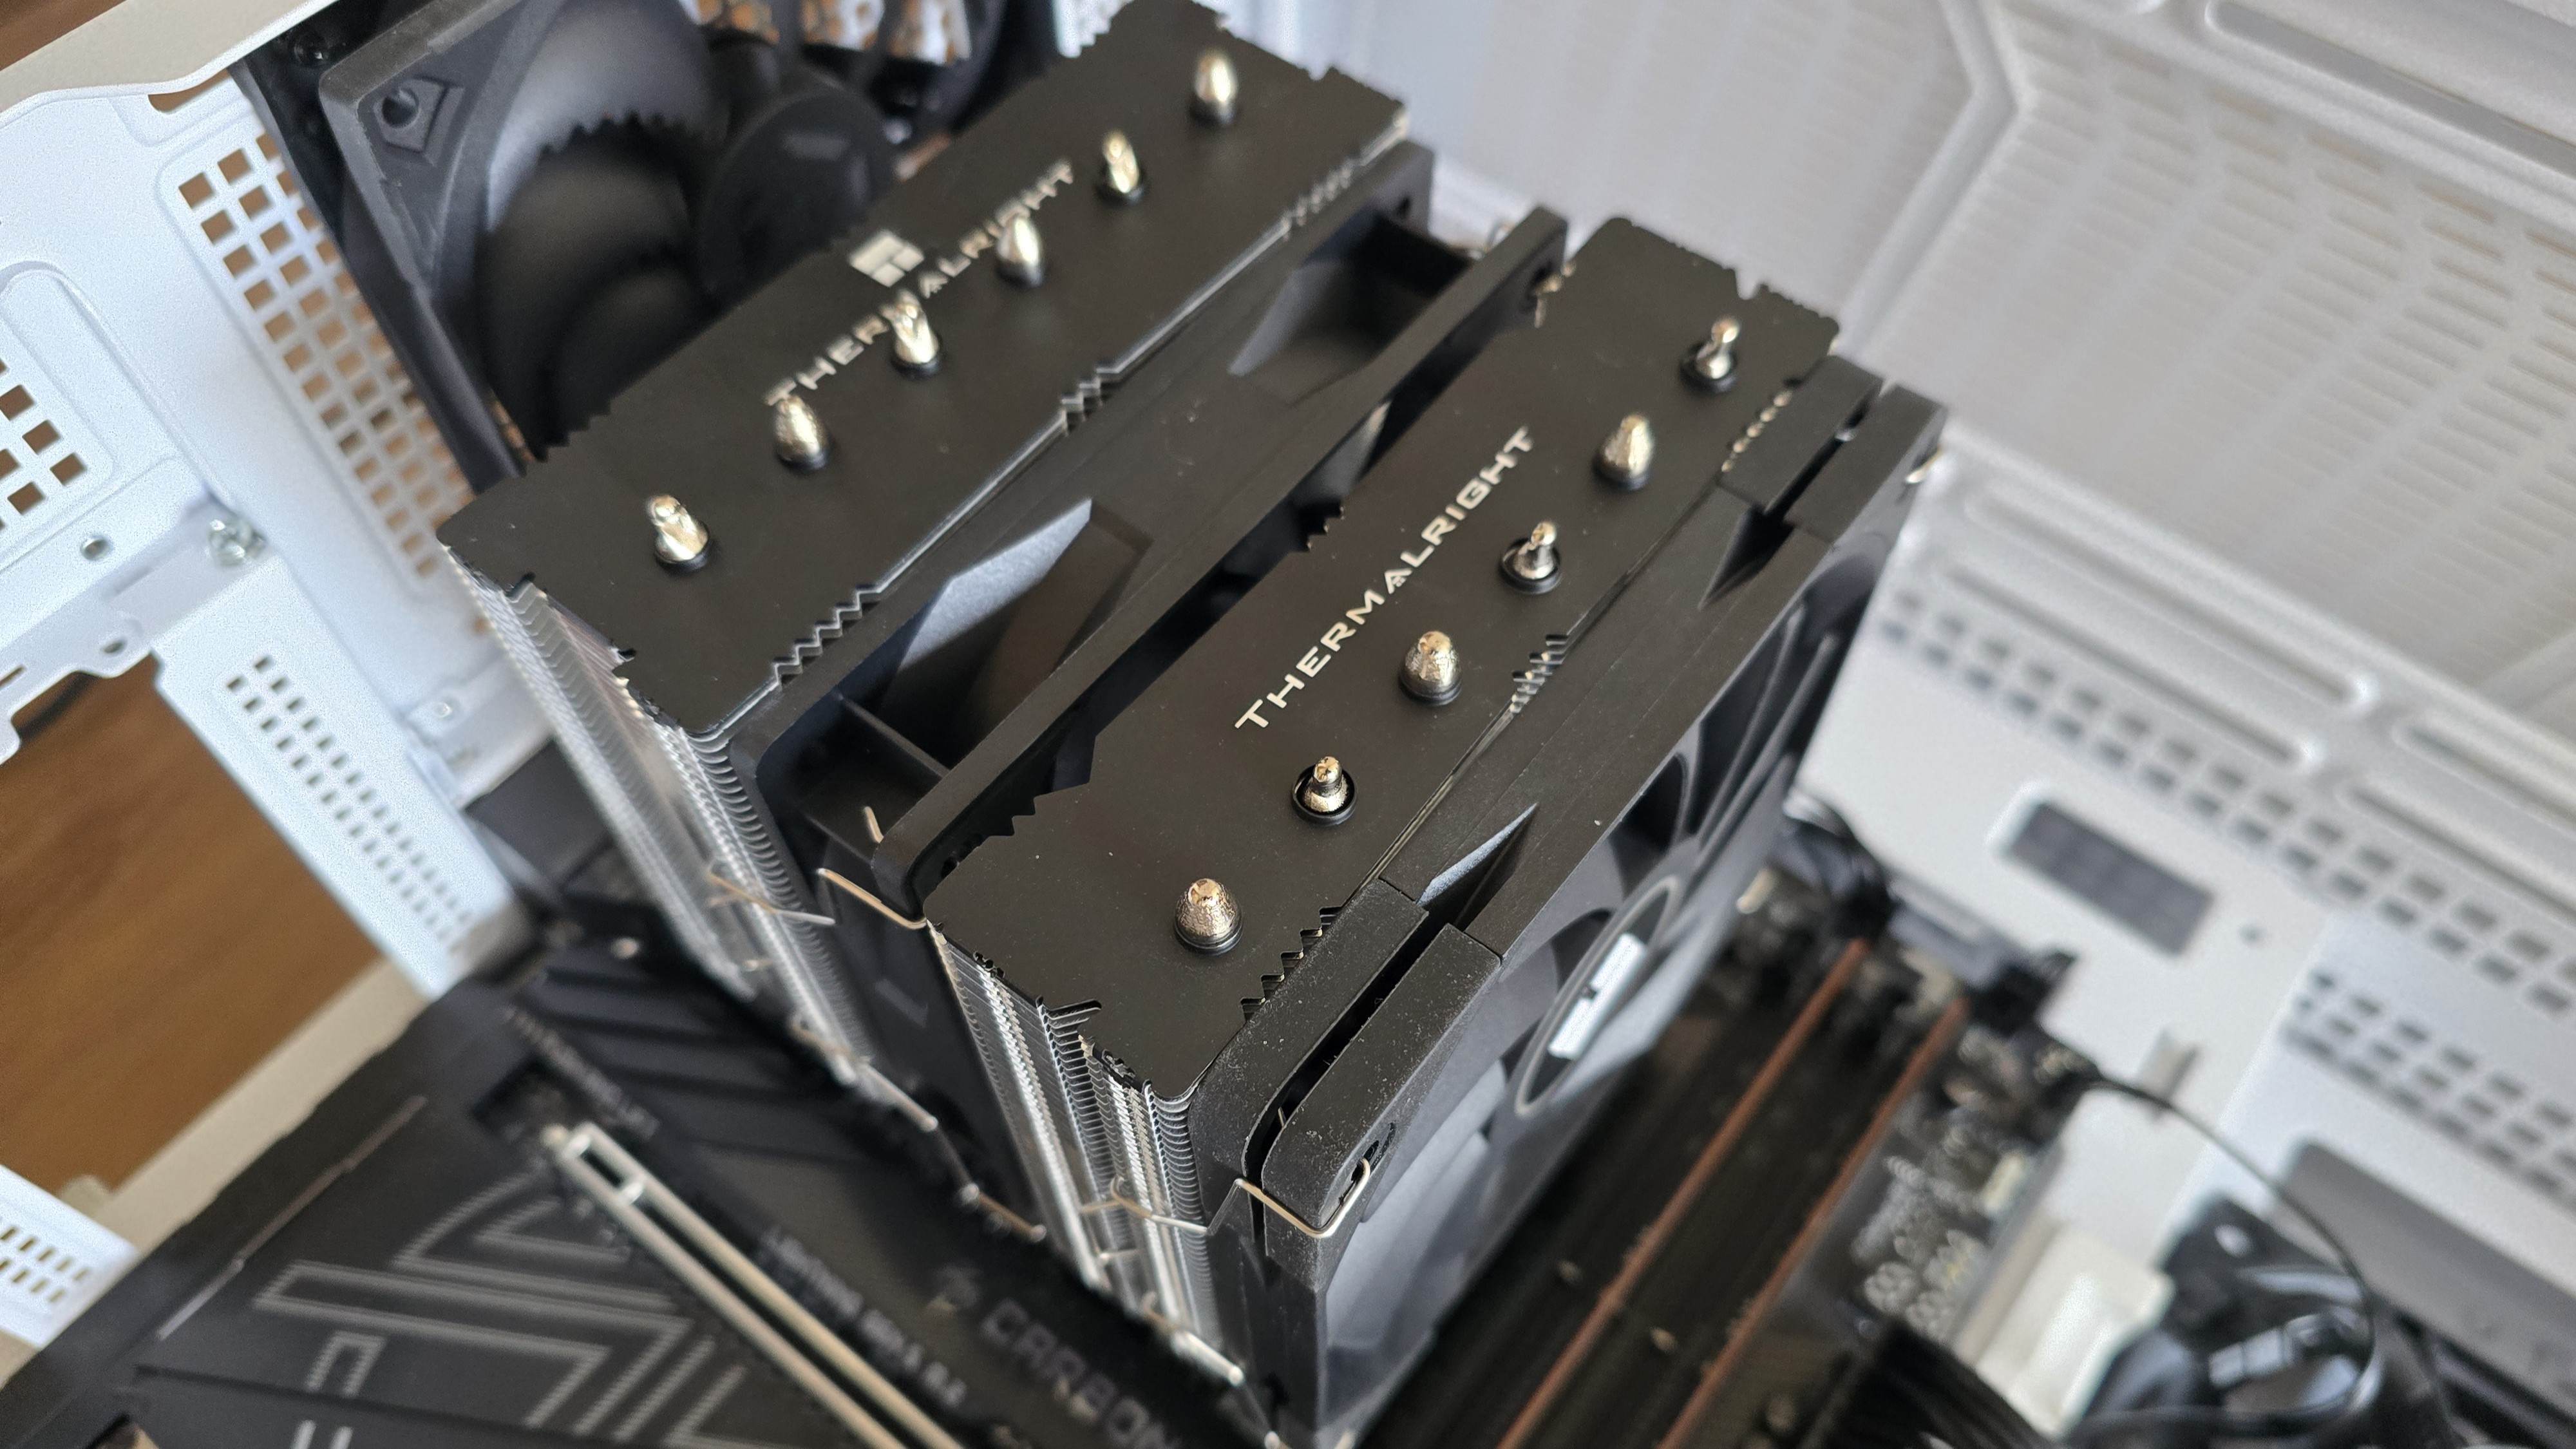
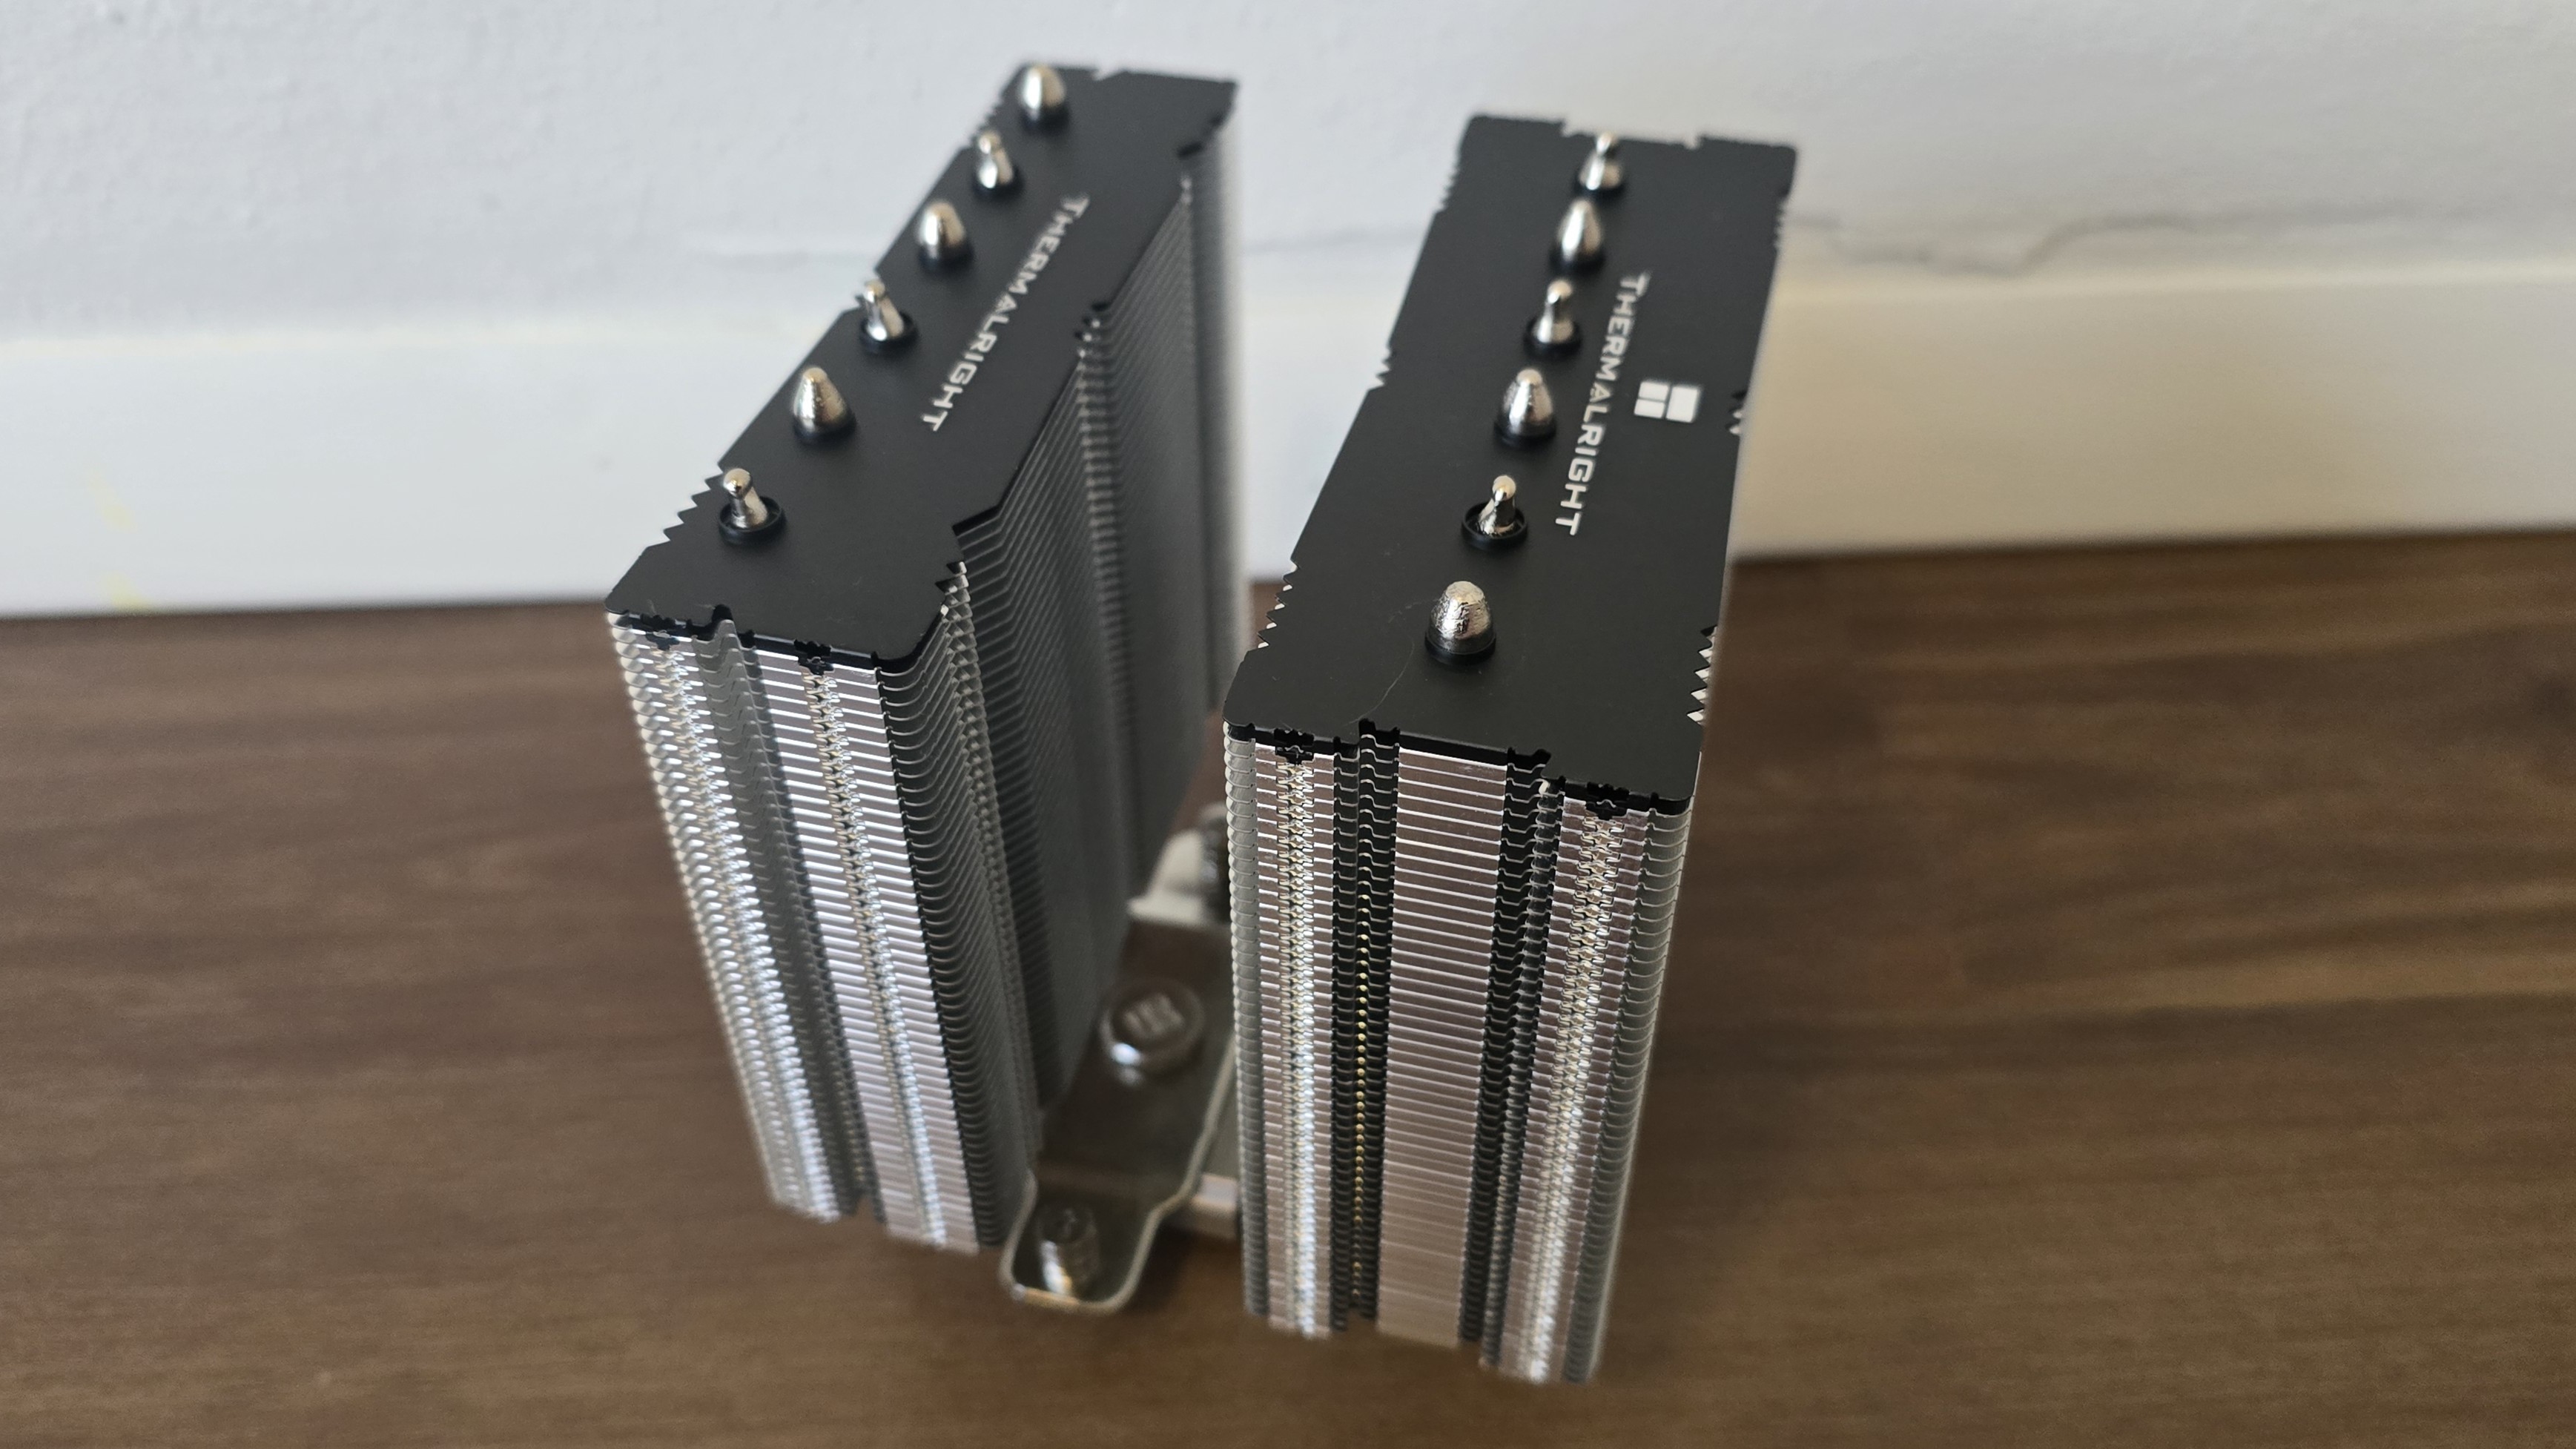
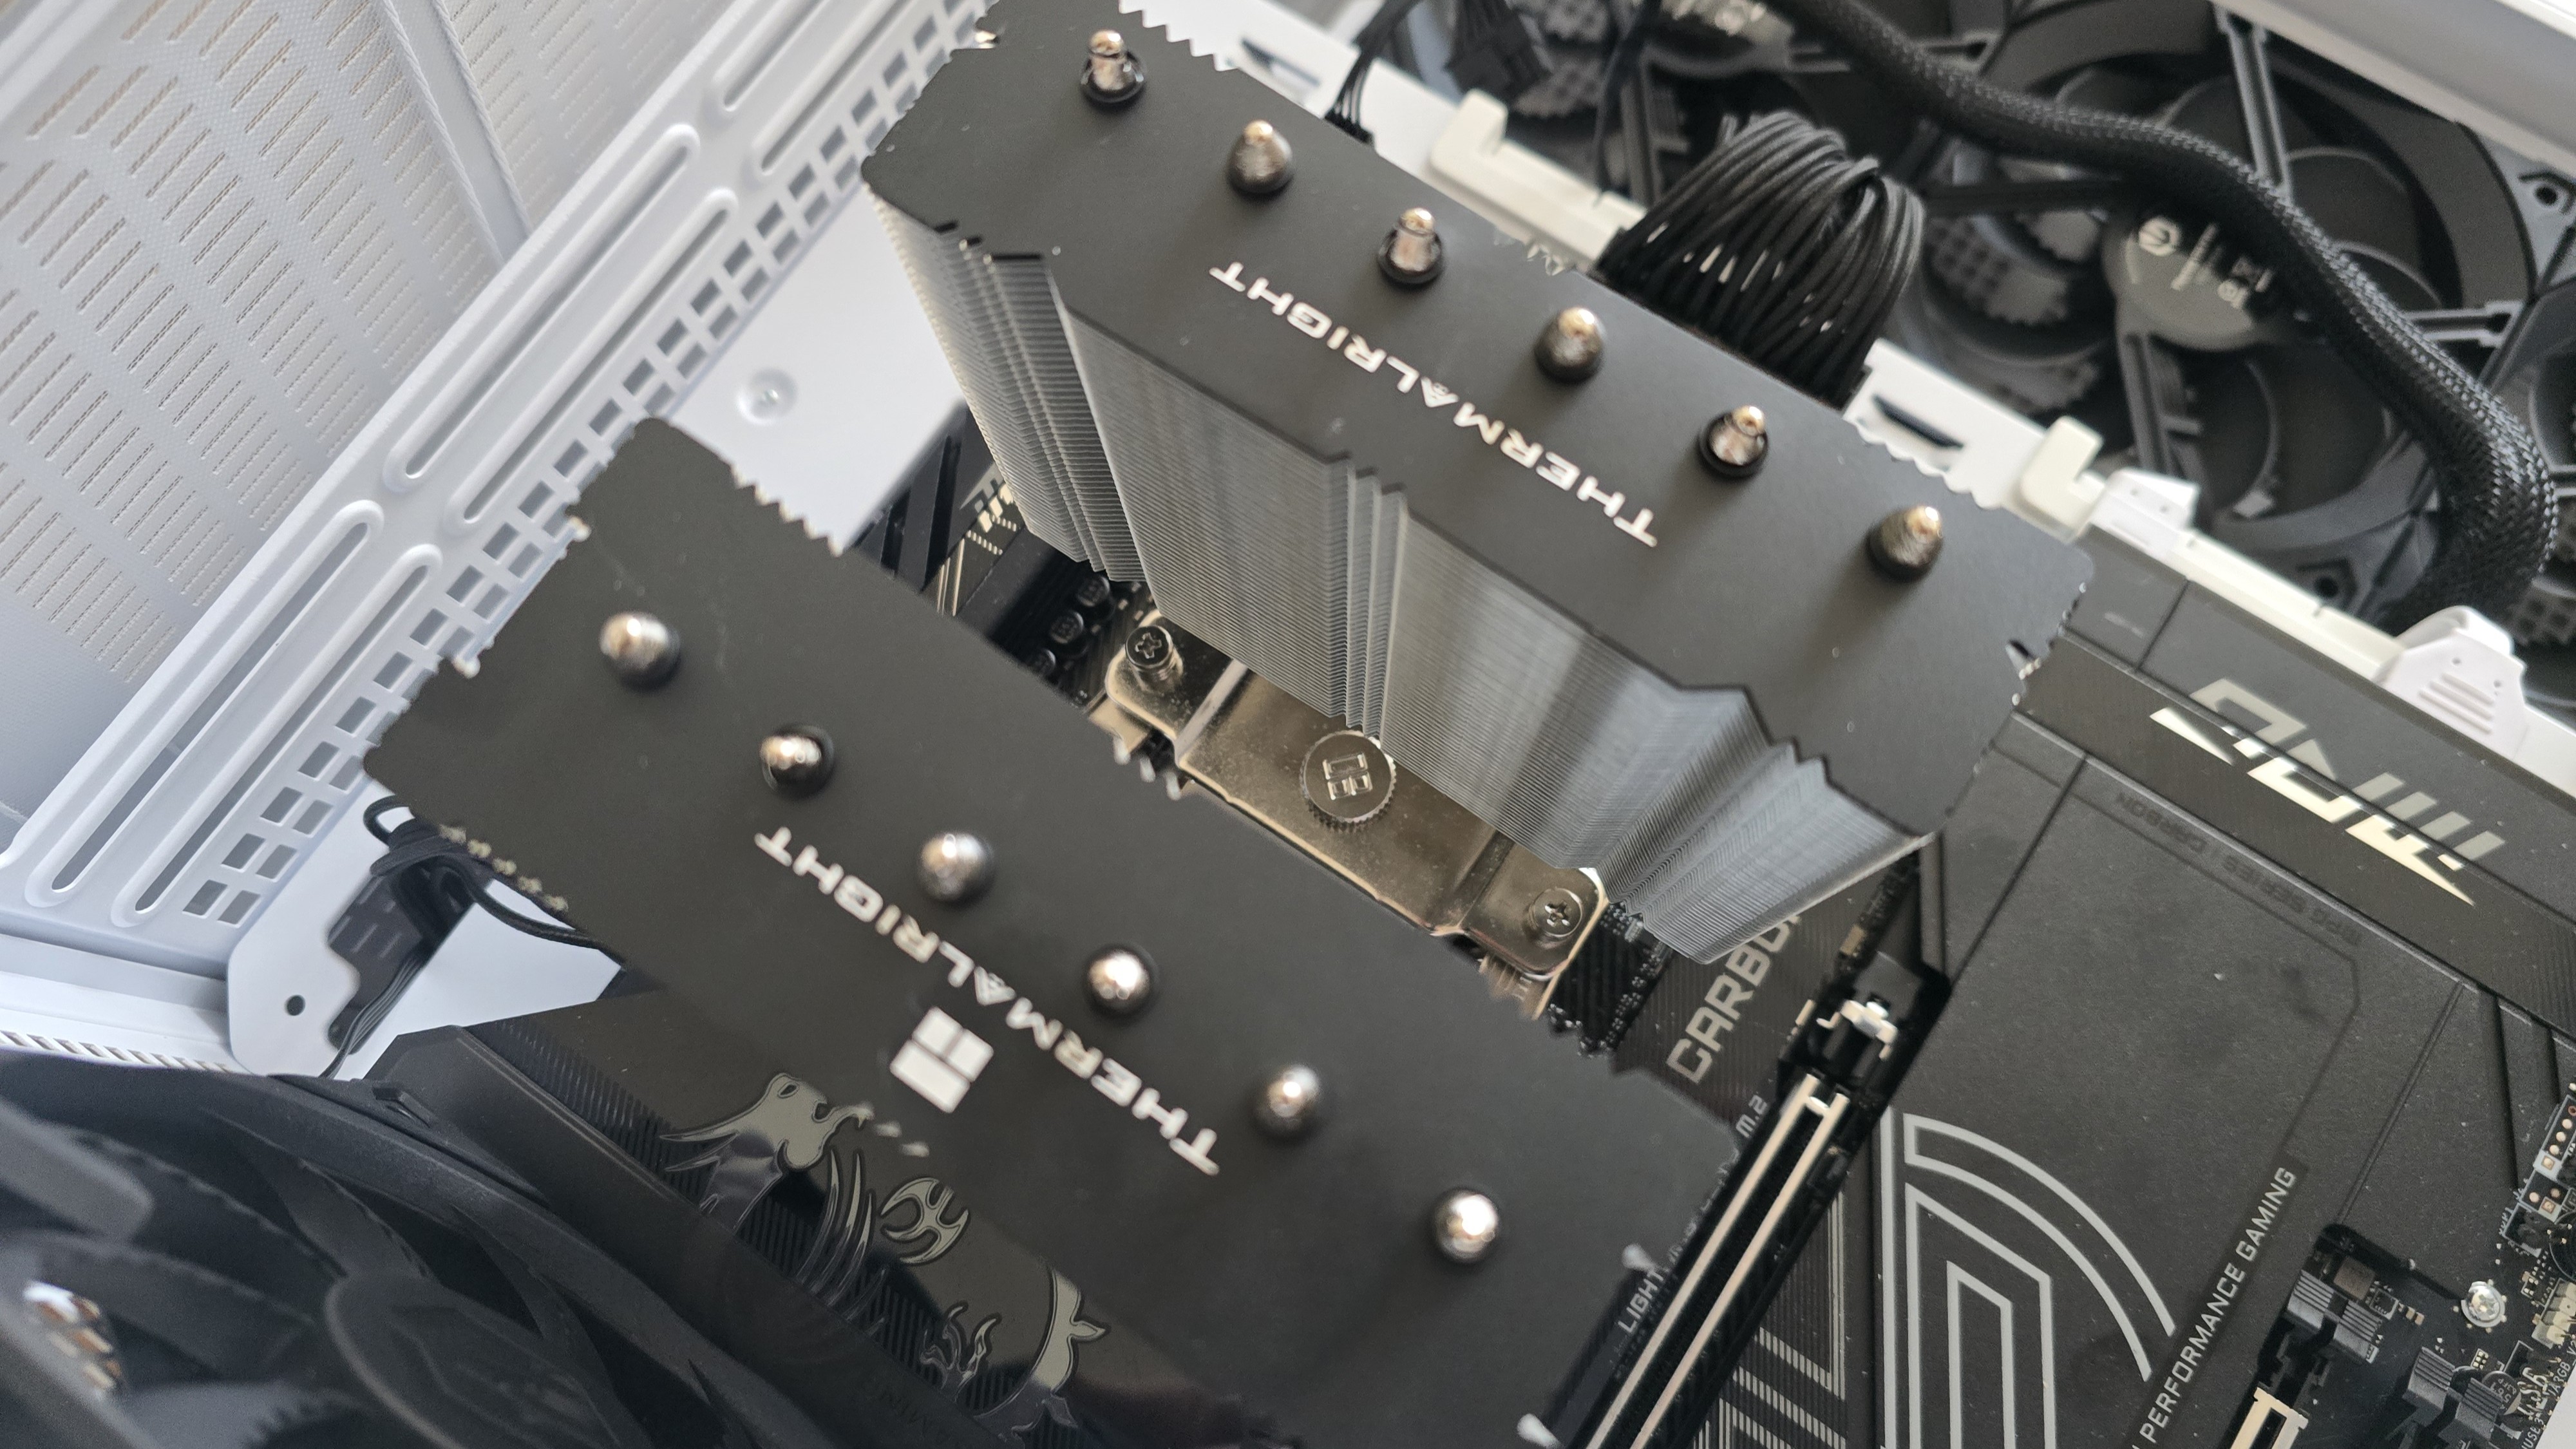
▶️ Dual-tower heatsink
The heatsink has two towers, with one side thicker than the other. It has a simple black and silver aesthetic, with no unnecessary bling.
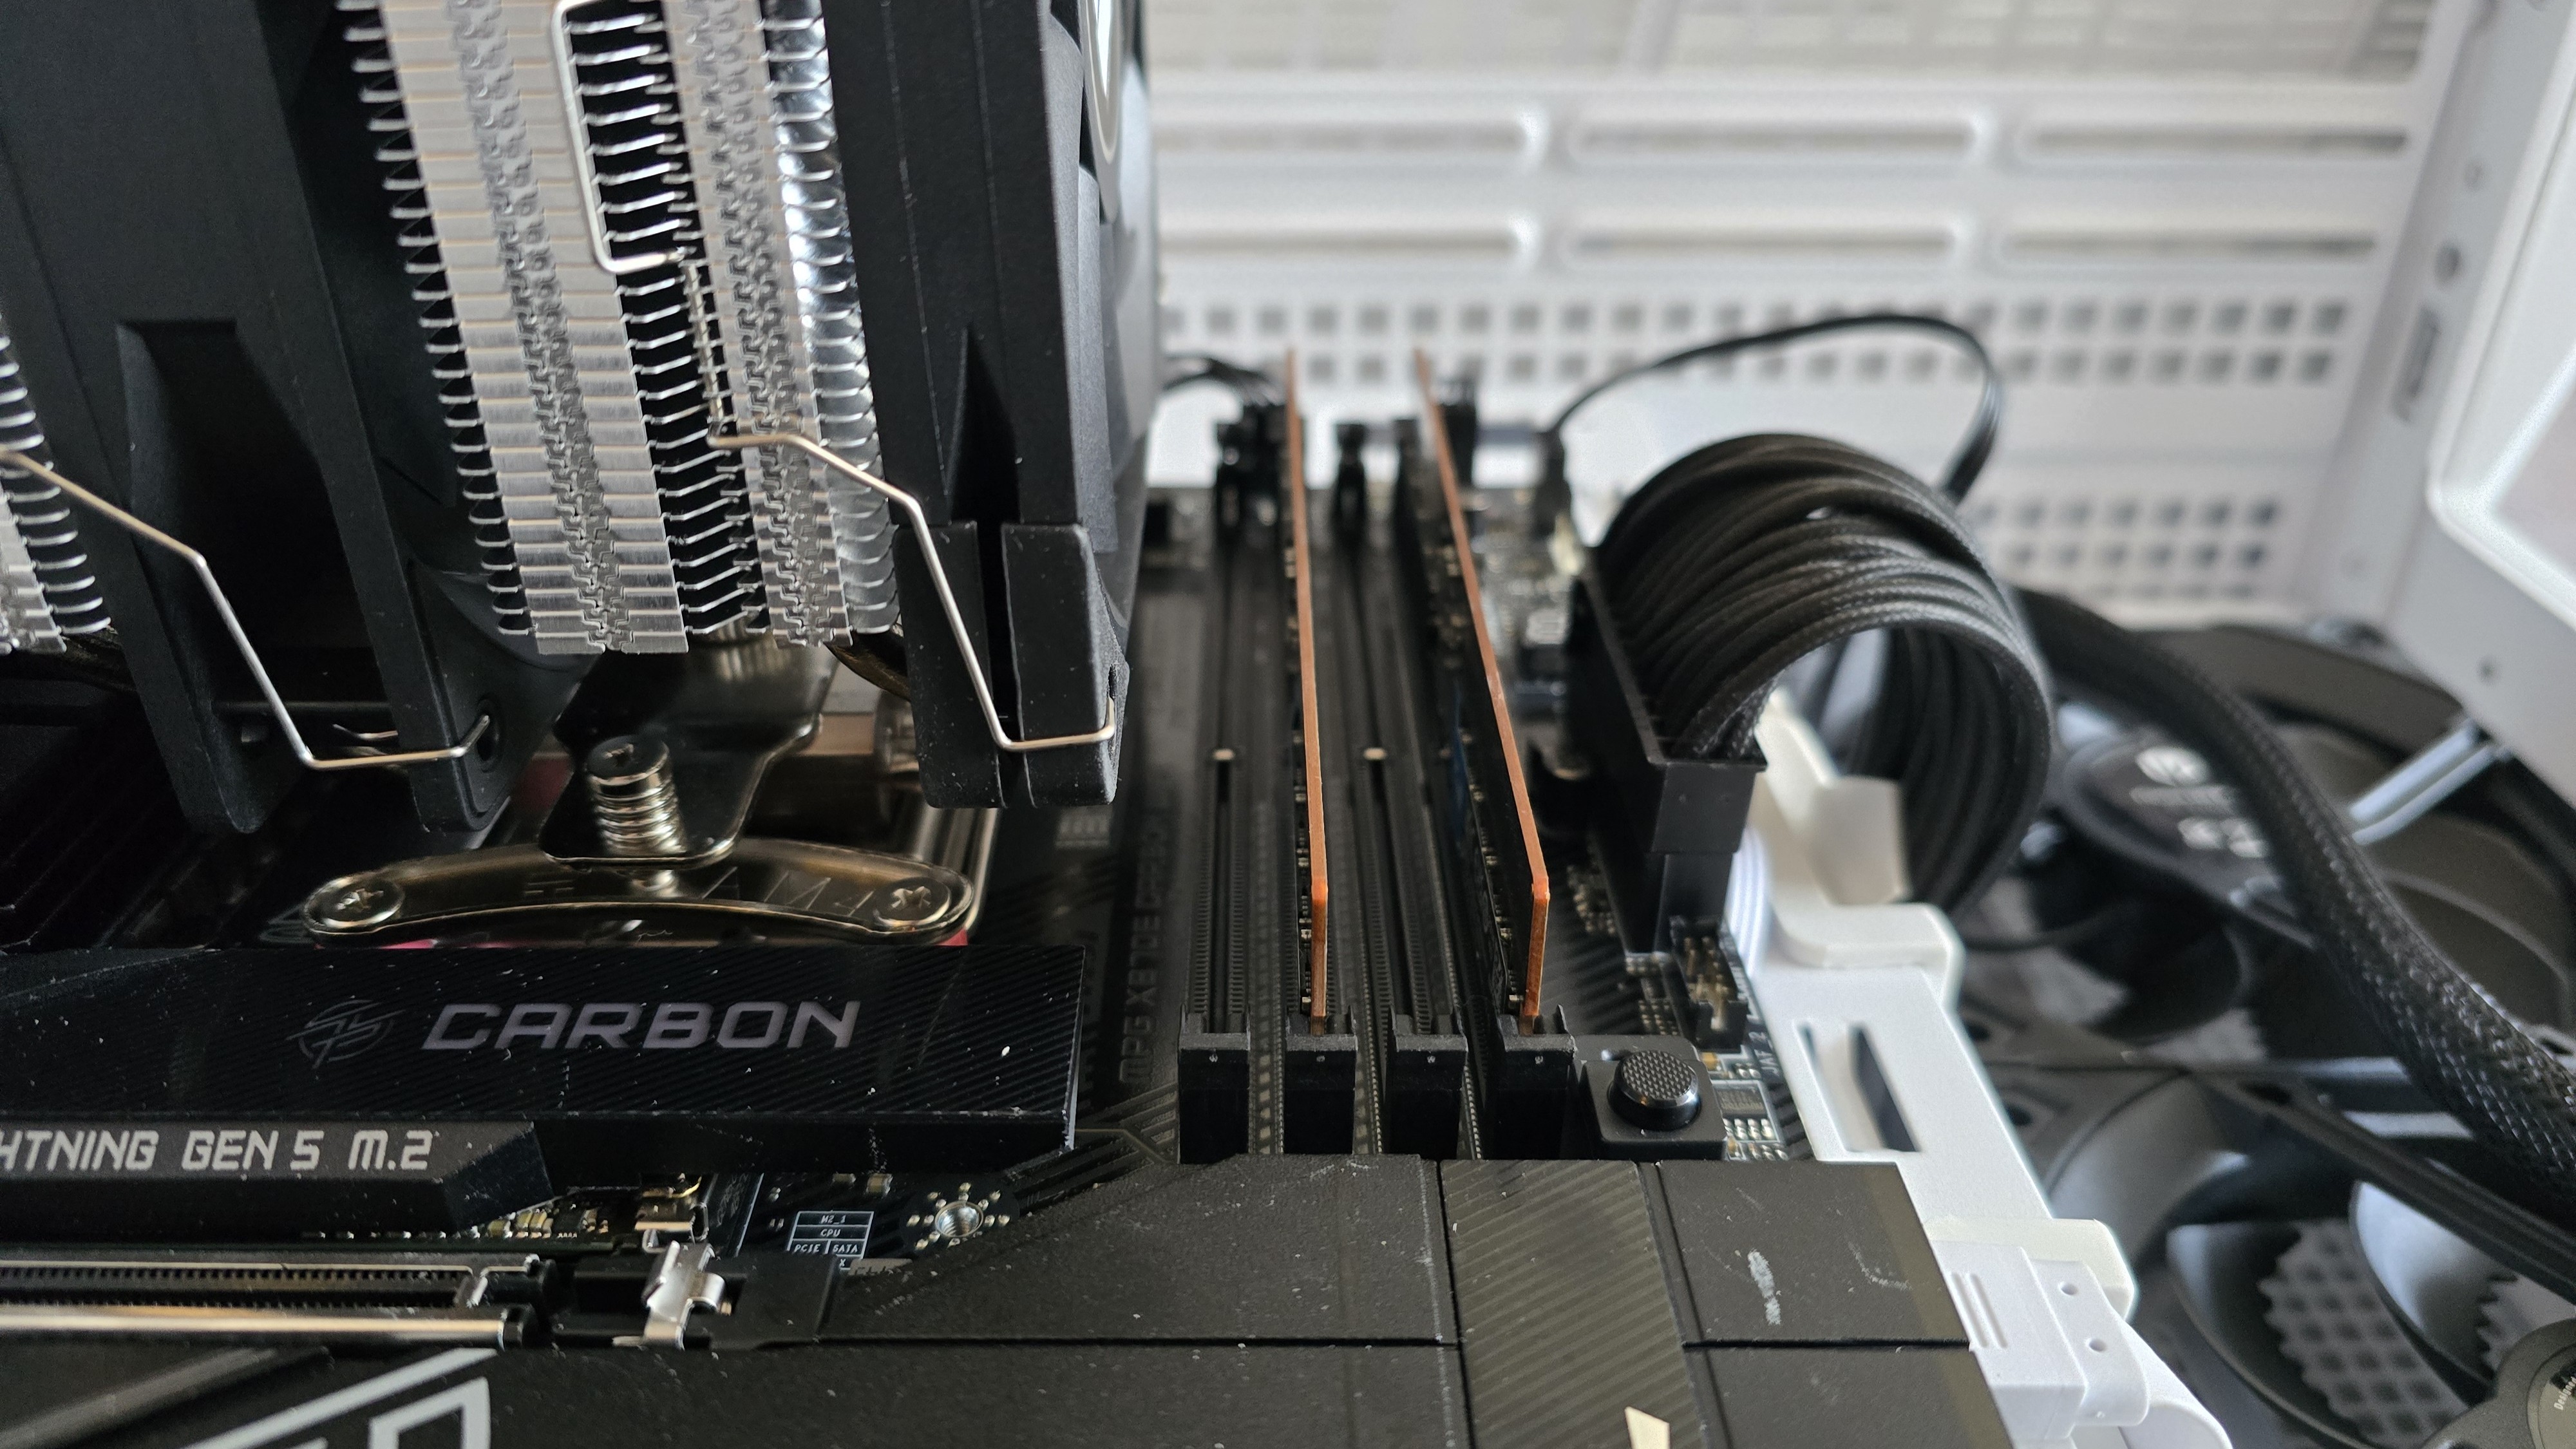
▶️ Offset heatsink for RAM compatibility
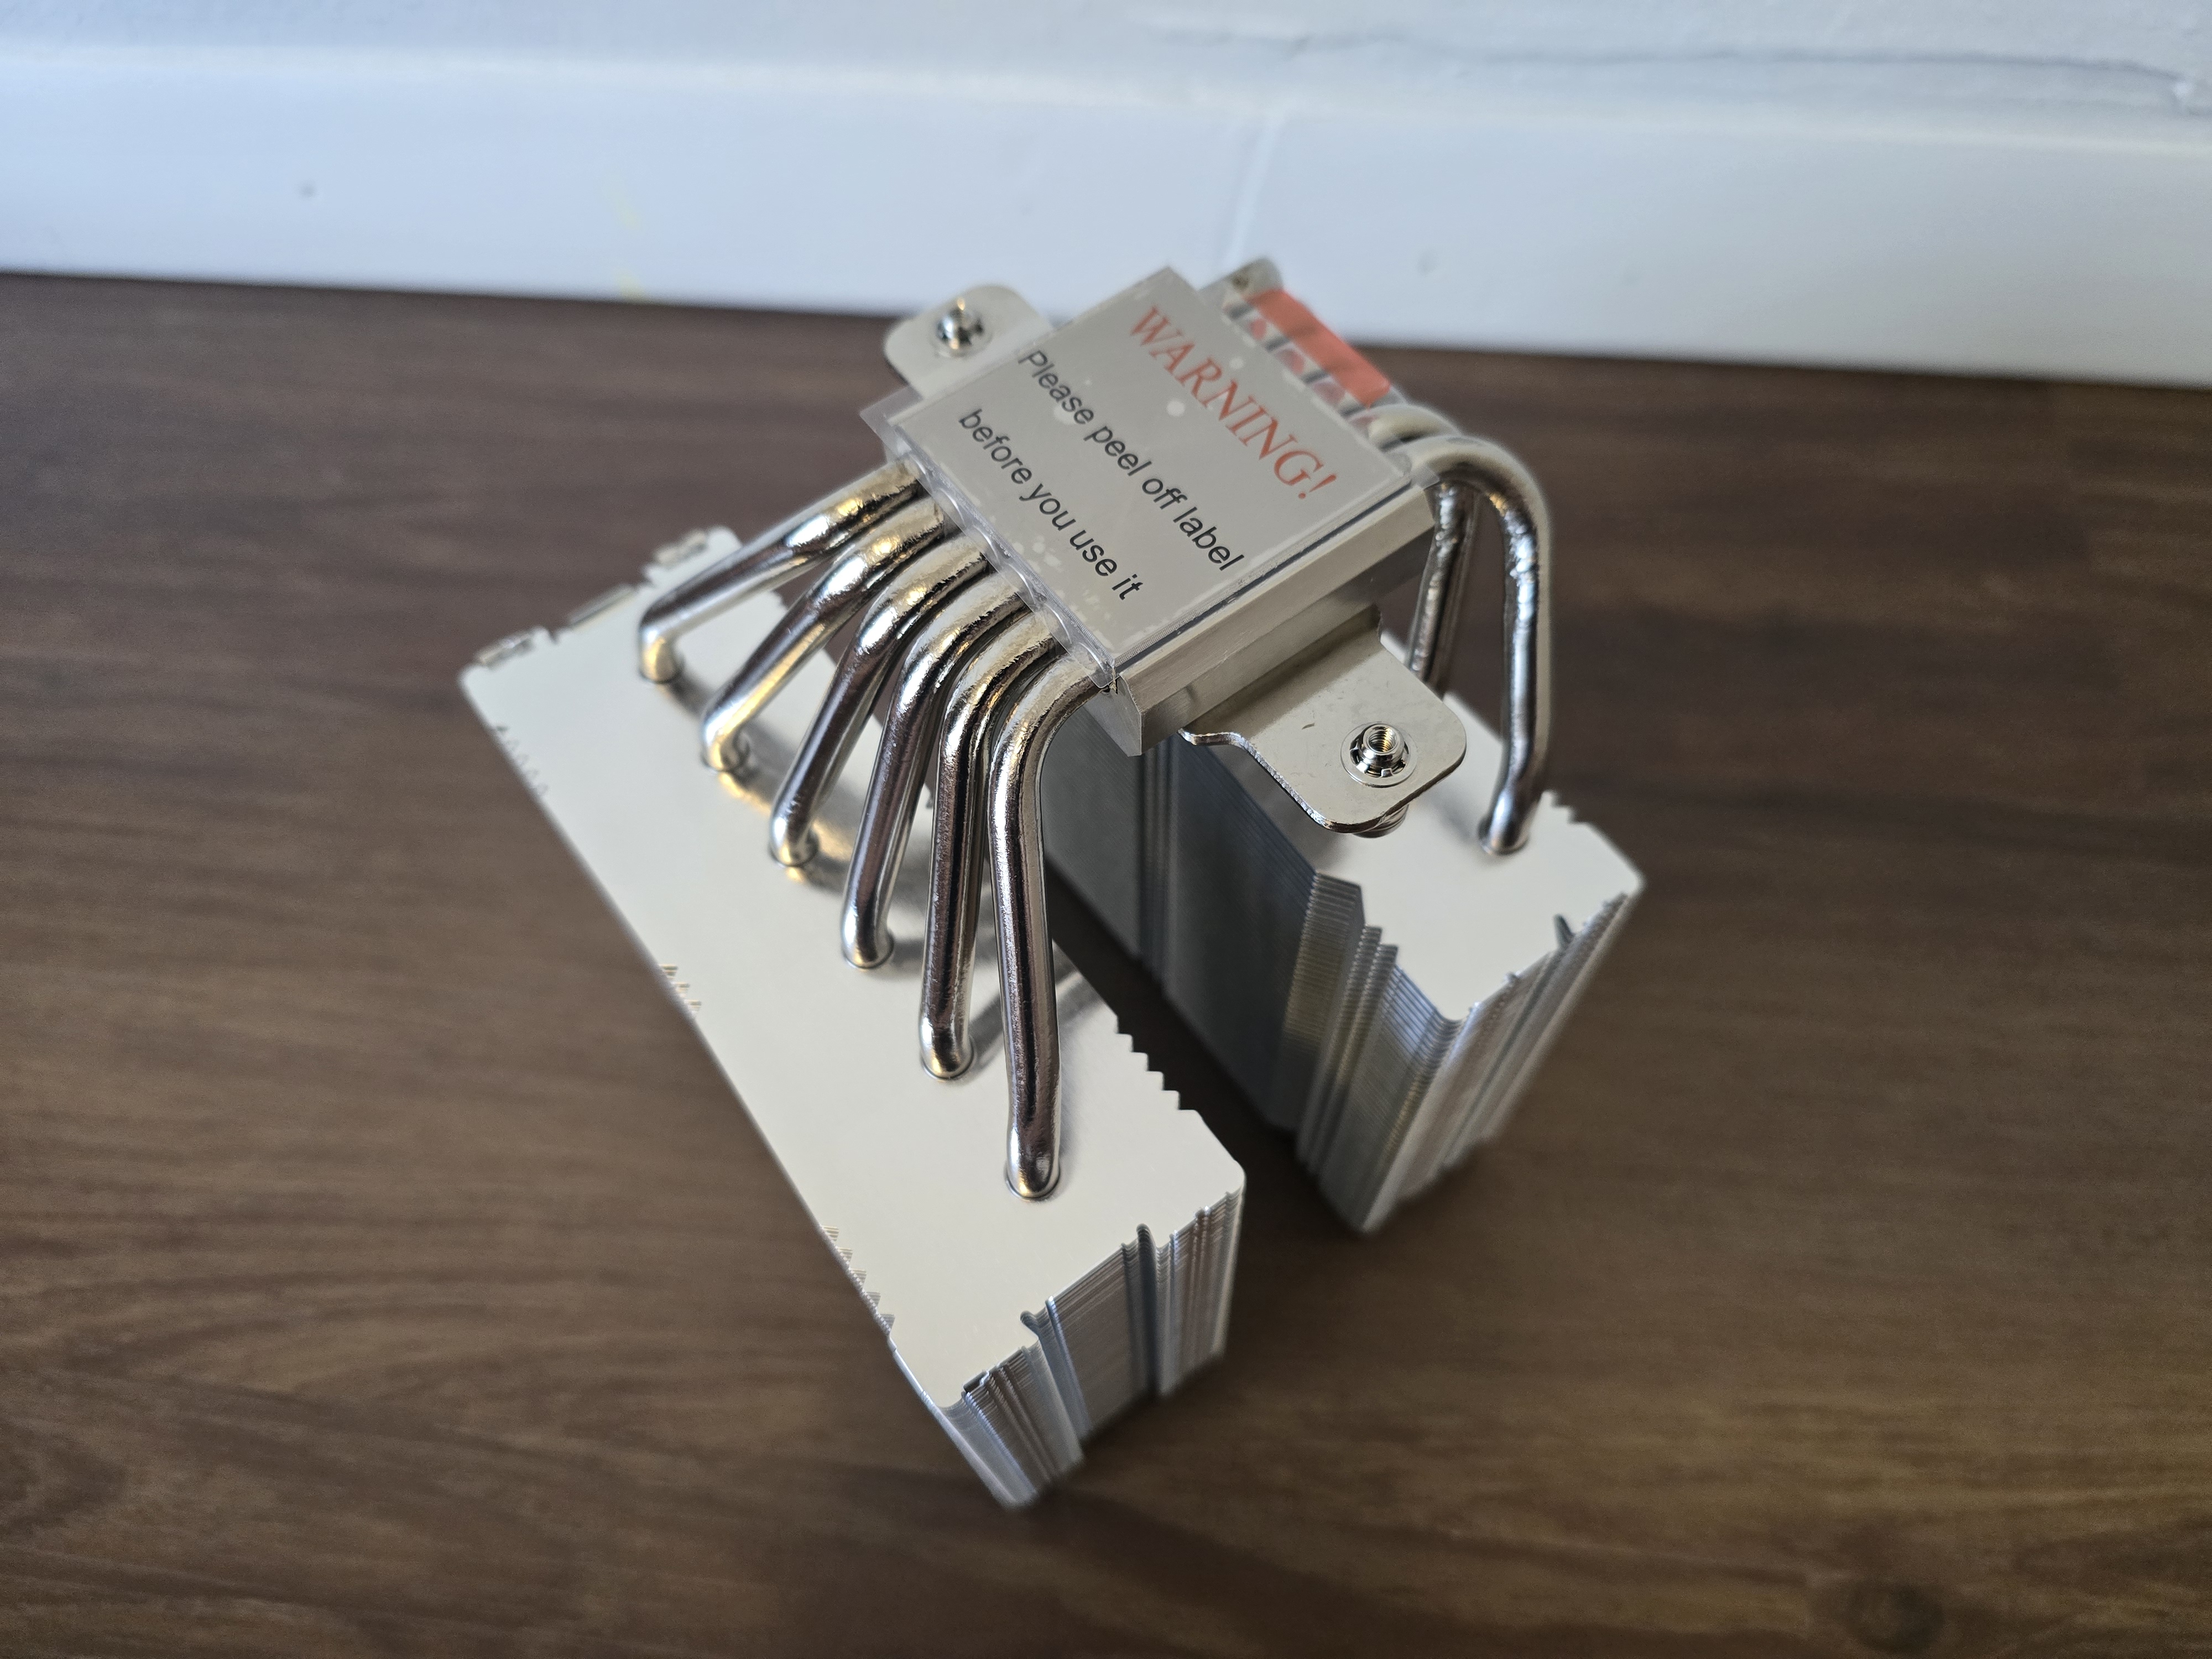
The heatpipes of the cooler are angled to give the cooler an offset so that it doesn’t interfere with RAM slots. All sizes of DDR5, no matter how tall the heat spreader, are supported with this cooler.
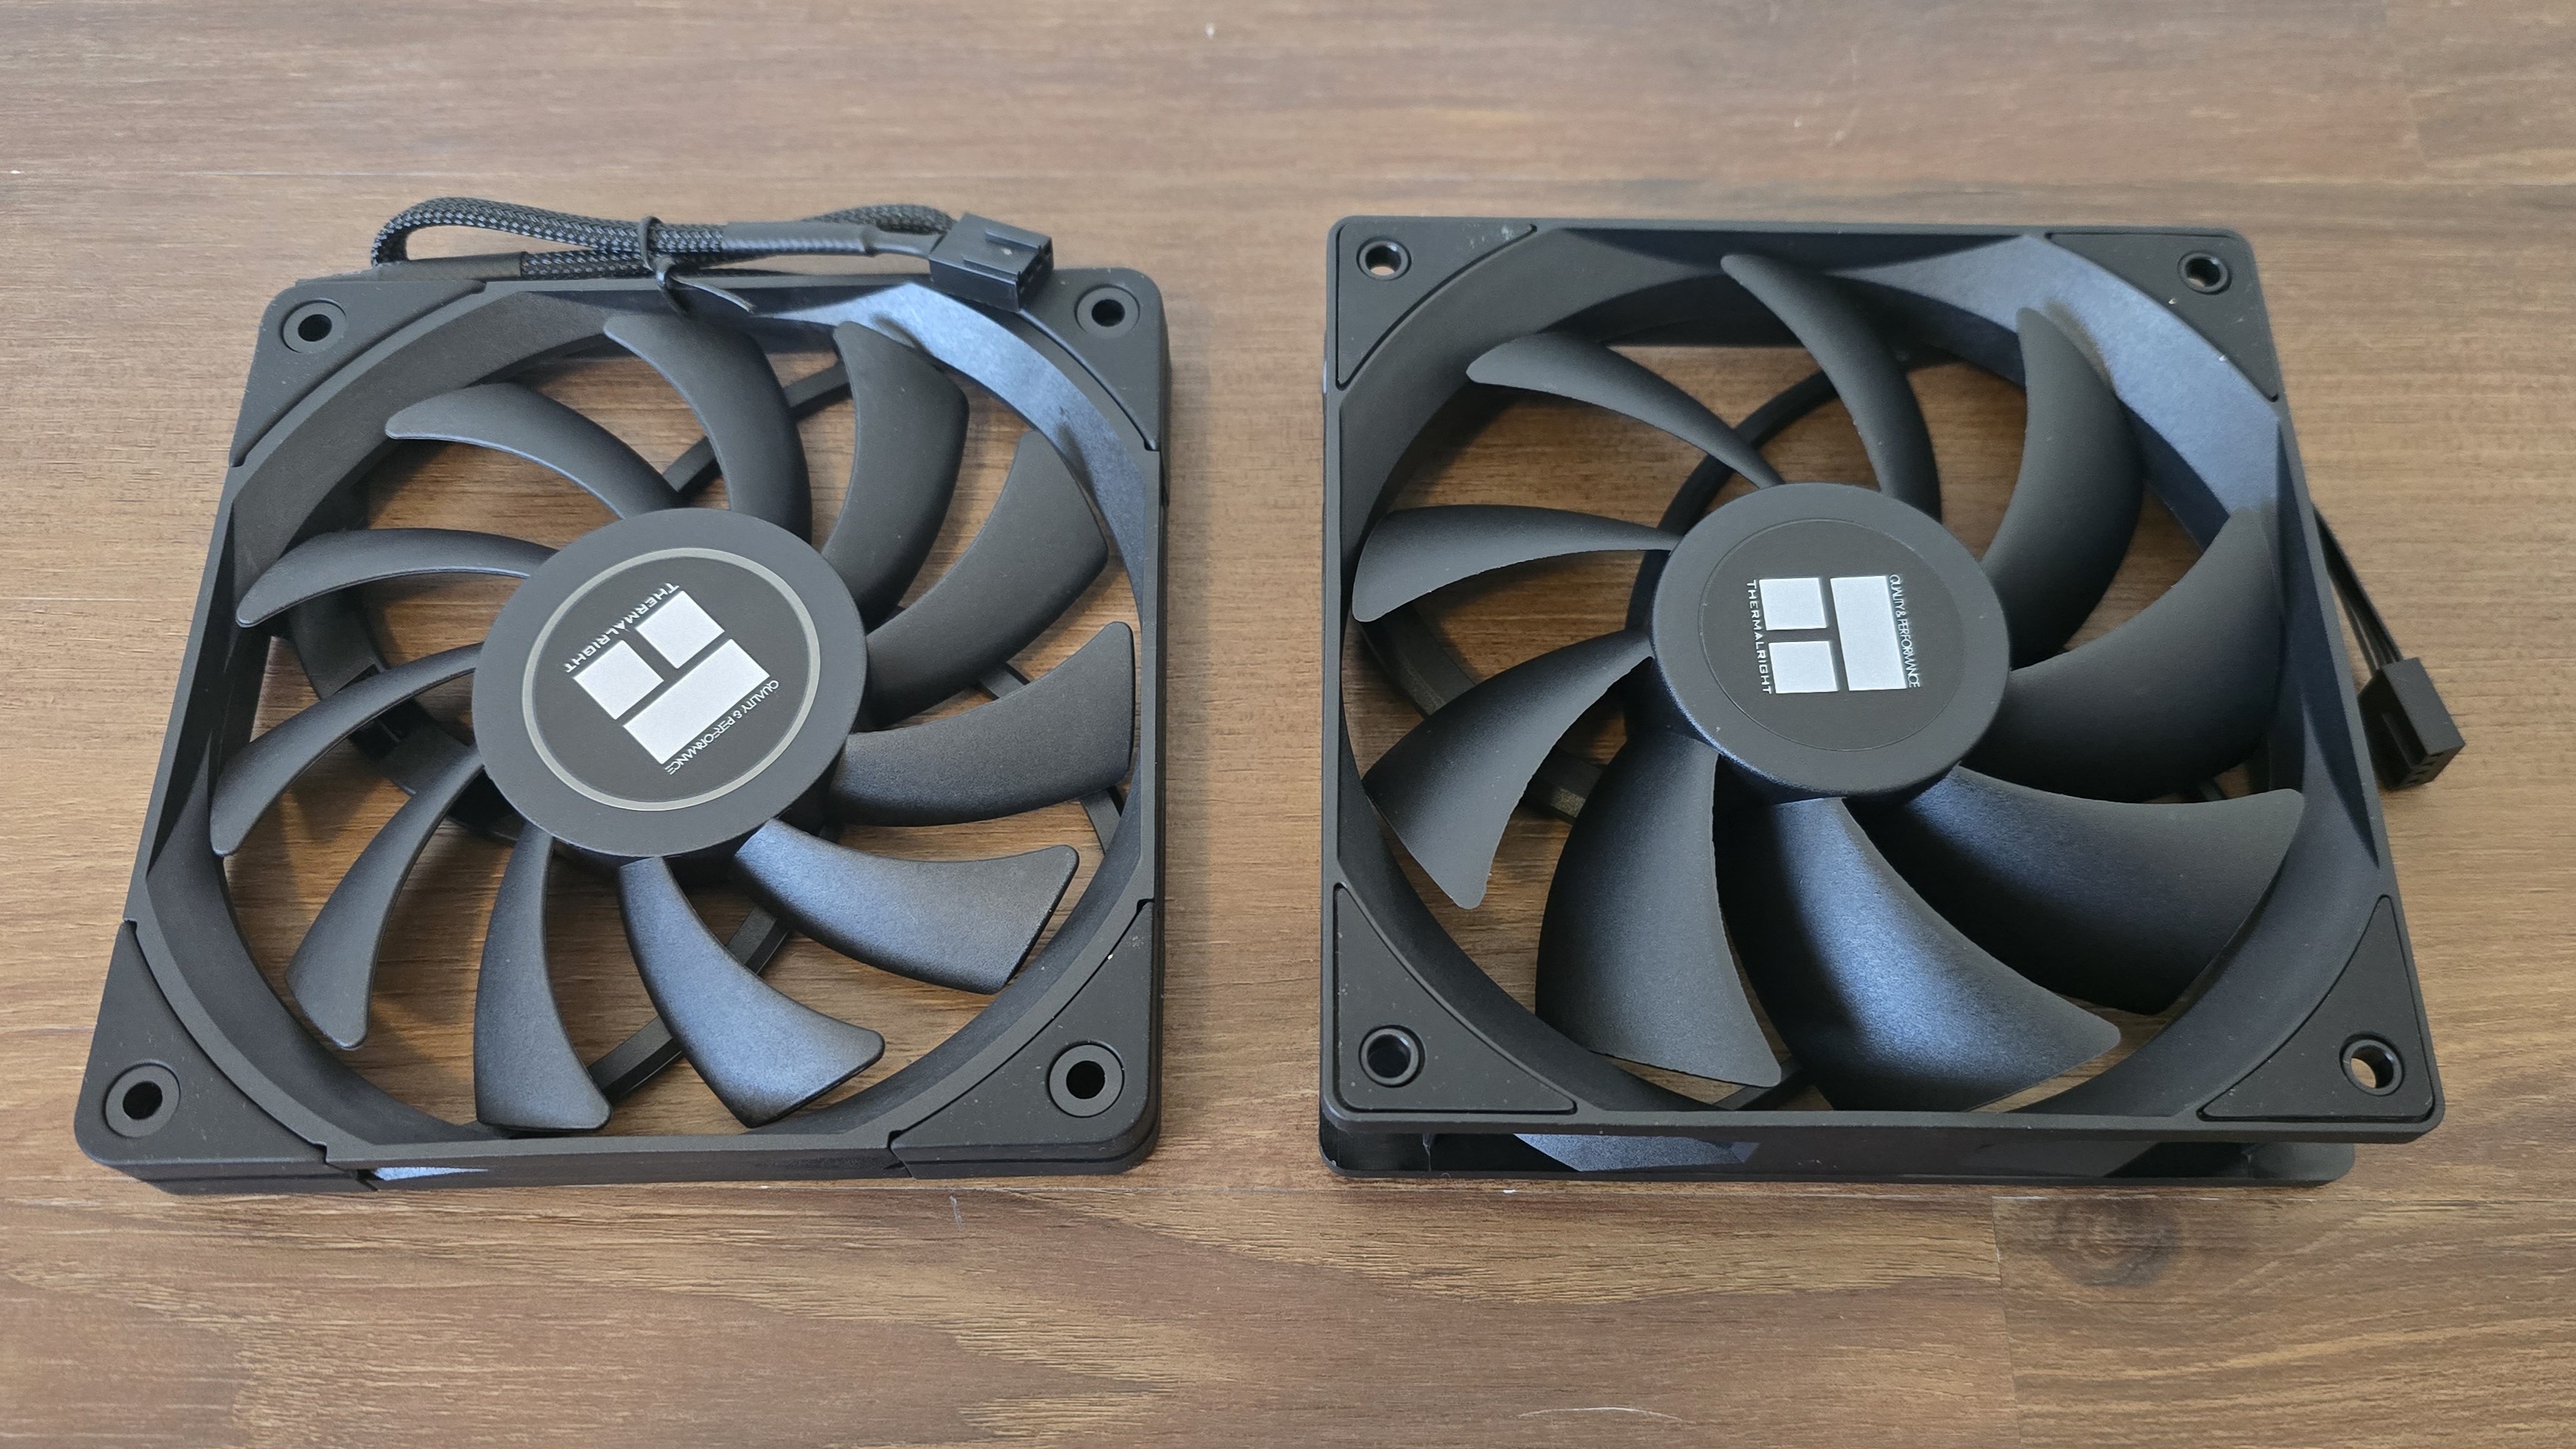
▶️ Two fans of different thicknesses
There’s more to a cooler than just the heatsink or radiator. The bundled fans have a significant impact on cooling and noise levels, as well as how the cooler looks in your case. This cooler arrives with two different types of fans. The first is a low-profile 15 mm fan that also helps avoid RAM compatibility issues. The center is more typical, at 25 mm thick.
Swipe to scroll horizontally
Model | TL-C12B V2 |
Dimensions | 120 x 120 x 25 mm |
Fan Speed | Up to 1500 RPM |
Air Flow | Up to 66.17 CFM |
Air Pressure | Up to 1.53 mm H2O |
Bearing Type | S-FDB |
MTTF | 3-year warranty |
Lighting | None |
Swipe to scroll horizontally
Model | TL-CD12015B |
Dimensions | 120 x 120 x 15mm |
Fan Speed | Up to 1800 RPM |
Air Flow | Up to 59 CFM |
Air Pressure | Up to 1.24 mmH2O |
Bearing Type | S-FDB V2 |
MTTF | 3-year warranty |
Lighting | None |
▶️ Real-world testing configuration: Intel LGA1700 and AMD AM5
My results may differ from others because I emphasize results that are comparable to real-world use. This means that I test CPU coolers inside of a closed desktop case, which increases cooling difficulty compared to other testing methods – many will test CPU coolers outside of a case, on an open test bench. Open benches have lowered ambient temperatures, which makes weak coolers appear stronger than they are. Some publications have also used generic thermal plates to test cooling solutions. I reject both of these methods because they don’t accurately reflect the real-world conditions a CPU cooler is used in.
Swipe to scroll horizontally
CPU | Intel Core i7-14700K |
GPU | ASRock Steel Legend Radeon 7900 GRE |
Motherboard | MSI Z790 Project Zero |
Case | MSI Pano 100L PZ Black |
System Fans | Iceberg Thermal IceGale Silent |
My previous reviews have tested Intel’s latest platform, using the Core Ultra 9 285K Arrow Lake CPU. But we’re retiring this from our testing suite. Between BIOS changes and Windows updates, Arrow Lake’s thermal characteristics have changed in some scenarios, rendering much of our previous testing data useless.
With today’s review, we’re also testing AMD’s Ryzen 9 9950X3D. This is a beast of a CPU, providing the best gaming and multithreaded performance on the market. It can prove quite challenging thermally when PBO is enabled for overclocking.
Swipe to scroll horizontally
CPU | AMD Ryzen 9 9950X3D |
GPU | MSI Ventus 3X RTX 4070 Ti Super |
Motherboard | MSI X870E Carbon Wifi |
Case | MSI MAG Pano 100R PZ |
AM5 and 1851 installation
The installation of this cooler is simple for both Intel and AMD CPUs.
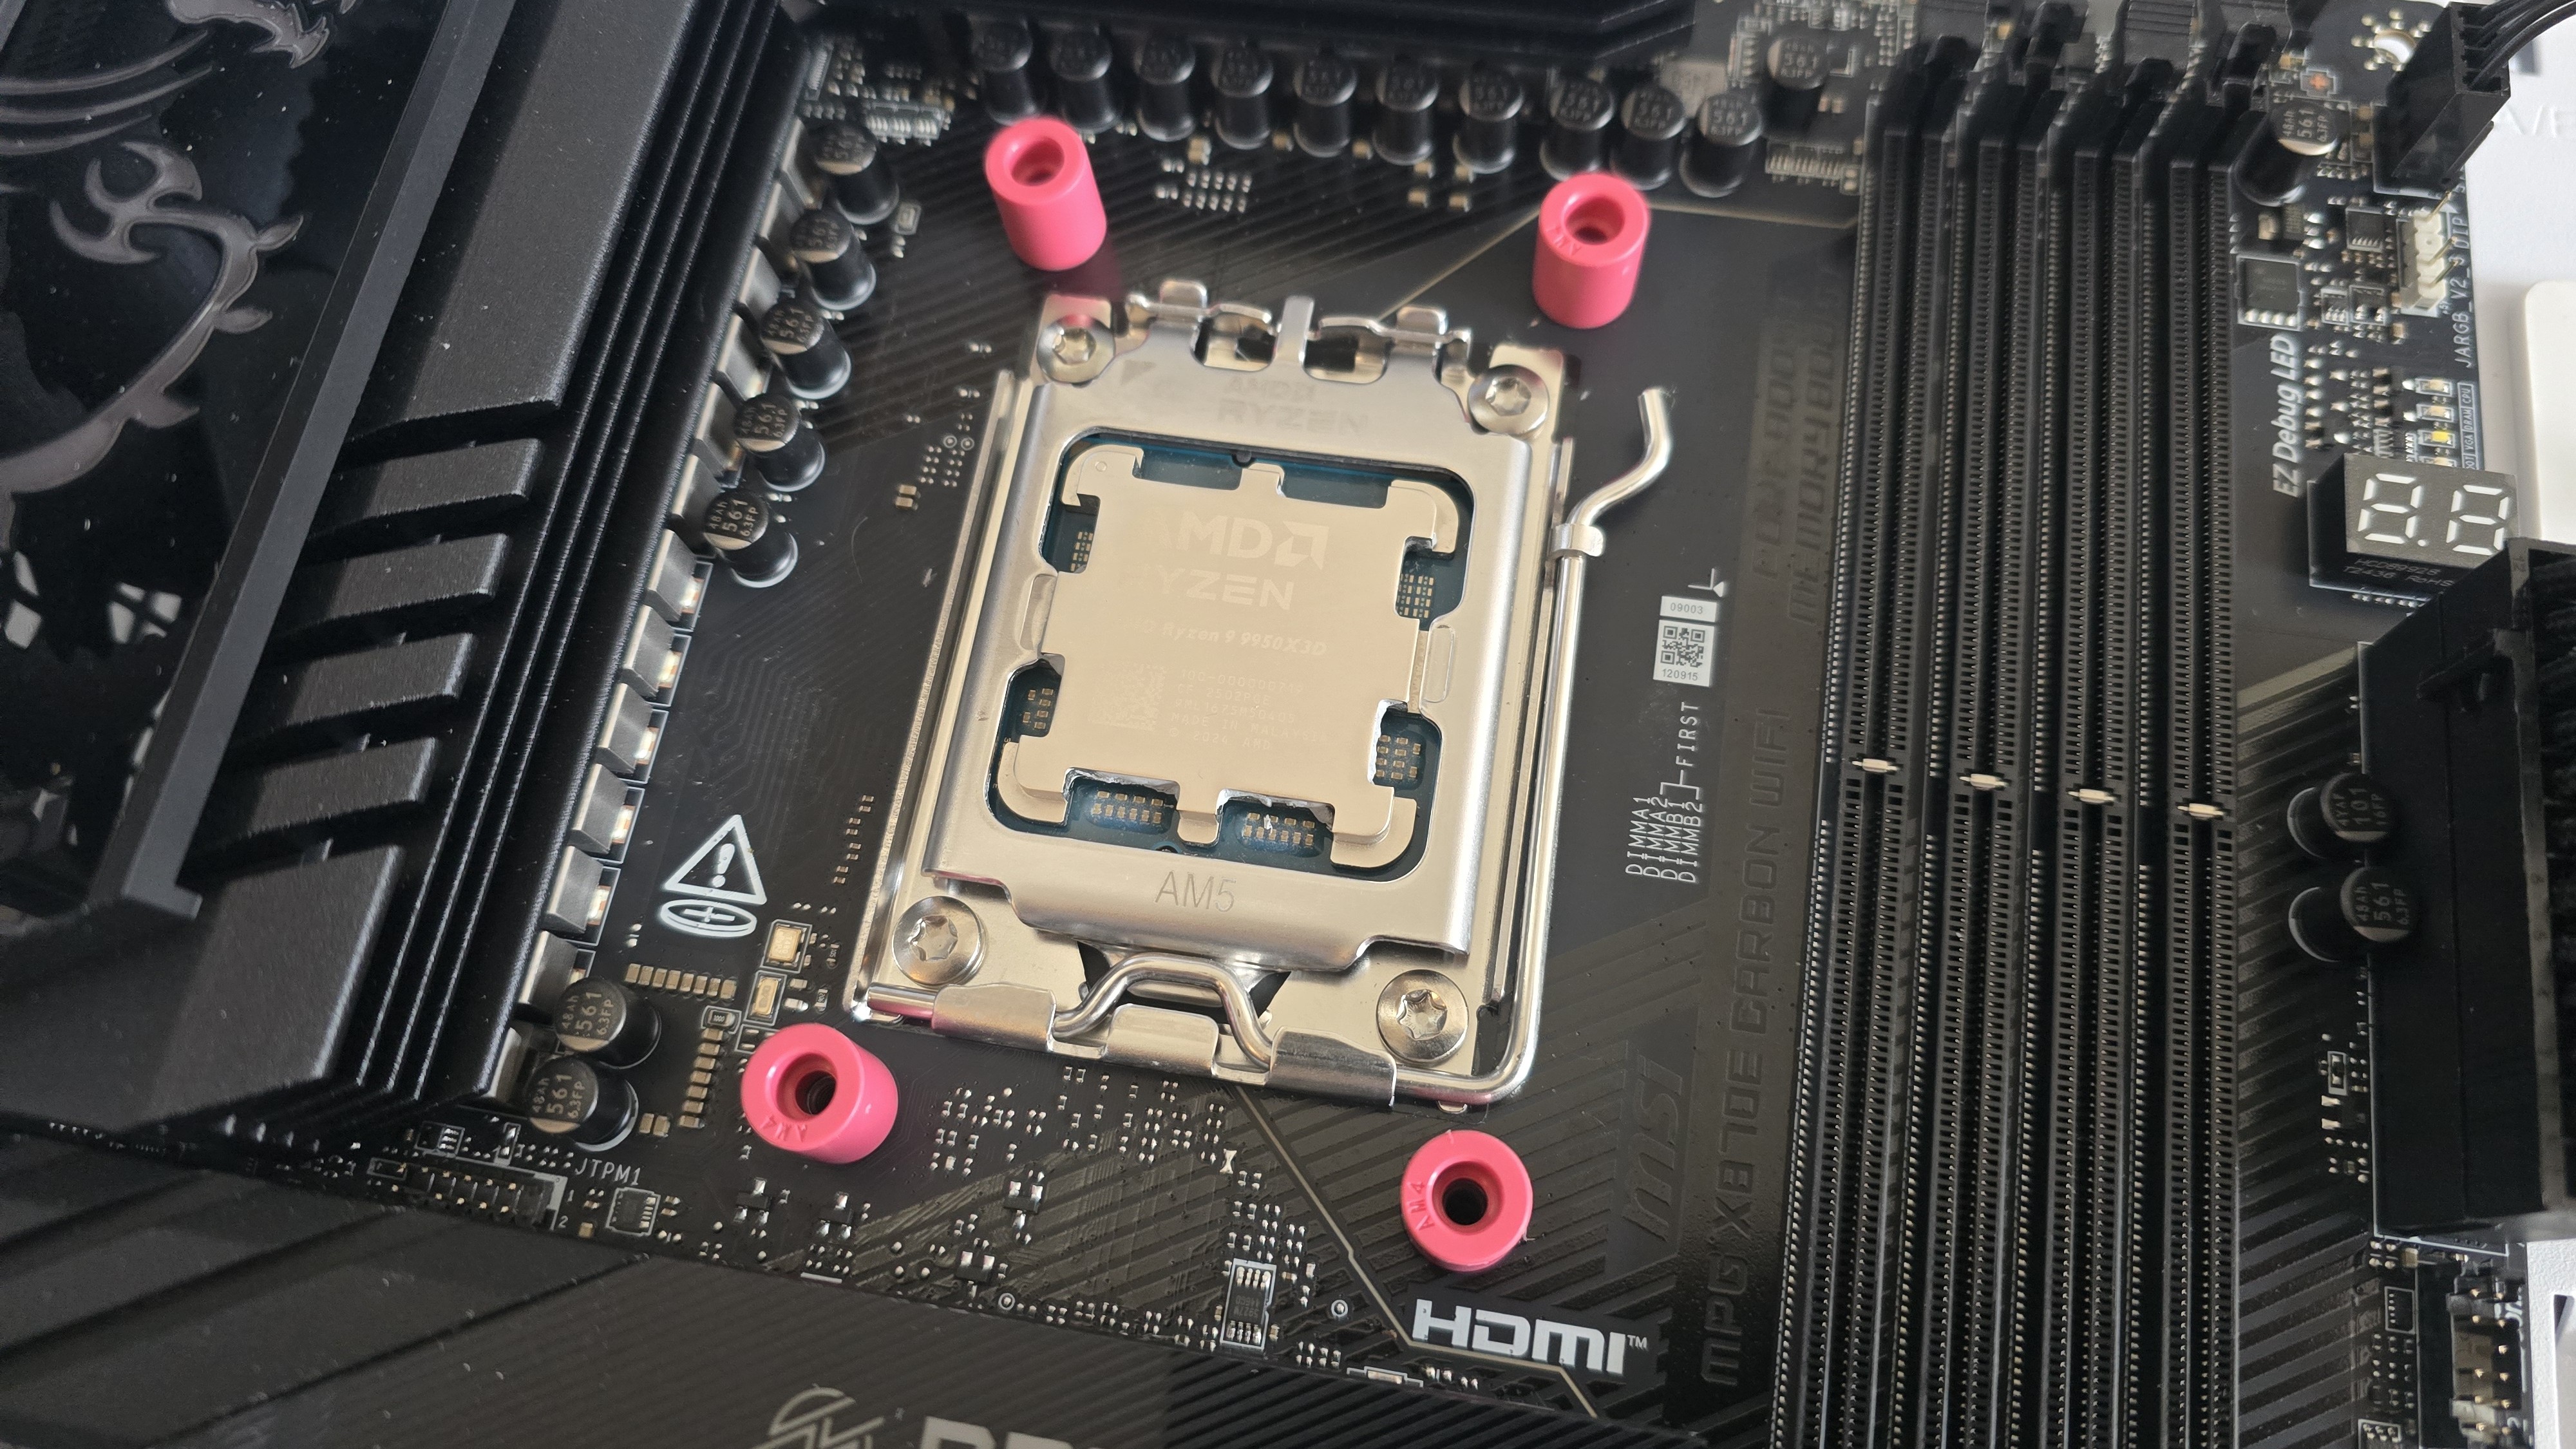
1. You’ll first need to apply the included backplate if you’re using an Intel CPU. AMD users will need to remove the default mounting mechanism.
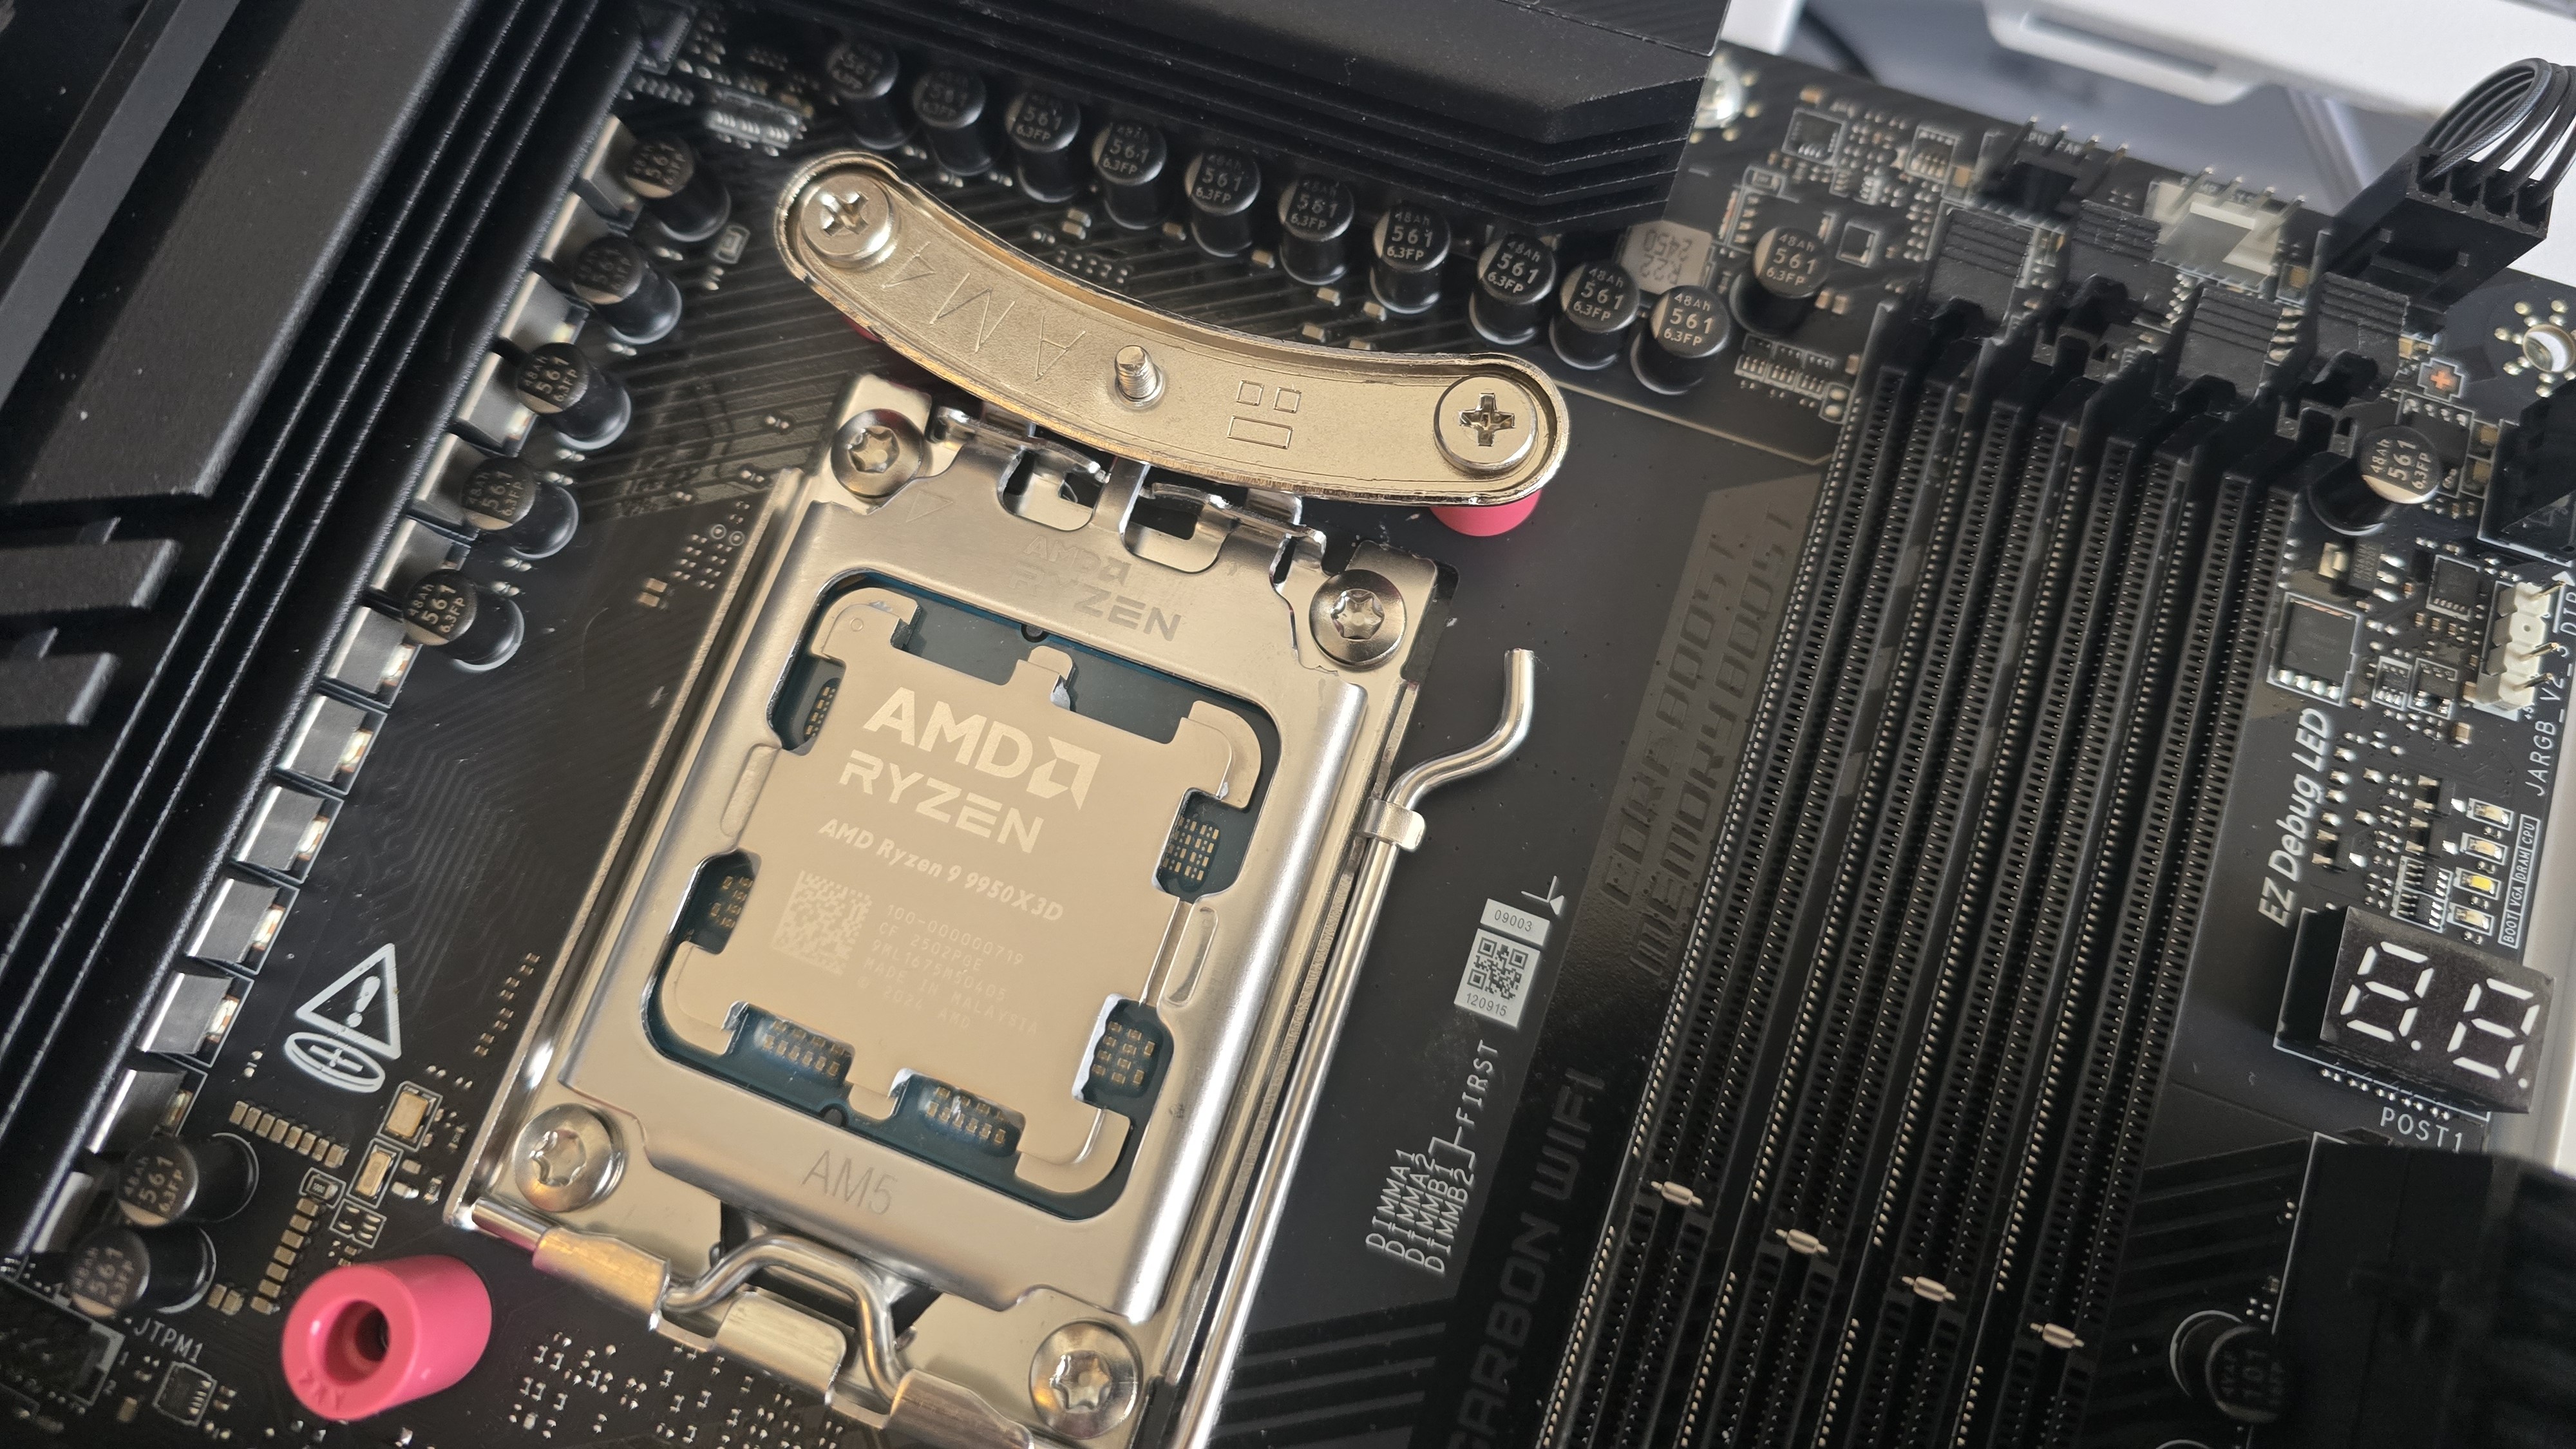
2. Next, you’ll set the rubber standoffs on both Intel and AMD systems.
3. You’ll now want to take the mounting bars and place them on top off the standoffs, securing them with the included screws.
4. Apply the included thermal paste to your CPU. If you have any questions on how to do this properly, please refer to our handy guide on how to apply thermal paste.
5. Mount the heatsink on top of the CPU, using a screwdriver to secure the screws in the middle of the unit.
6. Attach the fans to the heatsink using the included clips, and then use the included PWM cable to connect the fans to the motherboard.


 English (US) ·