
 5 days ago
6
5 days ago
6
When it comes to camera settings, shutter speed is the most important variable for bird photography. That’s because it’s the setting that you need to control the most. Optimizing your shutter speed is really the only way to maximize the amount of light you’re getting, while also freezing the bird’s motion.
Why Shutter Speed?
In some genres of photography, aperture is the most important camera setting by far. For example, in portrait photography, a wide open aperture can give you a dreamy look whereas a narrow aperture may be more appropriate for an environmental portrait with front-to-back focus. Landscape photographers also need to select their aperture carefully to achieve the right depth of field.
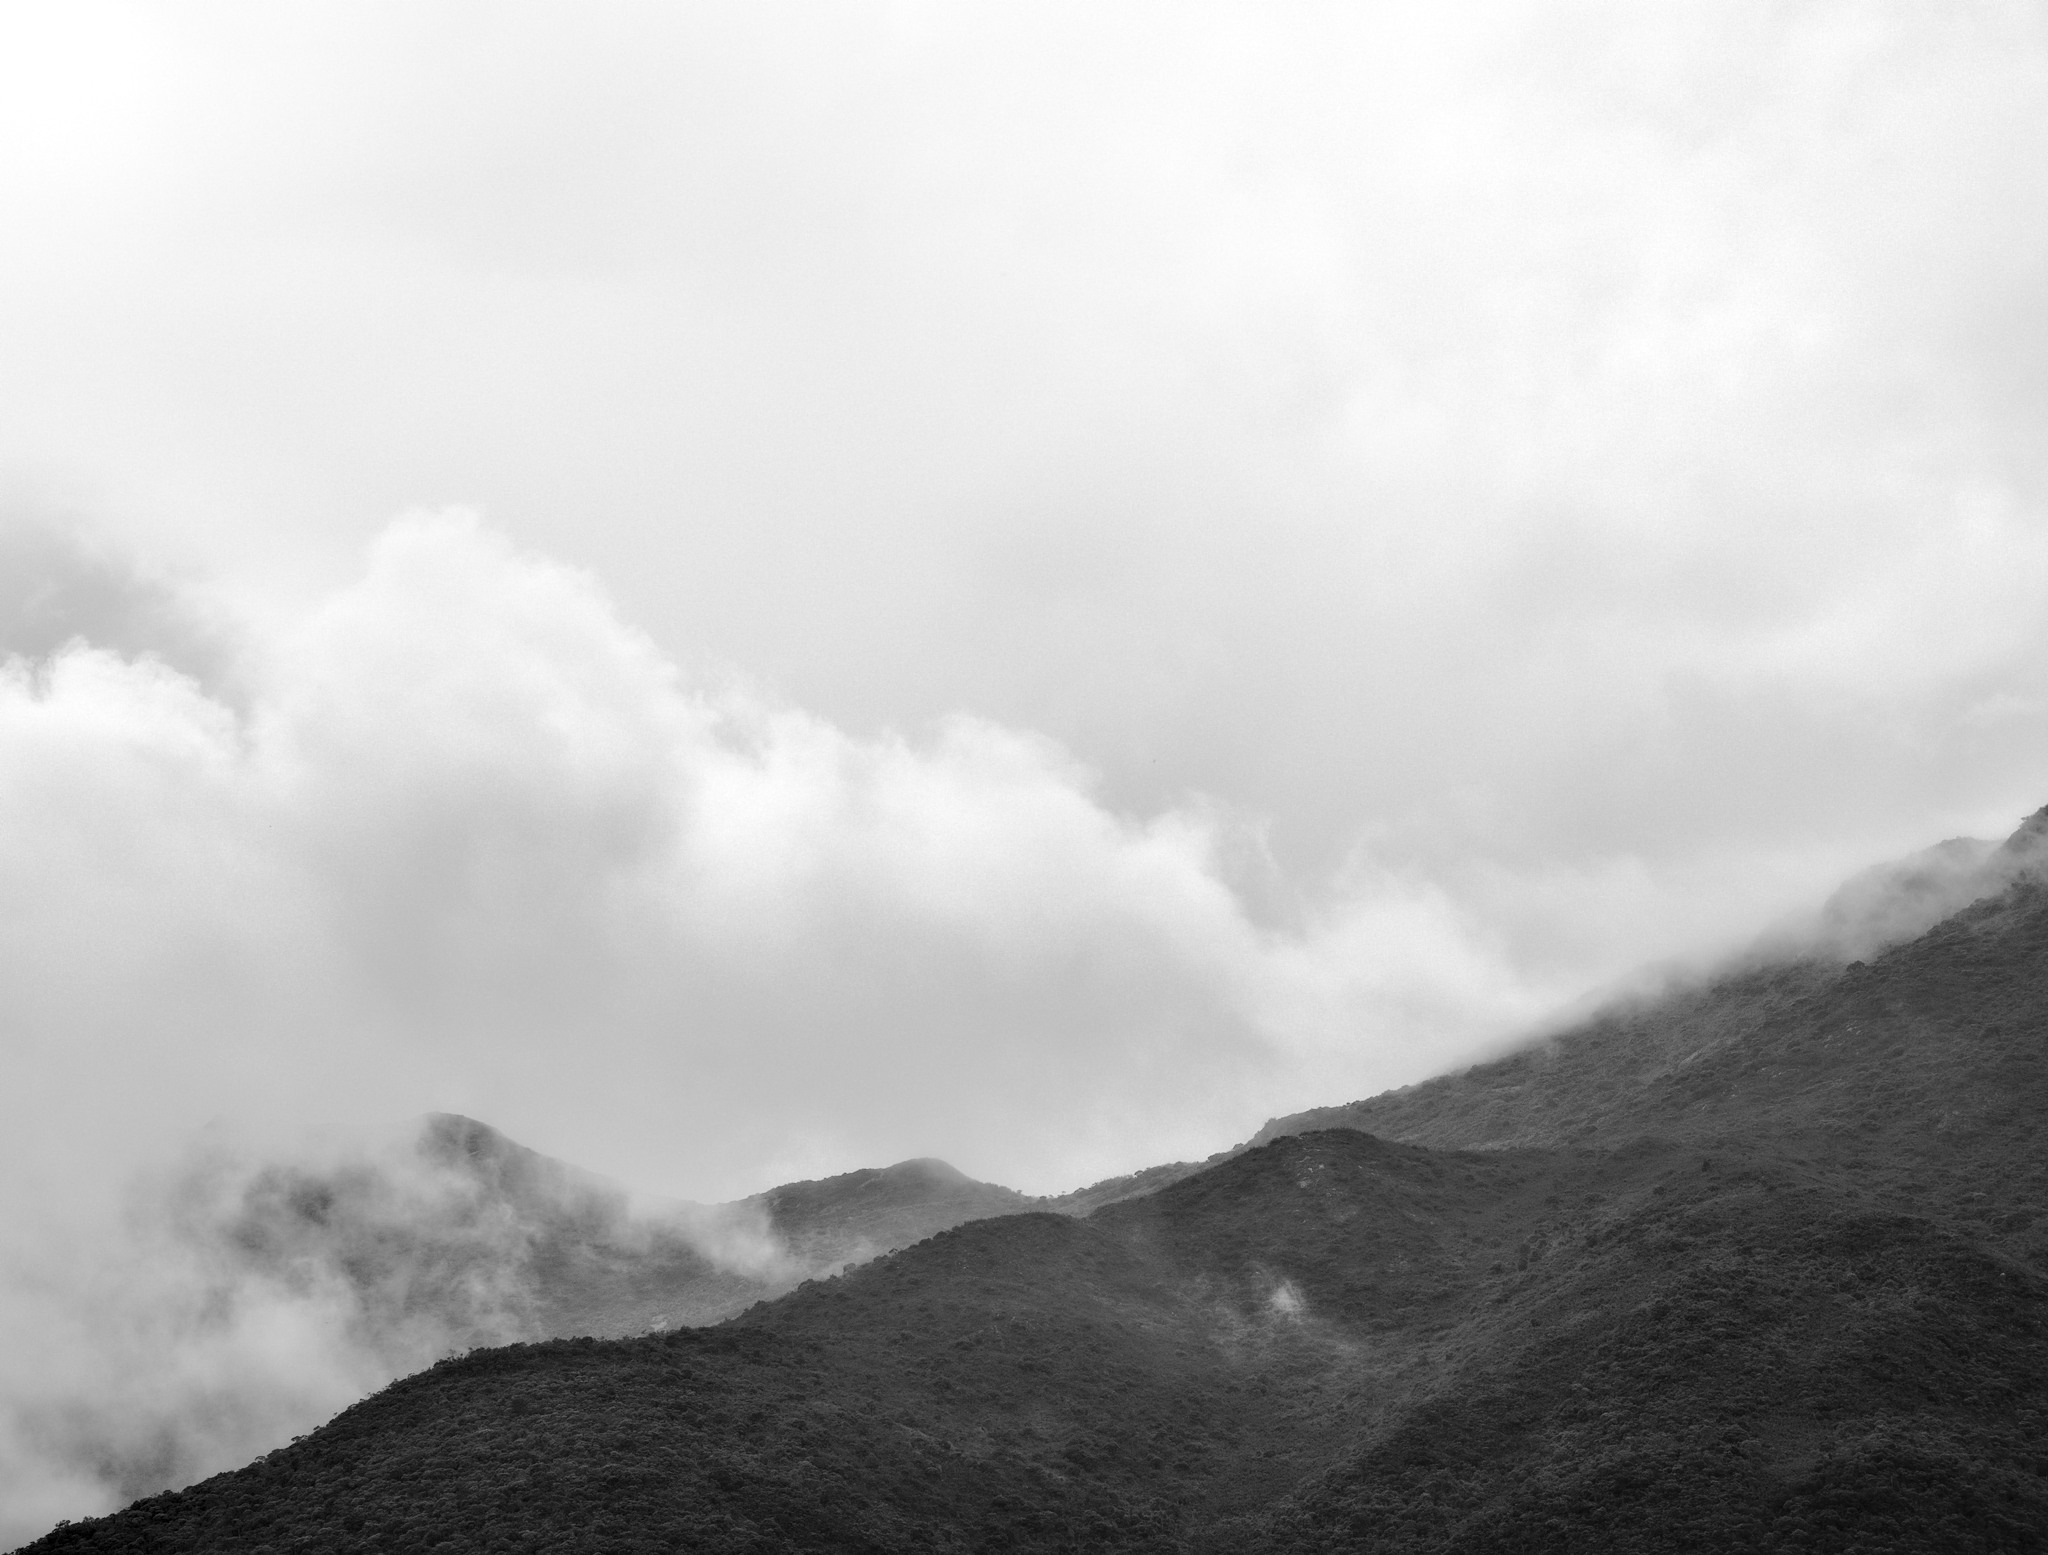 Plains of Itamonte, Minas Gerais. Panasonic G9 + Olympus 12-45 f/4 PRO @ 45mm, ISO 200, 1/320, f/6.3
Bird photography is different. Although there are some notable exceptions, you will usually be at the lens’s widest aperture most of the time. Not to mention that wildlife lenses are usually on the slow side in the first place, with maximum apertures of around f/4 to f/5.6 (unless you’re very lucky and have an f/2.8 lens). Even with an f/2.8 lens, you will generally stay in the f/2.8 to f/5.6 range for most birds.
It’s not that depth of field is unimportant in bird photography. But it’s usually acceptable and even desired to have part of the scene out of focus when photographing birds. And there is usually so little light that stopping down will require too high of an ISO. Especially for birds in flight, you will nearly always be at the widest aperture, and most of your attention will need to be on your choice of shutter speed.
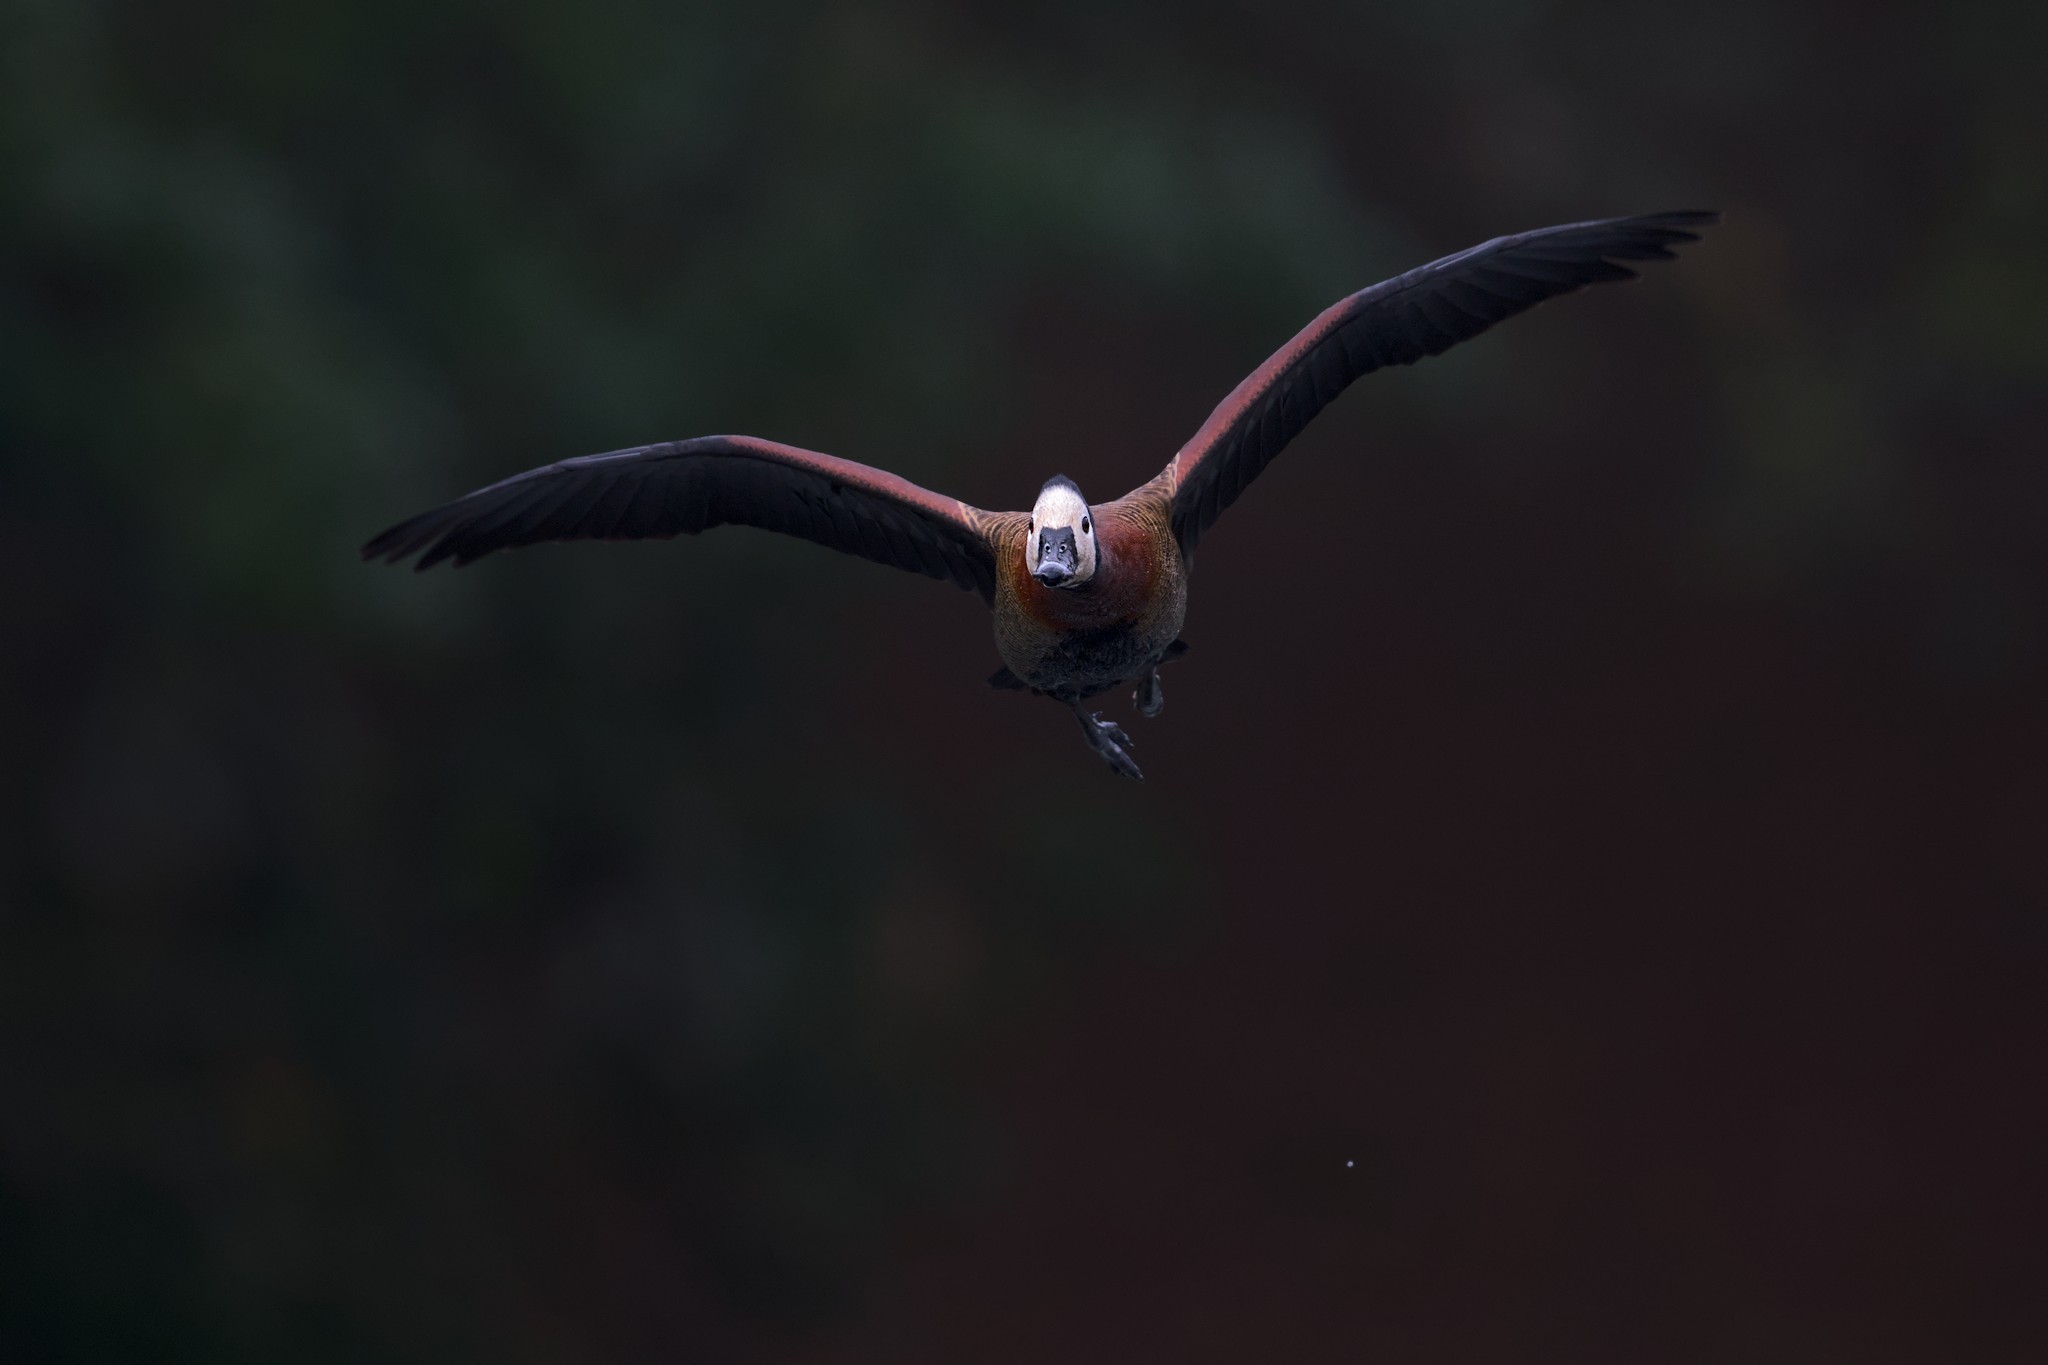 White-faced Whistling Duck. Nikon D500 + 500PF @ ISO 3200, 1/2000, f/5.6
Thus, aside from ISO, which doesn’t affect the amount of light entering your camera, shutter speed is the biggest variable that you can control in bird photography. You can use it to freeze motion or leave some motion blur in deliberately, and you can attempt to use longer shutter speeds to gain that extra little bit of light.
Since a bird can be anywhere from still to flying at over three hundred kilometers an hour, you need to select your shutter speed appropriately. Now, I already talked about shutter speed a little in my article on the best settings for bird photography, and Libor talked about it in his settings for birds in flight photography article. But I’m going to go in a little more depth today and focus just on shutter speed.
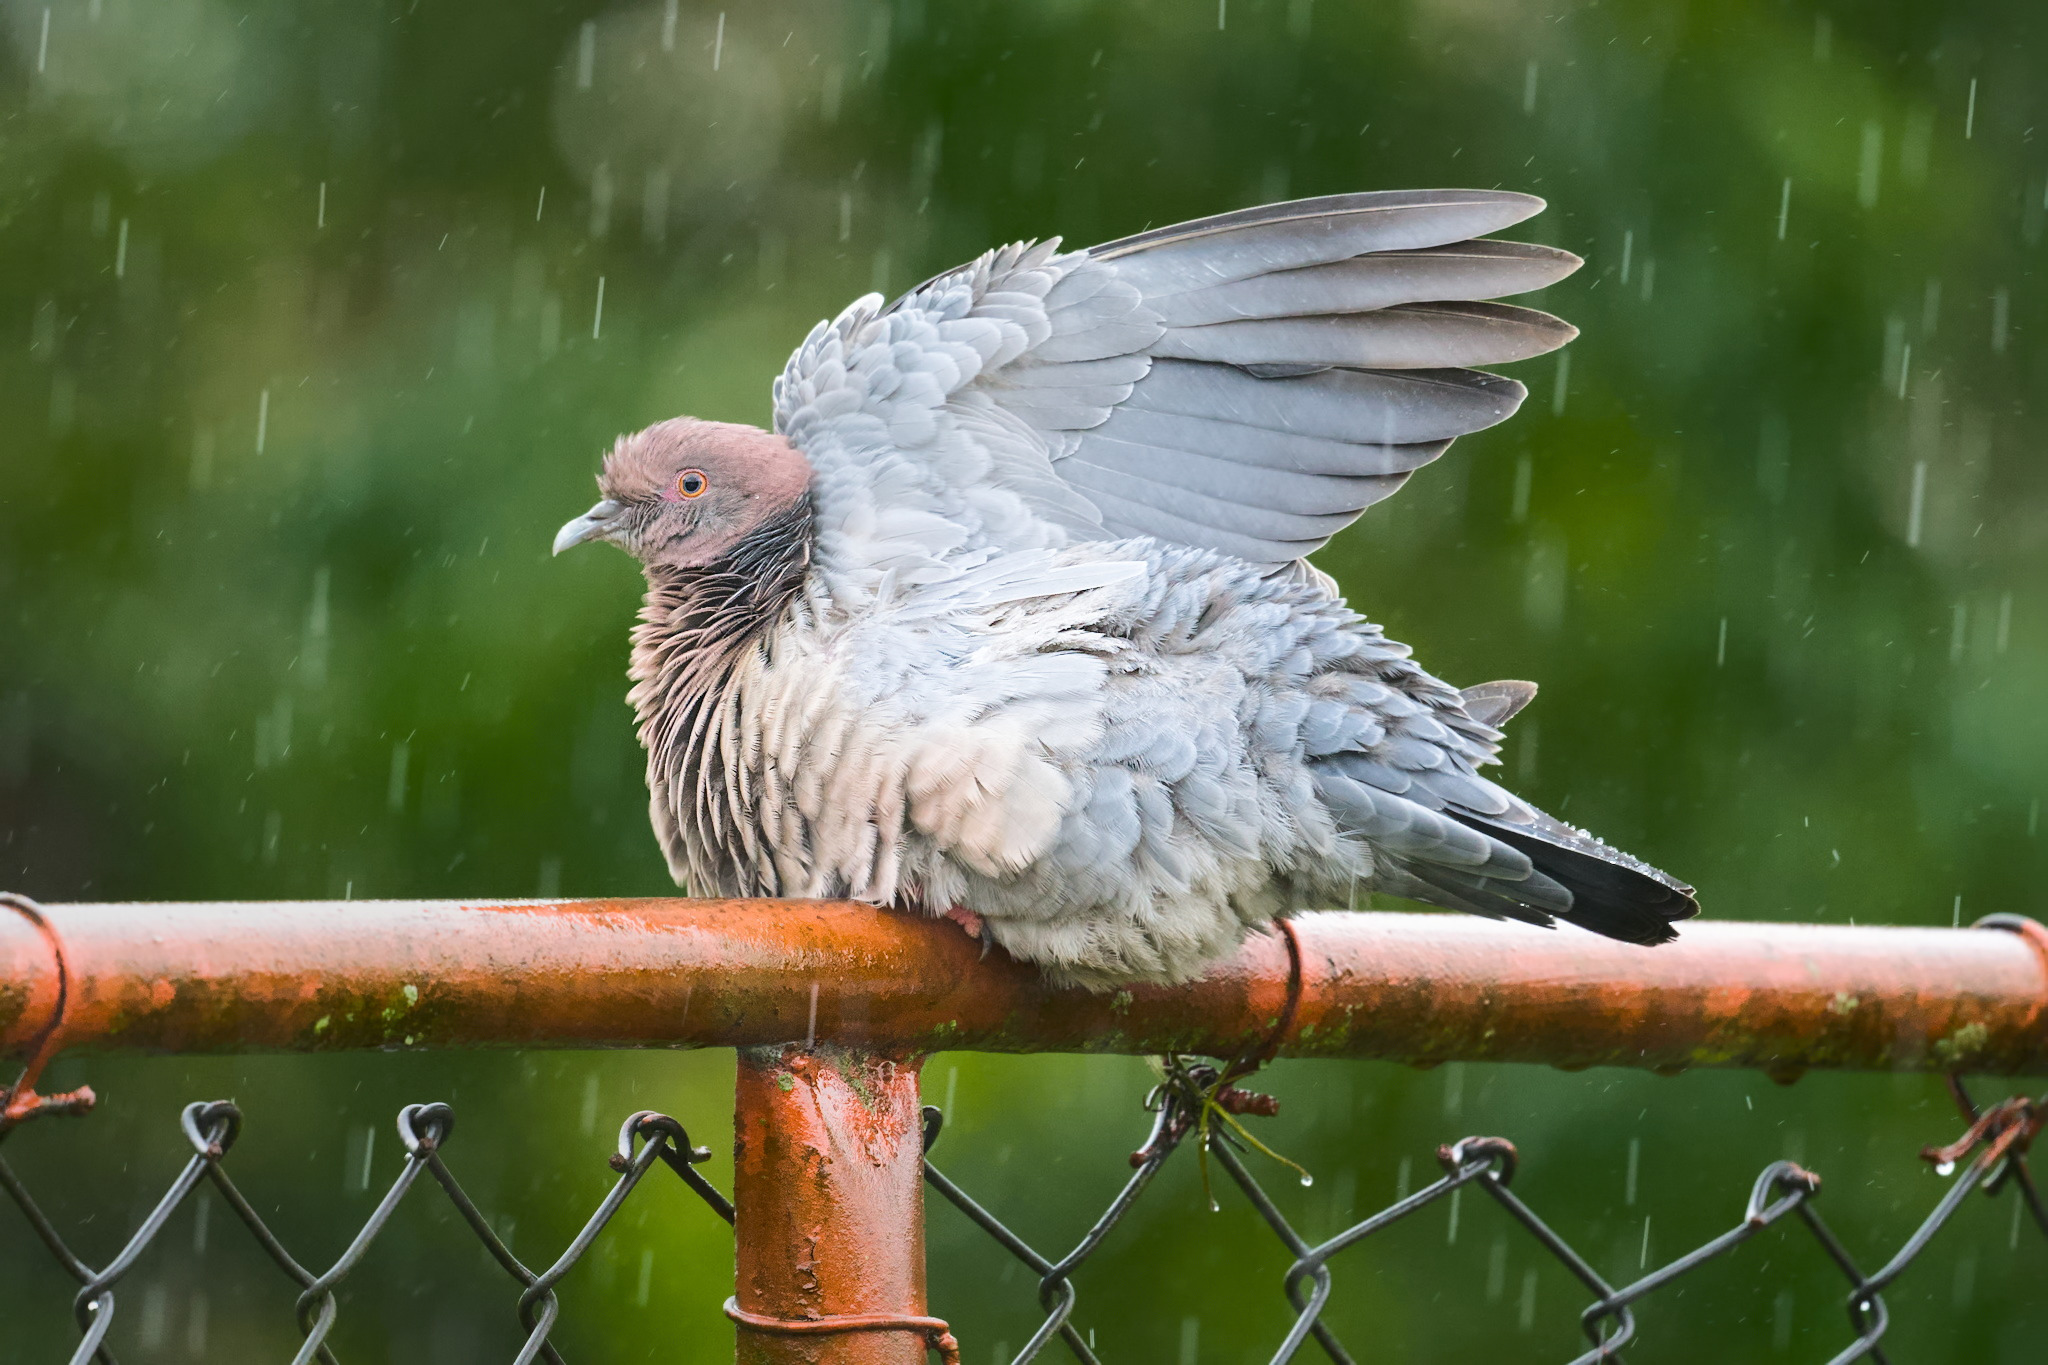 Picazuro Pigeon. Nikon D500 + 500PF @ ISO 800, 1/320, f/5.6
Standard Values
There are some standard values for shutter speed that will give you reliably sharp photos in a variety of conditions. They are the “set it and (mostly) forget it” settings for shutter speed. Here is a rough guide:
| Perched, still birds | 1/400 | 1/40 – 1/640 |
| Walking or slowly moving birds | 1/800 | 1/500-1/1500 |
| Running or swimming birds | 1/1200 | 1/800-1/1500 |
| Birds in flight, slow | 1/2500 | 1/1600-1/3200 |
| Birds in flight, fast | 1/3200 | 1/2500-1/8000 |
You can set these shutter speeds in a few different ways, but I recommend using manual mode with Auto ISO. Then you can set the aperture (generally the widest available one) and carefully select your shutter speed, while the camera floats the ISO to give you the proper exposure. Of course, if the light is very strong and the camera is overexposing even at base ISO, then it is a good idea to quickly switch to aperture priority instead and let the camera choose a faster shutter speed automatically. But manual + Auto ISO mode works for me 99% of the time.
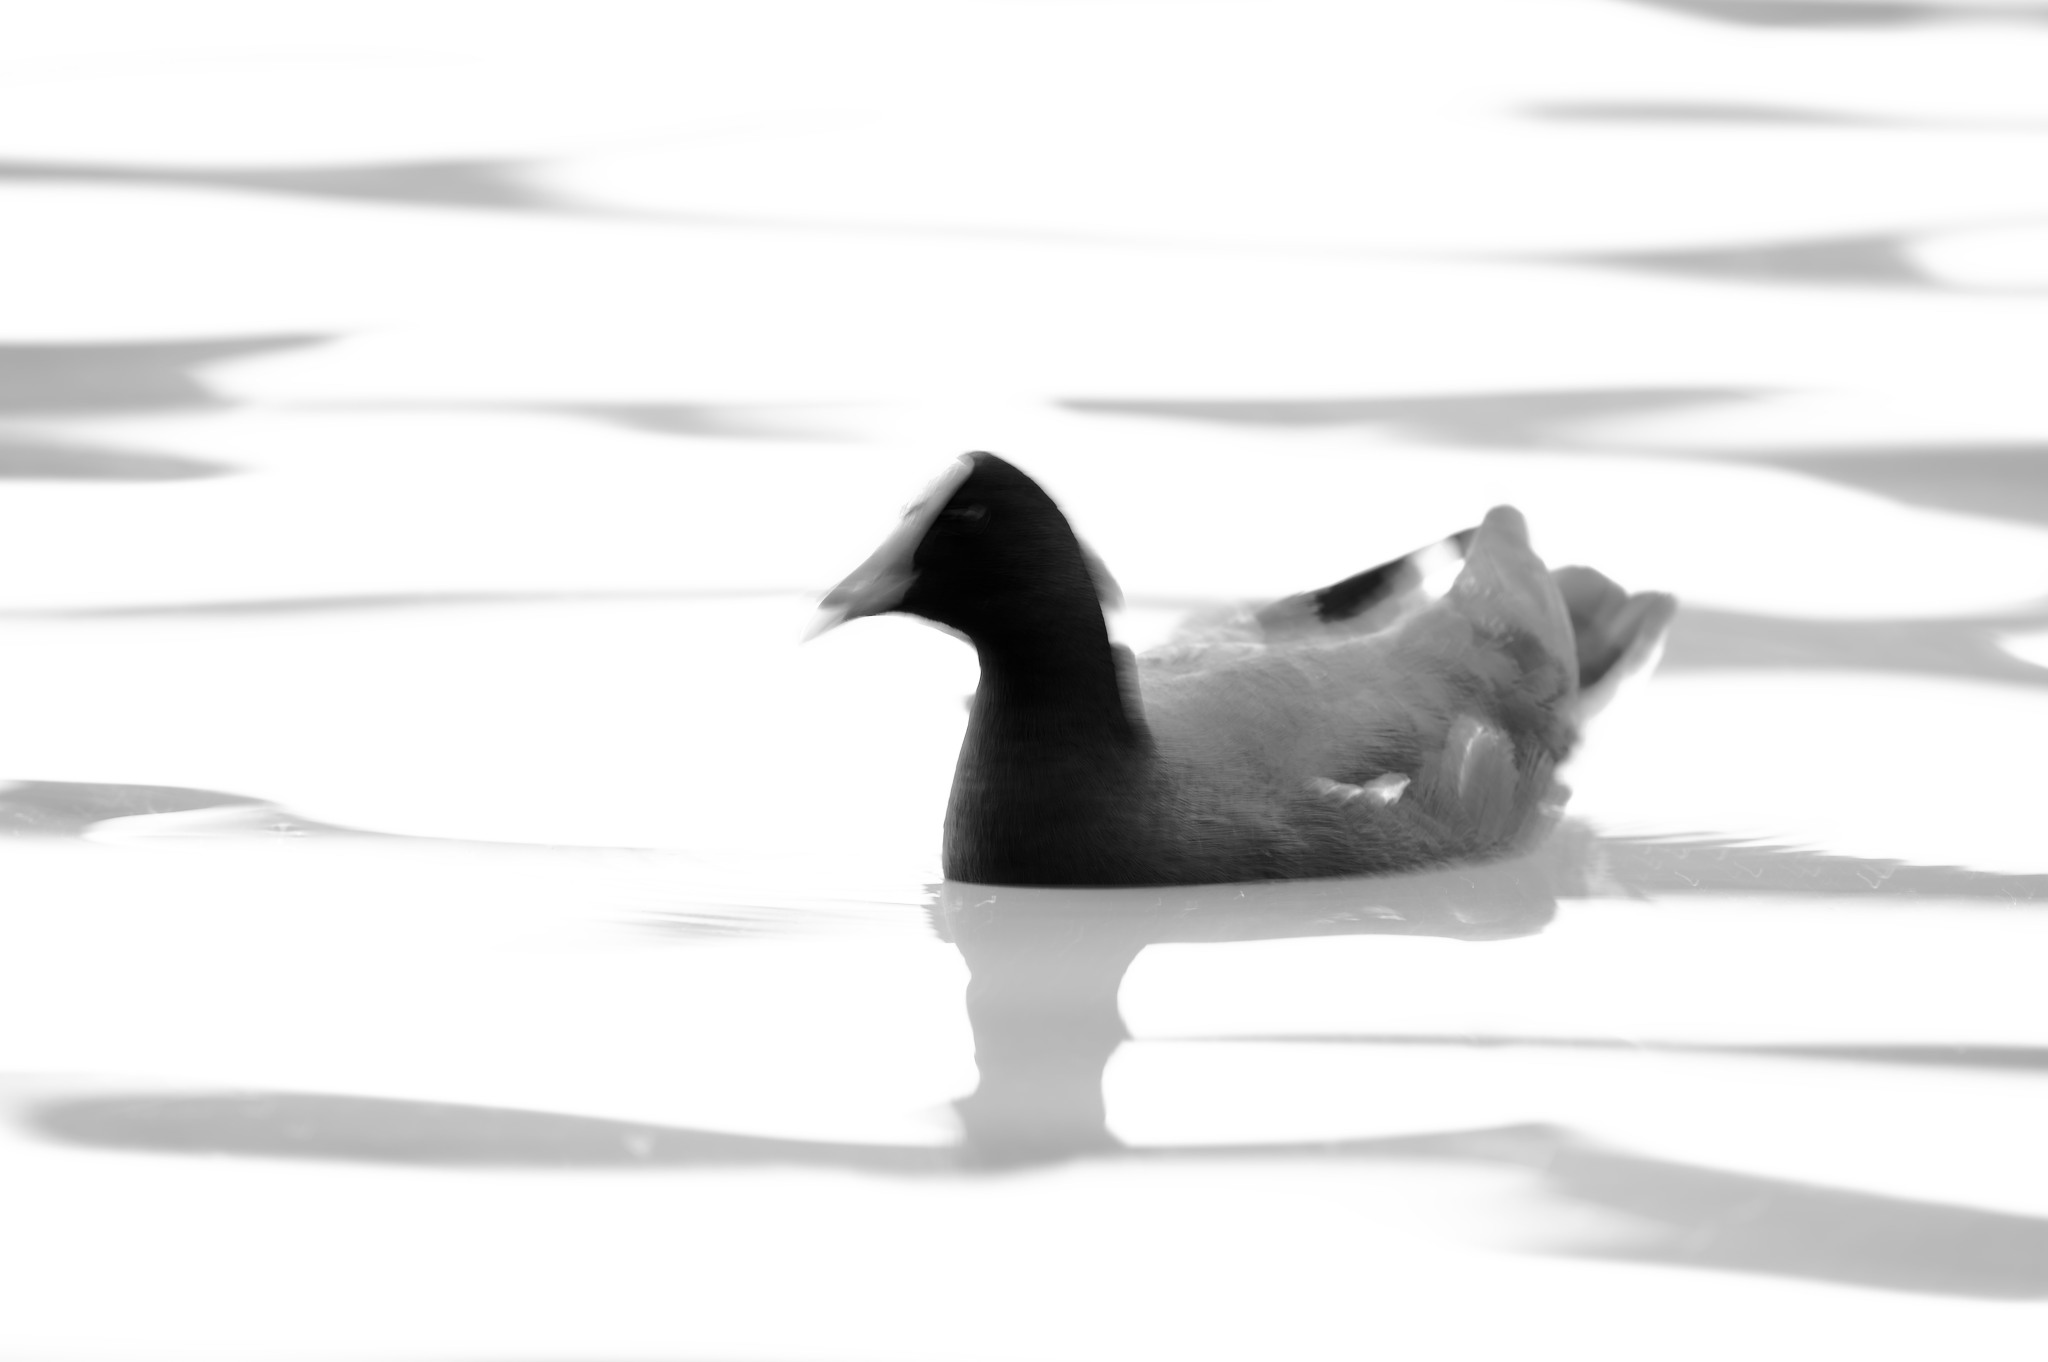
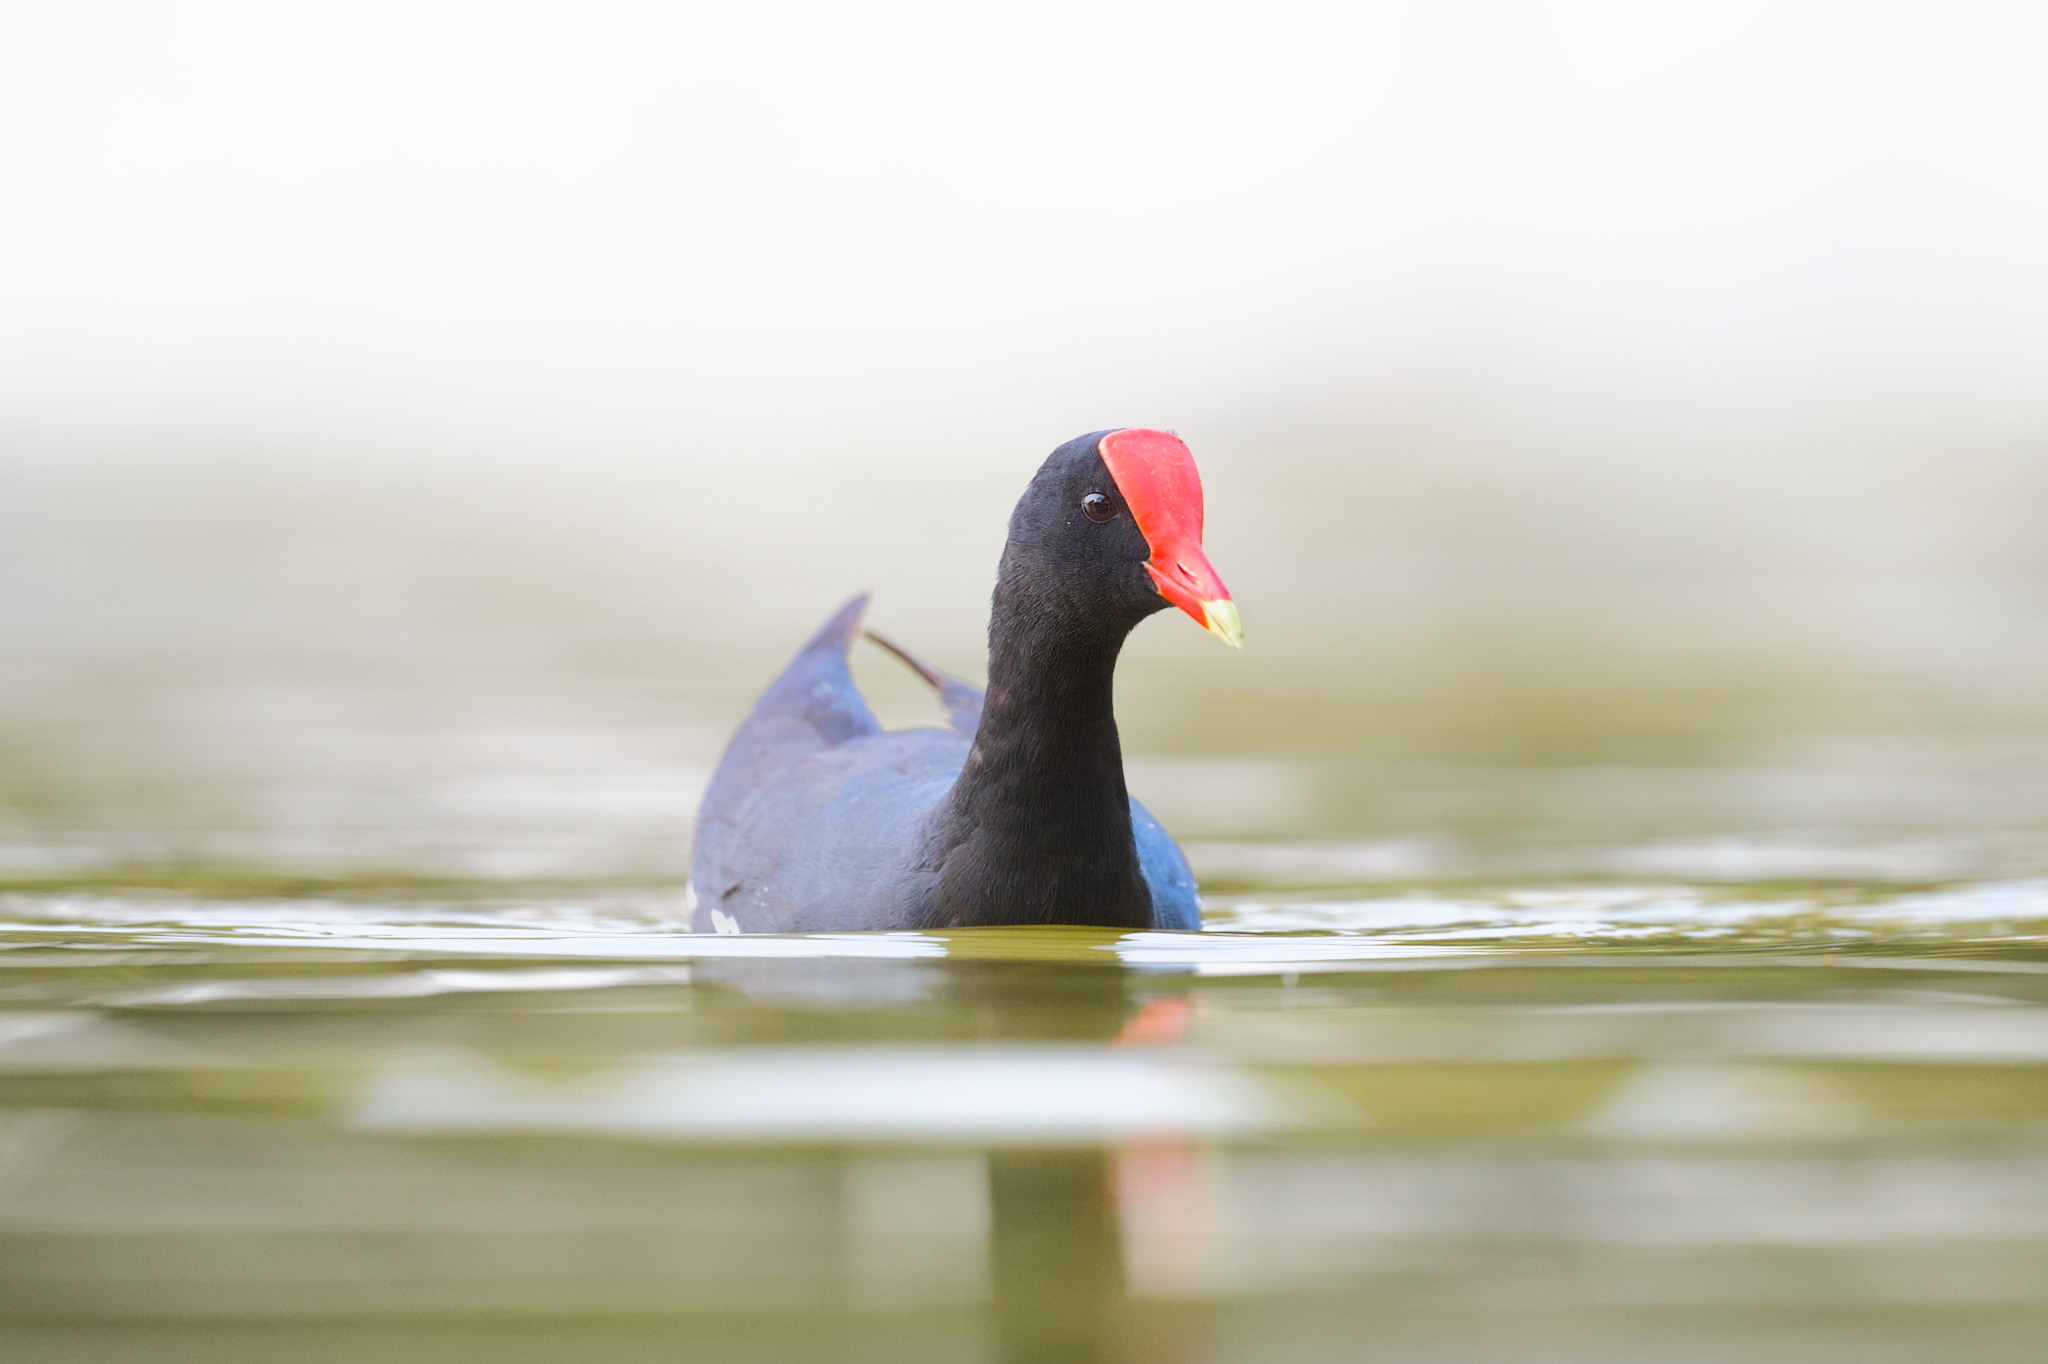 Common Gallinule. Nikon Z6 + 500PF @ 500mm, ISO 1600, 1/1250, f/5.6
Going Beyond the Safe Shutter Speed
In the rare cases for when there’s actually an abundance of light for bird photography, you may end up using a faster shutter speed than the “safe recommendations” that I listed above. Like when photographing directly toward sunlight reflected on the water, you may be at 1/4000 or even 1/8000 second just to tame the light. But are there cases where you should go longer than the safe shutter speed?
Absolutely. The first case is when you want a bit of motion blur. Typically, if a bird is moving and you want a more abstract look, you can blur some part (usually the wings) or all of the bird to inject a bit of impressionism in your bird photography.
 Common Gallinule. Nikon D500 + 500PF @ ISO 100, 1/6, f/5.6
But there’s another reason to go longer than the safe shutter speed: when you need to capture more light. Yes, there is a high probability of motion blur (either from your camera shake or from subject movement). But it’s still worthwhile to try sometimes.
The technique is simple. If you have a sitting or perched bird, and they are very still, it can be possible to use shutter speeds much longer than you would expect. I’ve seen sharp photos down to 1/100, 1/50, and even 1/20 second sometimes. It helps to have a tripod, although it’s even possible to shoot handheld if your camera or lens has good vibration reduction.
First, start with a shutter speed that’s safe for you – probably around 1/320-1/400, depending on your subject and whether you’re handholding the camera or using a tripod. After that, gradually use a longer shutter speed in a sequence: 1/250, 1/200, 1/125, 1/80, etc. and take 4-5 shots with each, carefully supporting your camera and lens. It works even better when you are resting on the ground, and of course it works best with a tripod. Even without a tripod, though, I have successfully gone into the 1/50-1/80 range before.
Here is an example of a photo taken with this technique. I shot this image handheld at 1/80 second. At that shutter speed, only about one in ten shots was sharp. But that was enough, and shooting at 1/80 second allowed me to use a more reasonable ISO of 2800, compared to something like ISO 10,000 that would have been necessary at 1/250 second.
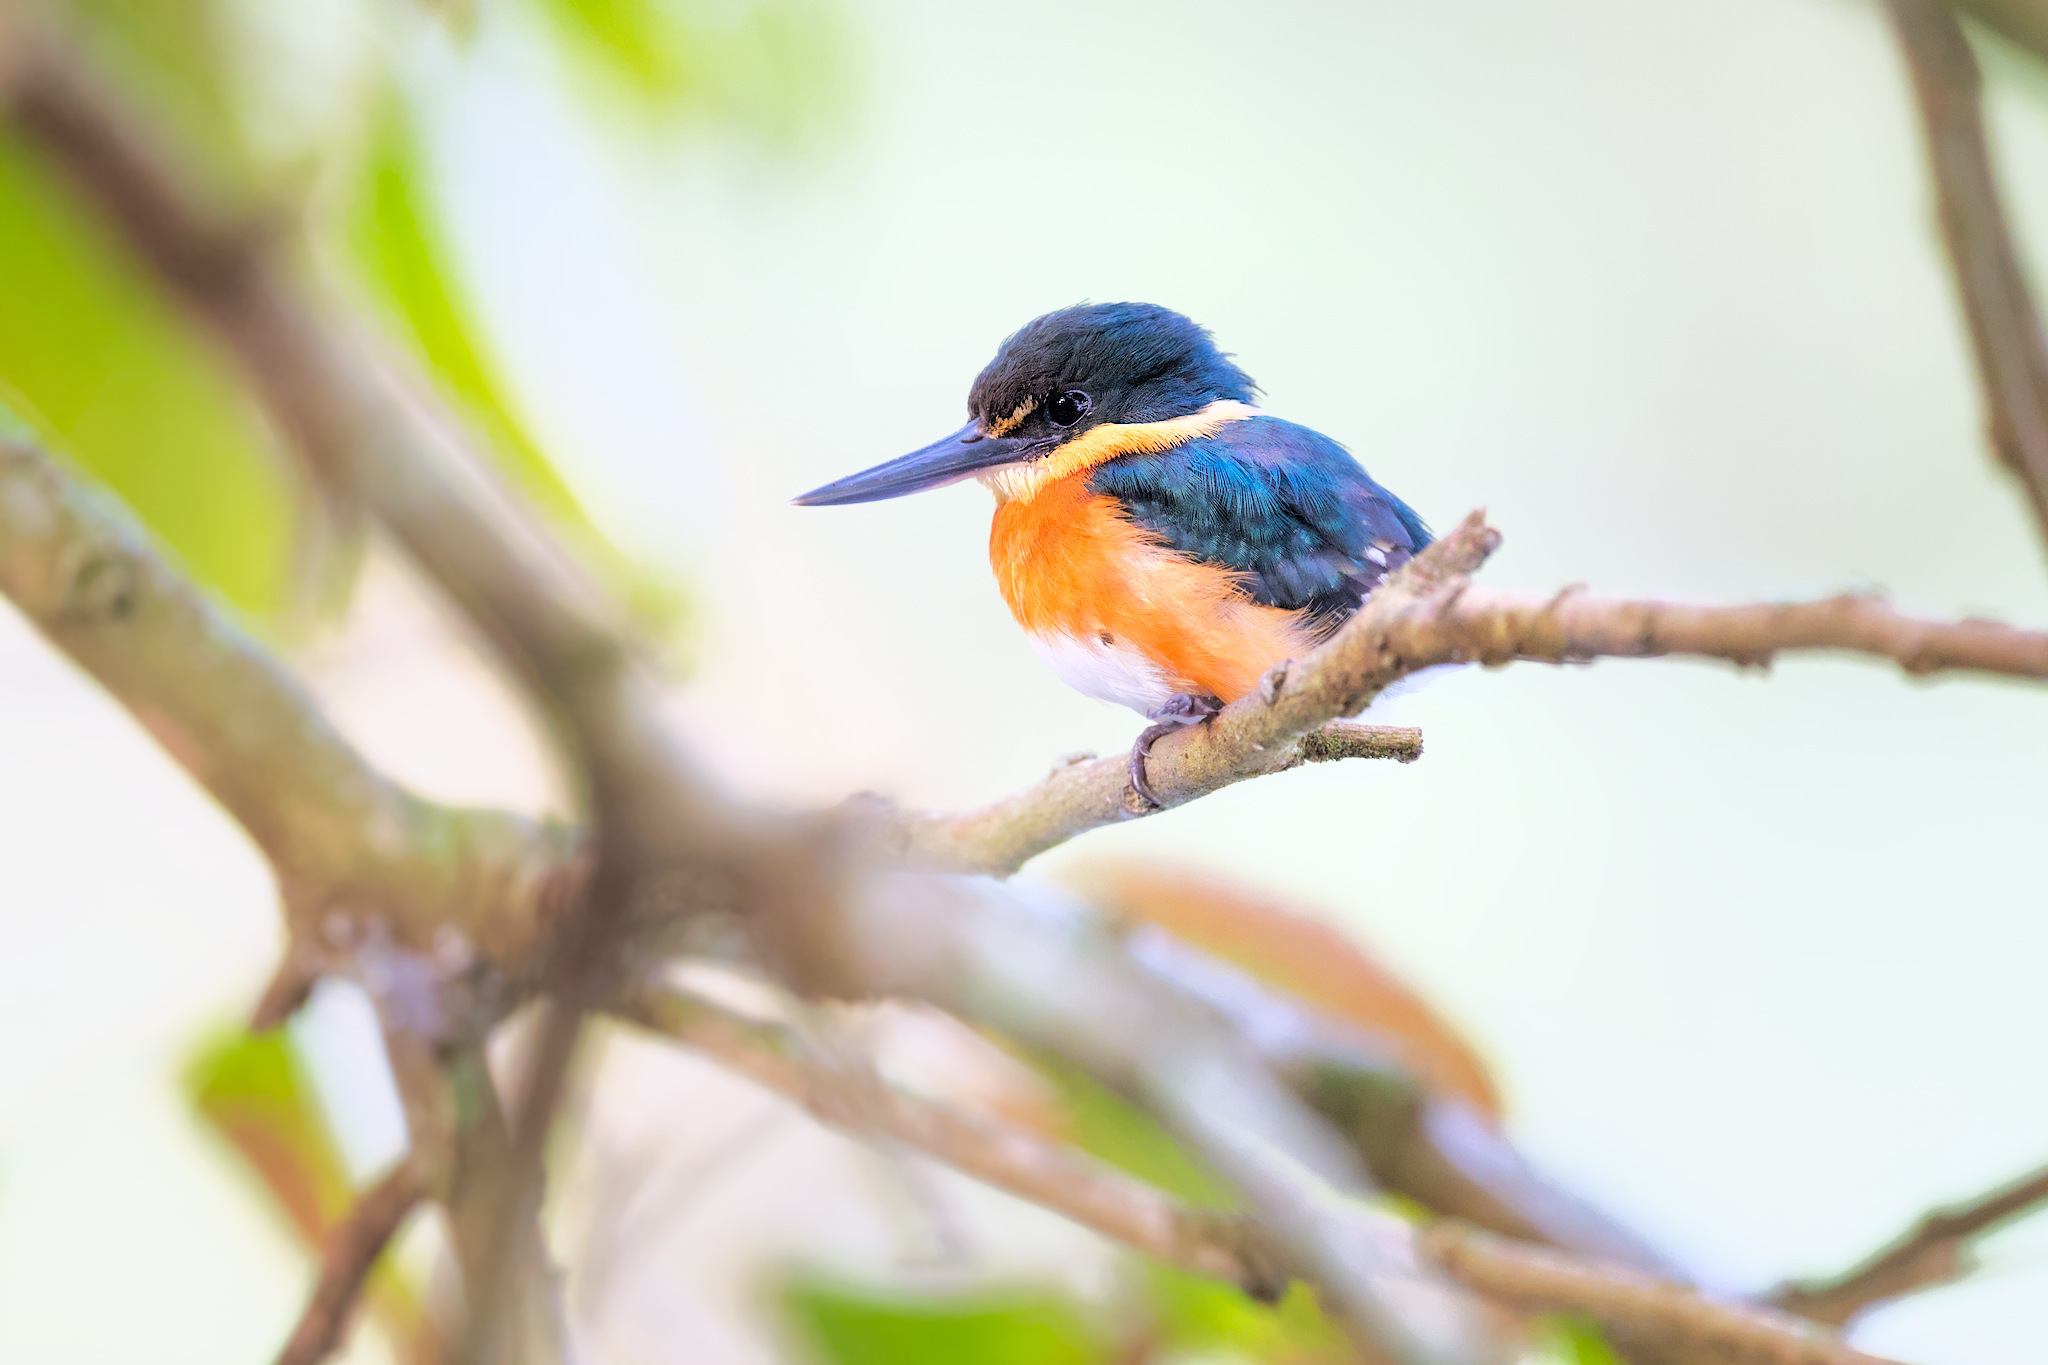 American Pygmy Kingfisher. Nikon Z6 + 500PF @ 500mm, ISO 2800, 1/80, f/5.6
Here is a 200% crop to show the level of detail still possible at 1/80:
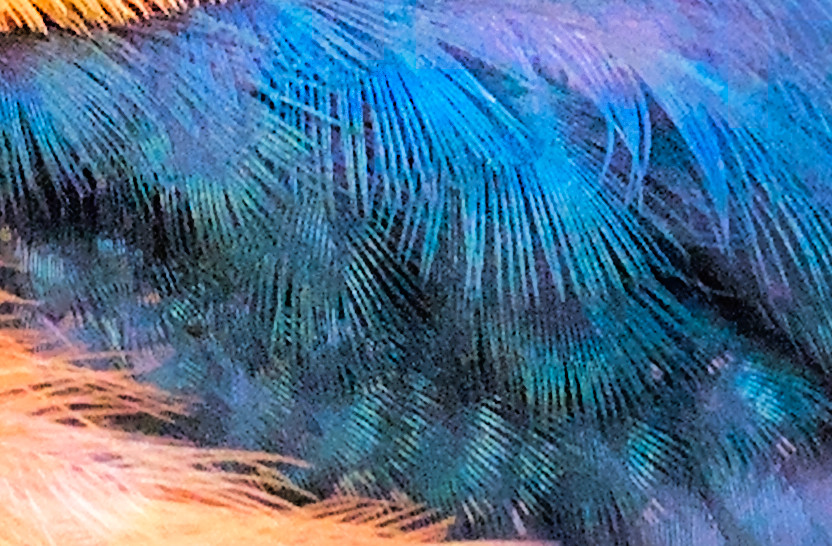
How far you can push the shutter speed depends upon how still the bird really is, and if there’s any wind shifting the feathers slightly. Remember, feathers have an enormous amount of fine detail, so any movement in them will show up immediatley in the shot. Of course, if one or two feathers show motion blur, that’s not a problem if the rest are sharp, and especially if the eye is still sharp. But just because you can get to 1/80 or 1/50 in a best-case scenario does not mean you can always achieve it.
When you should use this technique? Only when you know you’ll get more than a few chances with a bird. If it’s a rare bird, I would recommend playing it a little safer, especially if you might only have one or two shots before it flies away. But for more common birds or when you absolutely know you’ve already got a safe photo, it can often make your final image cleaner and crisper, with a lower ISO and less noise.
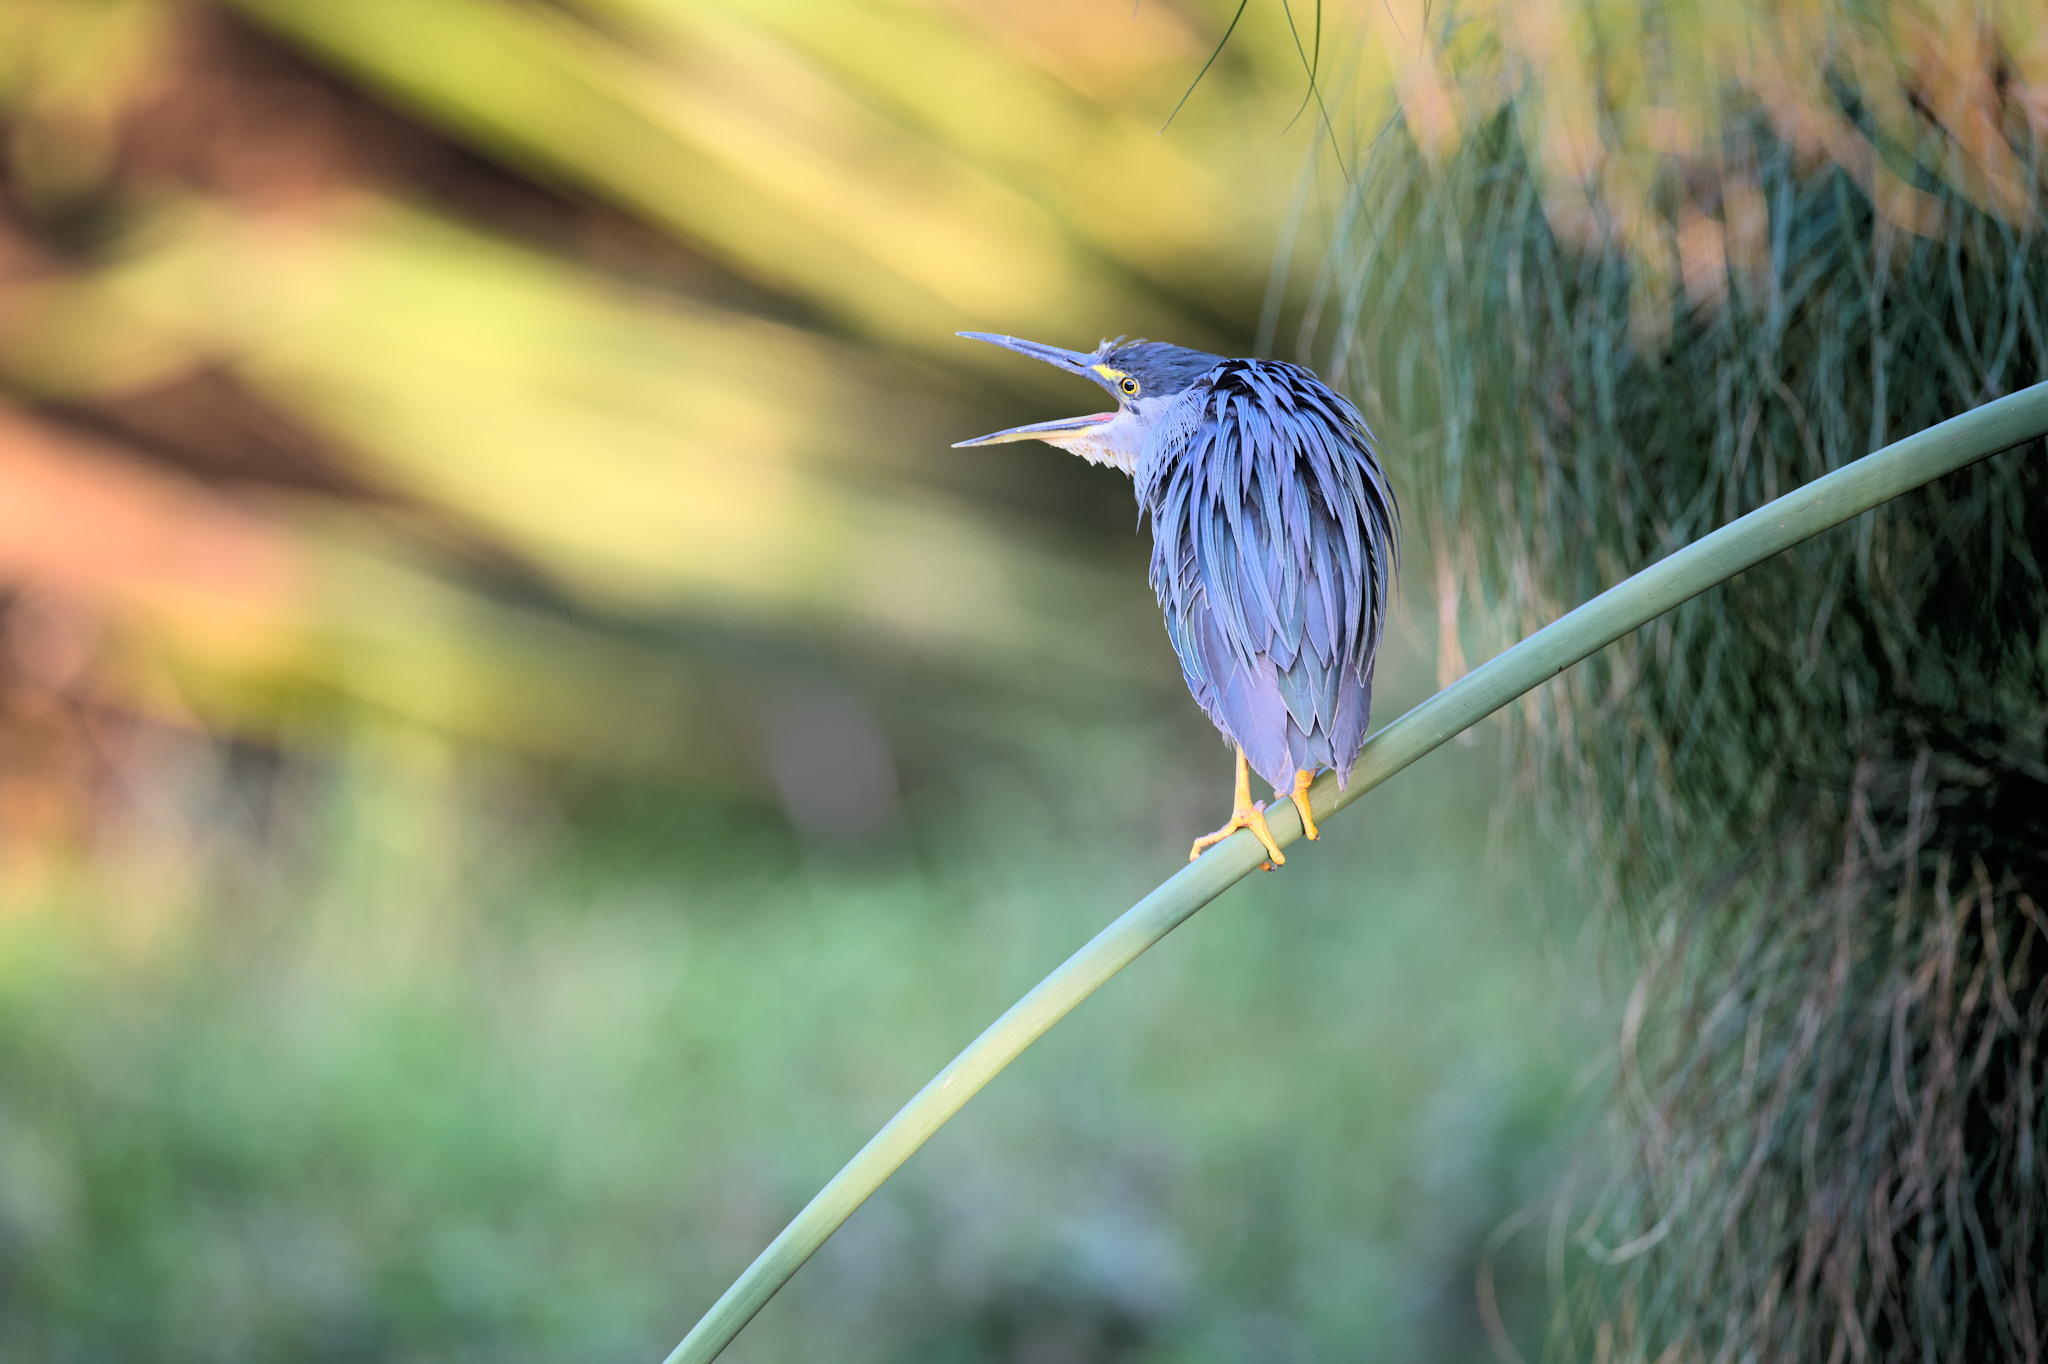 Striated Heron. Nikon Z6 + 500PF @ 500mm, ISO 200, 1/80, f/5.6
Of course, there’s only a point in using this technique if you don’t have much light. If you’re at 1/400th of a second and you need ISO 400 to get a well-exposed shot, I don’t think there’s much point in trying to get down to ISO 100 at the risk of some motion blur. The time could probably be spent finding a better angle before the bird flies away.
Conclusion
The number one camera setting I think about in bird photography is shutter speed. I’m constantly changing my shutter speed to accommodate not just the various levels of motion in birds, but also to get as much light as possible. It’s the variable bird photographers have to be on top of in order to really optimize their shots while still preserving all that beautiful feather detail. I hope this article gave you some useful tips for optimizing shutter speed in your own bird photography!

/cdn.vox-cdn.com/uploads/chorus_asset/file/25242409/20230608_Palworld_Screenshot_02.png)

 English (US) ·