
 5 months ago
58
5 months ago
58
Steam’s
new in-game overlay performance monitoris in a public beta, allowing users to see the real FPS, including with DLSS and FSR frame generation, and today I’ll show you how to install and configure it.
On my
Steam Deckand recent
Linux gaming PC experiment, I use MangoHud to display live performance stats while I play; in fact, a version of it comes ready to go on Steam Deck. But there is a new means to monitor your performance, and it comes directly from Valve.
First, what fresh features does this new monitor bring to the table? As you would expect, it reports the same as every other performance monitor:
- FPS
- CPU and GPU performance (including graph)
- System and GPU RAM usages
- System temperatures
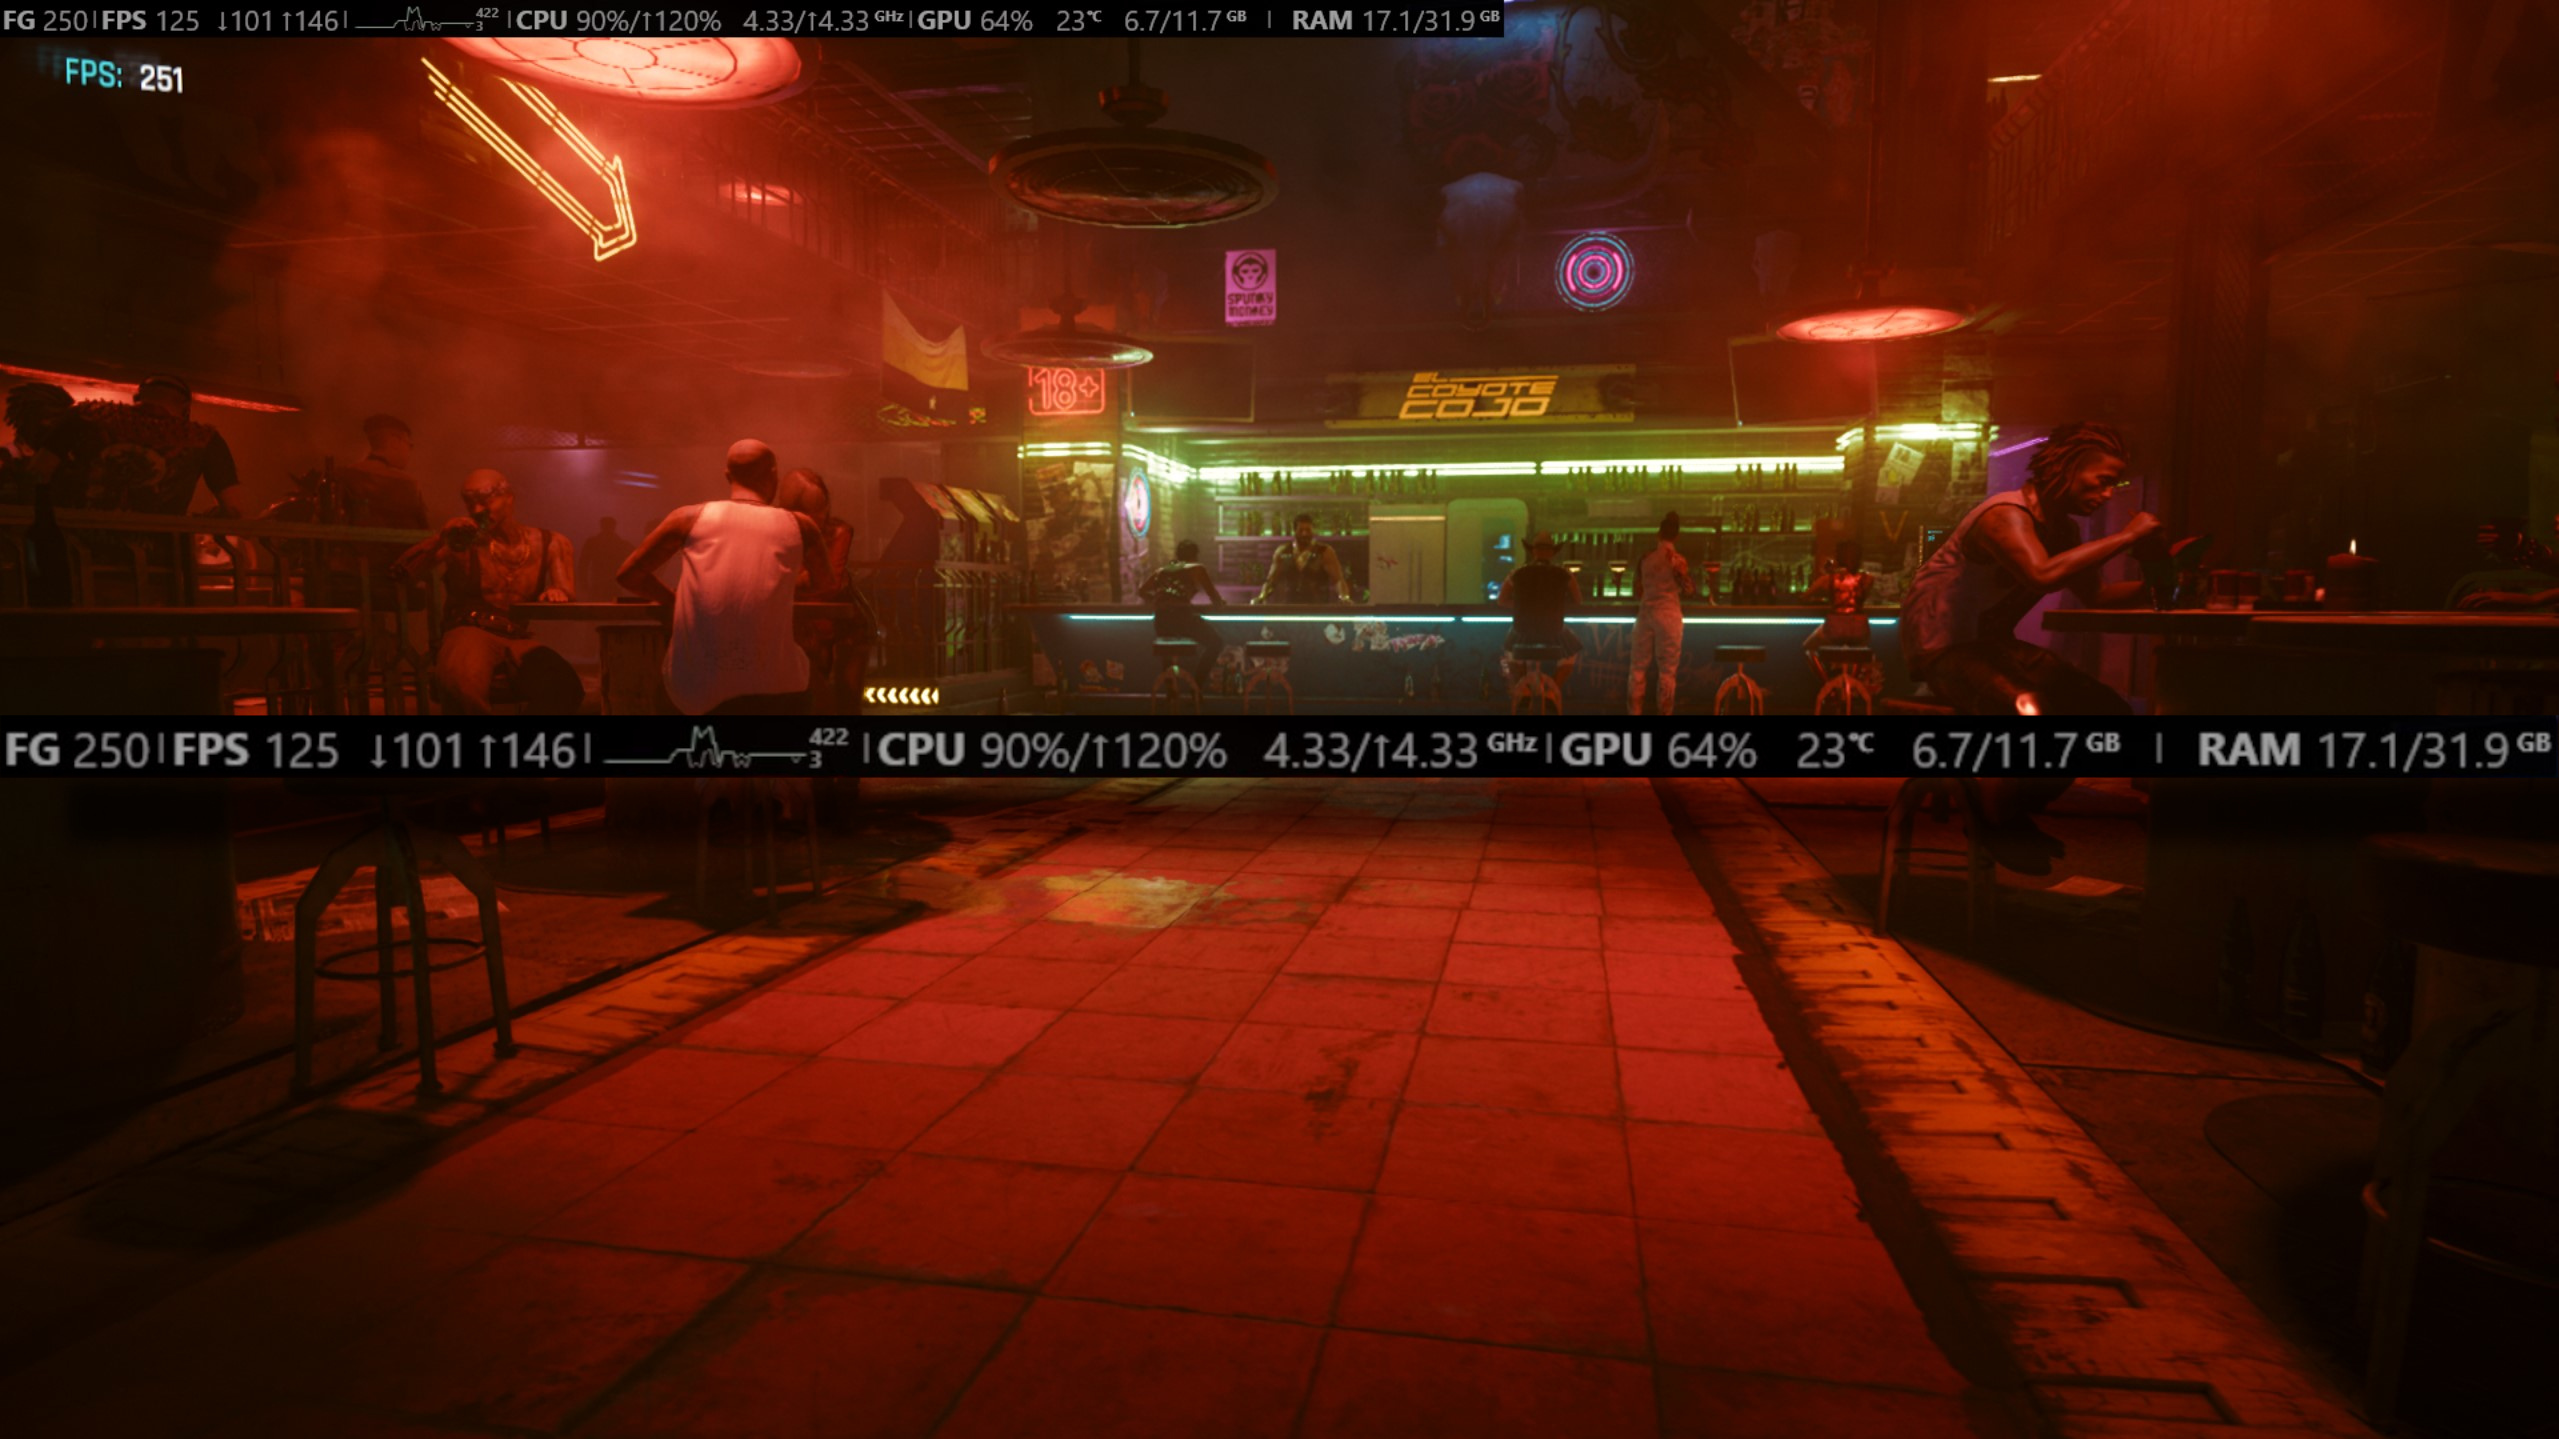
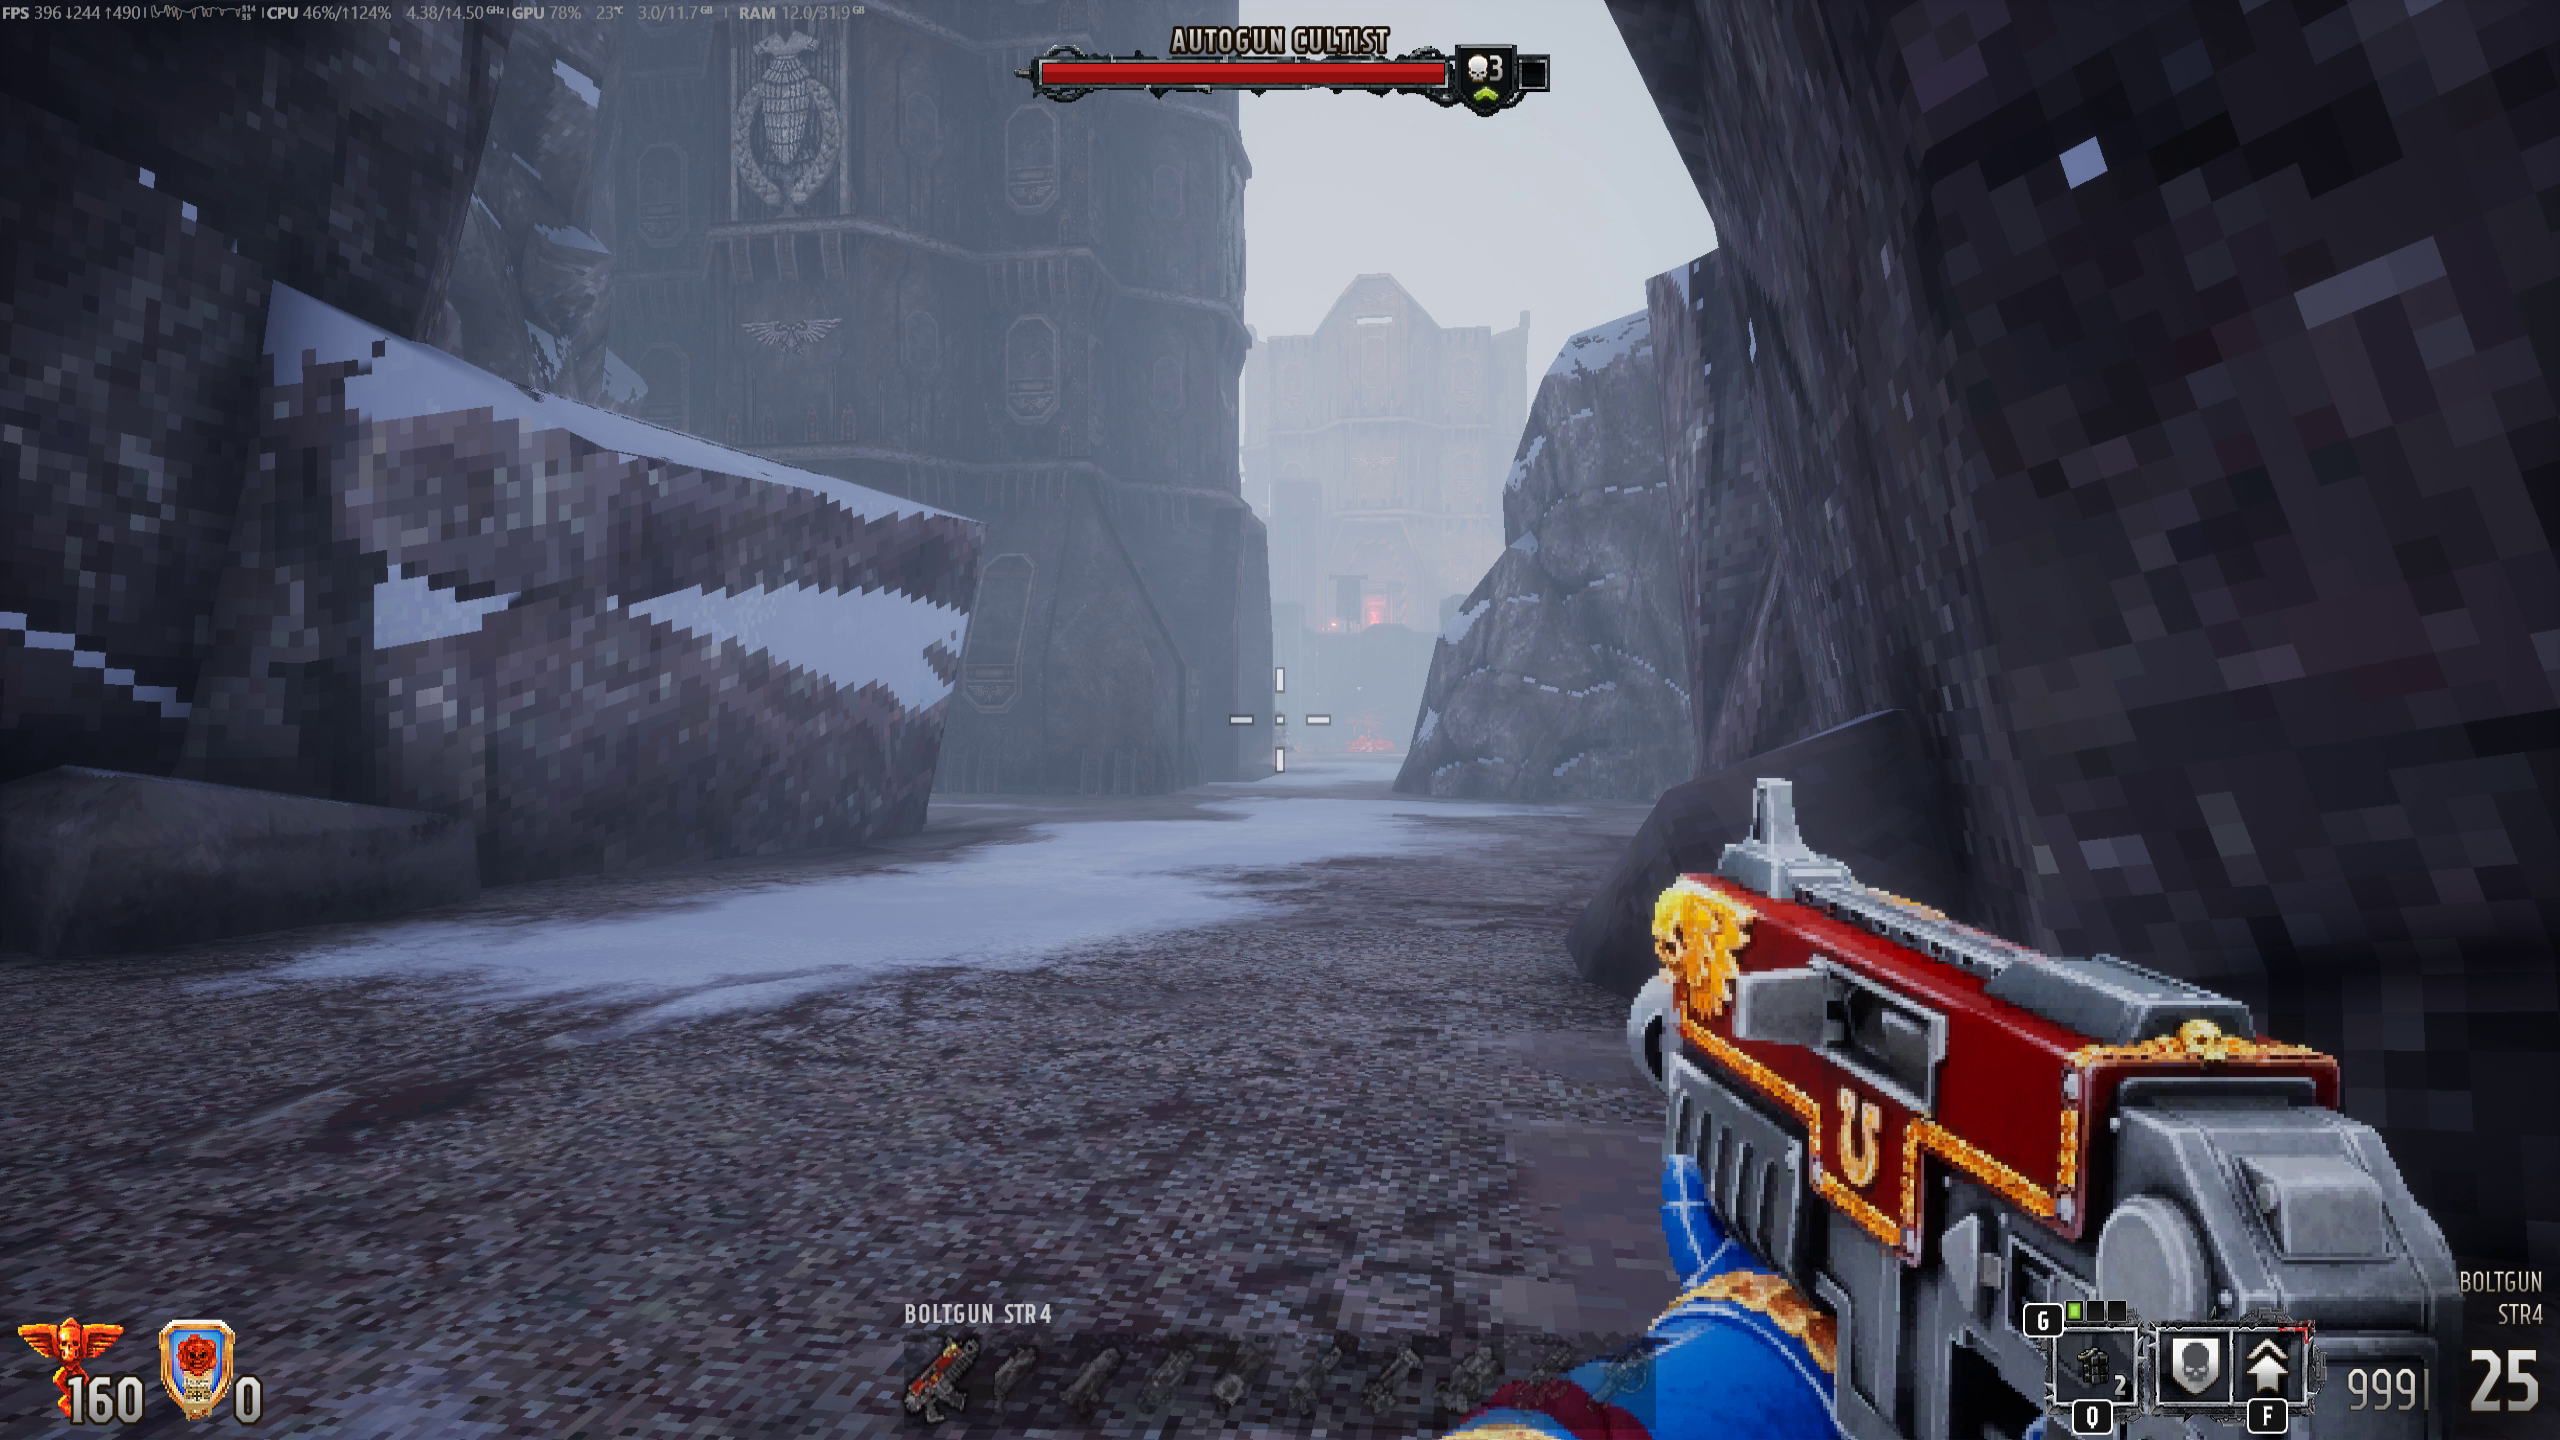
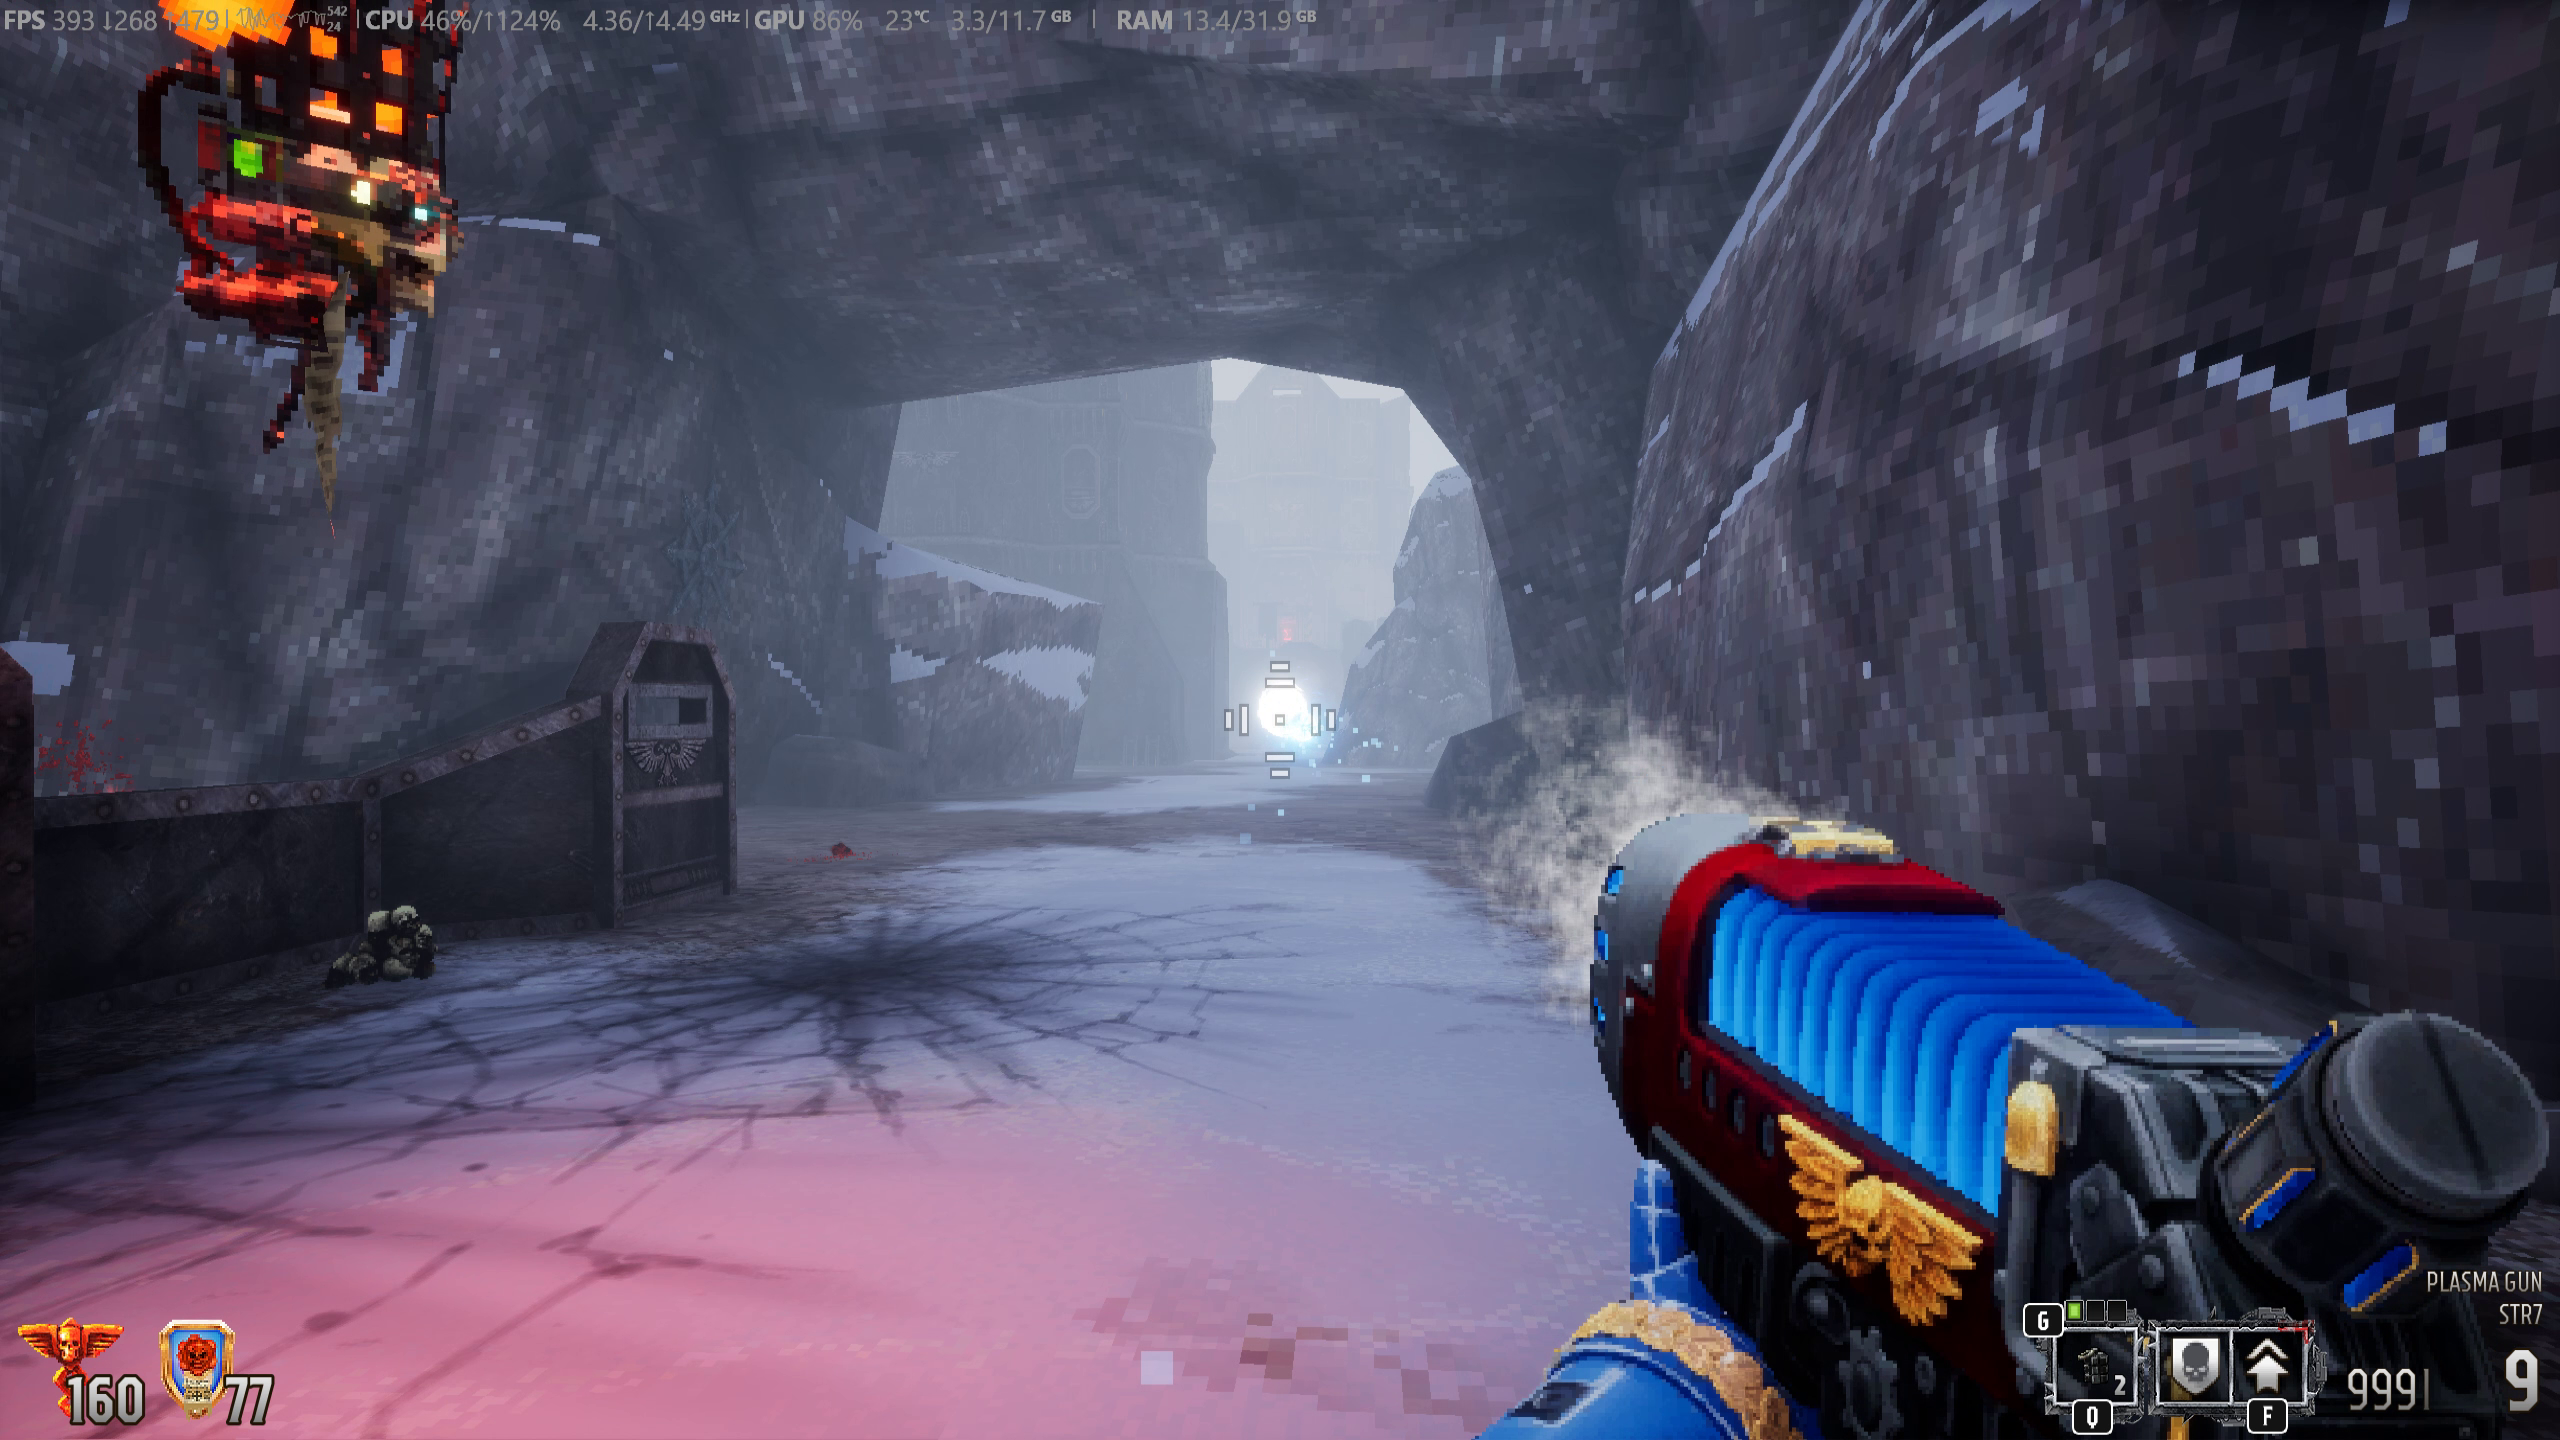
But with Steam’s new in-game performance monitor, we can also see when DLSS / FSR frame generation has been enabled. Yes, the new Steam performance monitor can detect frame generation technologies and provide us with both the DLSS/FSR framegen-enhanced FPS and the baseline FPS in one-second intervals. With this, we can see, at a glance, the FPS boost provided by frame generation. If we are not using any form for frame generation, then we only see one set of FPS values. If frame generation is in use, we get both sets of FPS counters.
Does the new performance monitor work in Linux? Yes, it does! I just tested it with my Bazzite setup, currently in the lounge, ready for a quick gaming session. So, how can you get this working with your setup? I’ve detailed all the steps that you will need to do to get this working on your Windows and Linux gaming PC.
How to install the new Steam in-game performance monitor
1. Click on Steam and Settings.

2. Click on Interface and under Client Beta Participation select “Steam Beta Update”.
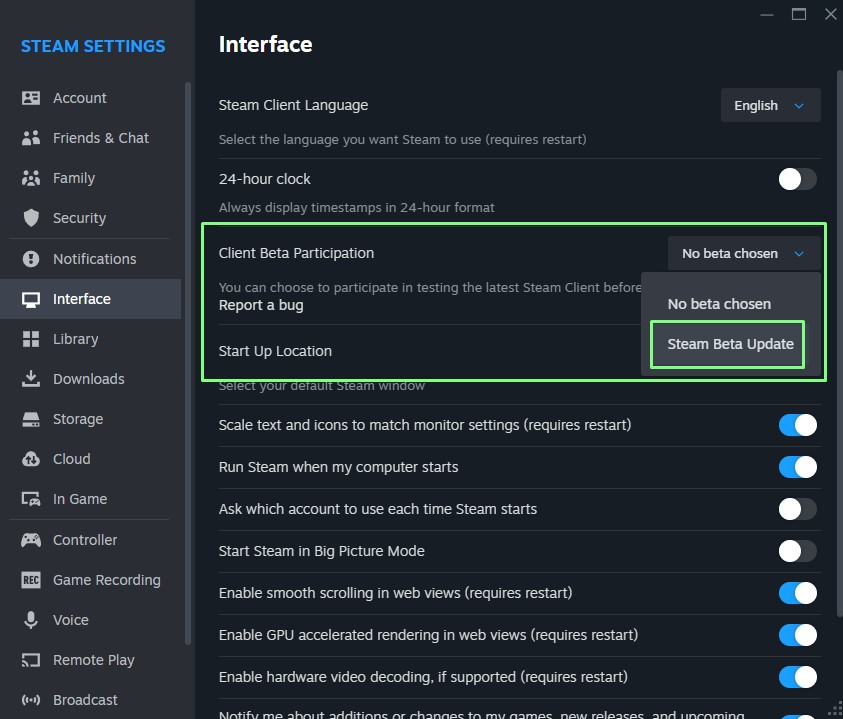
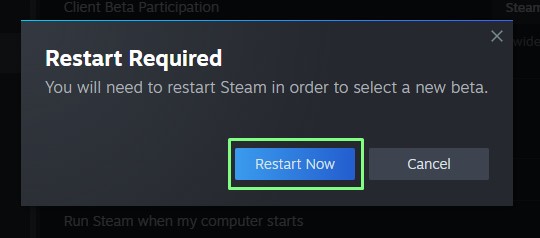
3. Restart Steam for the change to take effect.
4. Click on Steam and Settings.
5. Scroll down to “In Game” and the right side of the window will update.
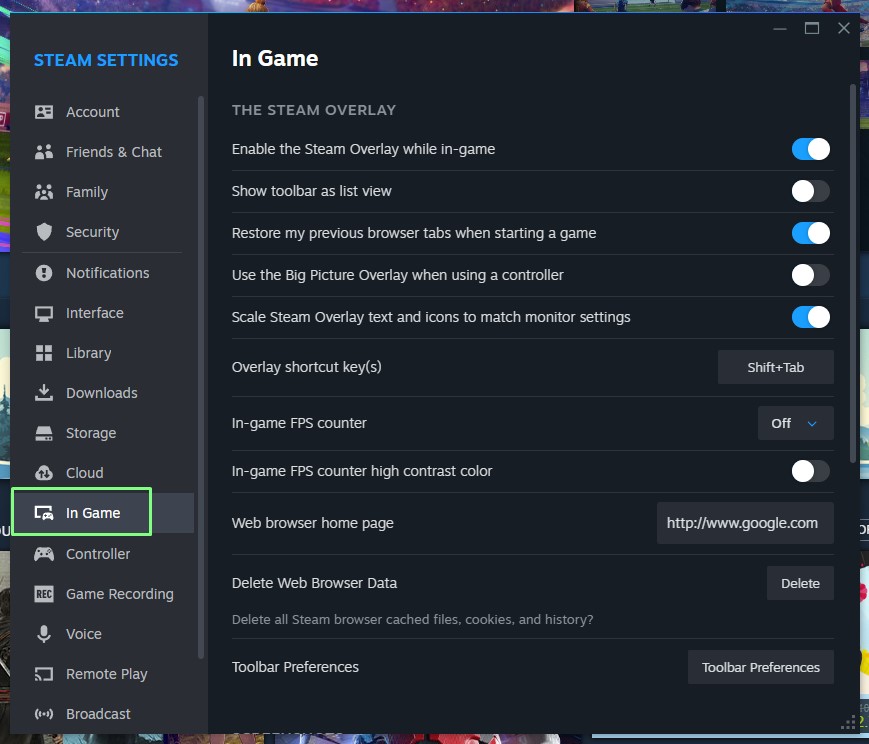
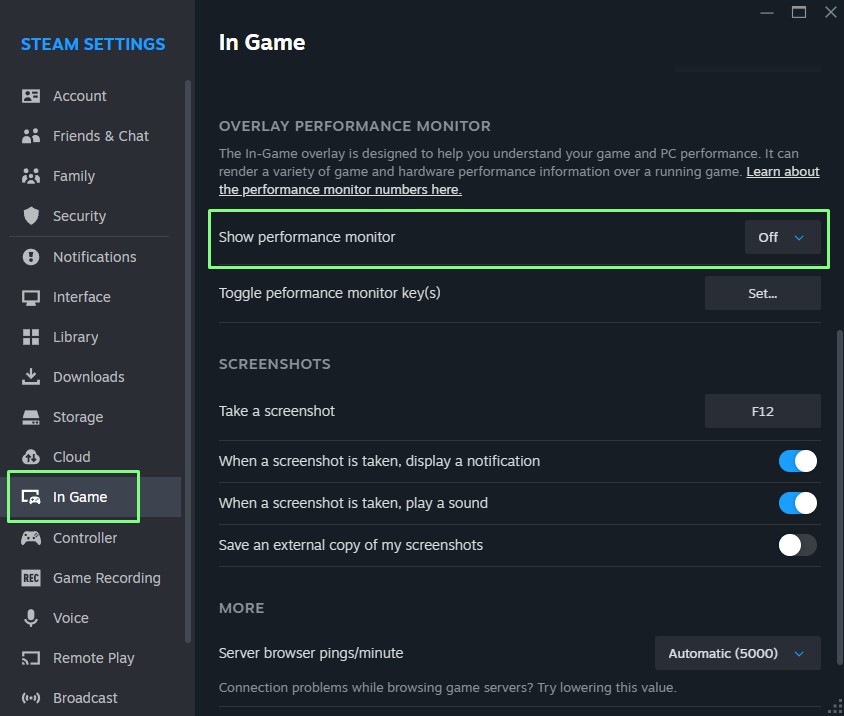
6. Scroll down the In Game section to Overlay Performance Monitor and select Show performance monitor. Change the drop down value to your requirement. I chose the top left of the screen.
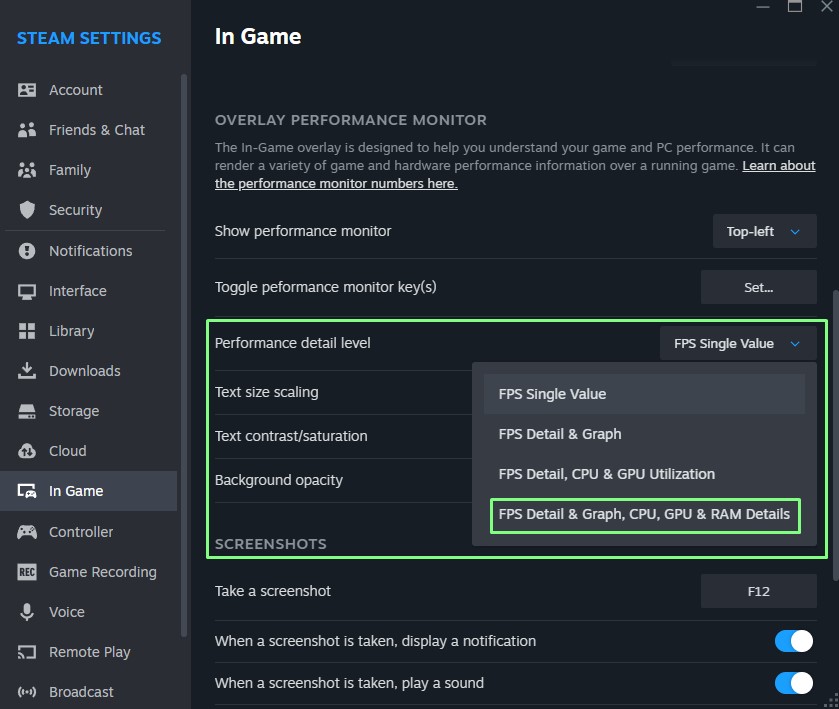
7. Under Performance detail level, select your required level of detail. I chose to show everything!
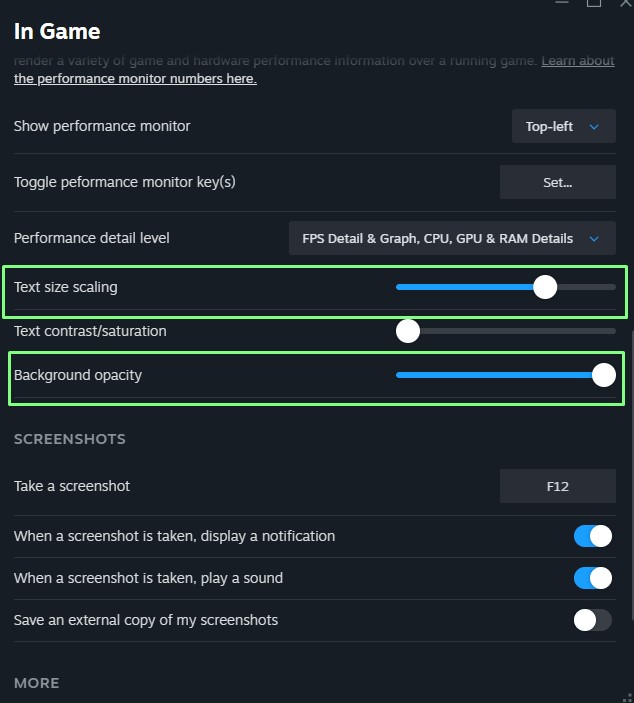
8. Unless you are blessed with excellent eyesight. Change the text scaling level and the background opacity. The further up the scale, the larger the text, the darker the background.
9. Close the window and start your chosen game. The new performance overlay will appear.
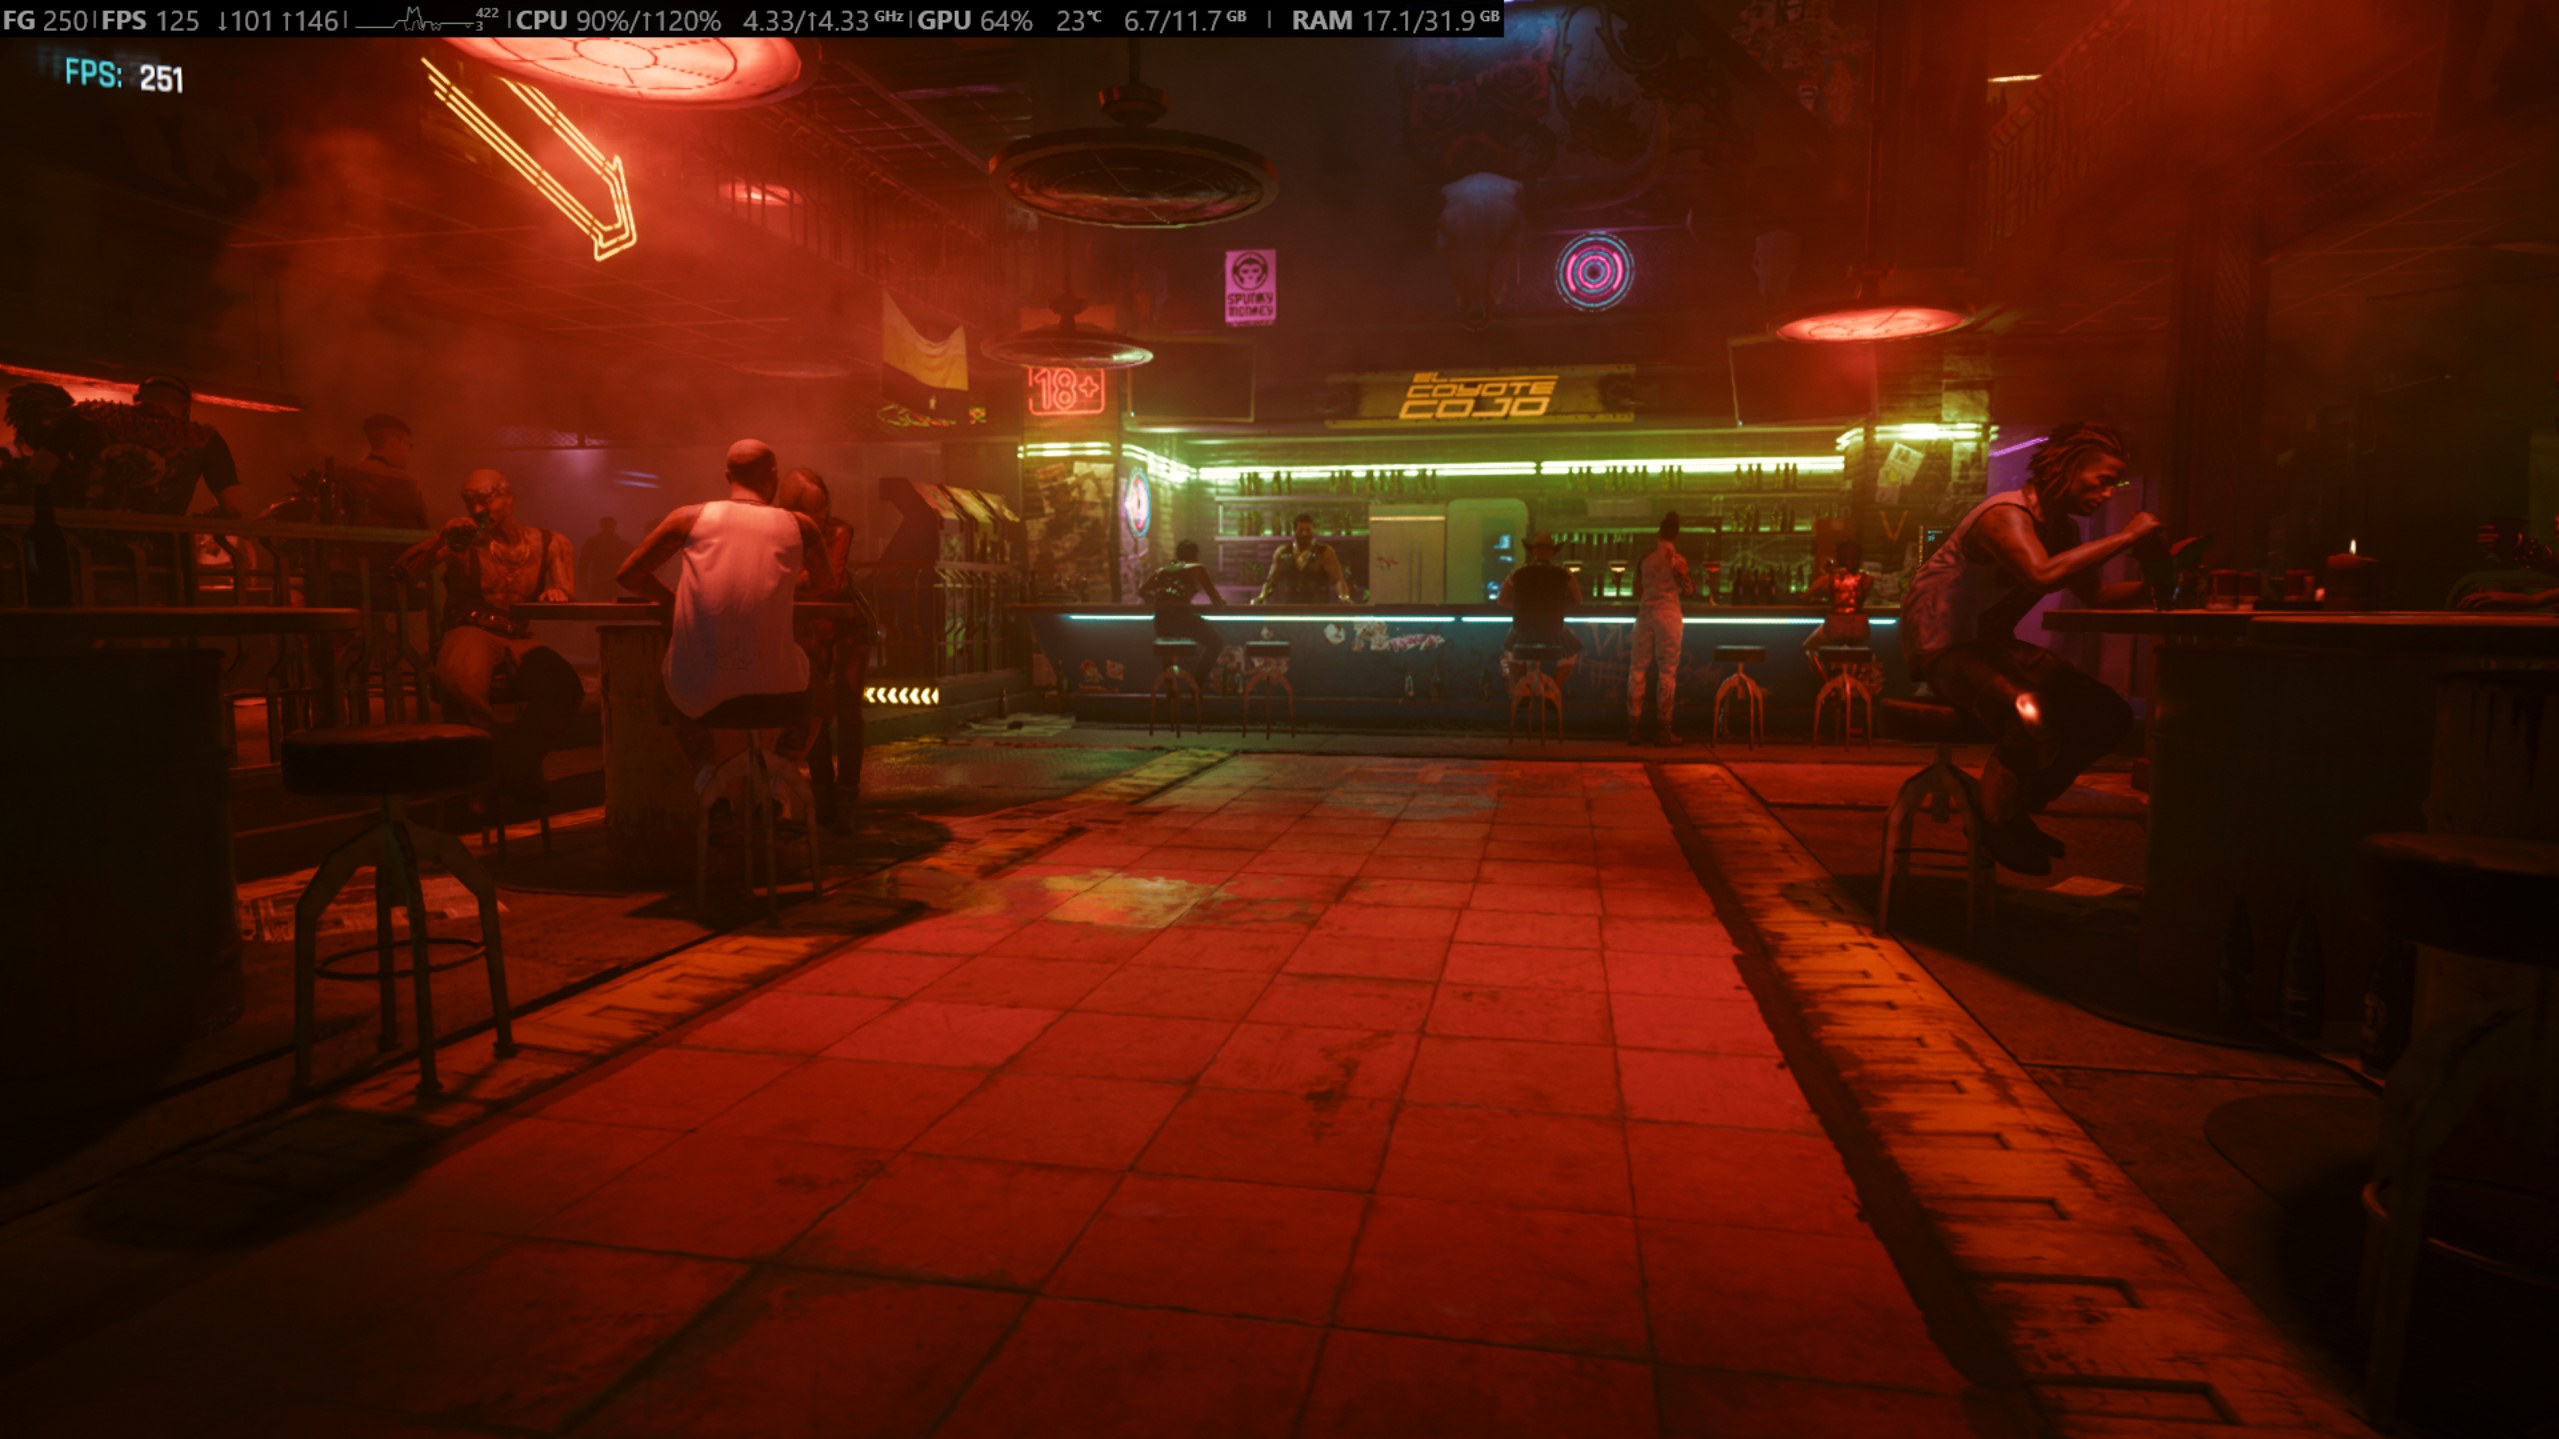
Why did I mention changing the text scaling level? Because on my first go, the text was incredibly hard to read!


 English (US) ·