

Published Apr 16, 2026, 12:01 AM EDT
You can still manually upload your screenshots and videos using a USB cable or microSD card reader
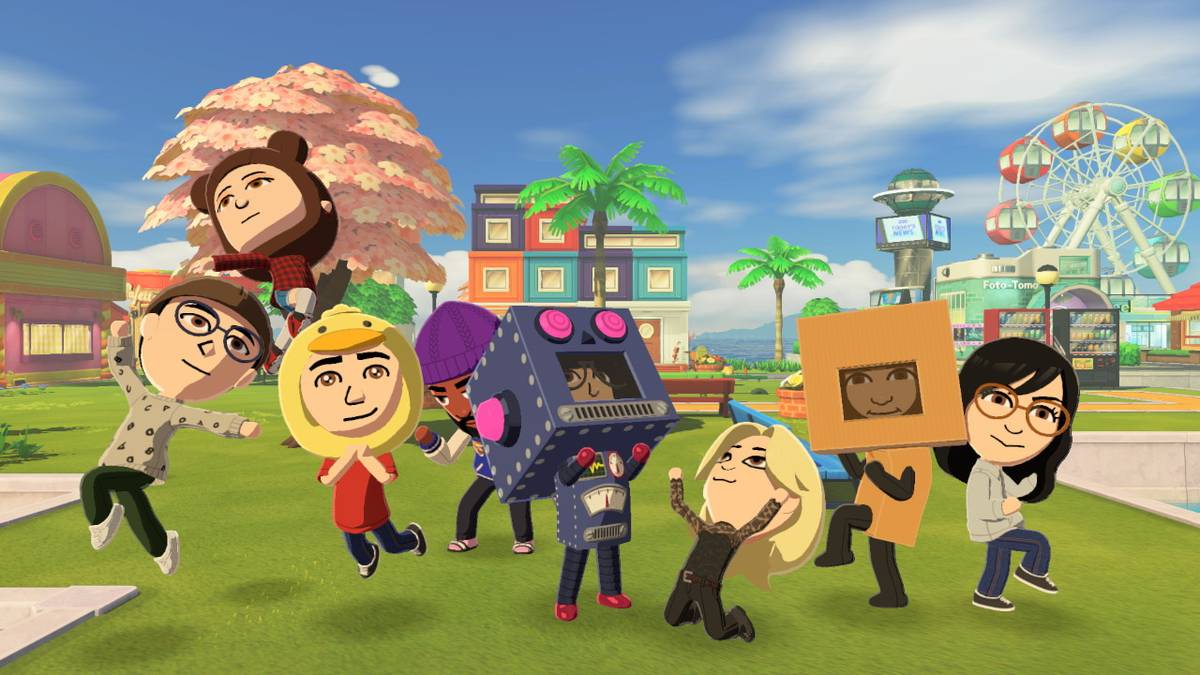
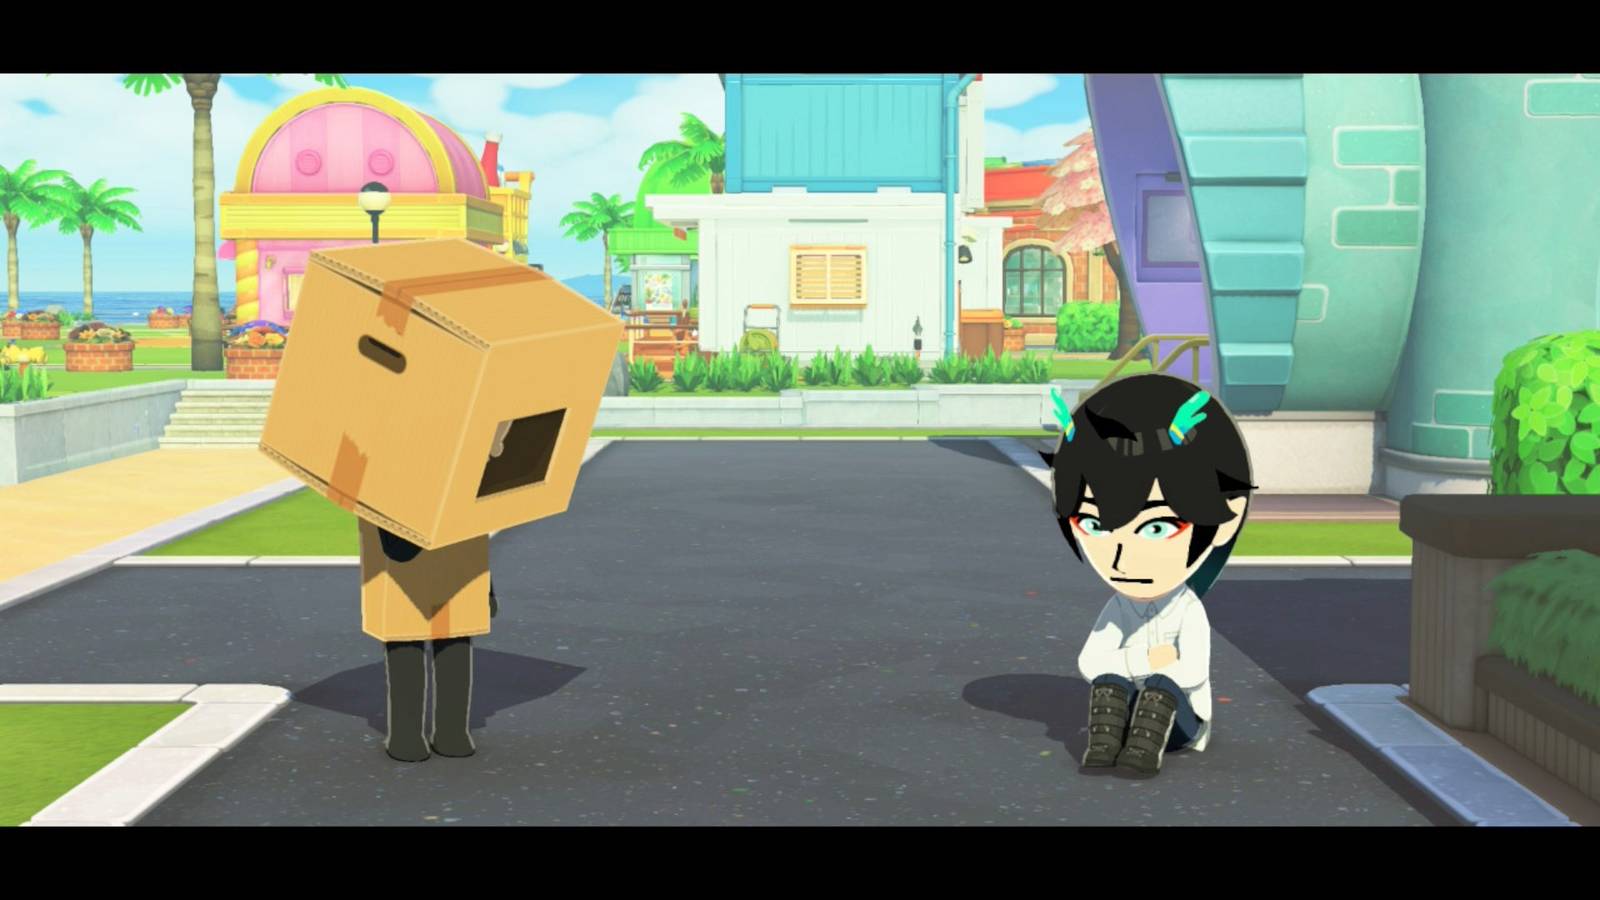
 Image: Nintendo EPD/Nintendo via Polygon
Tomodachi Life: Living the Dream has some very interesting limitations on sharing screenshots, meaning that you can't use the built-in feature that would usually allow you to share images to your phone easily. There is a workaround to share high-quality images, if you don't want to take a photo of your TV or Nintendo Switch screen.
If you have a capture card hooked up to a computer, you can just take screenshots of the display, but if you don't have that, you can also manually upload your screenshots using things you probably already have. It takes a little bit more work, but it's worth it to get clear screenshots of your silly game experiences. That being said, you should still use the Share button to snap any funny moments you run into. (And as a reminder, holding down the Share button will save the last 30 seconds of gameplay as a clip!)
Below, we explain how to share high-quality screenshots and videos from Tomodachi Life: Living the Dream.
There are two manual ways to share screenshots from Tomodachi Life: Living the Dream. You can use a USB-C cable plugged straight into a computer or laptop, or you can use a microSD card reader, the former you're more likely to have readily available, since most smartphones use these cables as chargers. The specific cable you may need depends on what computer or laptop you're using. For example, all modern MacBooks will need a USB-C to USB-C cable, unless you have a separate USB hub for it. Most Windows laptops and PCs can use USB-C to USB-A, as they still have the rectangular-shaped USB ports.
Before you move over your videos or screenshots, remember that you can trim down your videos using the Nintendo Switch's built-in media viewer. Trim down those clips before you ship them off to avoid having to do it later.
To get your screenshots using a USB-C cable:
- Plug the USB-C end of the cable into the bottom port of your Nintendo Switch or Nintendo Switch 2.
- Plug the other end of the cable into your computer or laptop.
- Open the system settings on your Switch.
- Select "data management," scroll down, and select "manage screenshots and videos."
- Scroll down again and select "copy to PC over USB." Your computer should now pick up your Switch and you should be able to access the files on it the way you would a USB drive.
- Copy the screenshots and video from the Tomodachi Life: Living the Dream folder and paste them wherever to save them.
- Select "disconnect" on your Switch once you're finished.
To get your screenshots using a microSD card reader:
- Turn your Nintendo Switch/Nintendo Switch 2 off completely.
- Pull the microSD card out of the back slot. (As a reminder, your microSD card is behind the kickstand.)
- Insert the microSD card into your SD card reader, and then insert the reader into whatever you're uploading the photos to.
- Your screenshots will be nestled in a bunch of folders: Nintendo > Album > (Year) > (Month number) > (Date). Copy and paste the files you want to move to a safe place.
- Make sure to safely remove the SD card reader by ejecting it properly to ensure no data is lost.
This being said, you can, of course, still share photos and videos the old-fashioned way: taking blurry photos of your screen using your phone. There's a certain charm about seeing everyone's silly Miis interact via low-quality phone pictures.


 English (US) ·