
 2 weeks ago
44
2 weeks ago
44
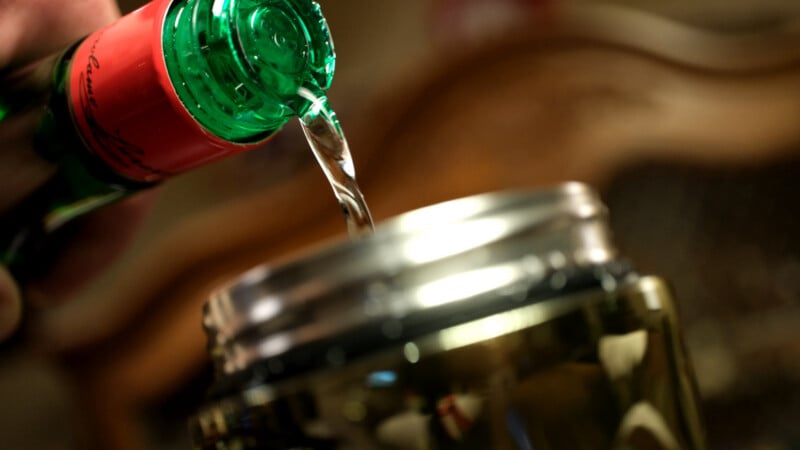
Recently, I was asked to provide feedback on an unreleased product: a cocktail shaker from a well-known culinary brand. The company asked me to take it for a spin, make a few cocktails, and fill out a survey. Survey?! Boring. I’ll do you one better – I’ll make a whole promo product video, right here in my dining room.
Now, I don’t come from a product photography background, but I do know what it takes to create a beautiful product image, so I wanted to see if I could create an awesome edit with a camera, some lights, and a couple camera rigs.
Lock Down Your Lighting
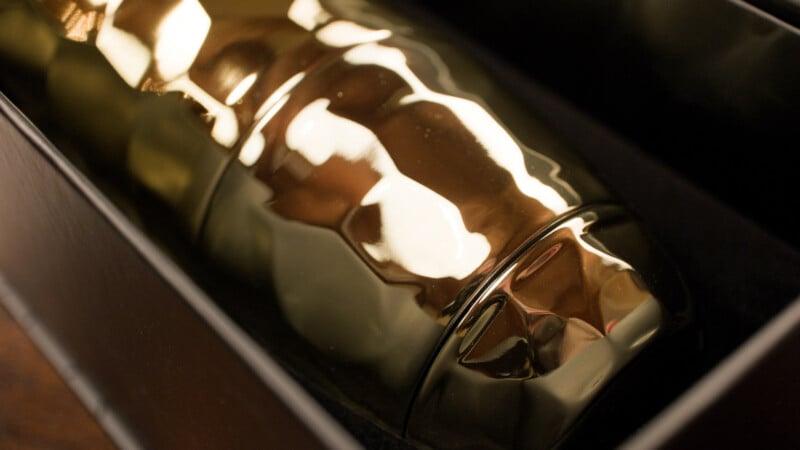
This shaker is gorgeous and features a sleek design with lots of gold facets. But, as a result, it’s very reflective. Therefore, my first task was shaping and controlling light.
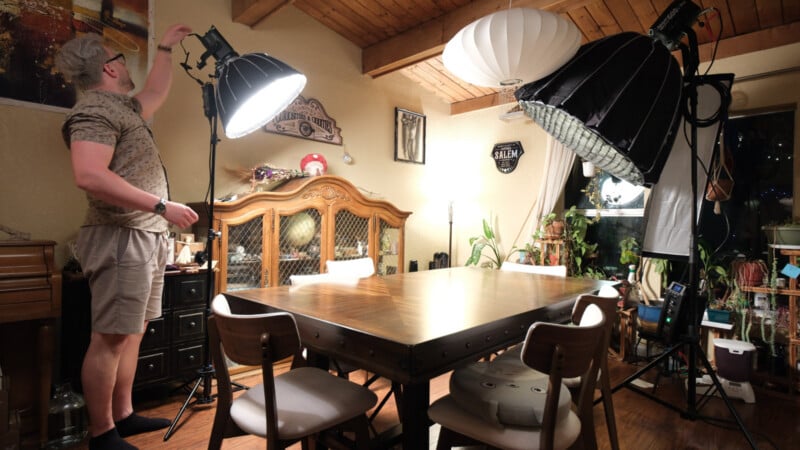
Ideally, I’d shoot at night to avoid daylight spilling in from every direction, but I don’t have that kind of time in the evenings as the father of a young child, so I relied on Plan B. I blacked out the main window and drew the curtains on the one at the far end of the room, getting me pretty close to a full blackout. In this case, close-enough is good enough since my lights would overpower whatever ambient light is left. Using controlled lighting also lets you dial in the color temperature to whatever suits your setup. In this case, because of the warm tones in the environment, I chose to balance around 2,700 to 2,900 Kelvin.
My key light (also called the main light) was an Aputure 600 Bicolor LED affixed with a medium dome softbox, pointed at where I’d be sitting and covering the cocktail area. I also added a grid to this, which narrows the light and controls the spill. Then I added a Nanlite 150 as an edge light for separation, affixed with a small circular dome softbox, and a second edge light on the other side using another Nanlite 150 with a narrow Godox softbox, which is great for tight spaces. I also added grids to each of those softboxes to control the spill further.
Find Your Movement
Tripods are a great start, but product videography lives on motion: slow push-ins, dollies, and anything that moves around the product. I already own a motorized 30-inch slider for controlled push-ins, but for cylindrical products like a shaker and a cocktail glass, I wanted to spin around it and catch the reflections bouncing, so I picked up a small turntable that allowed me to keep focus on the product the entire time while spinning around it.
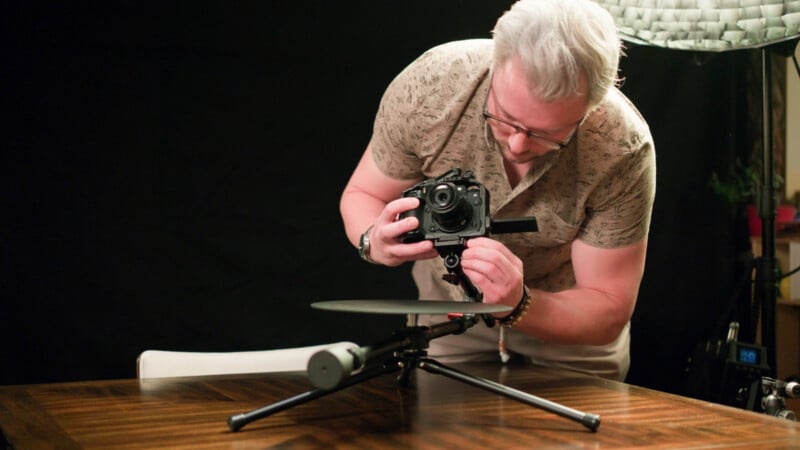
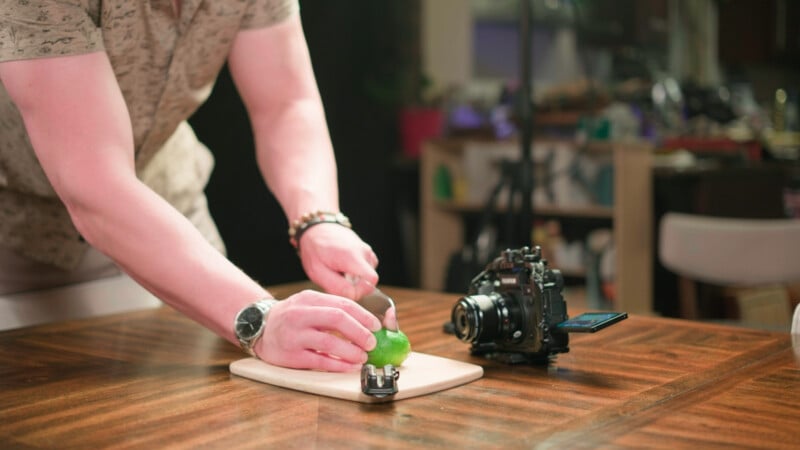
The tripod shots were key in capturing macro details like lemon being squeezed into the cocktail, detail shots of prep, and citrus slicing. The goal was finding the right manual focus and orchestrating all of the action within that plane.
Additional shots captured from overhead, which I captured by putting the tripod on the table and pointing it down onto the shaker (again, with manual focus), rounded out my coverage.
With static shots out of the way, I pulled out the aforementioned turntable. To use it, I set up the shaker on it, set my focus, and ran through multiple moves and takes. It worked like a charm! I also chose to capture multiple takes in 120 frames per second, which would allow me to add some additional visual flair in editing.
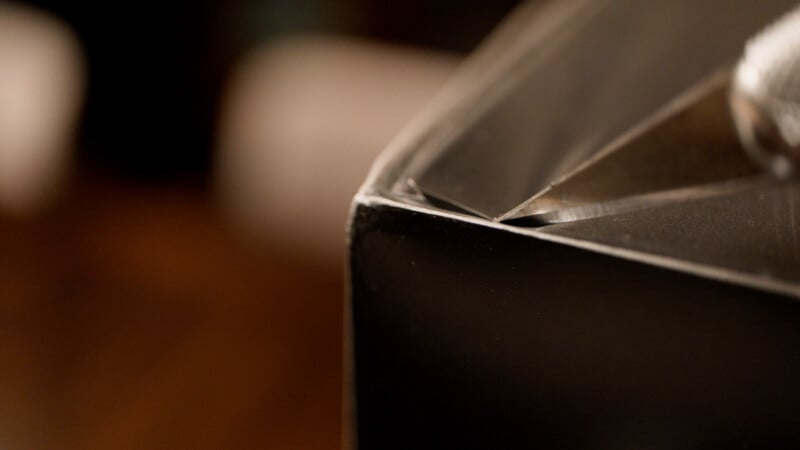
The last challenge was the slider – pretty simple at first glance, but I wanted to push this tool to the limit. I wanted a razor blade gliding across the plastic packaging, so I kept the camera stationary and put the packaging on the slider. On screen it looks like the camera is tracking the blade, when in reality everything is still except the box.

Given the limited gear I used and the limited space (and time) that I had, I think this piece turned out great. I hope that I’ve made my point: you don’t need a studio to shoot product work. Use the space that you have. As long as you control your light, add motion where you can, and create unique setups with the gear you already have, you can make surprisingly good looking video.
Basically, the moral of the story here is to keep creating and challenging yourself. Don’t put artificial limitations on what you think you can do just because you don’t have access to the nicest equipment or the most ideal spaces.



 English (US) ·