
 4 hours ago
7
4 hours ago
7
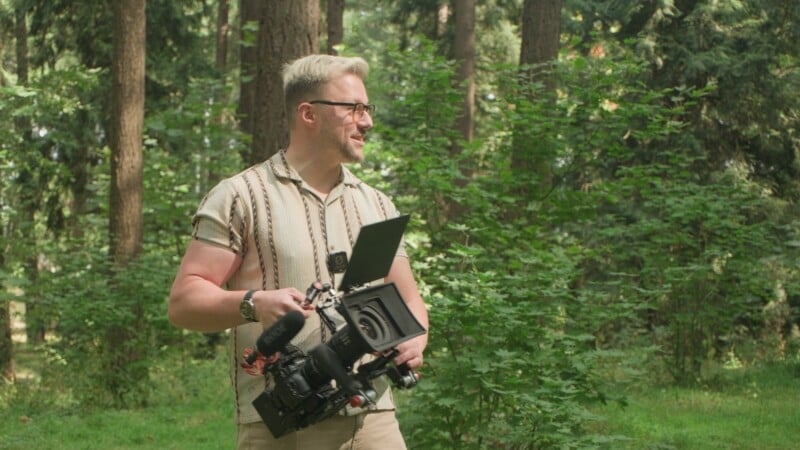
This past week, I pulled out my travel kit and have been testing camera rig configurations for an upcoming documentary project. The goal was to make this thing as versatile and nimble as possible, while still carrying all the gadgets I rely on.
So I decided to break it down and build it out in five stages, from the simplest possible setup to the most complex, to show you how I prep, and perhaps even give you some inspiration for your own rig along the way.
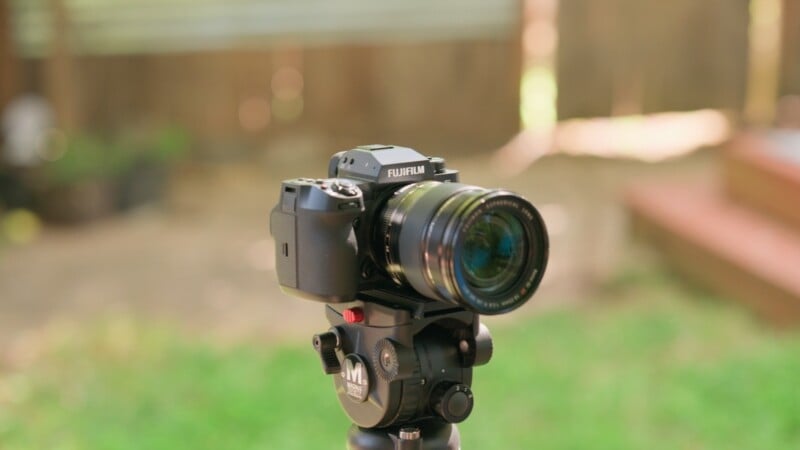
Level 1: Camera and Zoom Lens
The most basic of configurations. A camera, a zoom lens, and nothing else. That’s really all you need to capture moving images. You get a range of focal lengths, autofocus, and a body that can handle just about anything. Easy, nimble, and very lightweight.
The tradeoff is lack of customization, especially when tailoring to your own way of operating, or to what each project demands. We don’t have advanced image control of exposure, and we’re limited to the camera’s display. Plus, I find that lightweight rigs actually do worse on stabilization. Even with in-body stabilization, a light camera sometimes gives itself away on screen with more jerky motions than a larger cinema camera.
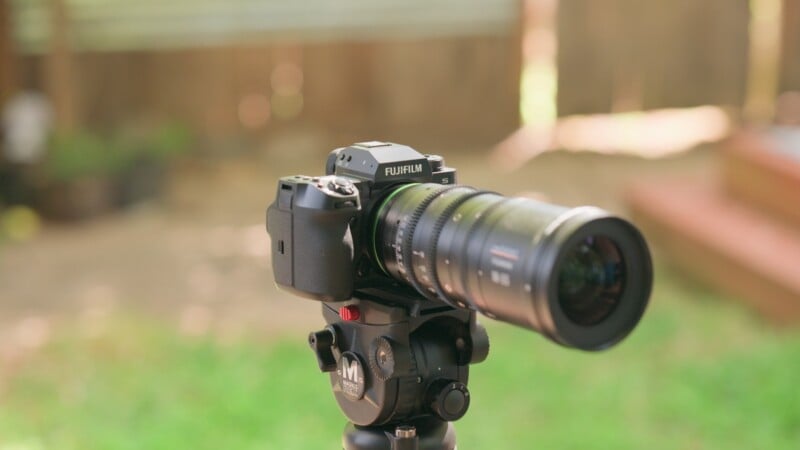
Level 2: Swapping in a Cinema Lens
Still a camera and a zoom, but now the zoom is a cinema lens. That gives you smooth manual control over iris, zoom, and focus, plus hard stops so you know when you’ve hit the end of your ranges. The gears also mean you can add a follow focus later if you want control beyond your hand on the barrel. Plus, adding a variable ND gives you smooth exposure control from the front, allowing exposure changes without touching iris/ISO/shutter.
The downside is there’s still only one real place to grab the camera, so there aren’t many ways to hold it high or low. And the screen is still tiny, which makes this a poor choice for focus-critical work.
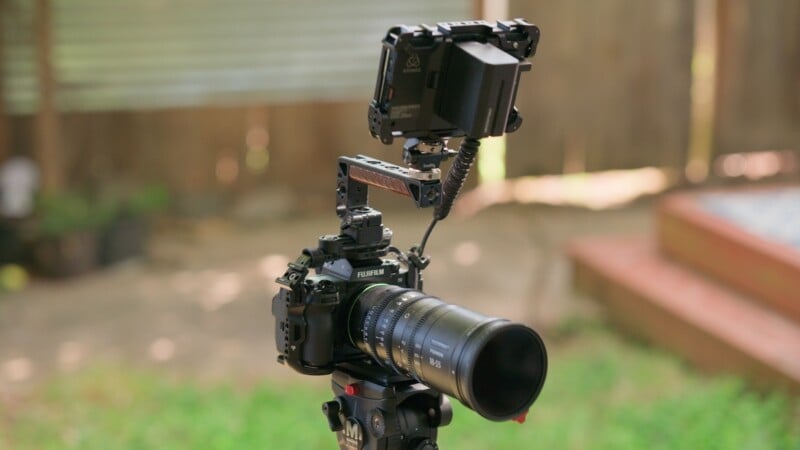
Level 3: Cage and Monitor
Same camera, same lens, but now in a cage. That opens up more mounting points and a top handle, so you can film low, hold it in different ways, and give your arms a break. Plus, adding grip points away from the camera body greatly assists in stabilization. The biggest addition here is an external monitor. Not only can you judge focus far more accurately, you also get useful on-screen tools like waveforms, peaking, and exposure displays.
This configuration has everything you need for clean visuals: the big monitor, variable ND control in front of the lens, and smooth control on the lens itself. However, we haven’t given any thought to recording clean audio yet, so going that route means finding somewhere to mount extra audio gear. It’s also top-heavy once you factor in the monitor and its battery, so the ergonomics suffer as a result. There’s also no way yet to stack filtration or control for spill and flares.
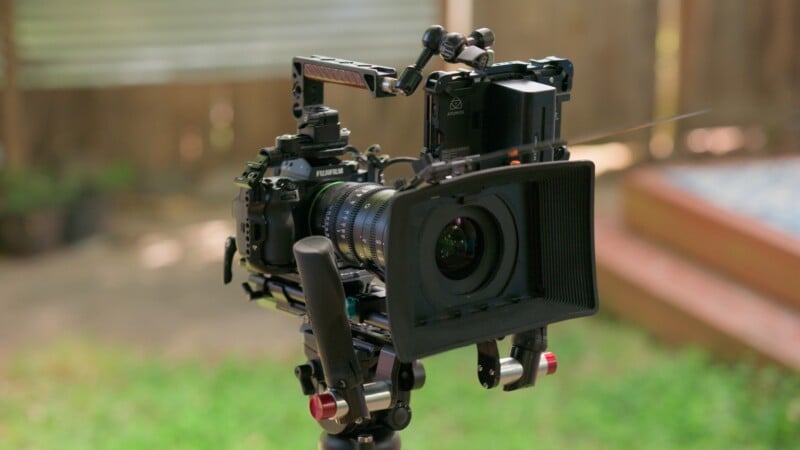
Level 4: Rods, Matte Box, and Hand Grips
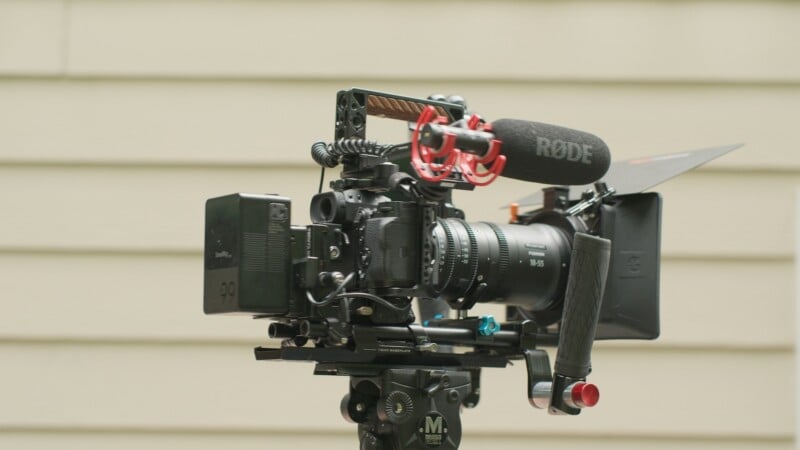
A big jump from level three. I added a base plate, which allows me to add 15mm rods—I love this configuration because I can attach additional handles up front, along with other accessories. The added handles give me much better stability, along with multiple operating options. You can still use the top handle to operate down low, or lift it up to your chest and pull the camera into a snug hug, or even throw it up high on your shoulders. A lens support helps too, keeping the lens propped up to relieve stress on the mount. And an added dovetail sled underneath allows quick reconfiguration from handheld to tripod.
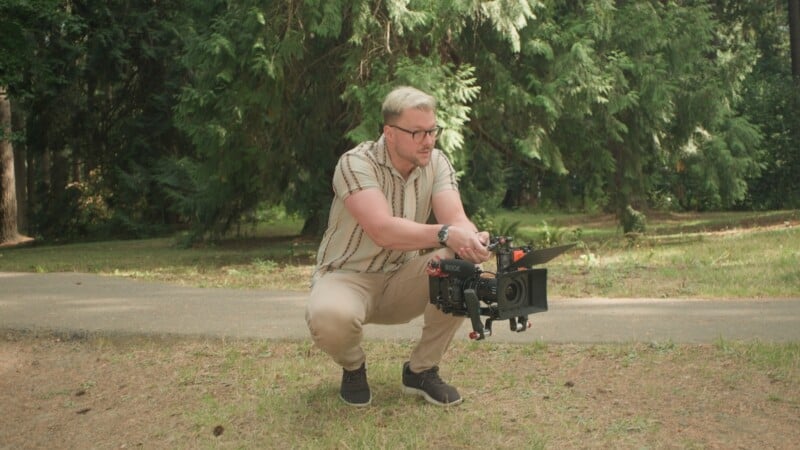
I also moved the monitor from the top handle to the side via an adjustable arm. This becomes especially useful when operating from up high, allowing me to tilt the screen down to where my eyes naturally fall so I’m not craning my neck to look up at it.
The other major addition is a matte box, which I love for two reasons. First, it does a great job controlling unwanted flares and spill on the front element or filter, giving me consistency across multiple angles under natural lighting conditions. Second, it lets me mount multiple types of filters. Variable NDs are great, but push them to the extremes and you’ll see some banding, so static NDs of various strengths are a great alternative. Plus you can stack additional effect filters, like a Black Pro-Mist on top of your NDs, giving you both exposure and creative control.
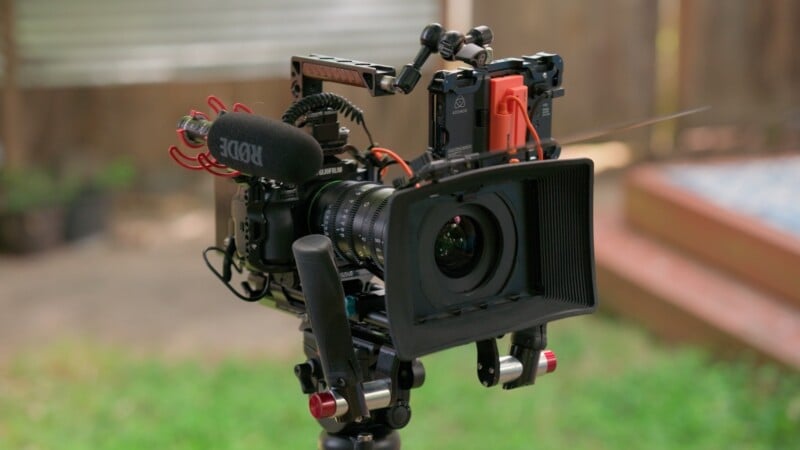
Level 5: Audio, Big Battery, and Timecode
Level four was probably the peak for efficiency and balance between weight and functionality, but this one is about all the extra gadgets that keep a bigger production running smoothly.
We’ve added an external shotgun mic to record a quality scratch track instead of relying on the internal mics. I also added a V-mount battery with a breakout box at the back. This eliminates the need for a monitor battery, which makes the front lighter, though of course it compensates with weight in the rear. And if you’re working off a shoulder mount, that rear balance can actually help your stability. The main advantage to this battery is less downtime: rather than juggling small camera and monitor batteries, one large battery can last half a day or longer, eliminating the need to ever shut off the camera during an active production.
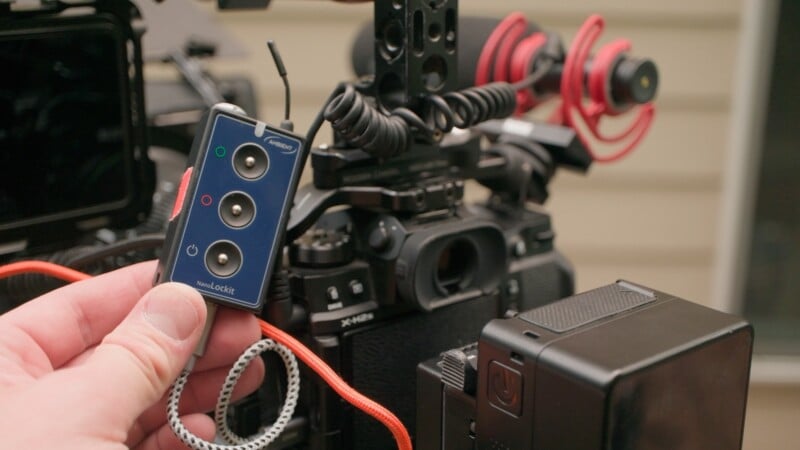
The last piece here is a timecode box, an Ambient Lockit in this case, running into the side over USB-C. It syncs across multiple boxes, audio recorders, and cameras, which makes it essential for a multi-cam show. It does add an extra cable to manage and another battery to keep charged, but the feature can be a huge timesaver in post.
With all these accessories, this rig starts to get heavy, and it isn’t for everyone. This is how I prefer to operate most of the time, but it can wear you down on a long three-hour interview. I could keep adding to this, but for handheld work on a documentary, this is about the limit of what I’m comfortable carrying, even for short stretches. On a bigger production with a video village, I’d look at adding a wireless video feed, potentially a bigger power setup, a shoulder rig, or even a full harness such as an Easyrig.
The Takeaway
That’s the full spread, from the lightest to the most complex. Each level solves a specific problem and introduces its own compromises, so the right one depends entirely on the job in front of you.
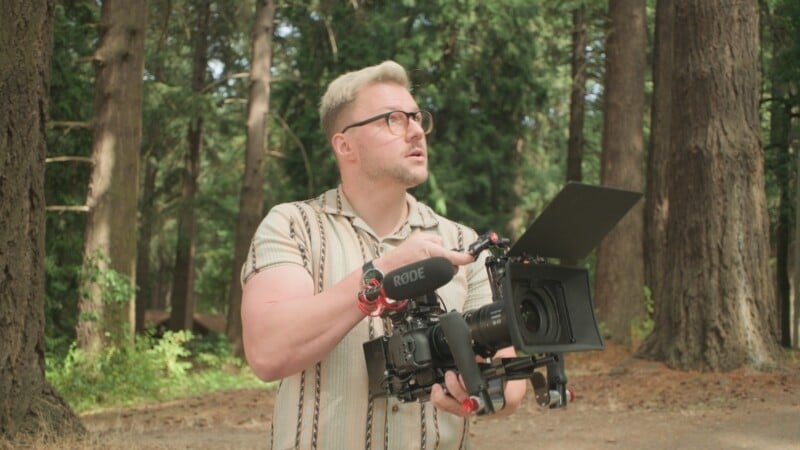
And obviously, there are so many different camera, lens, and accessory offerings from many different brands, so while this may not be your exact configuration, I hope that by breaking my rig down to several levels, I’ve given you some ideas on how to customize your own.



 English (US) ·