
 4 weeks ago
27
4 weeks ago
27
Every landscape image is different, yet the same handful of moves show up in almost every edit that actually works. Learn those moves and you stop guessing your way through post-processing and start finishing photos on purpose.
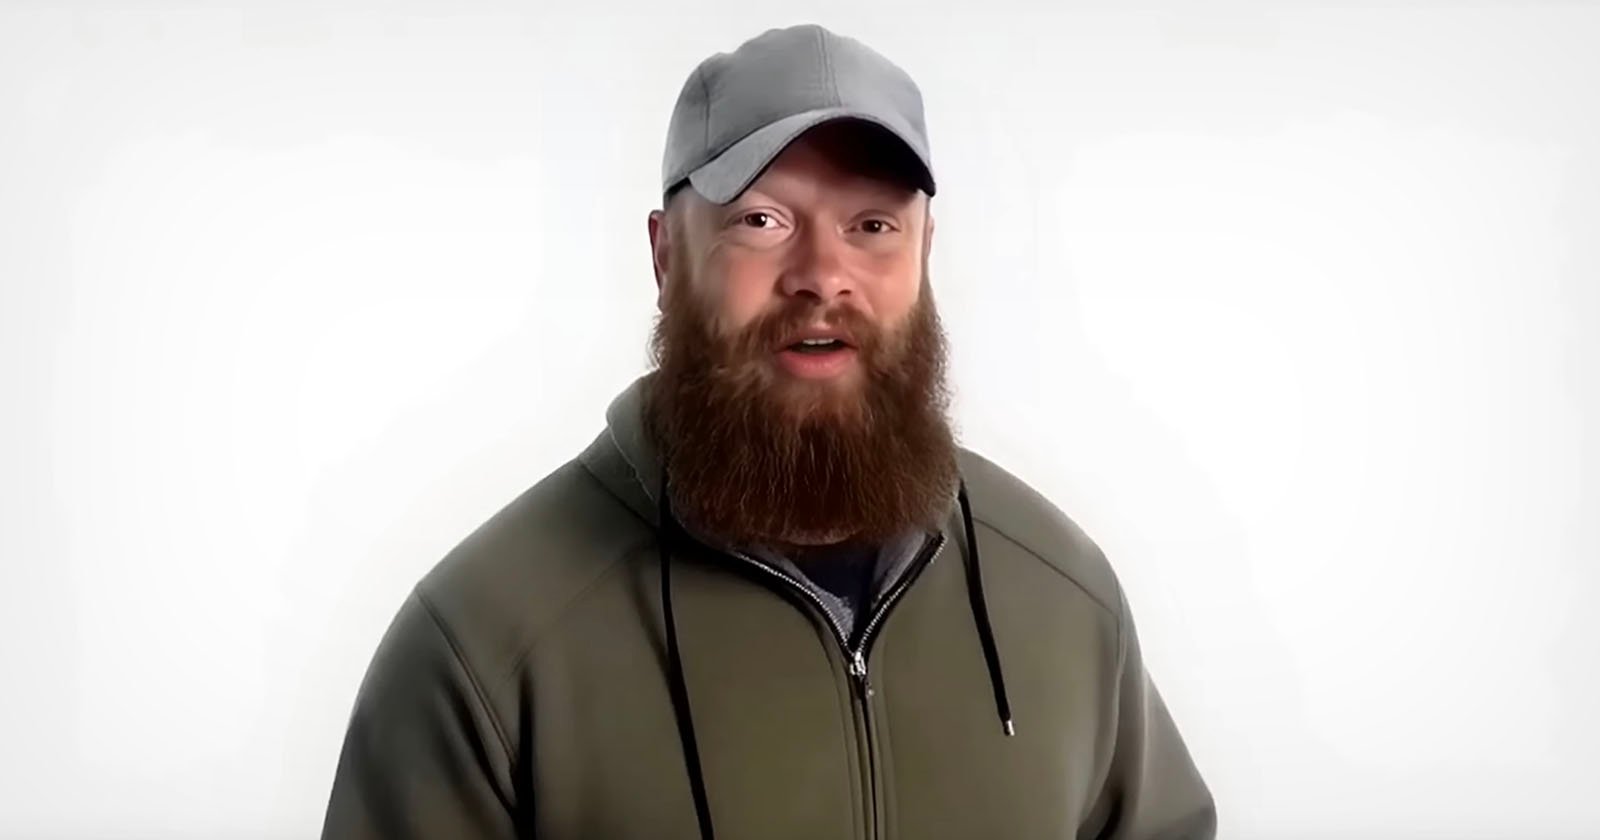
Working through a single Scottish landscape shot, Ian Worth walks through five steps he says he can't edit a photo without, using DxO PhotoLab 10 to demonstrate each one. The image was captured on an OM-1 Mark II with the 12-40mm f/2.8 lens, shot as a raw file that needs work to shine. Worth starts with noise reduction, applying DeepPRIME XD3 at the very top of his workflow to clean up noise, handle demosaicing, and strip chromatic aberration. His base ISO frame barely needs it, so he pulls up a second shot taken by accident at ISO 8,000 to show what the tool does under pressure. That mistake frame, which looked like a throwaway, becomes usable once the noise reduction kicks in.
Cropping comes early too, and Worth treats it as a creative decision rather than cleanup. He shoots a little wider when working handheld so he can straighten crooked horizons, and he frames in camera at the aspect ratio he wants the final image to be. Since the crop is non-destructive, the raw file keeps all its data, and PhotoLab 10 can show the original in-camera aspect ratio as a reminder of how you framed the shot. From there he moves into what he calls the most important part of his process, controlling where the viewer looks. He leans on local adjustments over global ones, targeting specific areas with a gradient mask to darken the top of the sky and the new depth mask to lift the heather in the midground without touching the foreground or background.
The depth mask is where Worth's approach connects to a wider shift in editing software. Depth-based selection uses distance information to separate near from far, and it's showing up across the industry as a faster alternative to hand-painted masks and luminosity ranges. For landscape work, where the interesting light often sits on a single plane, a mask that isolates the middle distance solves a problem that used to take multiple overlapping selections. The principle carries beyond any one program: think about your scene in layers of depth before you reach for a slider. Deciding which plane carries the story, then brightening or warming only that plane, gives an image the sense of direction that separates a snapshot from a photograph. It's the same logic behind color grading shadows cool and highlights warm, a trick borrowed from cinema that adds color contrast the eye reads before it consciously notices.
Color grading is Worth's finishing touch, and he keeps it deliberately quiet. Using PhotoLab 10's new color grading tool, he drags a point to the outer edge of the color wheel to preview the hue, holds shift to lock it, then dials the intensity back toward the center until the effect is barely visible. Cooler shadows, warmer highlights, nothing you'd point to directly. His final pass covers global tweaks and cleanup, including a retouch tool that automatically hunts for sensor spots and lets you push the sensitivity up or down depending on how aggressive you want the detection.
One update Worth flags as a real change is the direct link between PhotoLab 10 and Affinity, the layer-based pixel editor that now costs nothing after you sign up for a free Canva account. You can send an image into Affinity for focus stacking or exposure blending, then save it back into PhotoLab without breaking your workflow. He also points out that PhotoLab is a one-time purchase rather than a subscription, so new releases are an optional upgrade instead of a recurring charge.
Watch the full breakdown above to see each mask, the color wheel moves, and the ISO 8,000 rescue play out in real time.




 English (US) ·