
 1 week ago
5
1 week ago
5
As with everything in photography, how to set your camera as a wildlife photographer can be subjective. But very few things are more important – camera settings and can affect wildlife photos in a uniquely powerful way. This article aims to clarify the most common settings a beginner wildlife photographer should master and how to set them properly!
Shoot RAW and Avoid In-Camera JPEGs
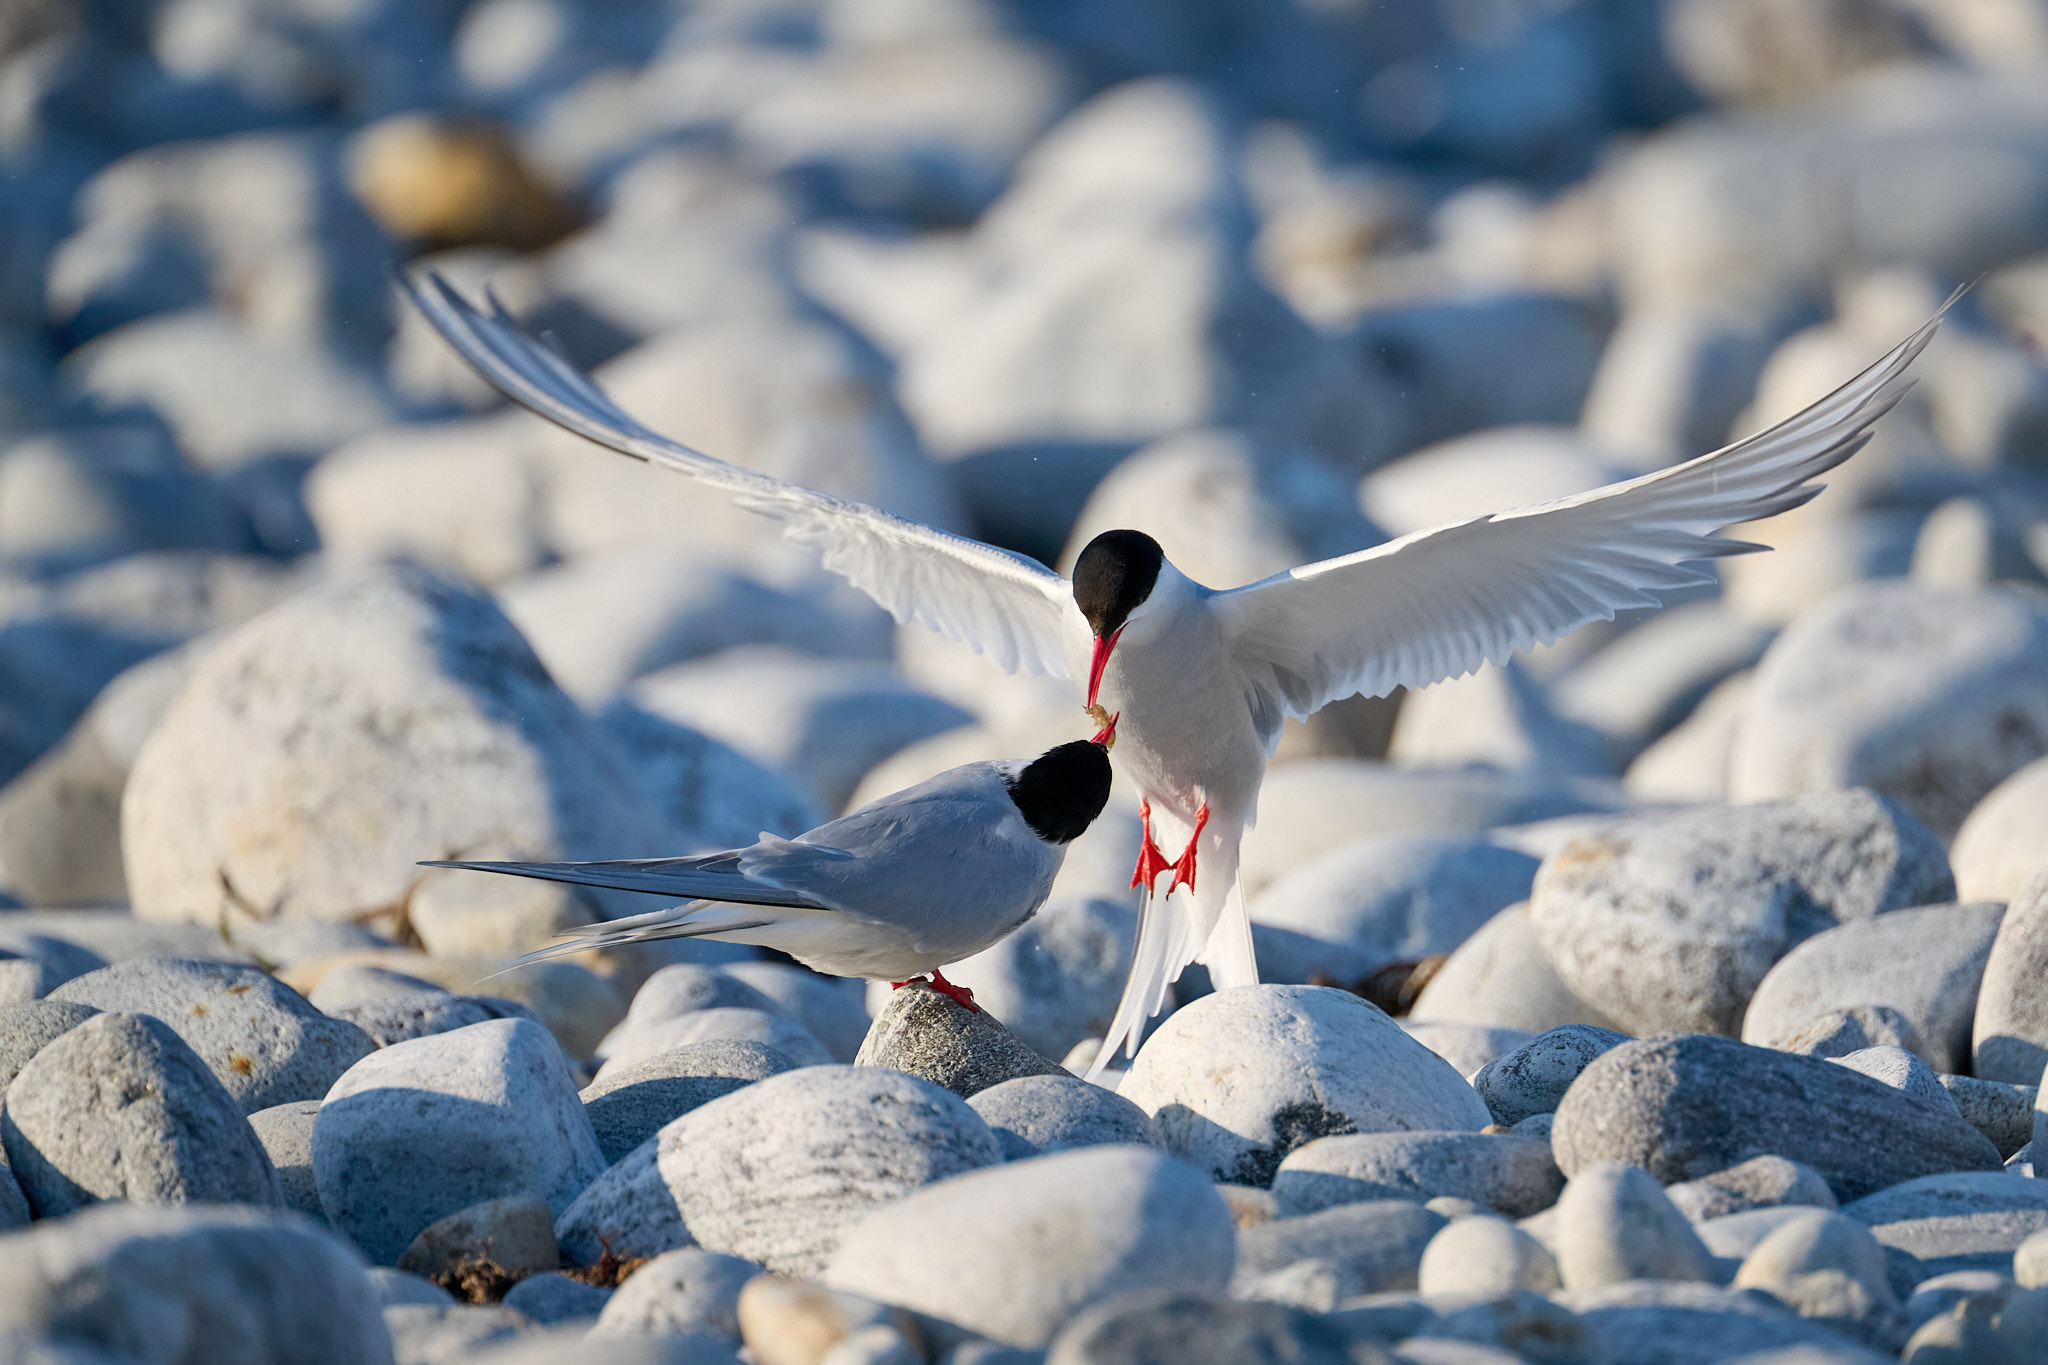
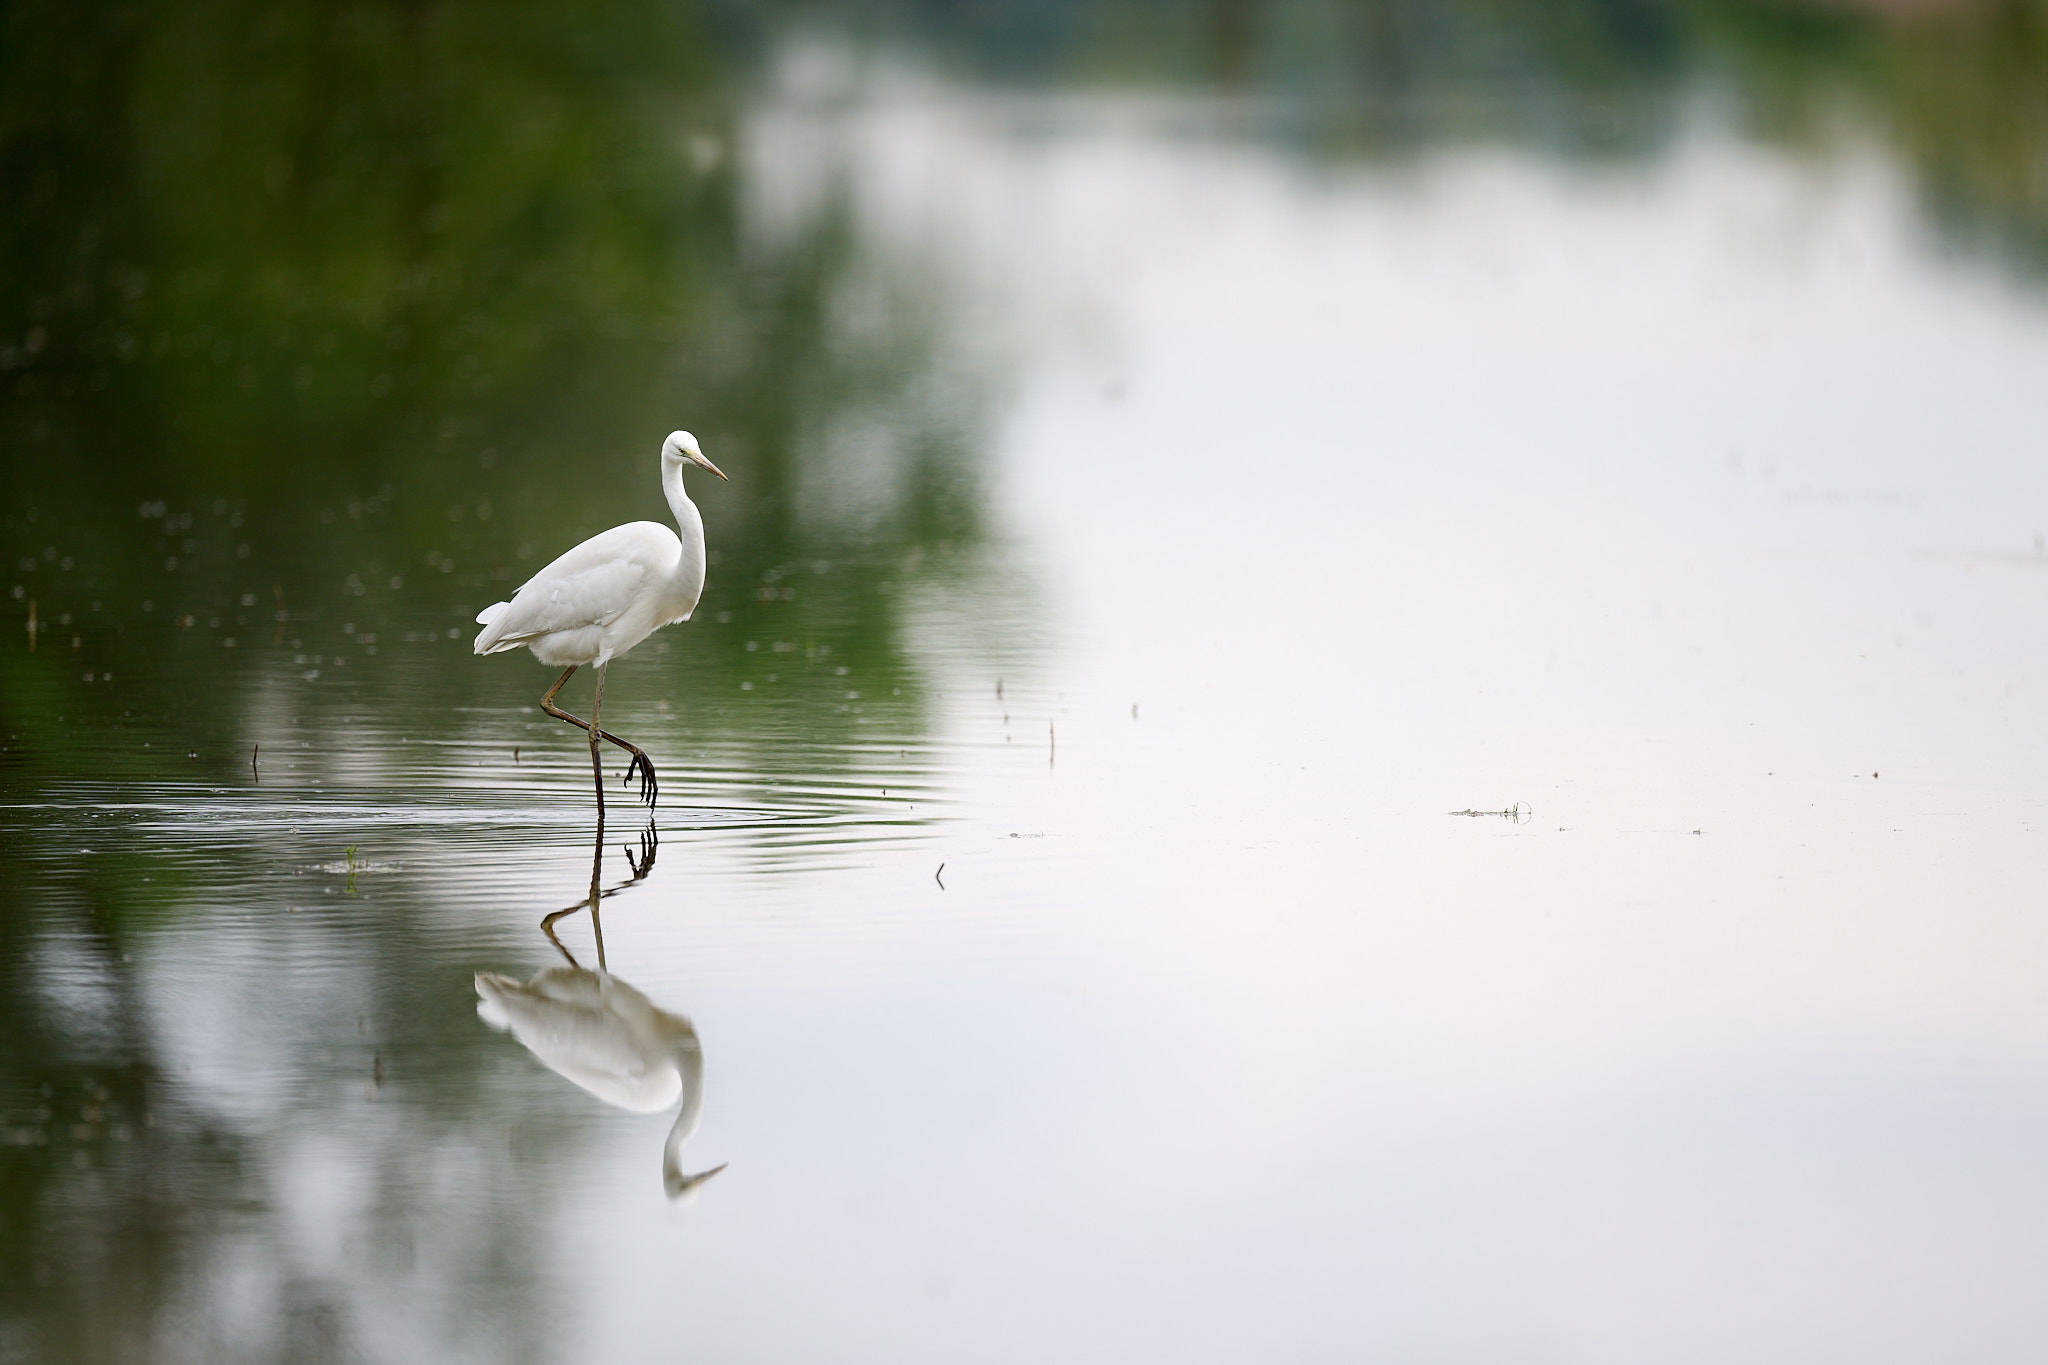 NIKON Z 9 + NIKKOR Z 600mm f/4 TC VR S @ 600mm, ISO 64, 1/500, f/4.0
JPEG is a compressed format, which means that data is squeezed to reduce the file size and it only captures 8 bits of color. Additionally, the camera applies noise reduction and sharpening to the file using its internal algorithms, which do not match the capabilities of modern software. Also, JPEG limitations make the effect of your white balance settings and color space choices irreversible.
This doesn’t mean that it’s impossible to take good photos using JPEG, or that you will never need to use them. Professional sports photographers who need to provide the editorial team with their images very quickly surely benefit from this file format. And some cameras have features that only apply to JPEGs, like a pre-release capture mode. However, I consider shooting in JPEG to require much more work and expertise than shooting RAW if you are to get good results. Suddenly you need to think about many more settings than usual when shooting JPEG, since so many things are no longer reversible in post-processing.
I’m not a fan of heavy post-production and I don’t even have Photoshop or any other pixel-level editor installed on my Mac. However, I believe it’s crucial to be able to optimize my files and work with them to achieve the best results. And, at the end of the day, an out-of-camera JPEG just limits this flexibility too much due to compression and irreversible settings applied to the files.
Frankly speaking, I think even sports photographers who need to deliver immediate JPEGs on a deadline are mostly shooting RAW+JPEG these days.
I have one small note. Cameras these days will not show you (in live view or when reviewing an image) the direct RAW data you are capturing. They will instead show you a preview, and a histogram, based upon your JPEG settings. So, you should still pick all the various JPEG settings – things like vignetting correction, picture style, white balance, etc. – carefully, so that you are seeing a useful preview of your images. (For example, I like to set my Picture Control to Neutral so that I am accurately seeing how much highlight detail I’m capturing, and whether I blew out any of the highlights in a photo. Especially in cases like the photo of the gannet below, where highlight detail is important but difficult to capture.)
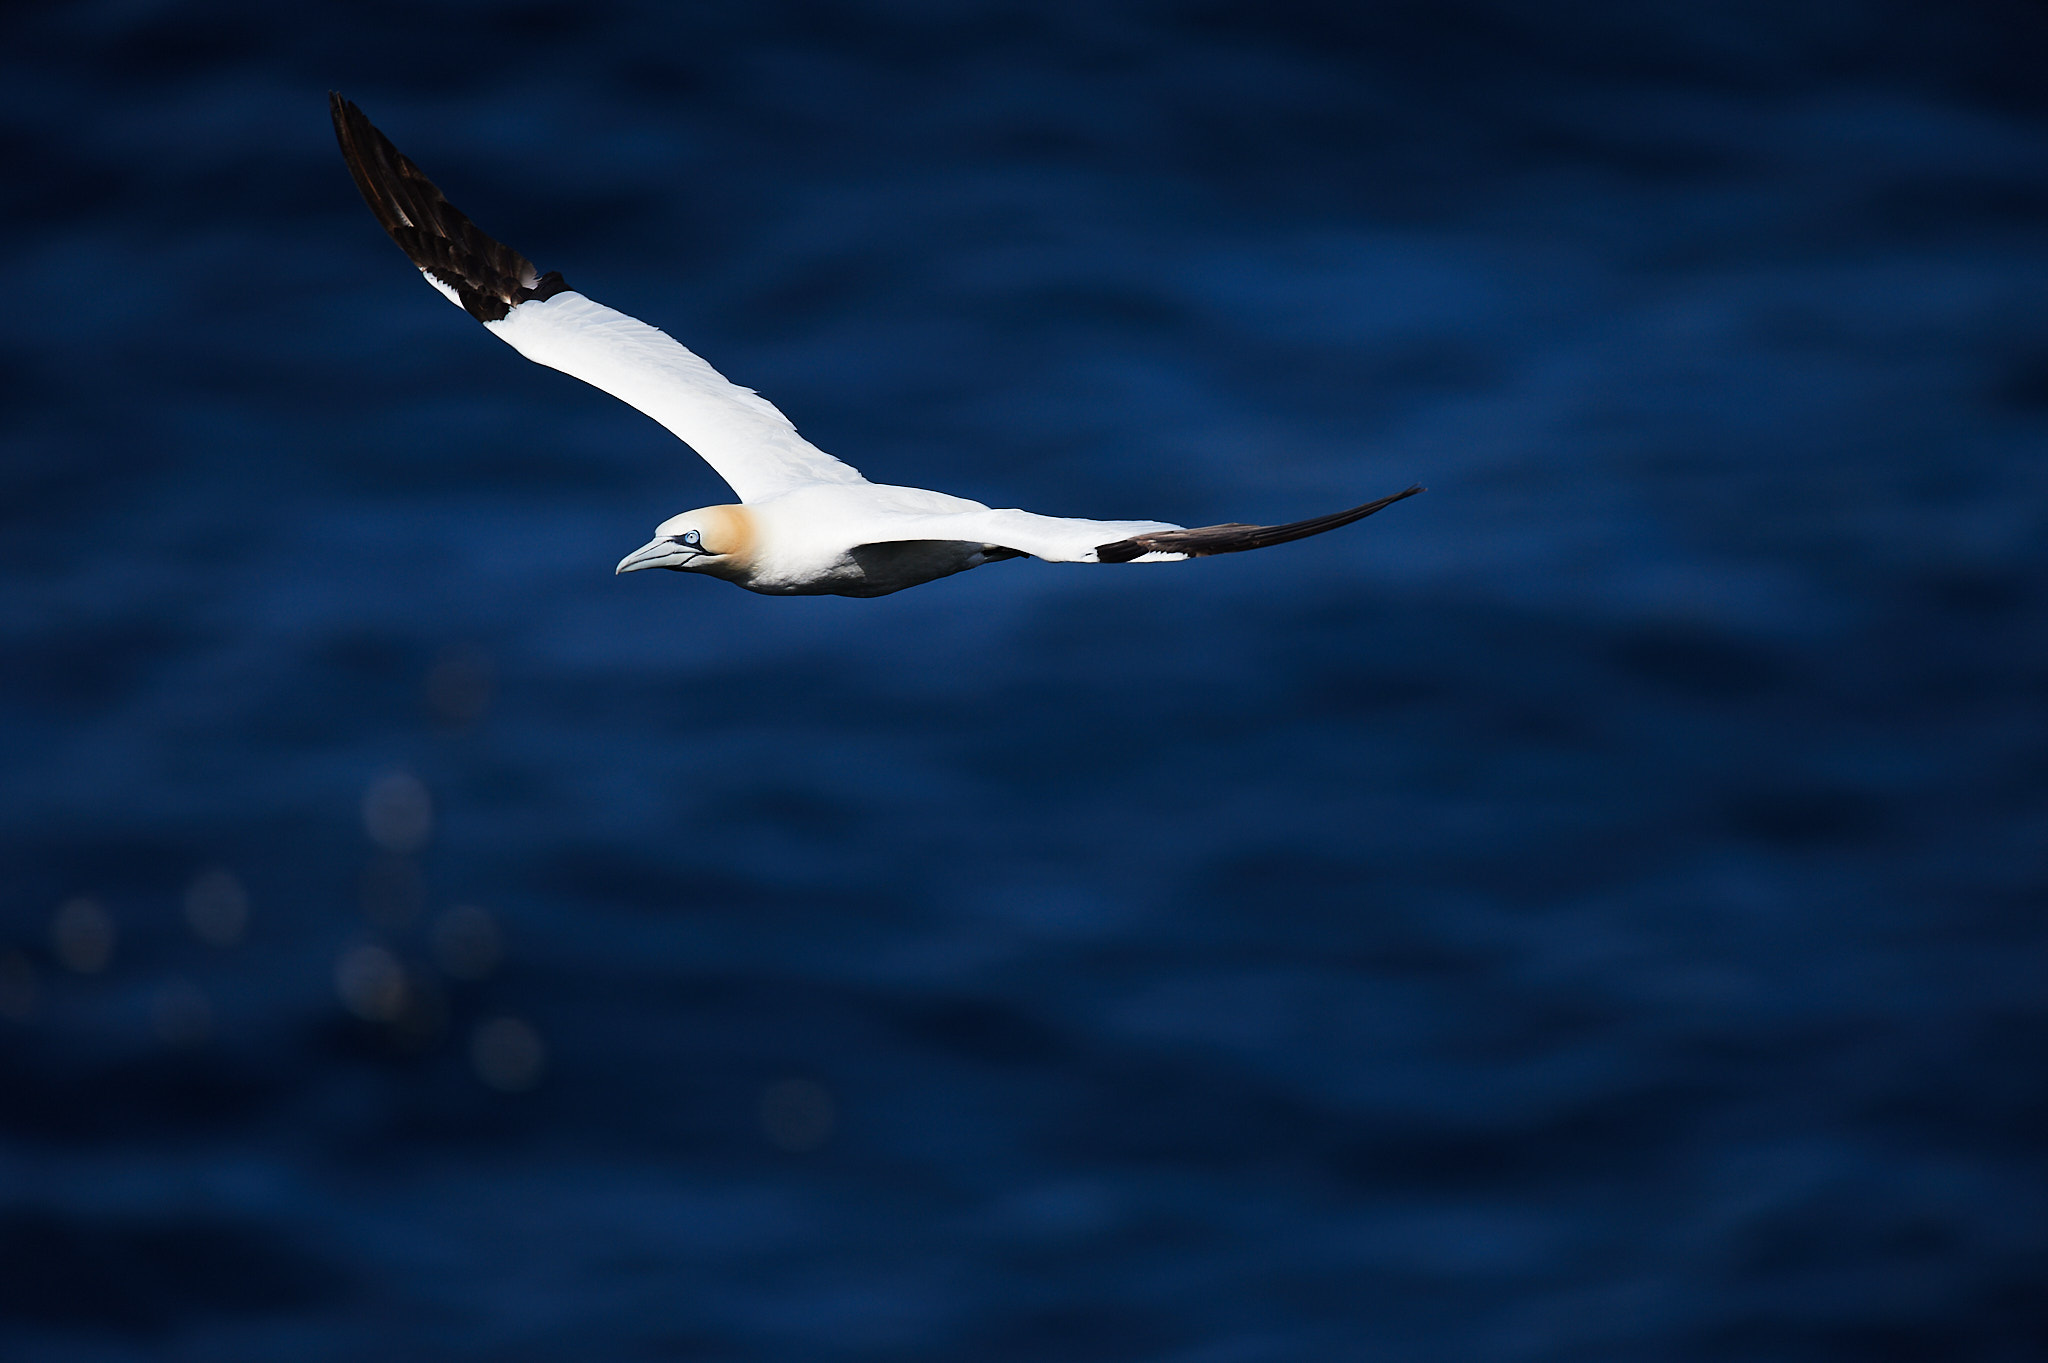 NIKON D4 + 500mm f/4 @ 700mm, ISO 200, 1/3200, f/5.6
Balance the “Exposure Triangle” Properly
As with every genre of photography, it is critical to set the proper shutter speed, aperture, and ISO when photographing wildlife. These are often referred to as the exposure triangle even though ISO is not, by the usual definition, part of exposure.
Those linked articles explain the concepts of exposure in more detail than I can do here. I suggest that you read them if you are not already very familiar with any of those concepts.
But how should you set them for wildlife photography? It can be a challenge. Photographing wildlife often involves capturing the behaviors and fast action of subjects, which requires the use of fast shutter speeds and often higher ISOs. But sometimes, animals stay perfectly still or move slowly, allowing you to use a slower shutter speed and a lower ISO.
To be prepared for both of these situations, I suggest using manual mode with Auto ISO. This way, you can adjust the shutter speed and aperture, and the camera will select the necessary ISO.
You will also take control over exposure compensation to ensure that you don’t blow out any subtle details on your subject, like bright feathers. It’s important to remember that the camera’s suggested exposure is based on specific algorithms and may not always reflect your artistic or technical goal.
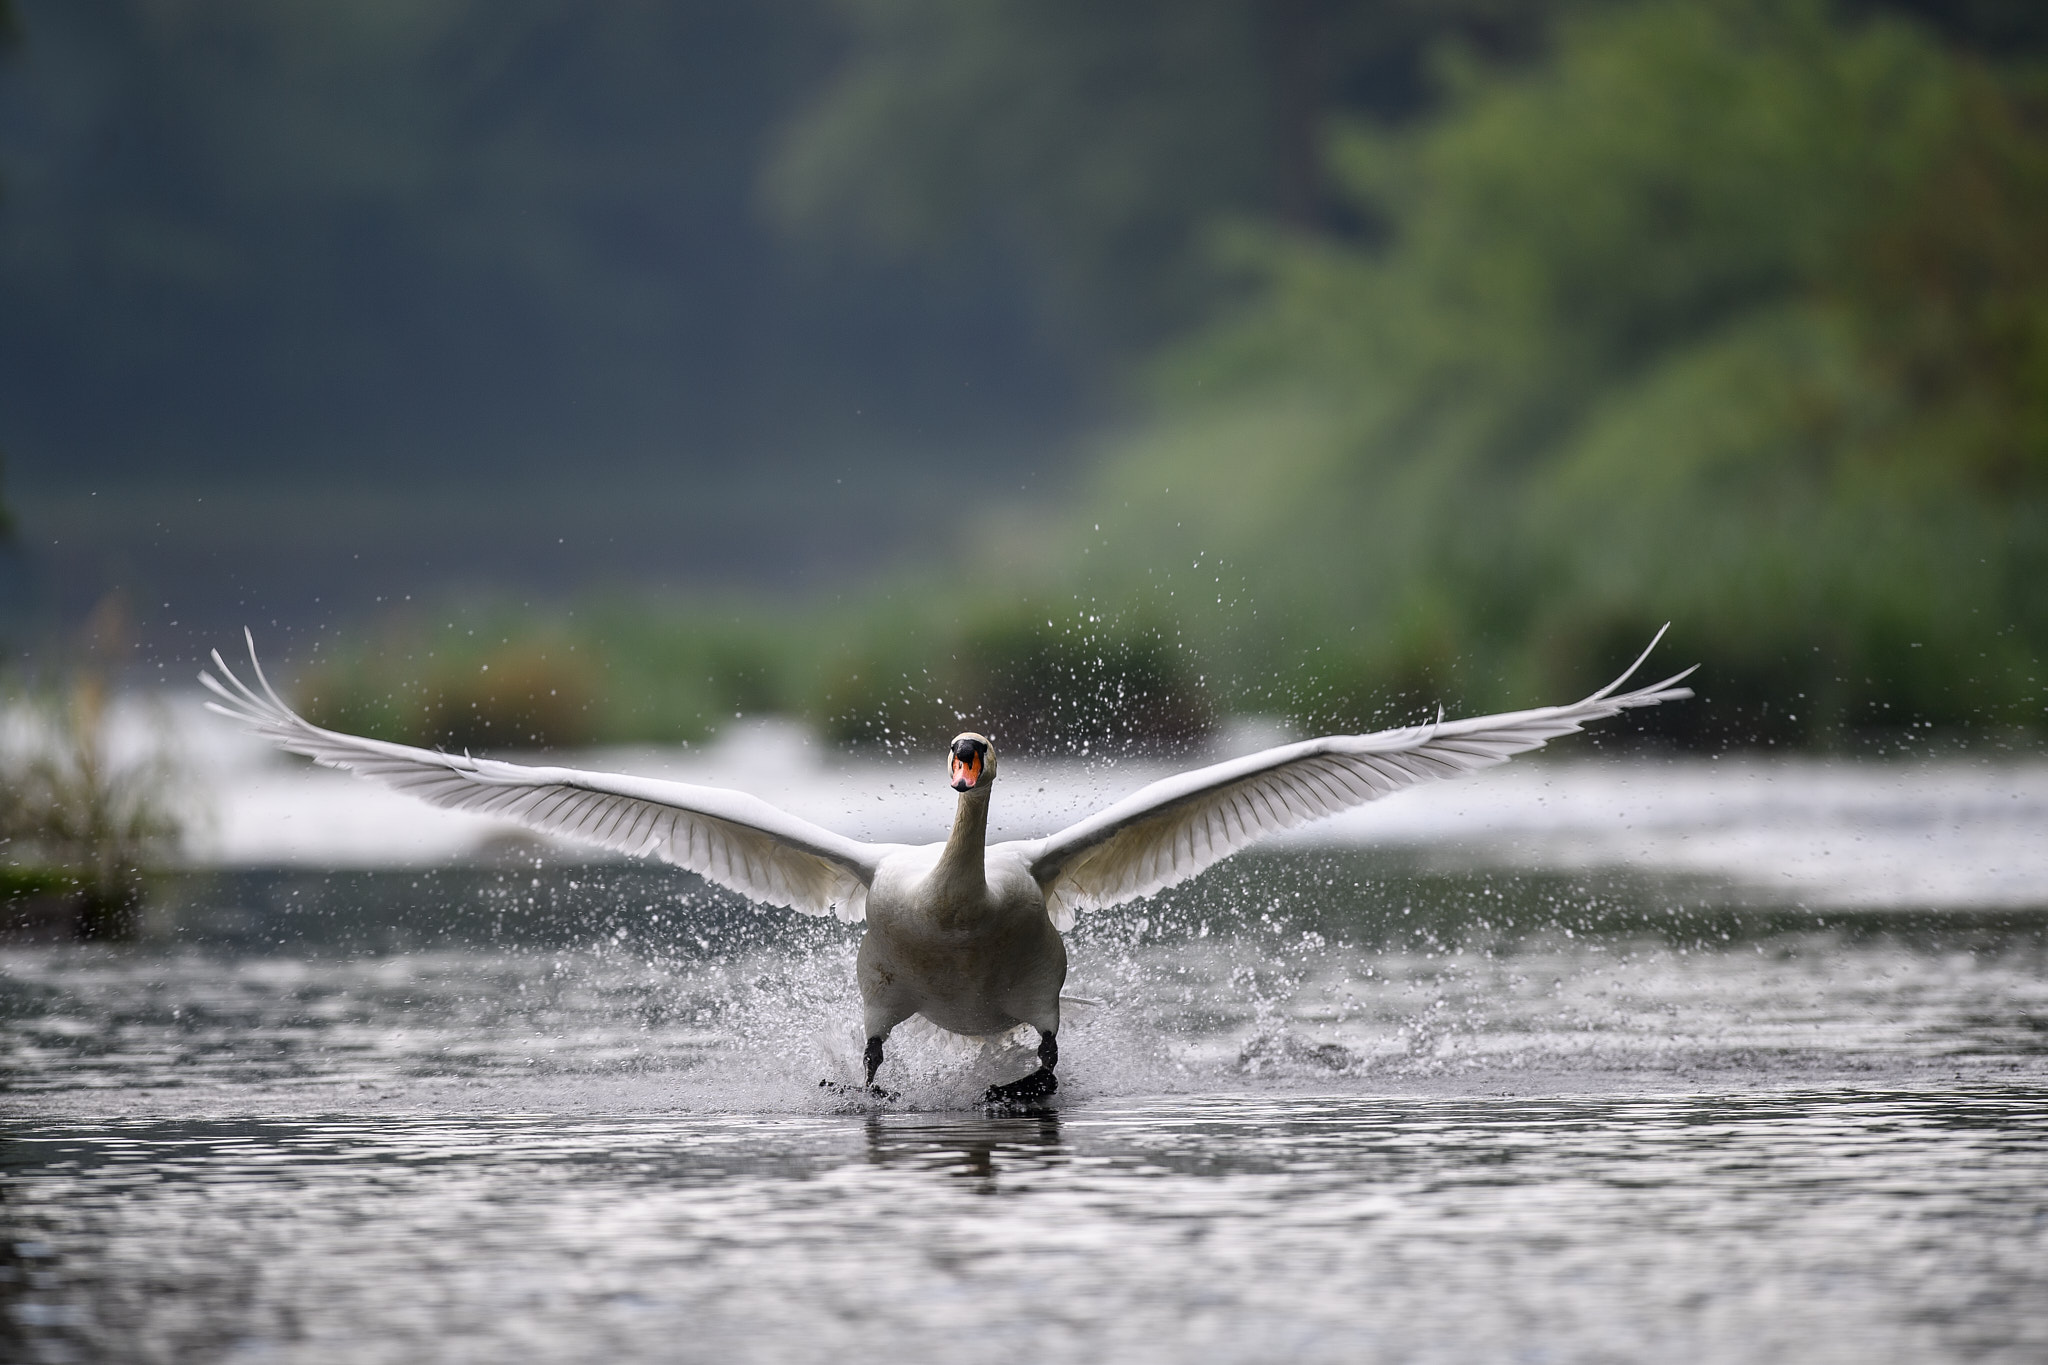
 NIKON Z 6 + 500mm f/4 @ 500mm, ISO 3600, 1/40, f/4.0
Know (and Pre-Set) Your Camera
Understanding your camera thoroughly – and being able to quickly adjust its settings without wasting time – is crucial when capturing a special moment in wildlife photography. This can mean the difference between getting the perfect shot and missing it entirely.
 NIKON Z 9 + NIKKOR Z 600mm f/4 TC VR S @ 840mm, ISO 1800, 1/400, f/5.6
If your camera allows, you should consider saving a preset for certain situations that you are likely to capture. For example, you could save a preset to be for birds in flight and another for stationary animals.
How to do this? On some cameras, you can directly save U1/U2/U3 or C1/C2/C3 settings to the mode dial itself, while on other cameras it must be done via menu banks. It’s also important to remember what each of these settings is connected to!
Additionally, for those using long telephoto lenses, it’s useful to practice framing shots on the move. This involves quickly raising the camera, pointing it towards the subject, and centering it within the viewfinder as fast as you can. Practice at various focal lengths so that you get a good mental picture of how far “zoomed in” each focal length is, saving you time when swapping lenses or zooming. Practice and mastering your coordination can significantly reduce the time required to capture a shot, increasing the likelihood of success!
 NIKON Z 9 + NIKKOR Z 100-400mm f/4.5-5.6 VR S @ 400mm, ISO 320, 1/2000, f/5.6
Also belonging to this topic is understanding how your camera handles high ISOs, when to prefer using the electronic or mechanic shutter, how to program custom settings to make your work easier and faster, and so on.
Master Autofocus
 NIKON D5 + 500mm f/4 @ 500mm, ISO 100, 1/400, f/4.0
Today’s cameras have extremely high-performance autofocus, but it can be difficult to navigate the different options.
The first is choosing between single-servo autofocus (AF-S in Nikon slang) or continuous-servo autofocus (AF-C for Nikon).
My advice is always to set the camera for continuous autofocus. Some subjects will still benefit from a single moment of autofocus rather than focusing continuously (like a bird sitting stationary on a branch). That’s why I strongly recommend switching to back-button autofocus, and disabling autofocus from the shutter button itself. Instead, you will use a different finger – normally the thumb – to operate a different button on your camera, which may say something like AF-On. This is an important setting because it allows you to choose when to focus and, if desired, recompose after focusing as if you were using single-action autofocus. But at the same time, it lets you use continuous focus and follow the subject when you need to.
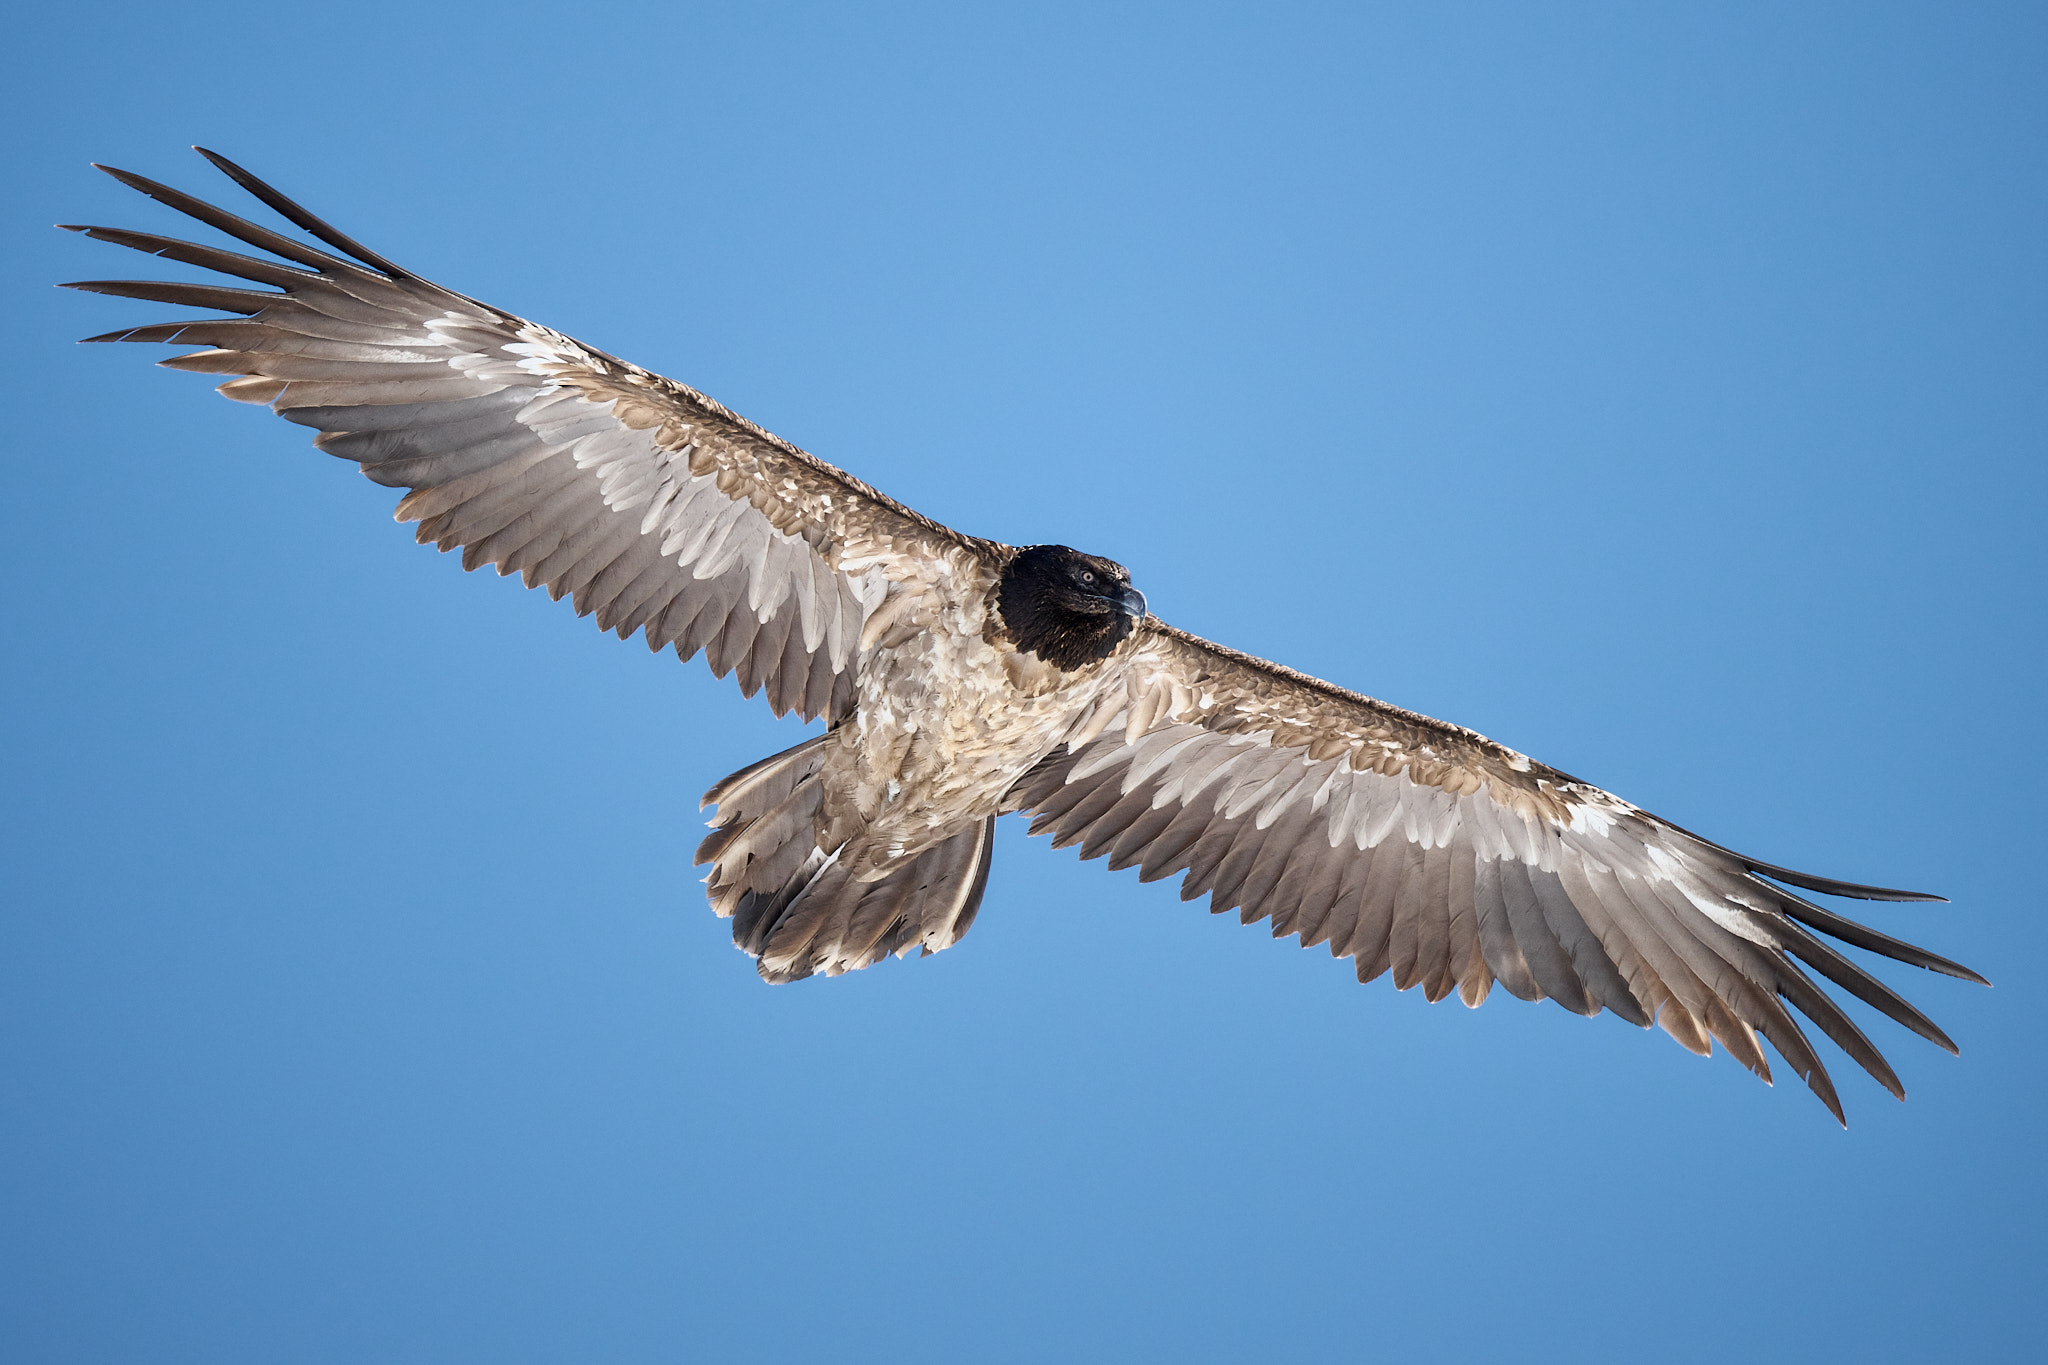 NIKON Z 9 + NIKKOR Z 600mm f/4 TC VR S @ 840mm, ISO 720, 1/4000, f/5.6
Next, you need to choose which autofocus areas to use. This can be different if you are working with a DSLR or a mirrorless camera, since the newest mirrorless cameras are more likely to have subject recognition autofocus, while DSLRs tend to track with more traditional algorithms. I’ve used mirrorless for a long time and enjoy the subject recognition features, but DSLRs haven’t stopped working and I’ve taken tens of thousands of photos I enjoy with them!
If your camera has modern subject recognition autofocus, my advice is to use a wide area – even one covering the entire frame – in combination with subject recognition. If your camera does not, use a small focus point instead and manually position it over the subject’s head. Then allow a traditional algorithm like 3D tracking to follow it across the frame.
Of course, these are just the starting point, and there are other ways to help your camera gain fast, accurate focus if these approaches fail. However, they are extensive and will need to be addressed in a separate article. (Libor has already discussed some approaches for Nikon Z users here.)
Set the White Balance Properly in Post-Processing
When working in RAW, the parameter of white balance is not as crucial to set properly in your camera. It still affects the histogram and the preview of the image on your camera screen, but it can be adjusted later in post-processing if you set the wrong white balance, with no loss in image quality. This is why I leave it on auto.
However, it is still one of the most important settings to work on. Most of the work is just done back at your computer instead.
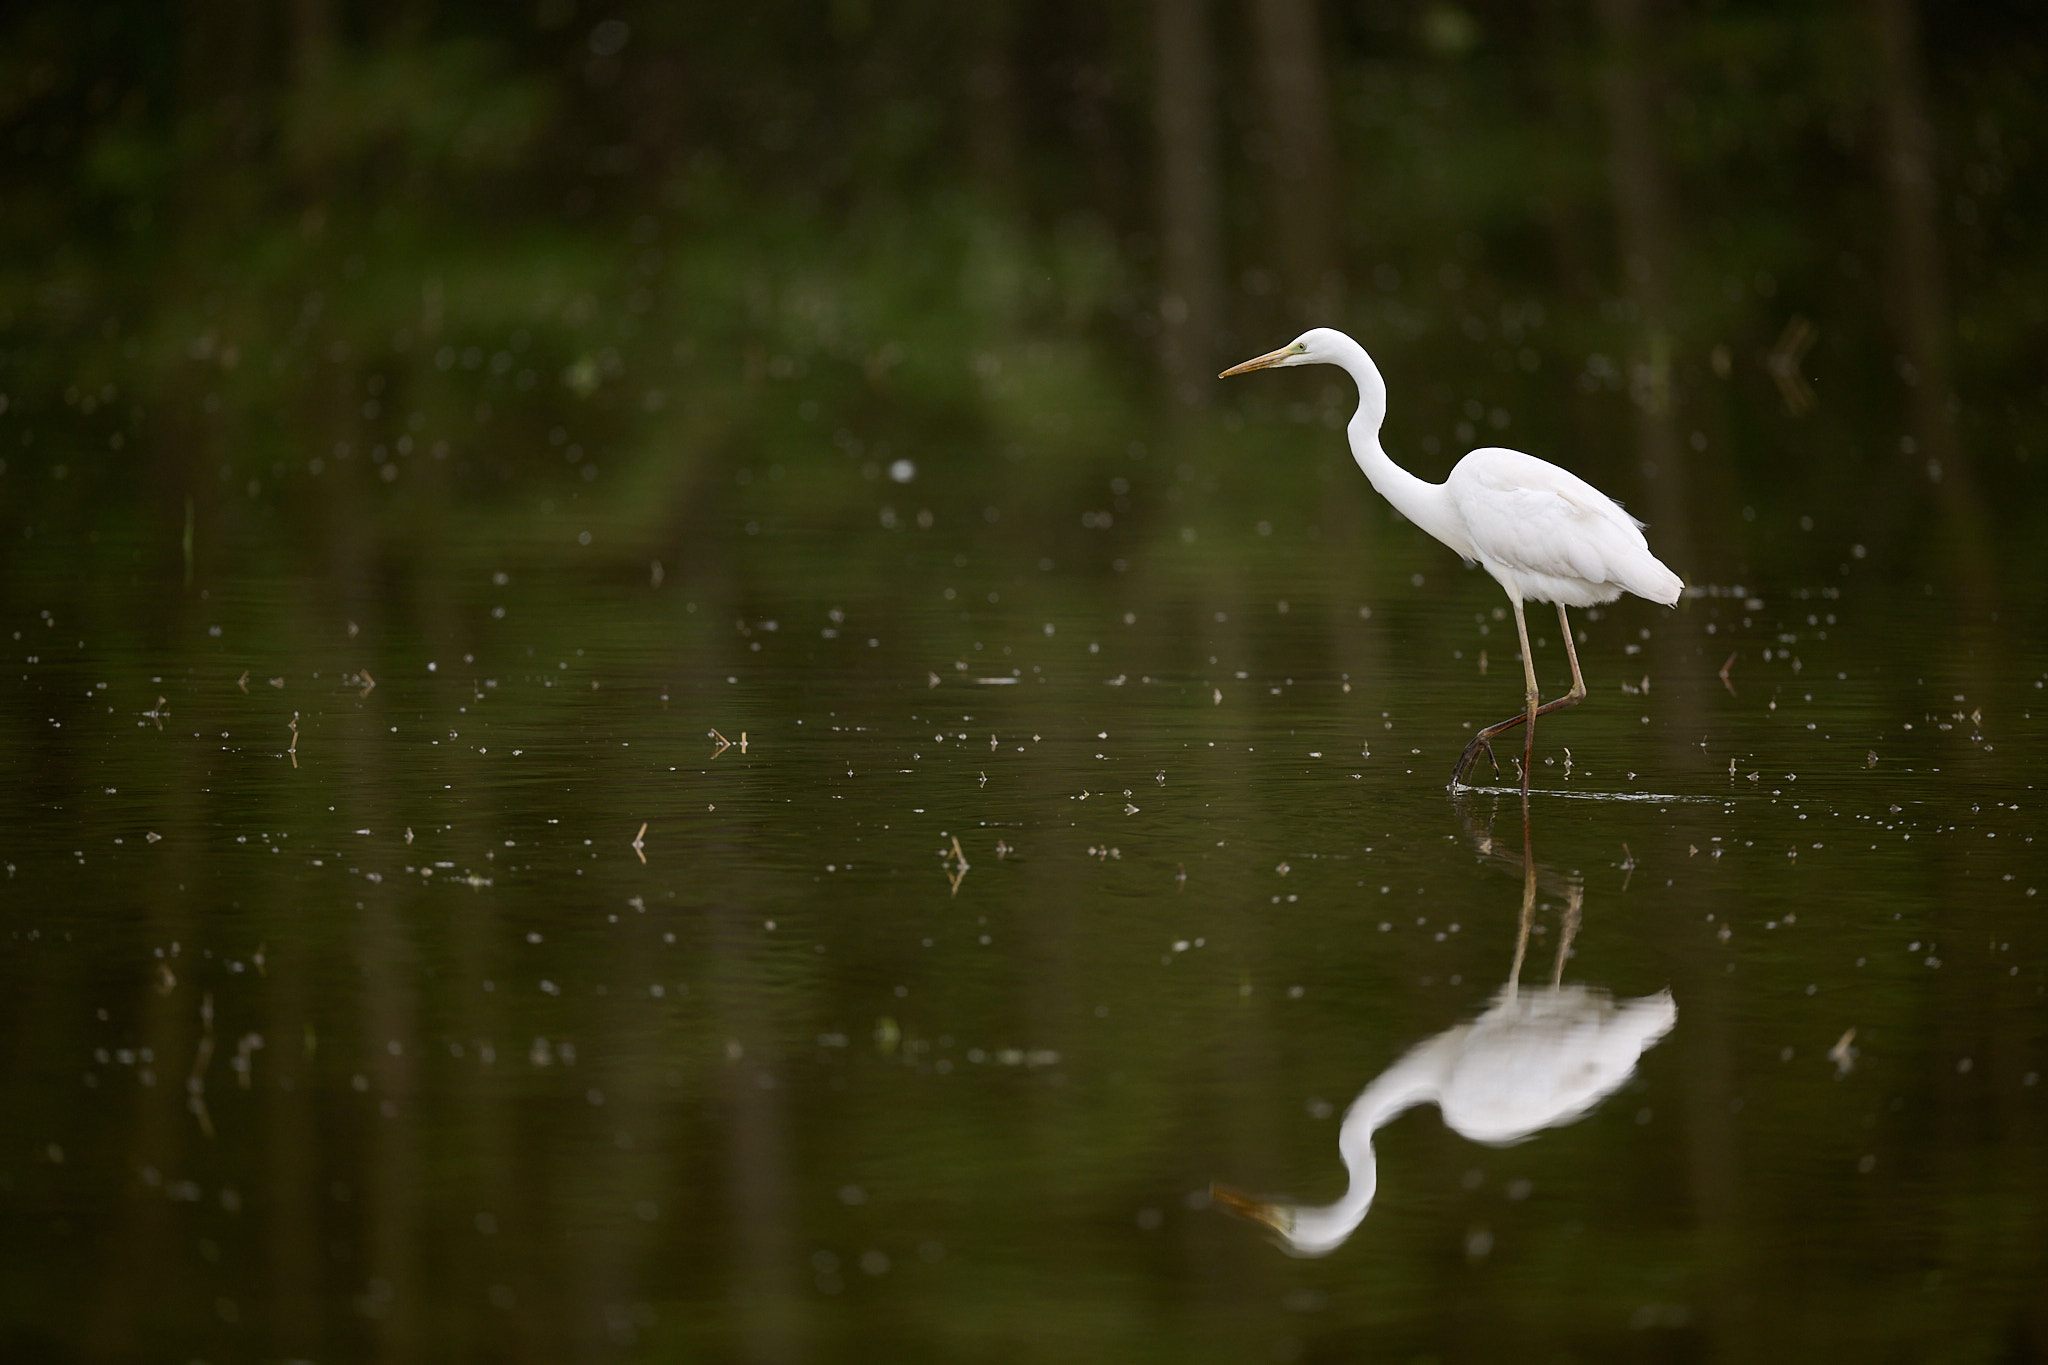
To select the right white balance when post-processing your photos, I recommend using a calibrated monitor, preferably of good quality. Also, I recommend increasing the saturation in the software prior to making your white balance adjustments. This allows you to accentuate any color shifts and make your adjustments more evident. Then, go back to a standard value of saturation when done. By this approach, I restored perfectly white feathers in the White Heron picture I took in open shadow.
 NIKON Z 9 + NIKKOR Z 600mm f/4 TC VR S @ 600mm, ISO 500, 1/2000, f/4.0
Capturing accurate colors is a fine goal, but there is a further, much more important reason to set the white balance properly. It is the artistic choice of the photographer. Does the image represent a situation of blue light after sunset? Or is it a fiery sunset? Or backlight with a low-rising sun? In those cases, the mood of the photo may be more important than “accurate” colors. Lowering the white balance values makes a cool mood cooler; raising it makes everything warmer.
In short, the white balance, together with the exposure, demands artistic decisions by the photographer because helps define the mood of the image. It isn’t easy to make so many difficult choices, but practice helps a lot.
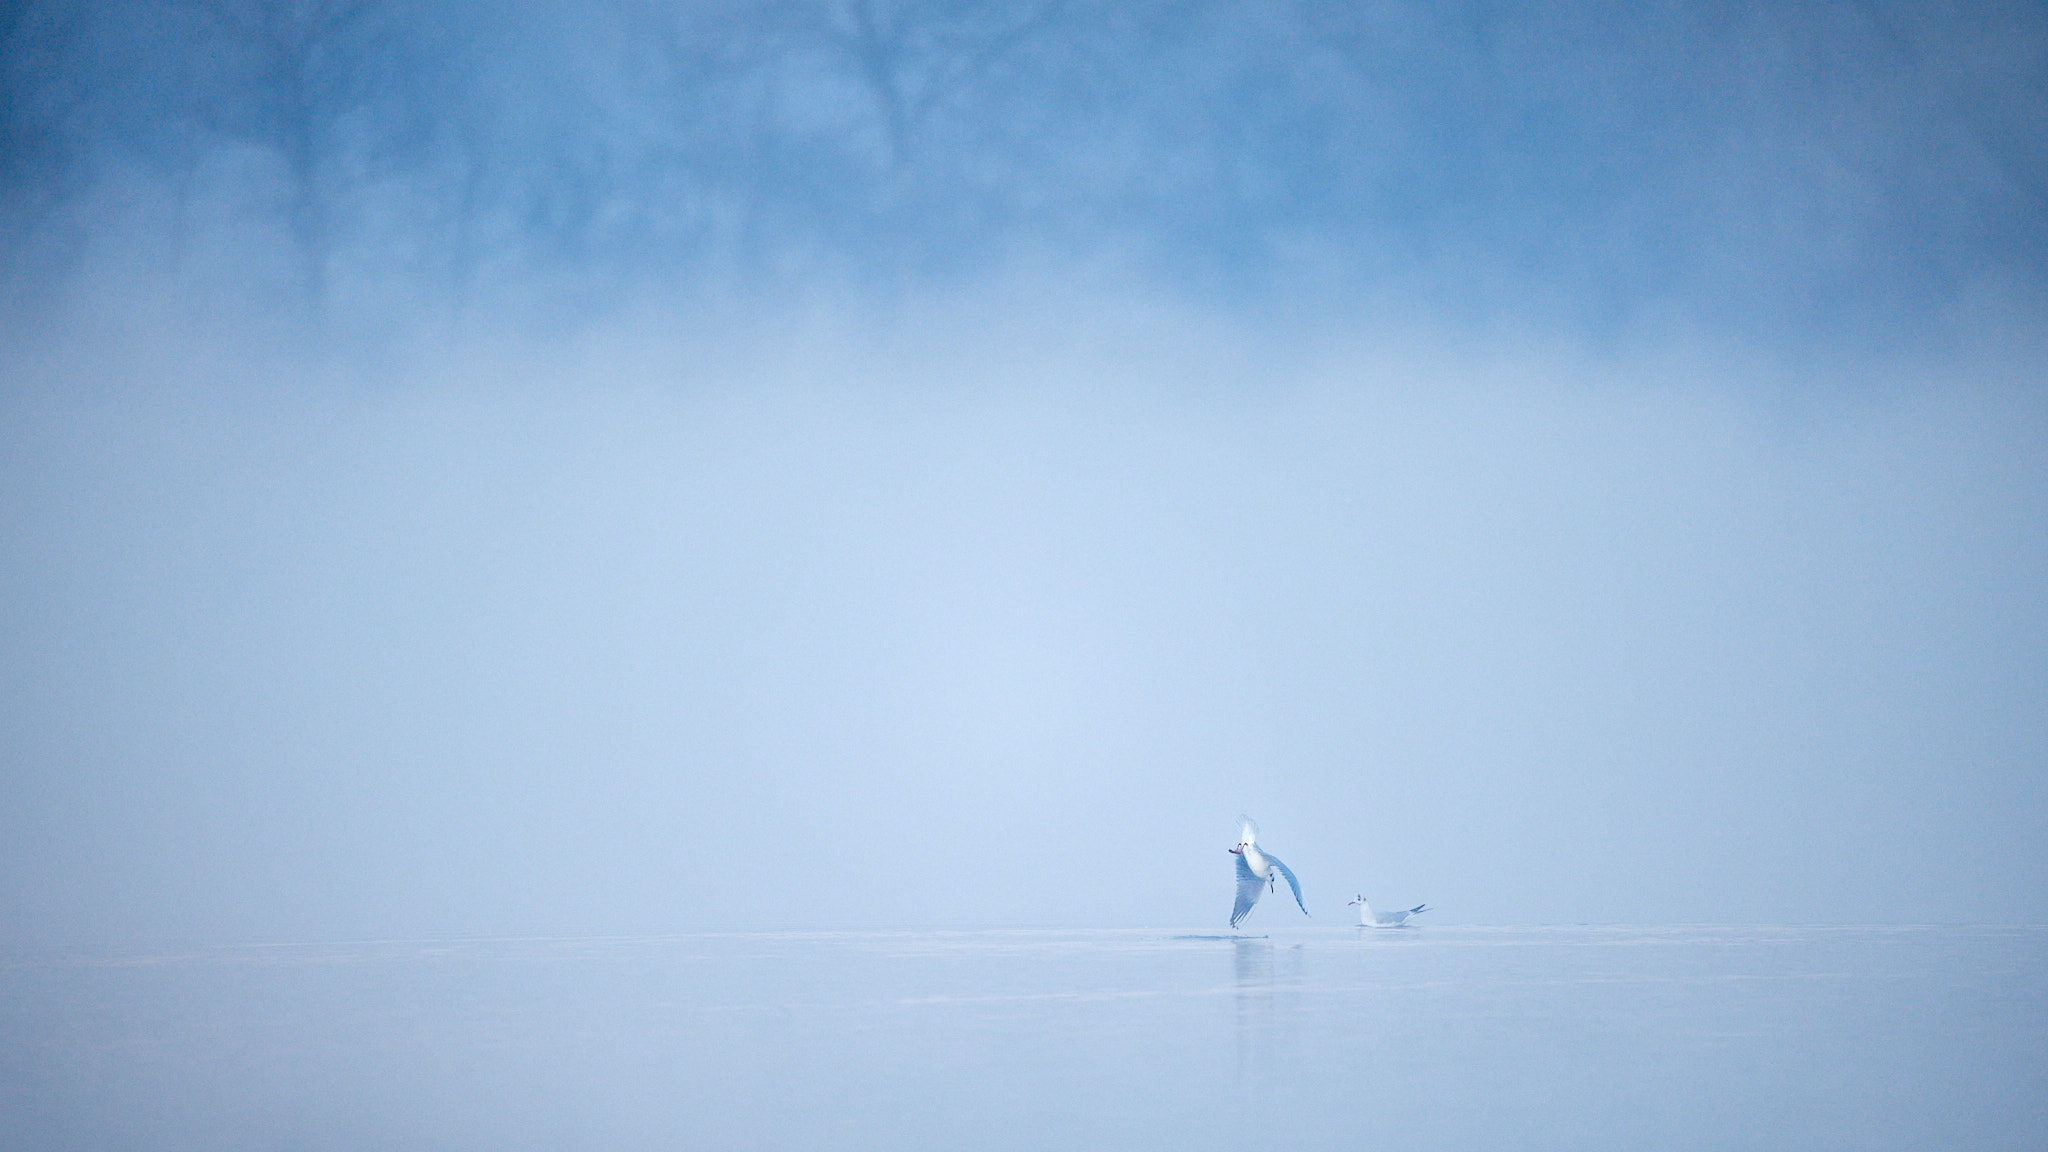
I use the following pictures to further illustrate this concept. It was a cold morning early in January, a bit after the sunrise with some fog remaining lower to the river water.
The first file is with a “sunny” white balance setting, the second with “shade” white balance. I don’t like either one of them.
 NIKON D5 + 500mm f/4 @ 500mm, ISO 560, 1/500, f/4.0 – Sunny White Balance
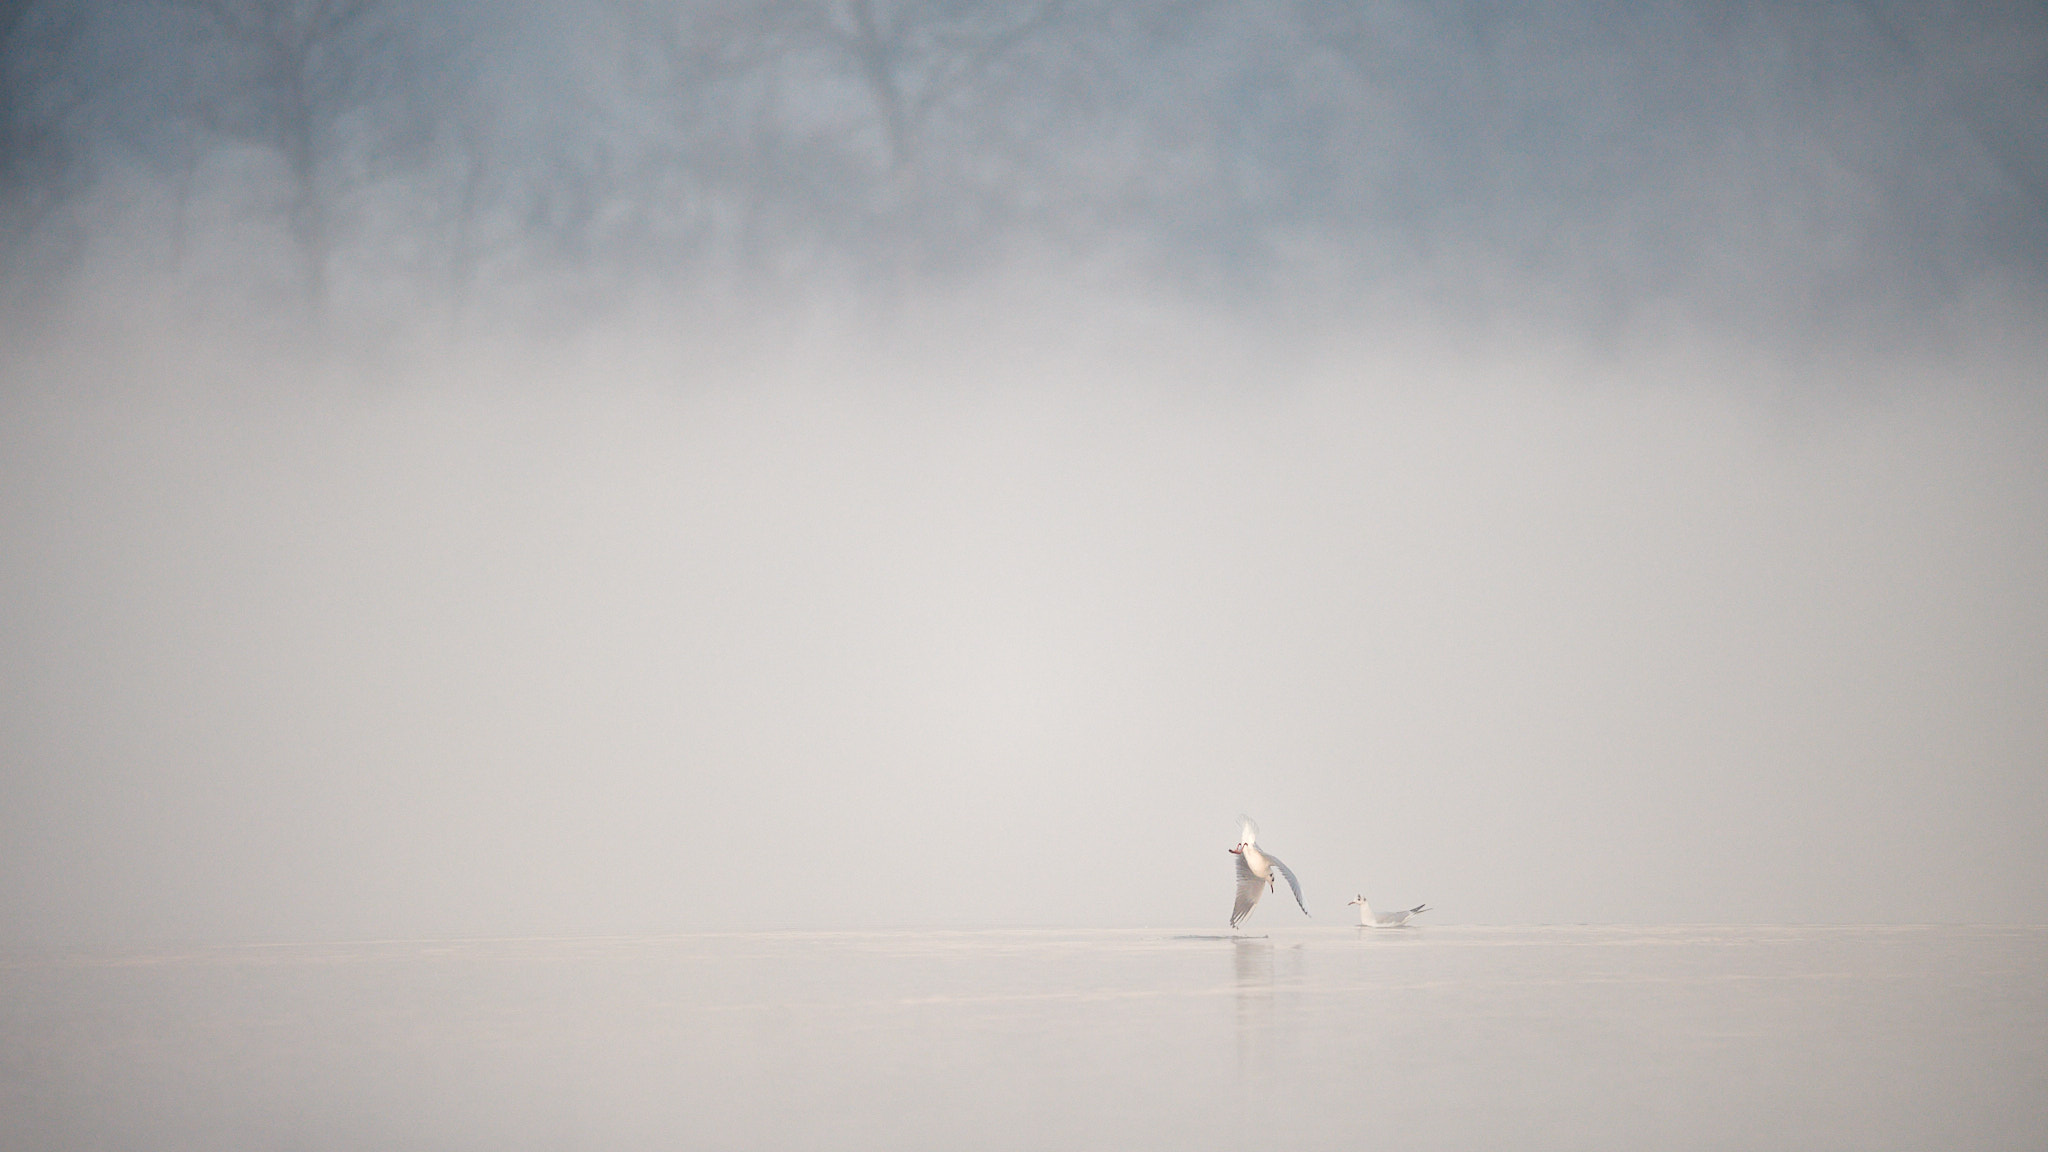 NIKON D5 + 500mm f/4 @ 500mm, ISO 560, 1/500, f/4.0 – Cloudy White Balance
My personal choice, based on my taste, is more or less in between “sunny” and “shade”. It is the following:
 NIKON D5 + 500mm f/4 @ 500mm, ISO 560, 1/500, f/4.0 – Custom WB setting
Because white balance is an artistic choice, the image you prefer may be different. But that only further illustrates how important white balance is. Even when you shoot RAW and adjust white balance back at your computer, it is still one of the most important “camera settings” to me.
Conclusion
Wildlife photography is a challenging genre of photography that often demands mastery of various concepts and knowledge. As a result, your initial attempts may be disappointing, but new wildlife photographers should not be discouraged by this. In the end, there are only a few camera settings to learn. Practice will do the rest to improve your skills.
I hope you enjoyed this article on the essential camera settings any beginner wildlife photographer should practice, and some basic starting points for these settings. If you have any questions or feedback, please feel free to let me know in the comments section below.


/cdn.vox-cdn.com/uploads/chorus_asset/file/24371439/236492_MacBook_Pro_16__2023__AKrales_0247.jpg)

:quality(85):upscale()/2024/09/09/791/n/49351773/91e1c31e66df37933d9bf8.44427956_.jpg)

 English (US) ·