Black Ops 6 Season 1 Reloaded introduced four new elemental swords for Zombies. Each tool harnesses a unique power to get you through the Citadelle Des Morts Main Quest. Here’s how to unlock all elemental swords in BO6 Zombies, including Raven, Lion, Dragon (Fire), and Stag.
How to unlock Wonder Weapon swords in BO6 Zombies
To locate the elemental swords in Black Ops 6 Zombies, you must acquire a Stamp first for its base version (Bastard Sword). They can be picked up from zombies with buckets/helmets on their heads, spawning after Round 10. Use the Stamps on Knight statues near the Vulture Aid Perk area (F1 coordinates). The Knights feature different symbols that correlate to what elemental you are unlocking. Here’s a look into what each statue provides:
 Screenshot by Destructoid
Before you go any further, I recommend completing the quest for the Pack-a-Punch and speaking with Krafft first. If you don’t follow these steps, you may be locked out of other missions later. The Pack-a-Punch quest is pretty straightforward, as you can follow the orange-colored tasks on the screen’s left side. Then, speak to Krafft behind the Quick Revive machine. Interact with the brown door to find him.
After completing these tasks, it’s time to decide which sword you want to get and pick it up. Approach any Knight and press the Interact button (same as reload). You’ll receive the base version, the Bastard Sword, labeled with your corresponding element. So, if you pick up the one with the raven, it’ll be marked as the “Raven Bastard Sword.”
Unfortunately, the Bastard Sword isn’t the most suitable weapon, and you’ll need to upgrade it to uncover its elemental power. Considering that there are four swords, you can do this in four different ways. So, let’s break them all down.
How to get Dragon Sword in BO6 Zombies
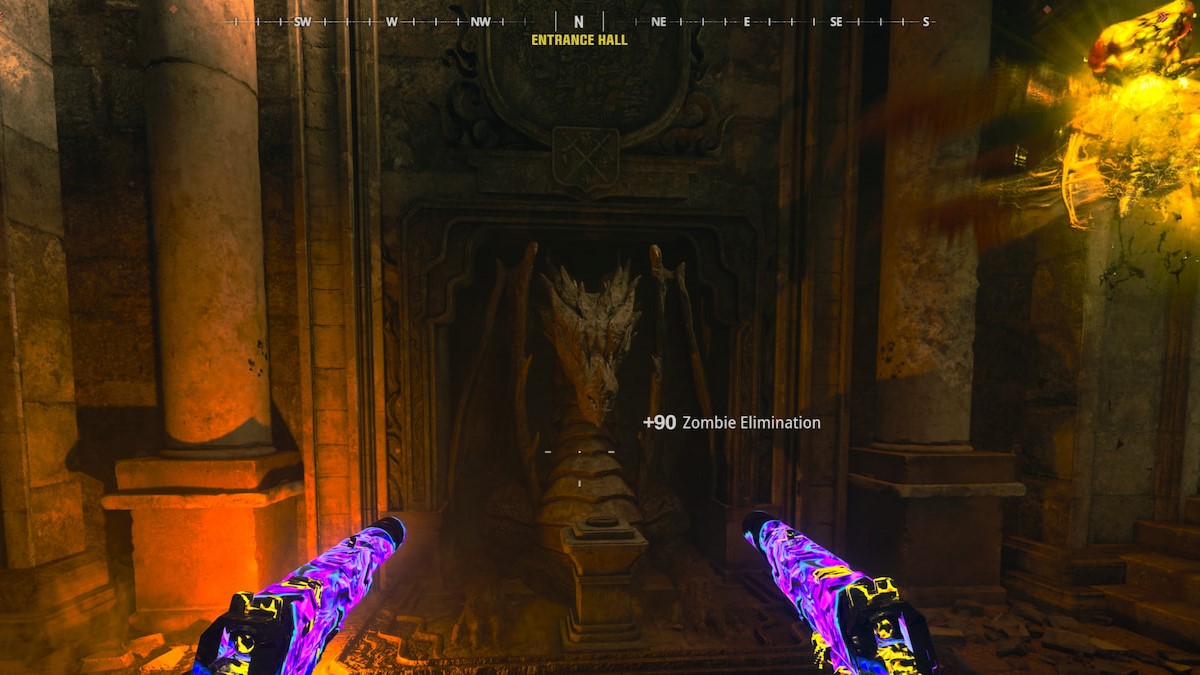
Once you’ve acquired the sword from the Dragon Knight, interact with the Dragon statue in the Jugger-Nog room (E2 coordinates).
 Screenshot by Destructoid
Place your sword into the slot, starting a mini Easter Egg quest. You must pick up fire from three braziers around the map to unlock the weapon’s fiery powers. Go to these three spots:
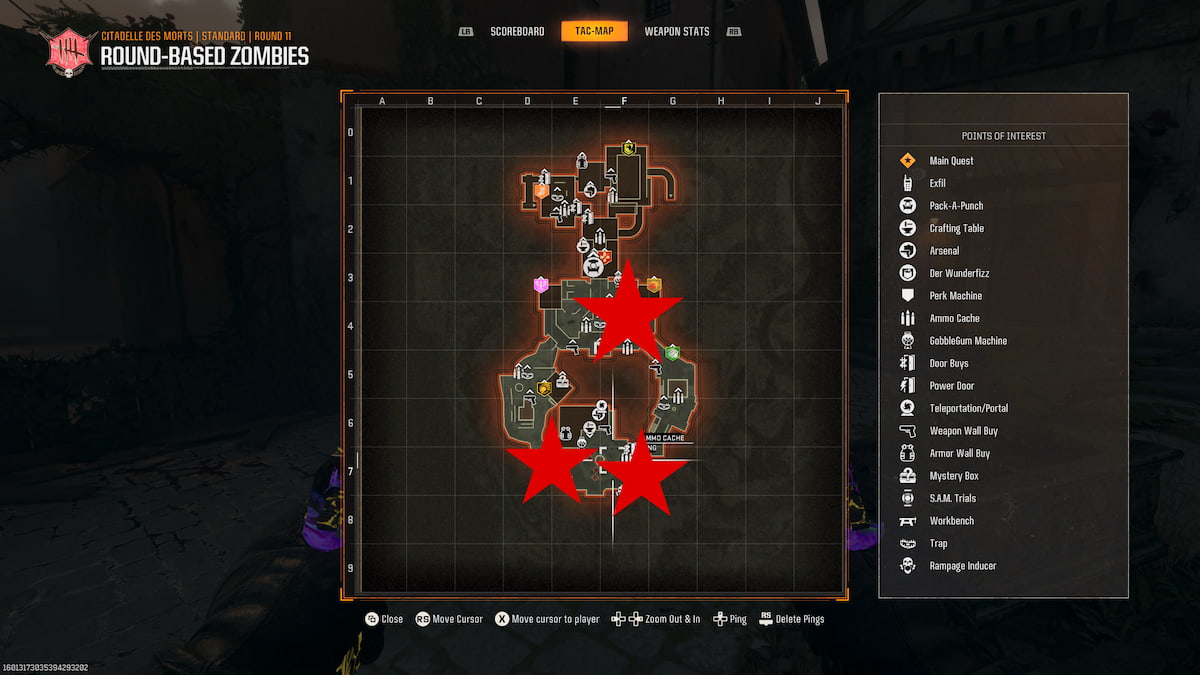
- Brazier Location 1: To the left of the cannon (F4 coordinates)
- Brazier Location 2: To the left of spawn, across from Dead Shot Daquiri Perk (E7 coordinates)
- Brazier Location 3: To the right of the spawn (F7 coordinates)
Here’s where each brazier is specifically on the map:
 Screenshot by Destructoid
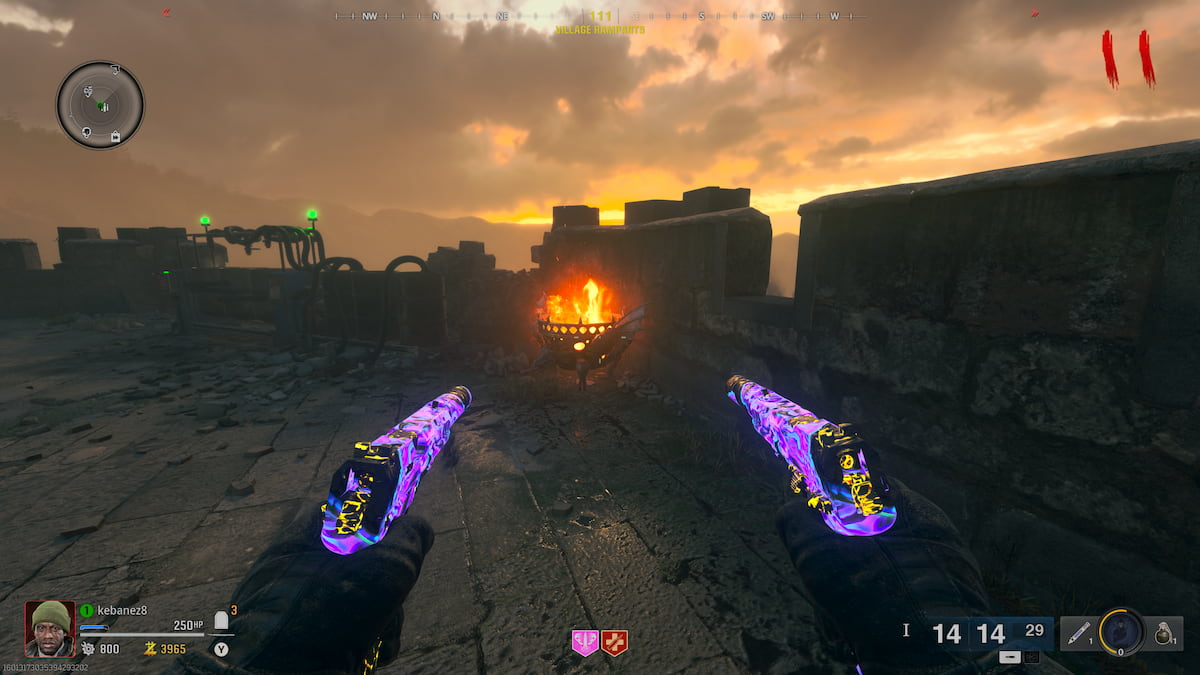
They’ll be pretty easy to spot with their fiery glow. Interact with it, and you’ll immediately catch on fire (losing health gradually) and gain a speed boost. To avoid dying, melee zombies while running to replenish health. Return to the Dragon Sword as soon as possible and place the fire down. Use Stim Shots if your health is running low.
 Screenshot by Destructoid
Repeat this process two more times to acquire the Dragon Sword upgrade in BO6 Zombies.
How to get Raven Sword in BO6 Zombies
Interact with the Raven Knight to claim its distinct Bastard Sword. To upgrade it, you must perform the following steps:
- Get the Antiquity from the Alchemical Lab: Go to the room to the left of the Knights area. Locate the Antiquity, which can take on the form of a rock with fish, rock with scorpion, horn, jaw, or two raven skulls. Keep in mind that the item and its exact location randomize each playthrough (it will appear anywhere in the Alchemical Lab).
- Use the Antiquity on the circular structure (on the wall) at the Tavern basement: Go to spawn to find the Tavern. Place the item on the structure to place the Raven Bastard Sword.
- Turn the dial of the structure to enter the correct symbols for your Antiquity: Each Antiquity correlates to a zodiac sign and element. Change the dial to match it to your specific item (I will dive into this more below).
- Wait for the orbs to spawn out: If you enter the correct combination, orbs will spawn out to trigger the next phase.
- Lure orbs to a portal on the ground: Orbs will continuously spawn out, and you’ll need to guide them over to the portal so it sucks it up.
- Repeat the fifth step two more times: Once the portal disappears, follow the orb upstairs to repeat the process again. It’ll stay within the Tavern’s radius, so don’t go too far from this area.
- Interact with the circular structure to claim the Raven Sword: Fill up the three portals, and the Balmung, aka the Raven/Void Sword, will spawn.
The first step randomizes for every playthrough, so not everyone will have the same items. Additionally, only one Antiquity will spawn each map. Here’s a breakdown of all the possible Antiquities you can find, including details on locations and Raven Sword combinations (shout out to Reddit user ImEasterEgg for the information):
| Horn | On the shelf in the bottom-right corner | 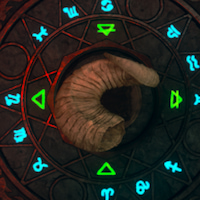 | 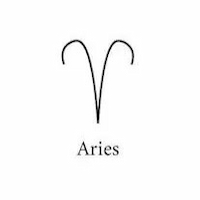 Aries | 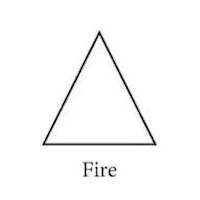 Fire |
| Two raven skulls | On the shelf in the top-left corner | 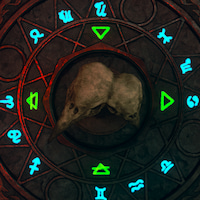 | 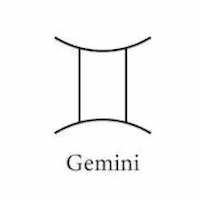 Gemini | 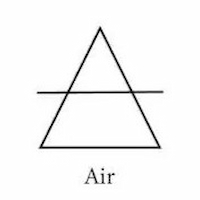 Air |
| Rock with fish | On the shelf in the top-right corner | 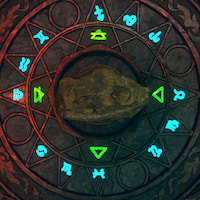 | 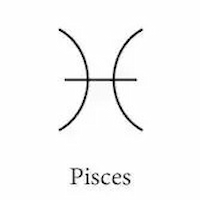 Pisces | 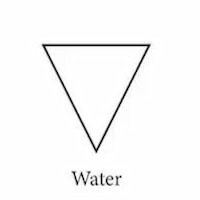 Water |
| Rock with Scorpion | On the table on the right side |  | 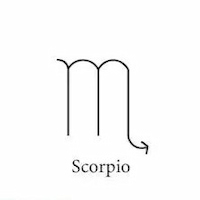 Scorpio |  Water |
| Jaw | On the shelf in the top-left corner |  |  Leo |  Fire |
I have done multiple playthroughs, and the items above seem to be the only ones available. You can determine their symbols by looking at your current type. For example, getting the two raven skulls will correlate to the twins of the Gemini symbol, which falls under the Air category.
If you’re ready to enter the combination, turn the dial until the two symbols are at the bottom, where the pointer is.
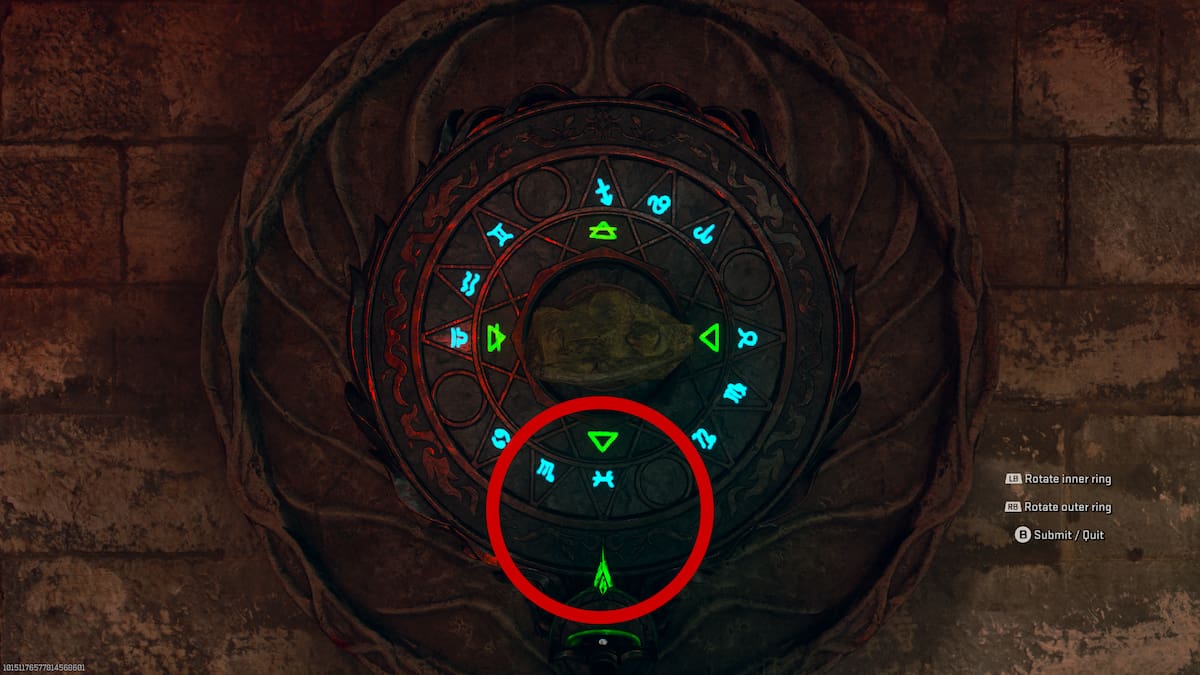 Screenshot by Destructoid
Orbs will spawn out of it, and you’ll need to lure three of them to a portal. Repeat this two more times around the Tavern, then return to the circular structure when the portals disappear. Claim the Void Sword to get one of the Citadelle Des Morts Wonder Weapons. If you need more help with this one, check out our comprehensive Raven Sword guide.
How to get Stag Sword in BO6 Zombies
Grab the Stag Bastard Sword from the corresponding Knight statue. Next, obtain three Lightning Rods from the following locations:
- Lightning Rod 1: To the left of the Dead Shot Daquiri Perk machine (D6 coordinates).
- Lightning Rod 2: Attach the Dead Wire Ammo Mod to your weapon and shoot the electrical box at G5 coordinates (near Speed Cola).
- Lightning Rod 3: Defeat an Armored Zombie to drop the rod. This enemy will likely spawn at the Pack-a-Punch area, E2 coordinates.
Lightning rods will have some spikes on them to help you notice them more:
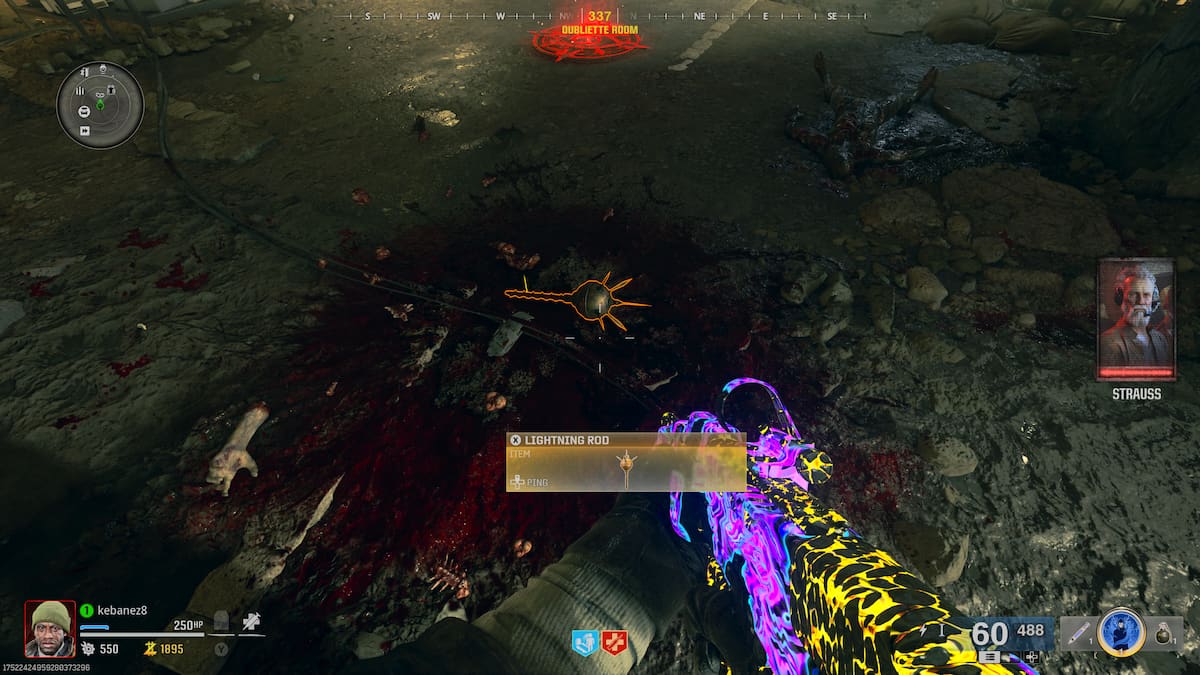 Screenshot by Destructoid
The only location that won’t outright show them is the electrical box task, which you can find near some stairs by Speed Cola.
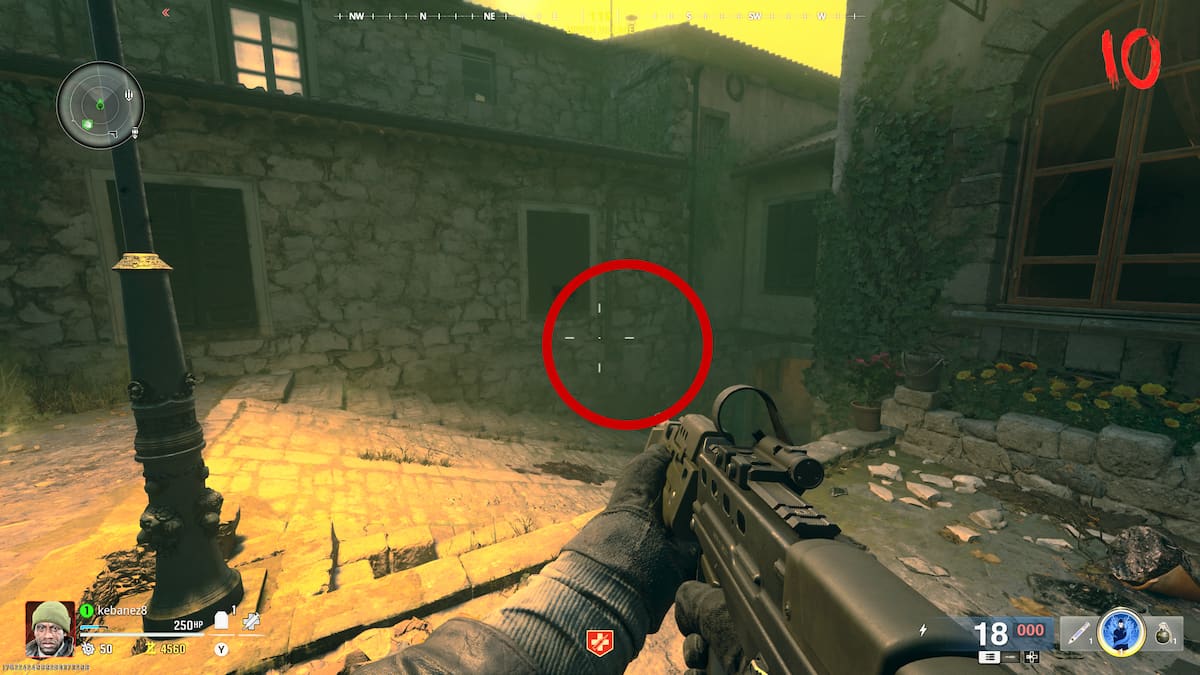 Screenshot by Destructoid
Once you’ve acquired all three Lightning Rods, head over to the pathway toward the cannon at D4 coordinates. Interact with a mechanism there to place the rods down.
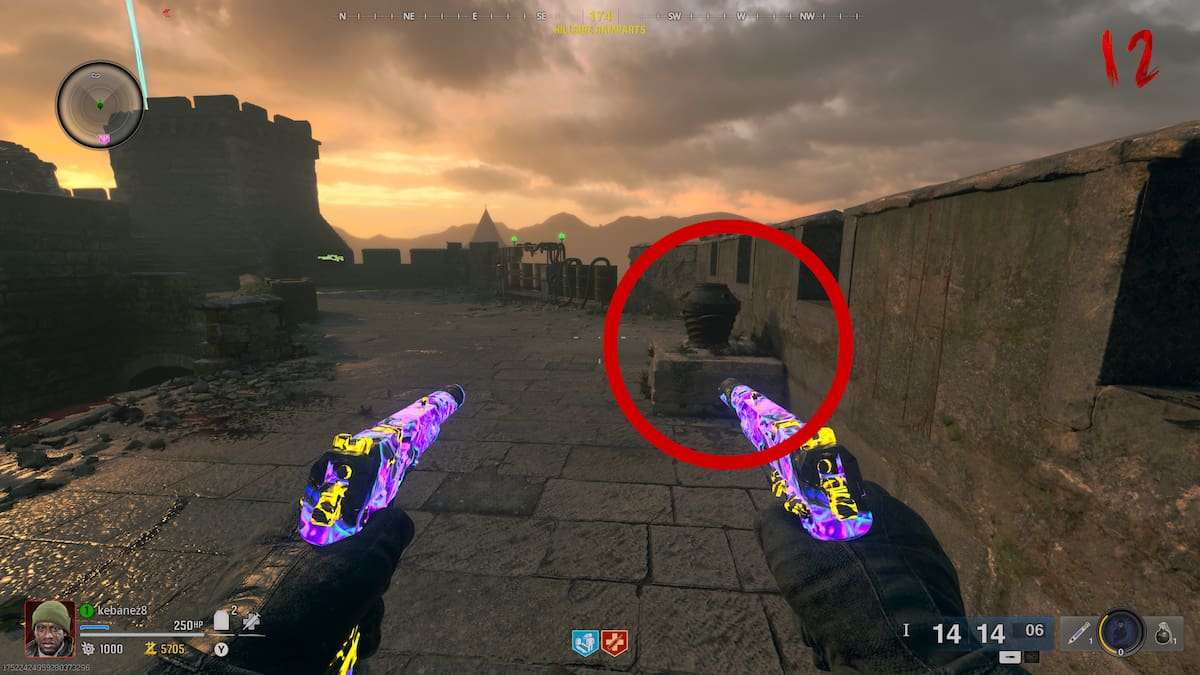 Screenshot by Destructoid
Equip the Stag Bastard Sword while near the mechanism and wait until it lights up with electricity. Hit the mechanism immediately after. Perform this three times, in total, to unlock the next step.
Place your weapon in the mechanism to earn the Lightning Sword, unlocking its electricity powers.
How to get Lion Sword in BO6 Zombies
Compared to the Raven Sword, the Lion Sword is easier to obtain. Pick up its Bastard version from the Knight statue. Then, lure the four glowing yellow Parasites (bugs) to the G5 coordinates. Make sure not to kill them initially, as they are needed later on.
 Screenshot by Destructoid
You’ll find the Lion Door next to the same place as the Lightning Sword’s electrical box. Hit one of the bugs with your sword to make the weapon glow. Then, hit the Lion Door with your glowing sword. A symbol appears, and you’ll need to activate three more by slicing up the bugs individually. Do not attack them all that once since you must do it one by one.
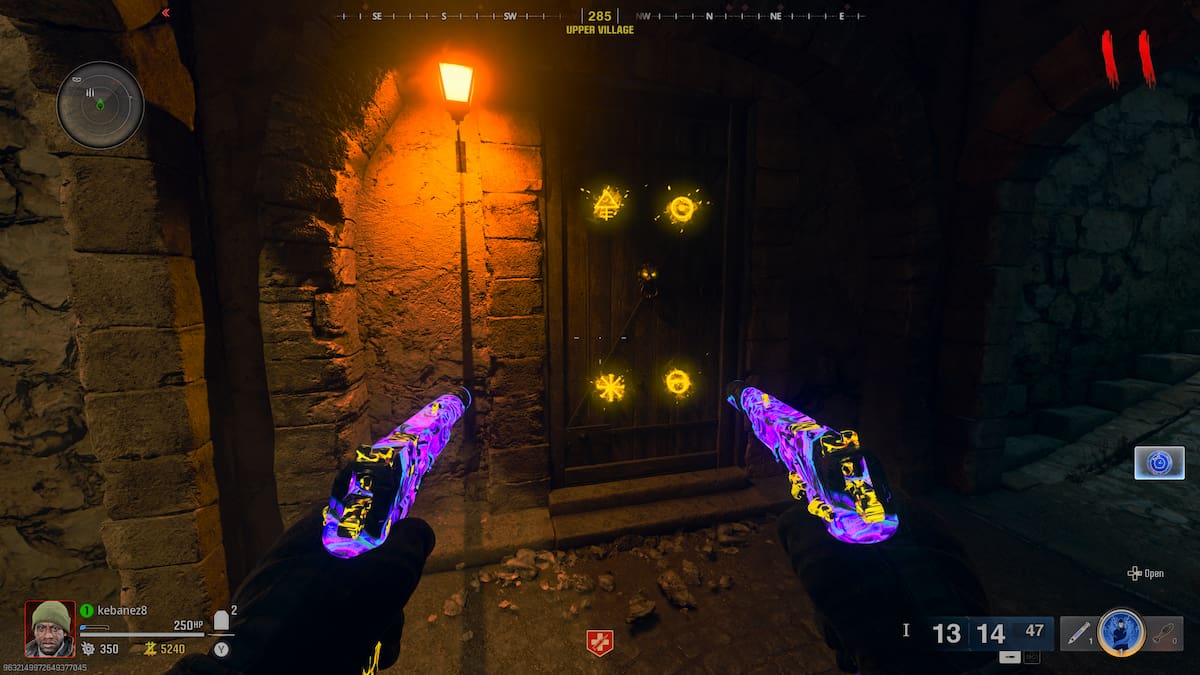 Screenshot by Destructoid
Open the door by pressing the Interact button and place your Lion Bastard Sword on the pedestal. Check for a symbol on the pedestal and shoot the same icon floating to the walls. Repeat this step three more times until you’ve acquired all four symbols. Be aware that there is a one-minute timer.
 Screenshot by Destructoid
Don’t worry if you fail the trial, as you can try again in the next round. Once you’ve completed the task, pick up the Lion Sword to start wreaking havoc. Those still needing help with this quest can check our Lion Sword guide.
How to upgrade elemental swords in BO6 Zombies
After you’ve turned your sword into a Wonder Weapon, it’s time to take it to the next level with Ritual Items. You may have already noticed a section for these objects via the Tac-Map section, which acts as an inventory slot for Main Quest items. Each elemental sword links to a specific Ritual Item, providing a unique Tactical device after completing a series of steps. Here’s what you need to do to find all Ritual Items:
| Stag Sword | Otto’s/Pegasus’ Horseshoe | Shoot down the horseshoe inside the barn near Deadshot Daquiri (D5 coordinates). Take it over to the large cannon towards the map’s center, then launch yourself from it. When you touch down, a bolt of lightning triggers, indicating that you’ve down it correctly. Look towards the sky to spot a dark cloud, and walk over to it. Pick up the horseshoe directly below this cloud. |
| Fire Sword | Ra’s Ankh | Acquire three Molotov Cocktails from the crafting bench (you can also bring one with you through your loadout.) Ignite three stacks of wood scattered throughout the main pathway of the cannon. Once you ignite the last pieces of wood, a Doppelghast spawns. Kill it to grab Ra’s Ankh. |
| Raven Sword | Raven’s Talon | Go down the Cave Slide near the Pack-a-Punch machine and shoot the raven at the end of the cave. Shoot the raven again when it goes up to the sky, dropping the Raven’s Talon. |
| Lion Sword | Paladin’s Brooch | At the Knights room, shoot the red crystals to position the light over to the Alchemical Lab. Then, hit the crystals in the following room until they reach the table with the head statue. Pick up the brooch from this statue once the light shines on it. |
Place each Ritual Item in specific places on the map, where you’ll need to farm some zombie kills to charge up the upgrade. It works like the Point of Power Traps eliminations from the Page Fragment puzzles, collecting undead souls for energy. Ensure to grab the proper sword from the Knight statues and then go over to the following locations to obtain the distinct Incantations for it:
- Pegasus’ Horseshoe (Stag Sword Electric Incantation): Barn near Deadshot Daquiri at E7 coordinates
- Ra’s Ankh (Fire Sword Dragon Incantation): Front of the castle at F4 coordinates
- Raven’s Talon (Raven Sword Dark Incantation): Undercroft at the lower level’s D2 coordinates
- Paladin’s Brooch (Lion Sword Light Incantation): Knights Room at F1 coordinates
You’ll find a golden circle near these locations where you can place your Ritual Item. Stick near it and farm those kills until a chest appears with the Incantation. Once you’ve picked up the Incantation, it will always be available in the Knights room or other areas, even if you switch it out for a new one. This feature comes in handy later when using the Incantation in a specific order for the Citadelle des Morts Main Quest.
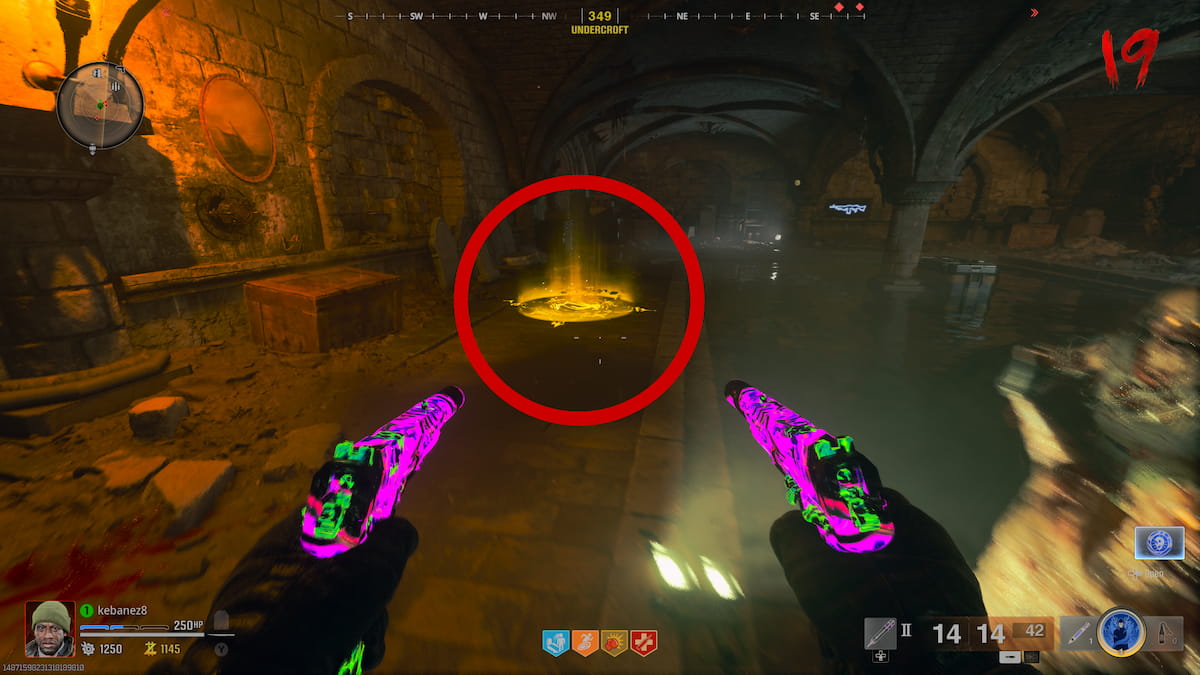 Screenshot by Destructoid
The Incantations take over your Tactical equipment, inflicting elemental damage like the Ammo Mods. For instance, the Fire Incantation works similarly to the Napalm Burst Ammo Mod, using flames to get rid of nearby enemies. The Incantations also change up your melee attacks, where you’ll hold the power of the elements in the palm of your hands. You must utilize this interaction when you’re on the pathway to uncover the Mystic Orb, showing off the elemental swords in front of the Knights statues. It’ll require a few more steps in the Citadelle des Morts Main Quest, including completing the sword trials and finding the Guardian Key for the final boss battle.
Destructoid is supported by our audience. When you purchase through links on our site, we may earn a small affiliate commission. Learn more about our Affiliate Policy

 1 week ago
11


 English (US) ·