
 3 hours ago
4
3 hours ago
4
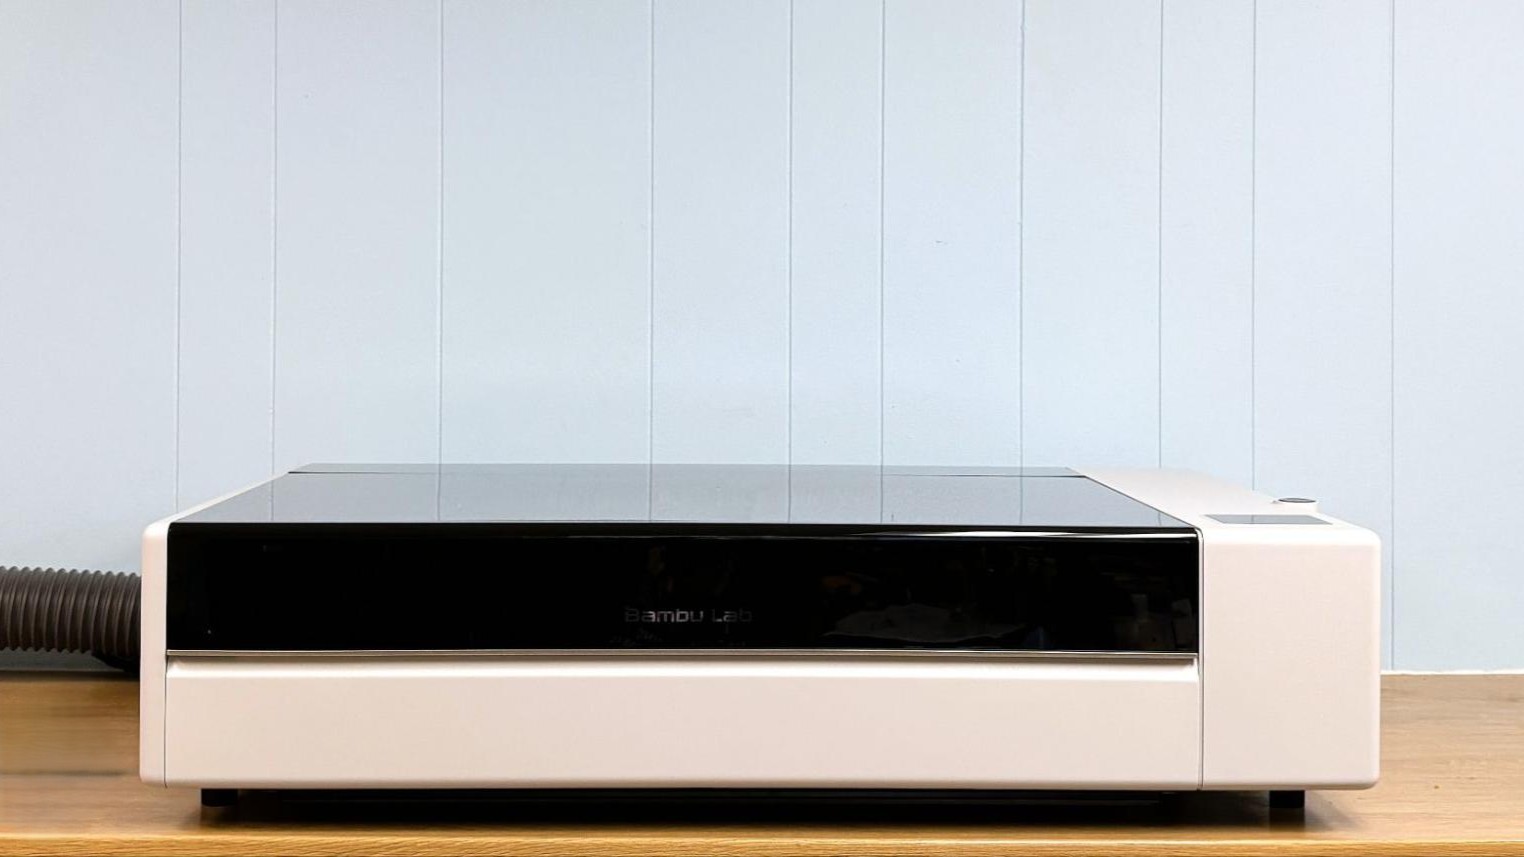
Bambu Lab has swung for the fences with its second go at making a laser cutter, and this time, it knocked it out of the park. The Bambu Lab R1 is a standalone, 55W CO2 laser with a roomy 600 x 300 mm work area, a bird’s eye camera for remote positioning, and a well-designed software suite. Priced at $2,499, the laser is a steal compared to other CO2 lasers of the same size and caliber.
You might recall the company’s first laser, a 40w diode packaged inside the H2D, was met with skepticism. Though the company pitched the H2D as the ultimate mini manufacturing machine for makers, many people felt a laser was too dirty to house in the same box as an expensive Core XY printer. Bambu must be listening, because they took everything that was good about the H2D’s diode system and gave it a standalone case with a massive CO2 laser.
The R1 has the same simple unboxing and setup experience as a Bambu Lab printer, making it easy to get started without a ton of prior experience. The only thing it is currently lacking is a more comprehensive set of material presets. Bambu Suite really shines in a market where good hardware is often let down by bad software.
Latest Videos FromTom's Hardware
While the Bambu Lab R1 is not a small machine, it does have a smaller footprint than other lasers with a similar work area. It requires a stout work table – and two people to cart it into position – as the machine is over 70 pounds. In its base configuration the R1 has a work area of 600mm x 300mm. With the optional conveyor and riser base, that 300mm can be extended to 3000mm, or 9.8 feet. Of course, you’ll need a lot of space in front of and behind the machine to pull that off. Bambu Lab did a wonderful job putting all of the controls and frequently used ports near the front of the R1 since you won’t want to move it much unless you are lasering something large.
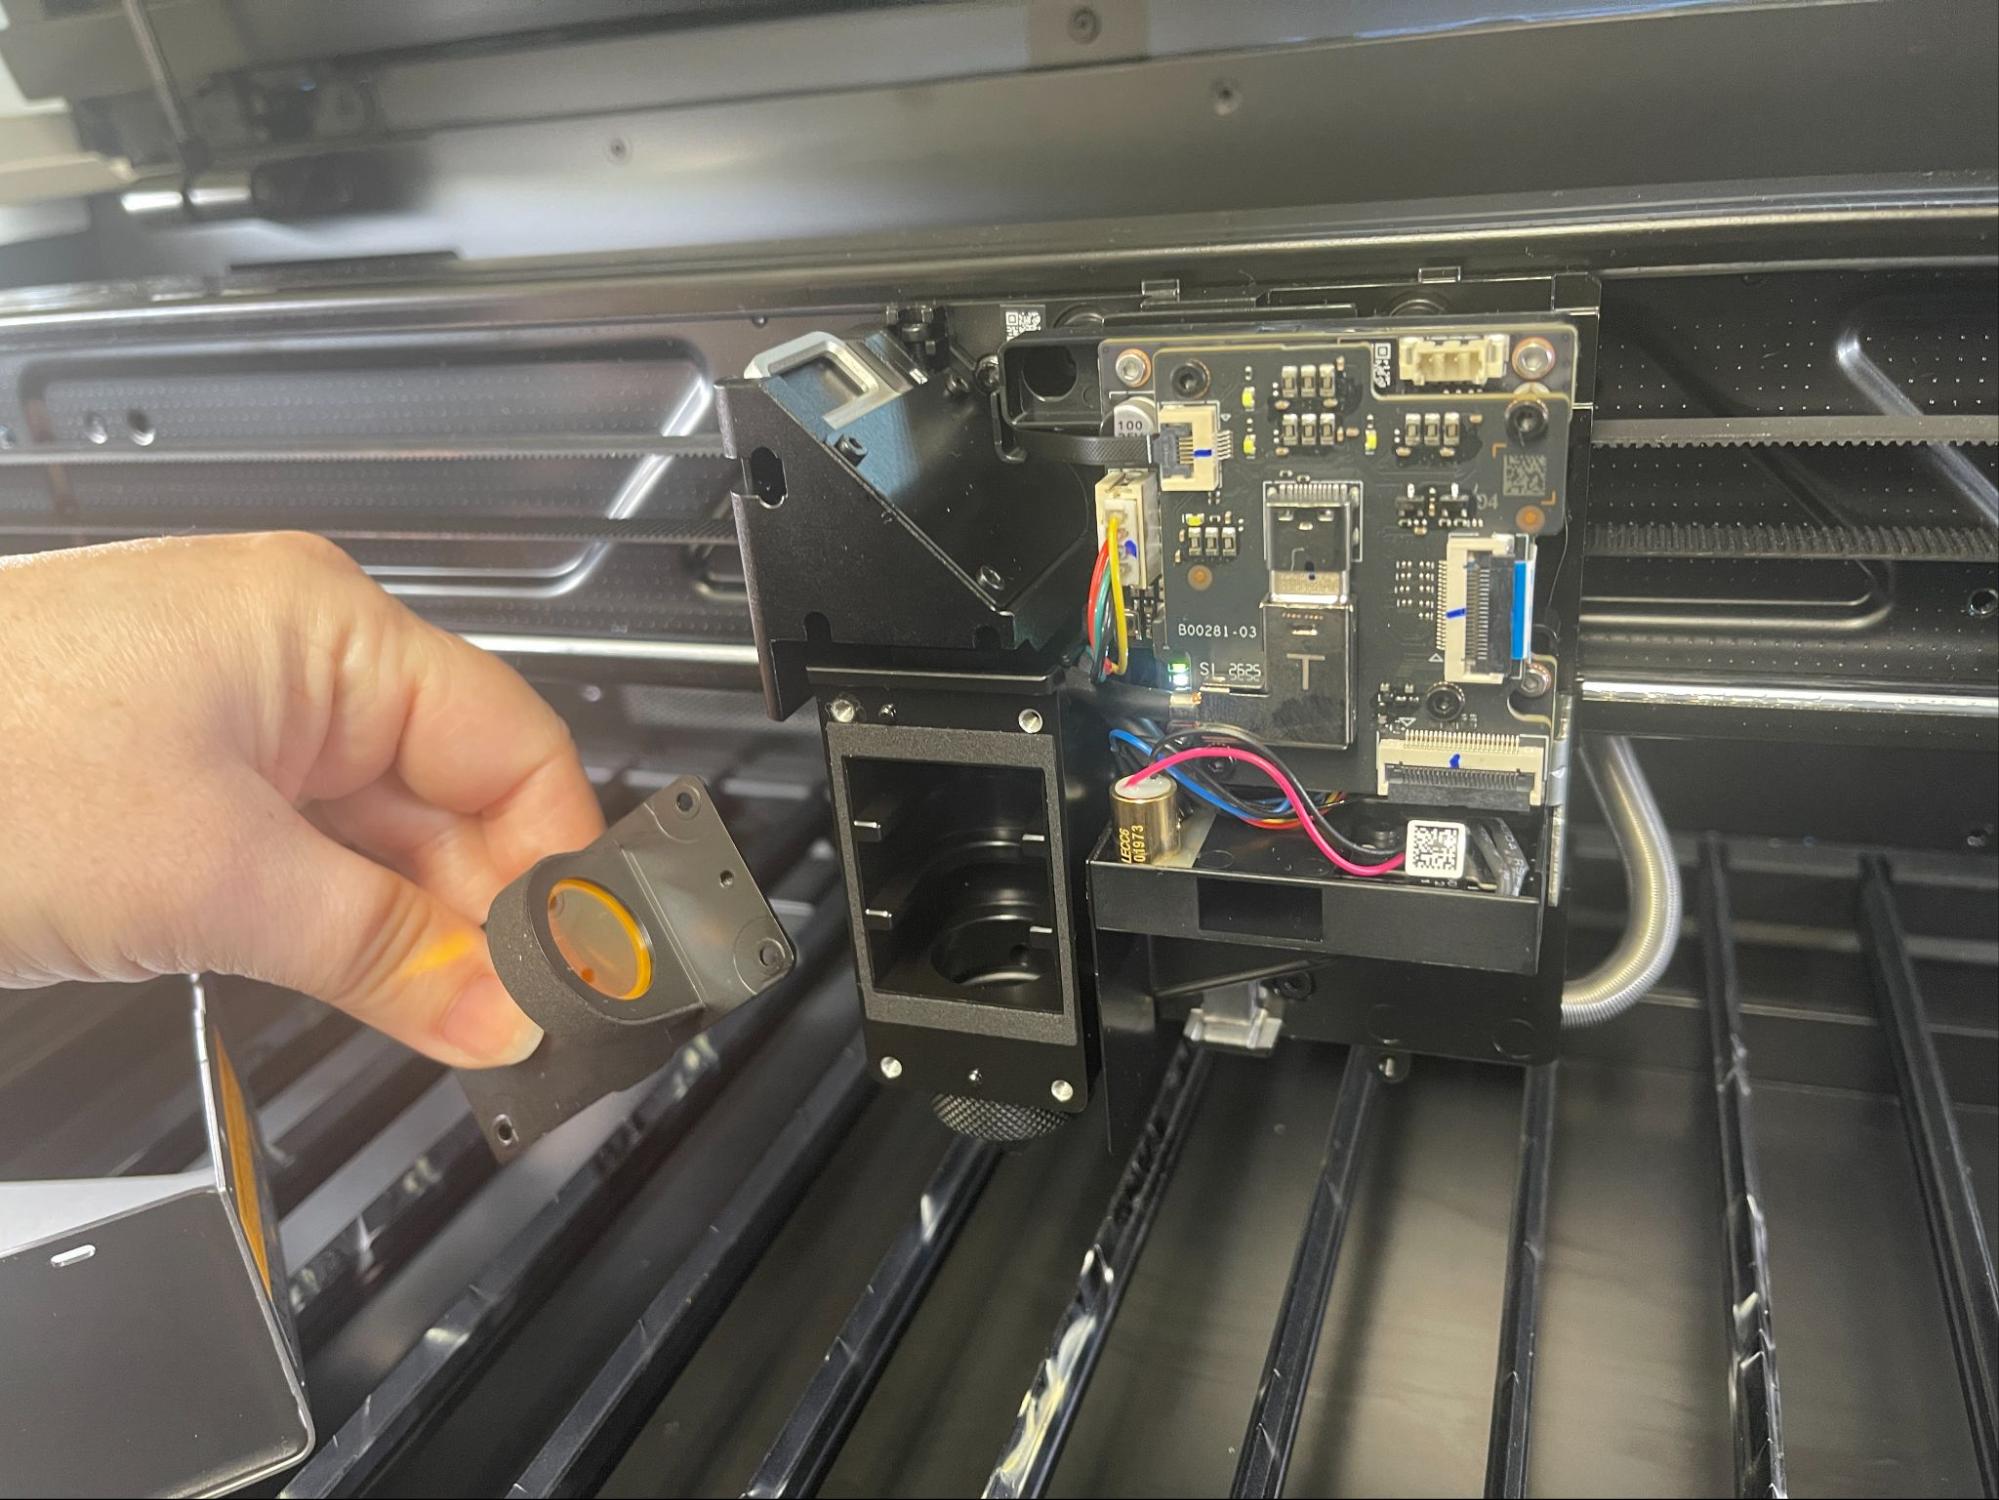
The only flaw I found was the need to manually change focus lenses to cut thicker material. The process to change lenses is tedious, with six screws needing to be removed and replaced with the new lens. The two screws for the toolhead cover are ridiculously small. This process is reminiscent of the early Bambu Lab printer nozzles that required the heater and thermistor to be detached, then reinstalled with thermal paste. Hopefully Bambu Lab will come up with a quick-release lens at some point in the future.
Specifications: Bambu Lab R1
Swipe to scroll horizontally
Machine Footprint |
940 x 560 x 200 mm (37 x 22 x 7.8 inches) |
Machine Weight |
33.5 kg (73.8 lbs) |
Engraving Size |
600 x 300 mm (23.6 x 11.8 inches) With Conveyor |
Material |
Cuts wood, acrylic (incl. clear acrylic), leather, fabric, paper, EVA foam, and shell. |
Engraves |
The above plus coated metal, glass, and ceramic |
Laser Type |
CO2 |
Laser Power |
55W |
Laser Wave Length |
10600 nm |
Engraving Accuracy |
0.10 mm |
Cutting Platform |
Metal slats and baseplate included |
Connectivity |
USB, Wi-Fi |
Interface |
Color touch screen |
MSRP |
$2,499 |
Release Date |
September 22, 2026 |
Bambu Lab R1: Included in the Box
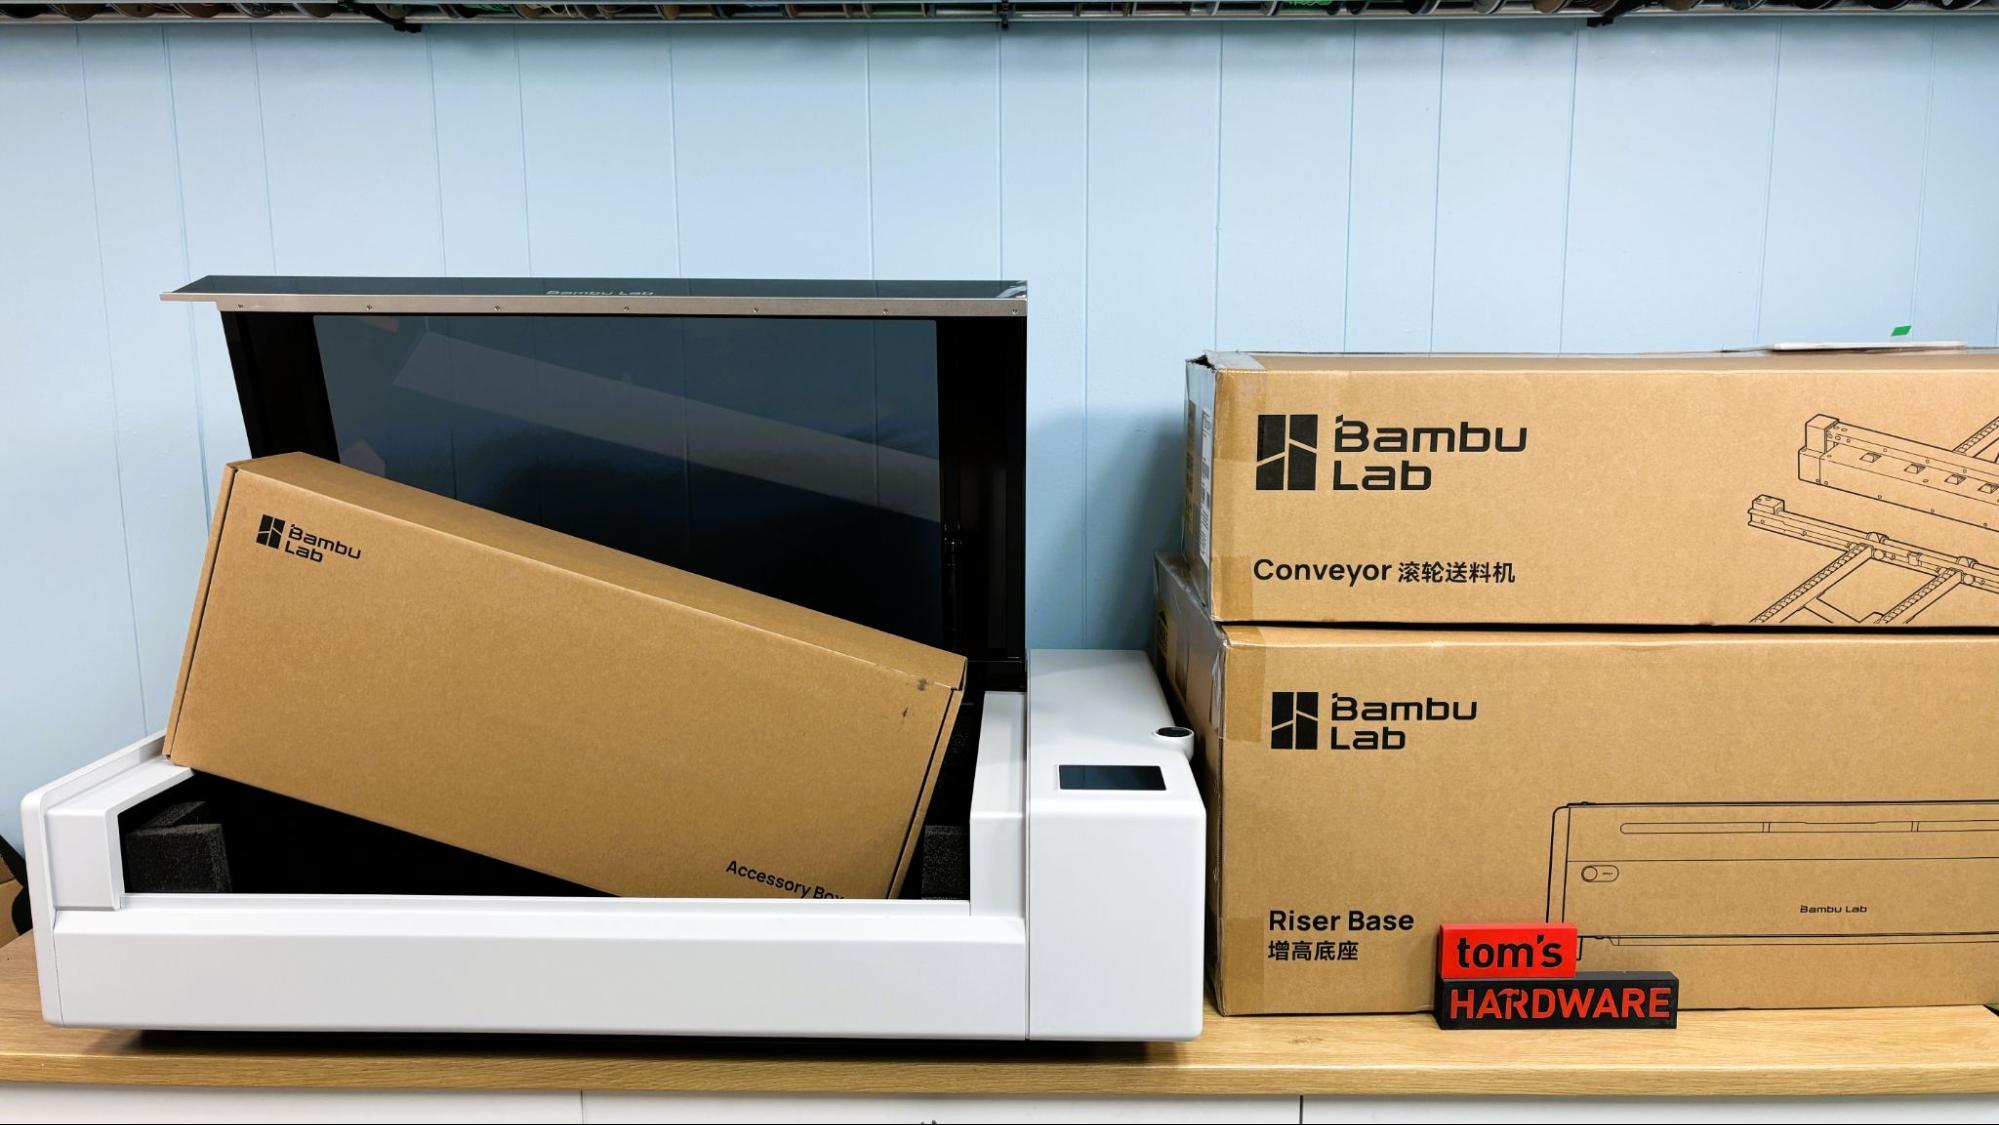
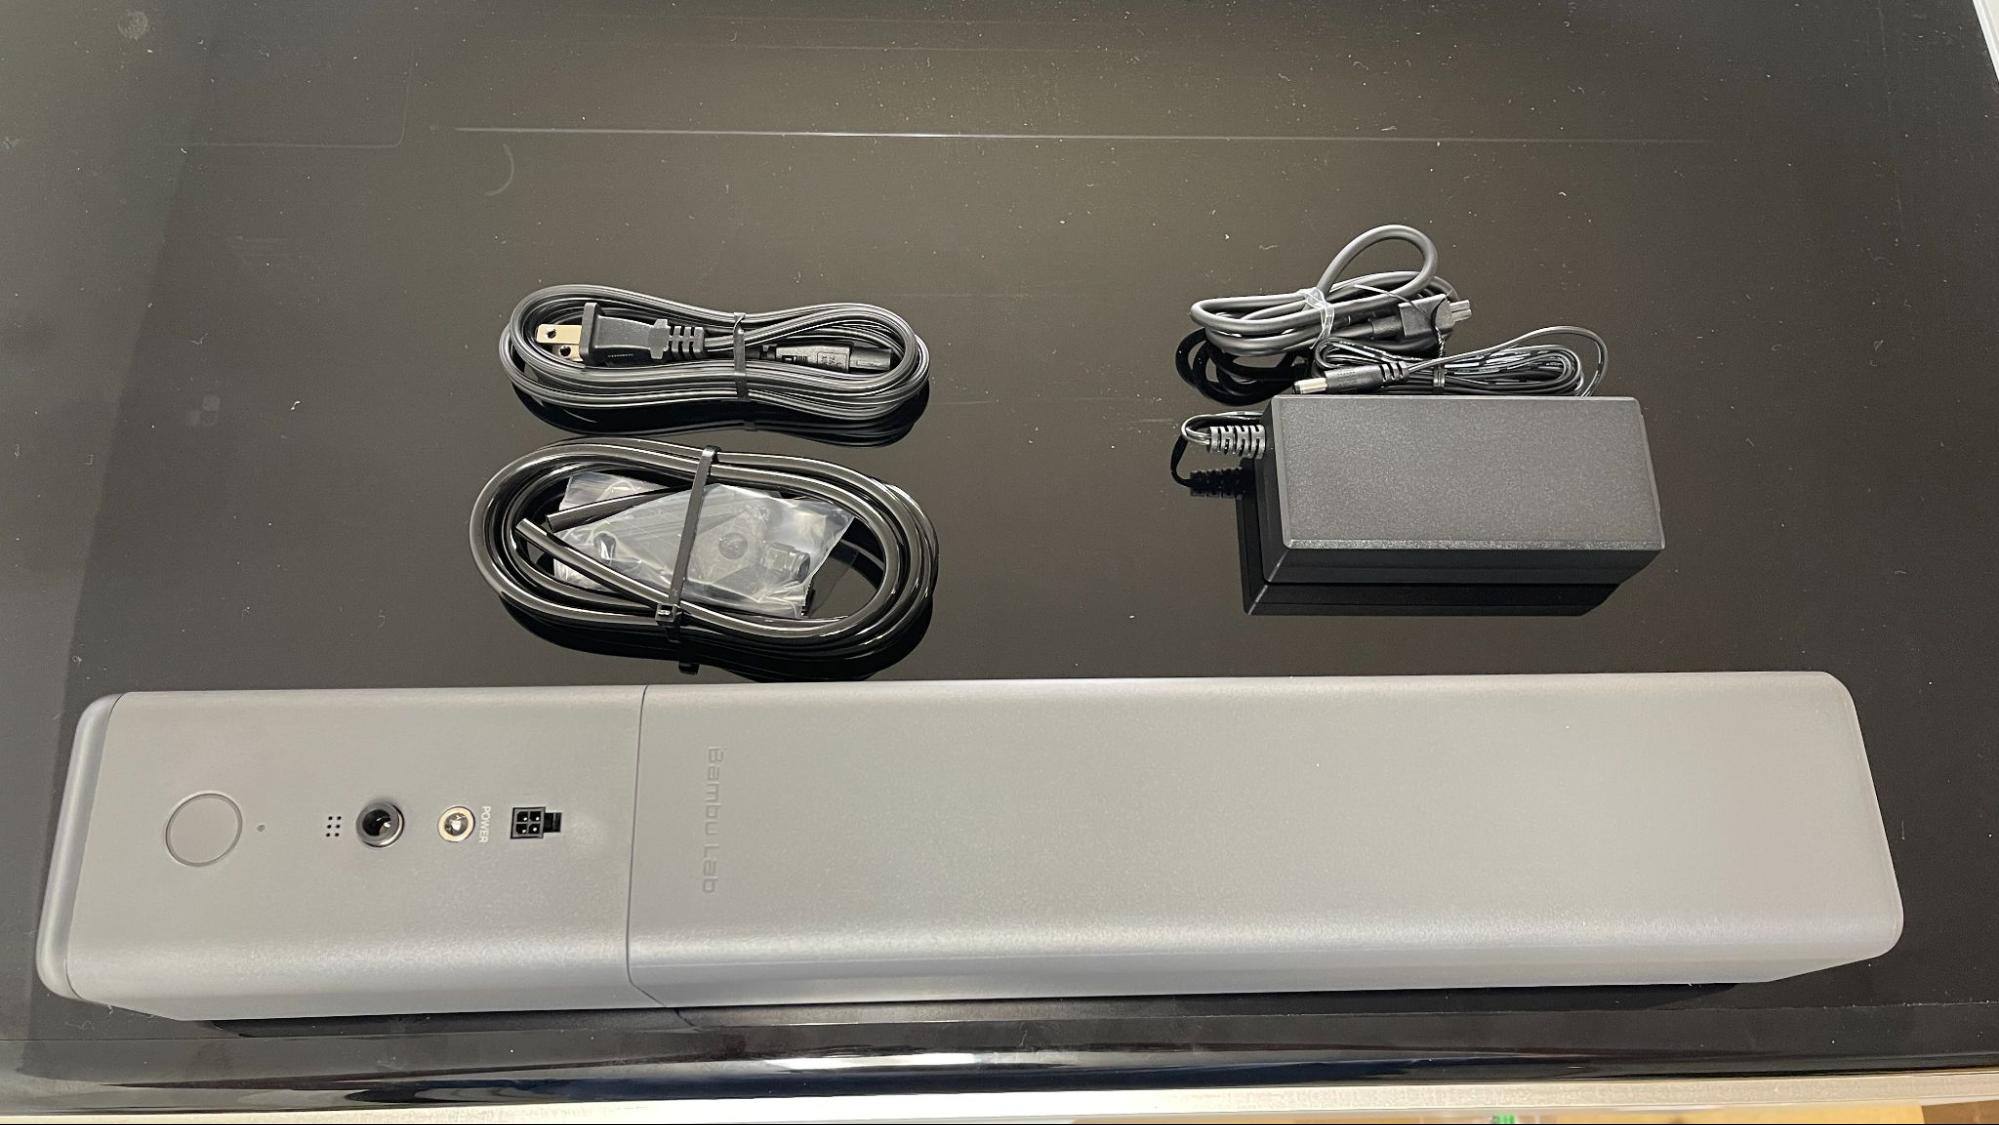
The Bambu Lab R1 arrives fully assembled with its accessory pack bundled inside the laser enclosure. Accessories include a tool kit, exhaust hose, ventilation fan, antifreeze, funnel, laser alignment sensor, calibration board, and a material pack of basswood plywood and clear acrylic. You will need to supply 1500ml of distilled water to dilute the antifreeze. For the review, we also received the medium and long focus lenses, the conveyor and the riser needed for its use, the auto fire extinguishing system, and a smoke purifier.
Design of the Bambu Lab R1
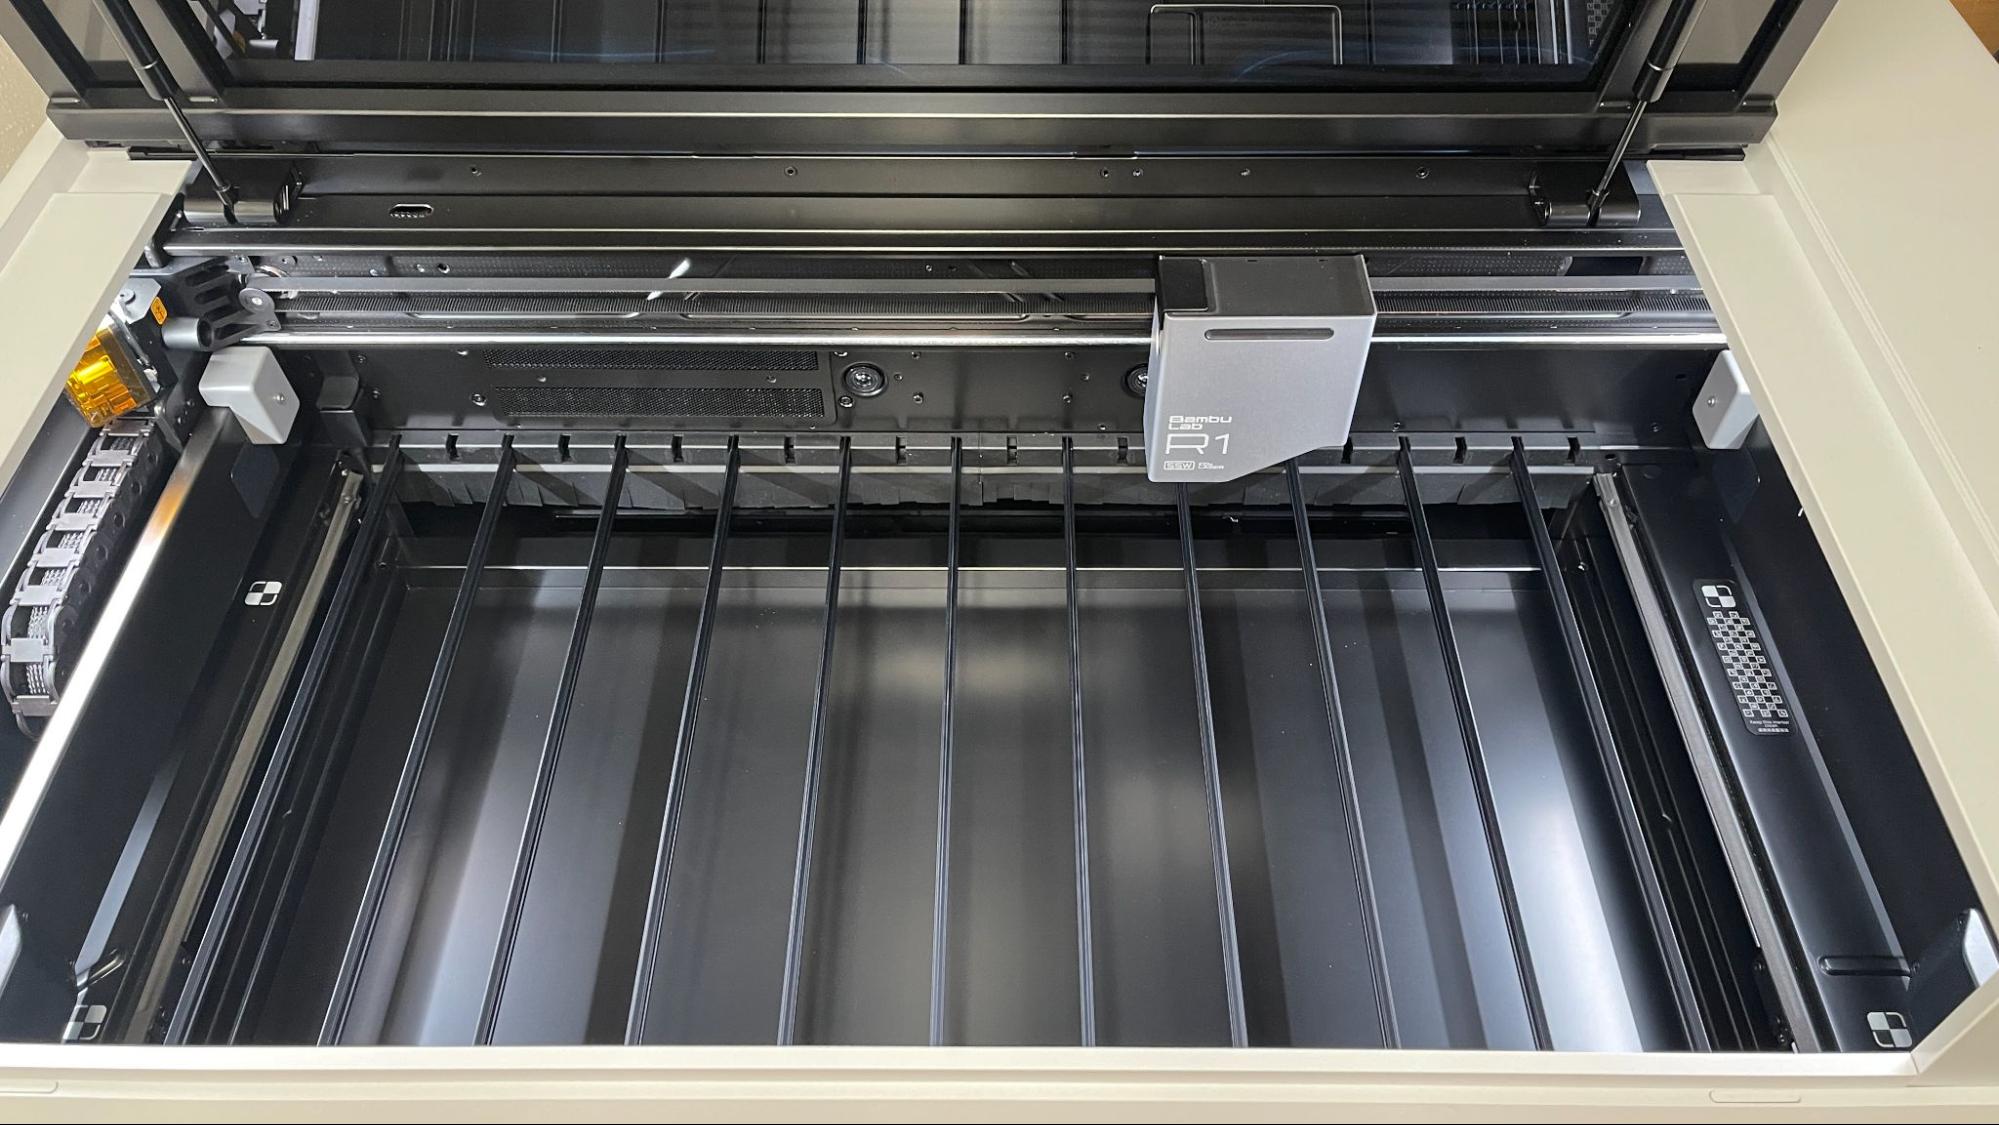
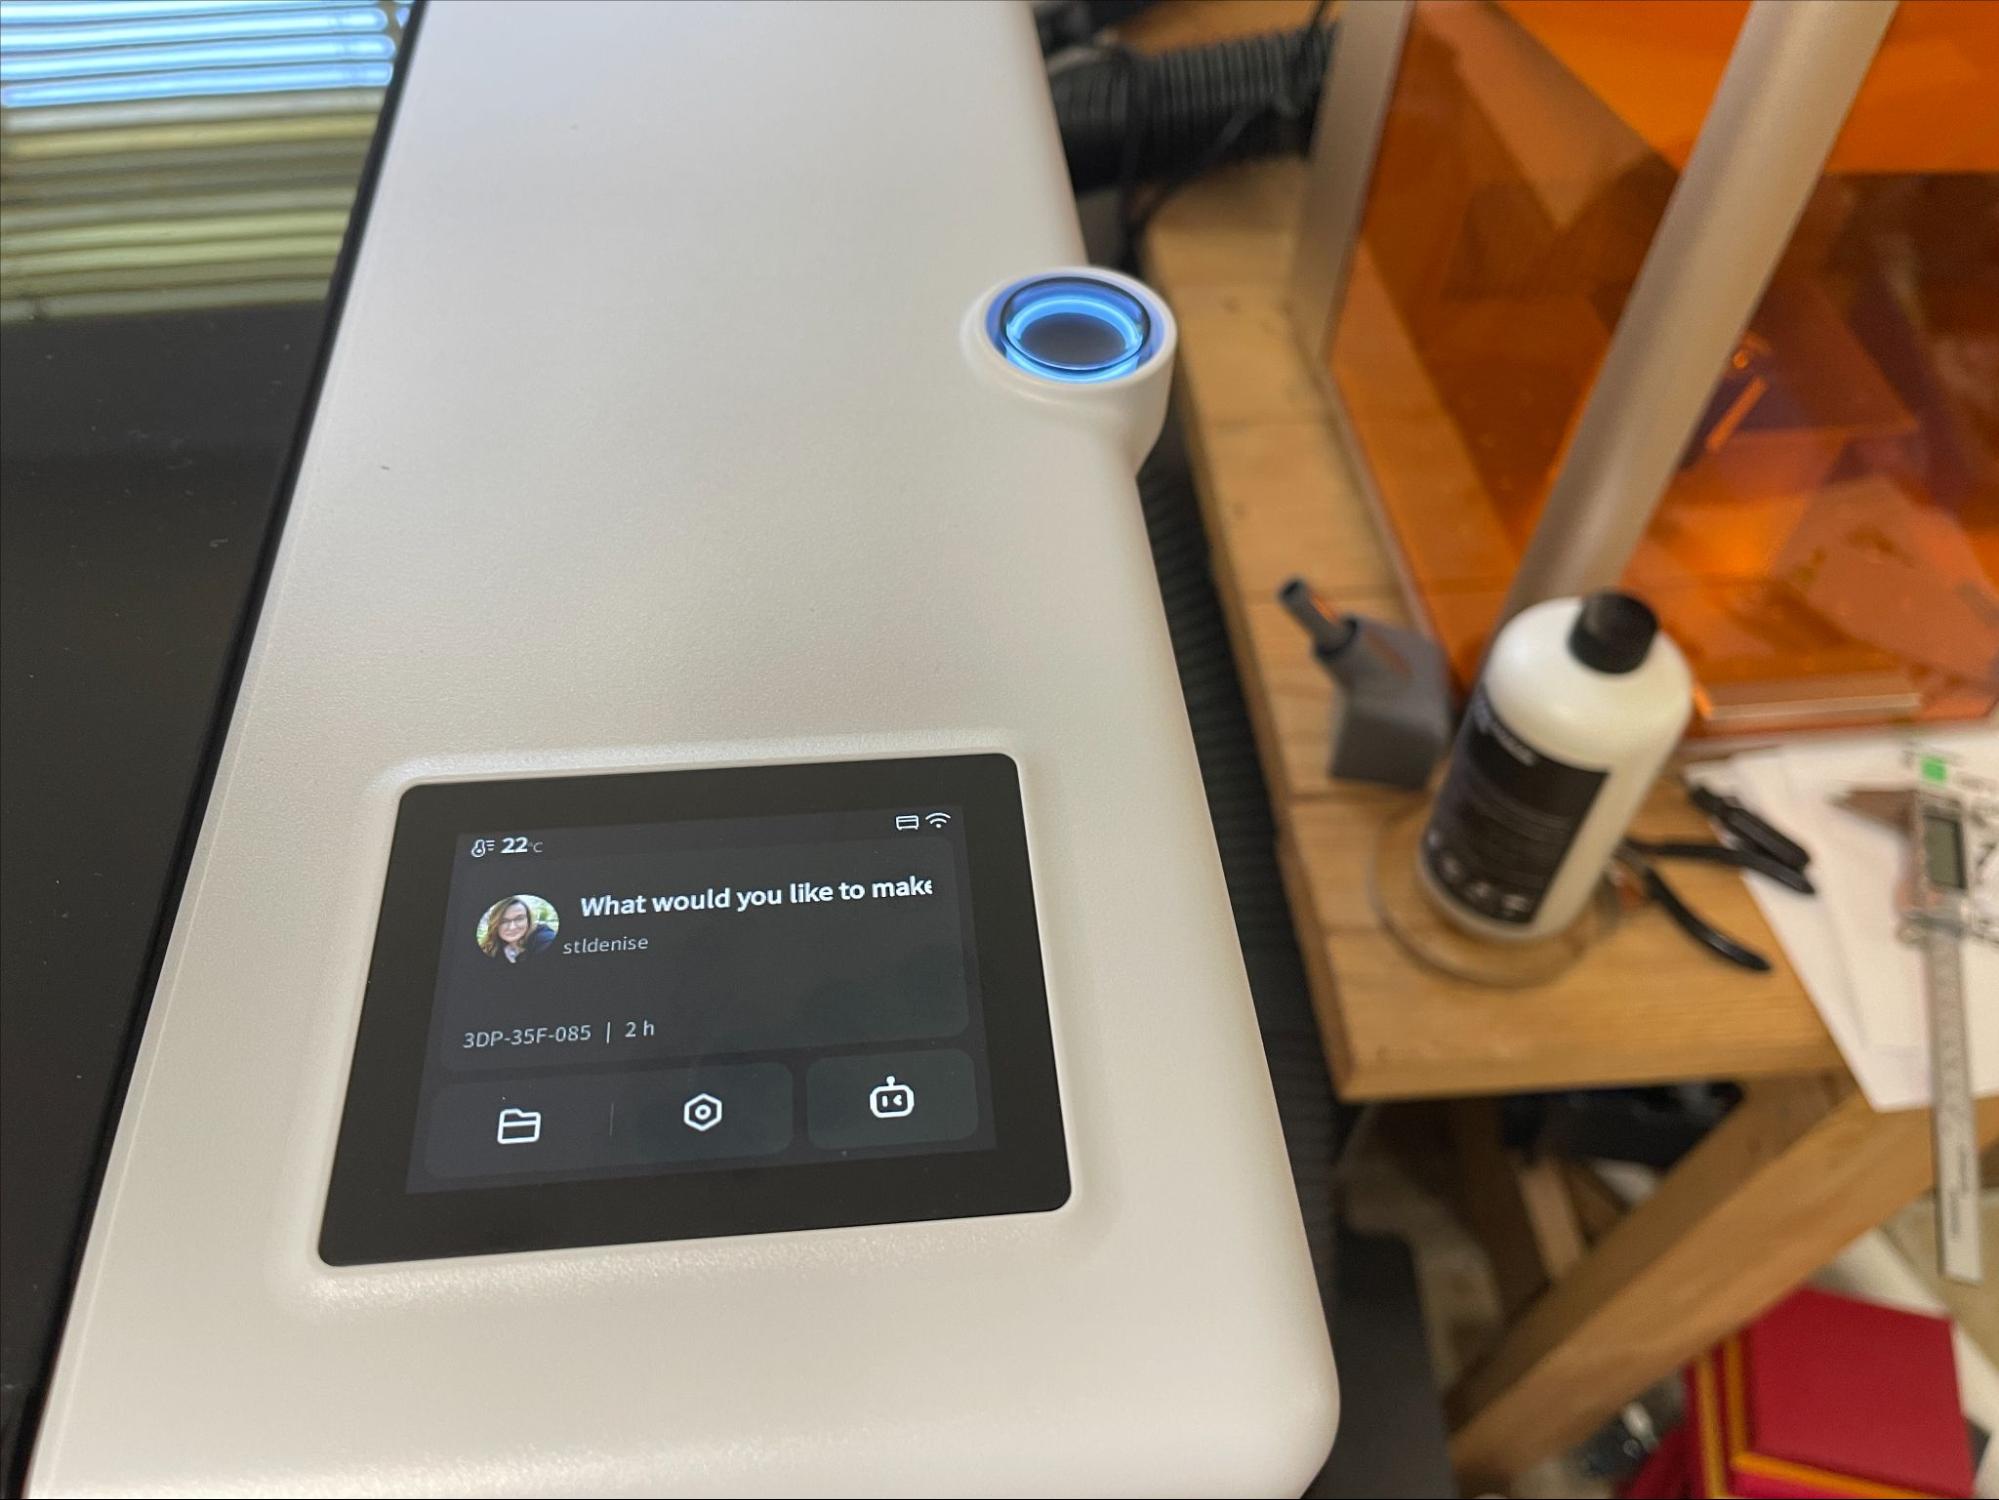
The Bambu Lab R1 is a beast of a machine, but a well-thought-out one. It’s more compact than other CO2 lasers with the same working area, despite this, weighing over 70lbs. It’s not an easy machine to move. Bambu Lab put all of the controls, ports, and the safety key thoughtfully within easy reach at the front of the machine. The color touchscreen and start button are on top of the machine.
Stay On the Cutting Edge: Get the Tom's Hardware Newsletter
Get Tom's Hardware's best news and in-depth reviews, straight to your inbox.
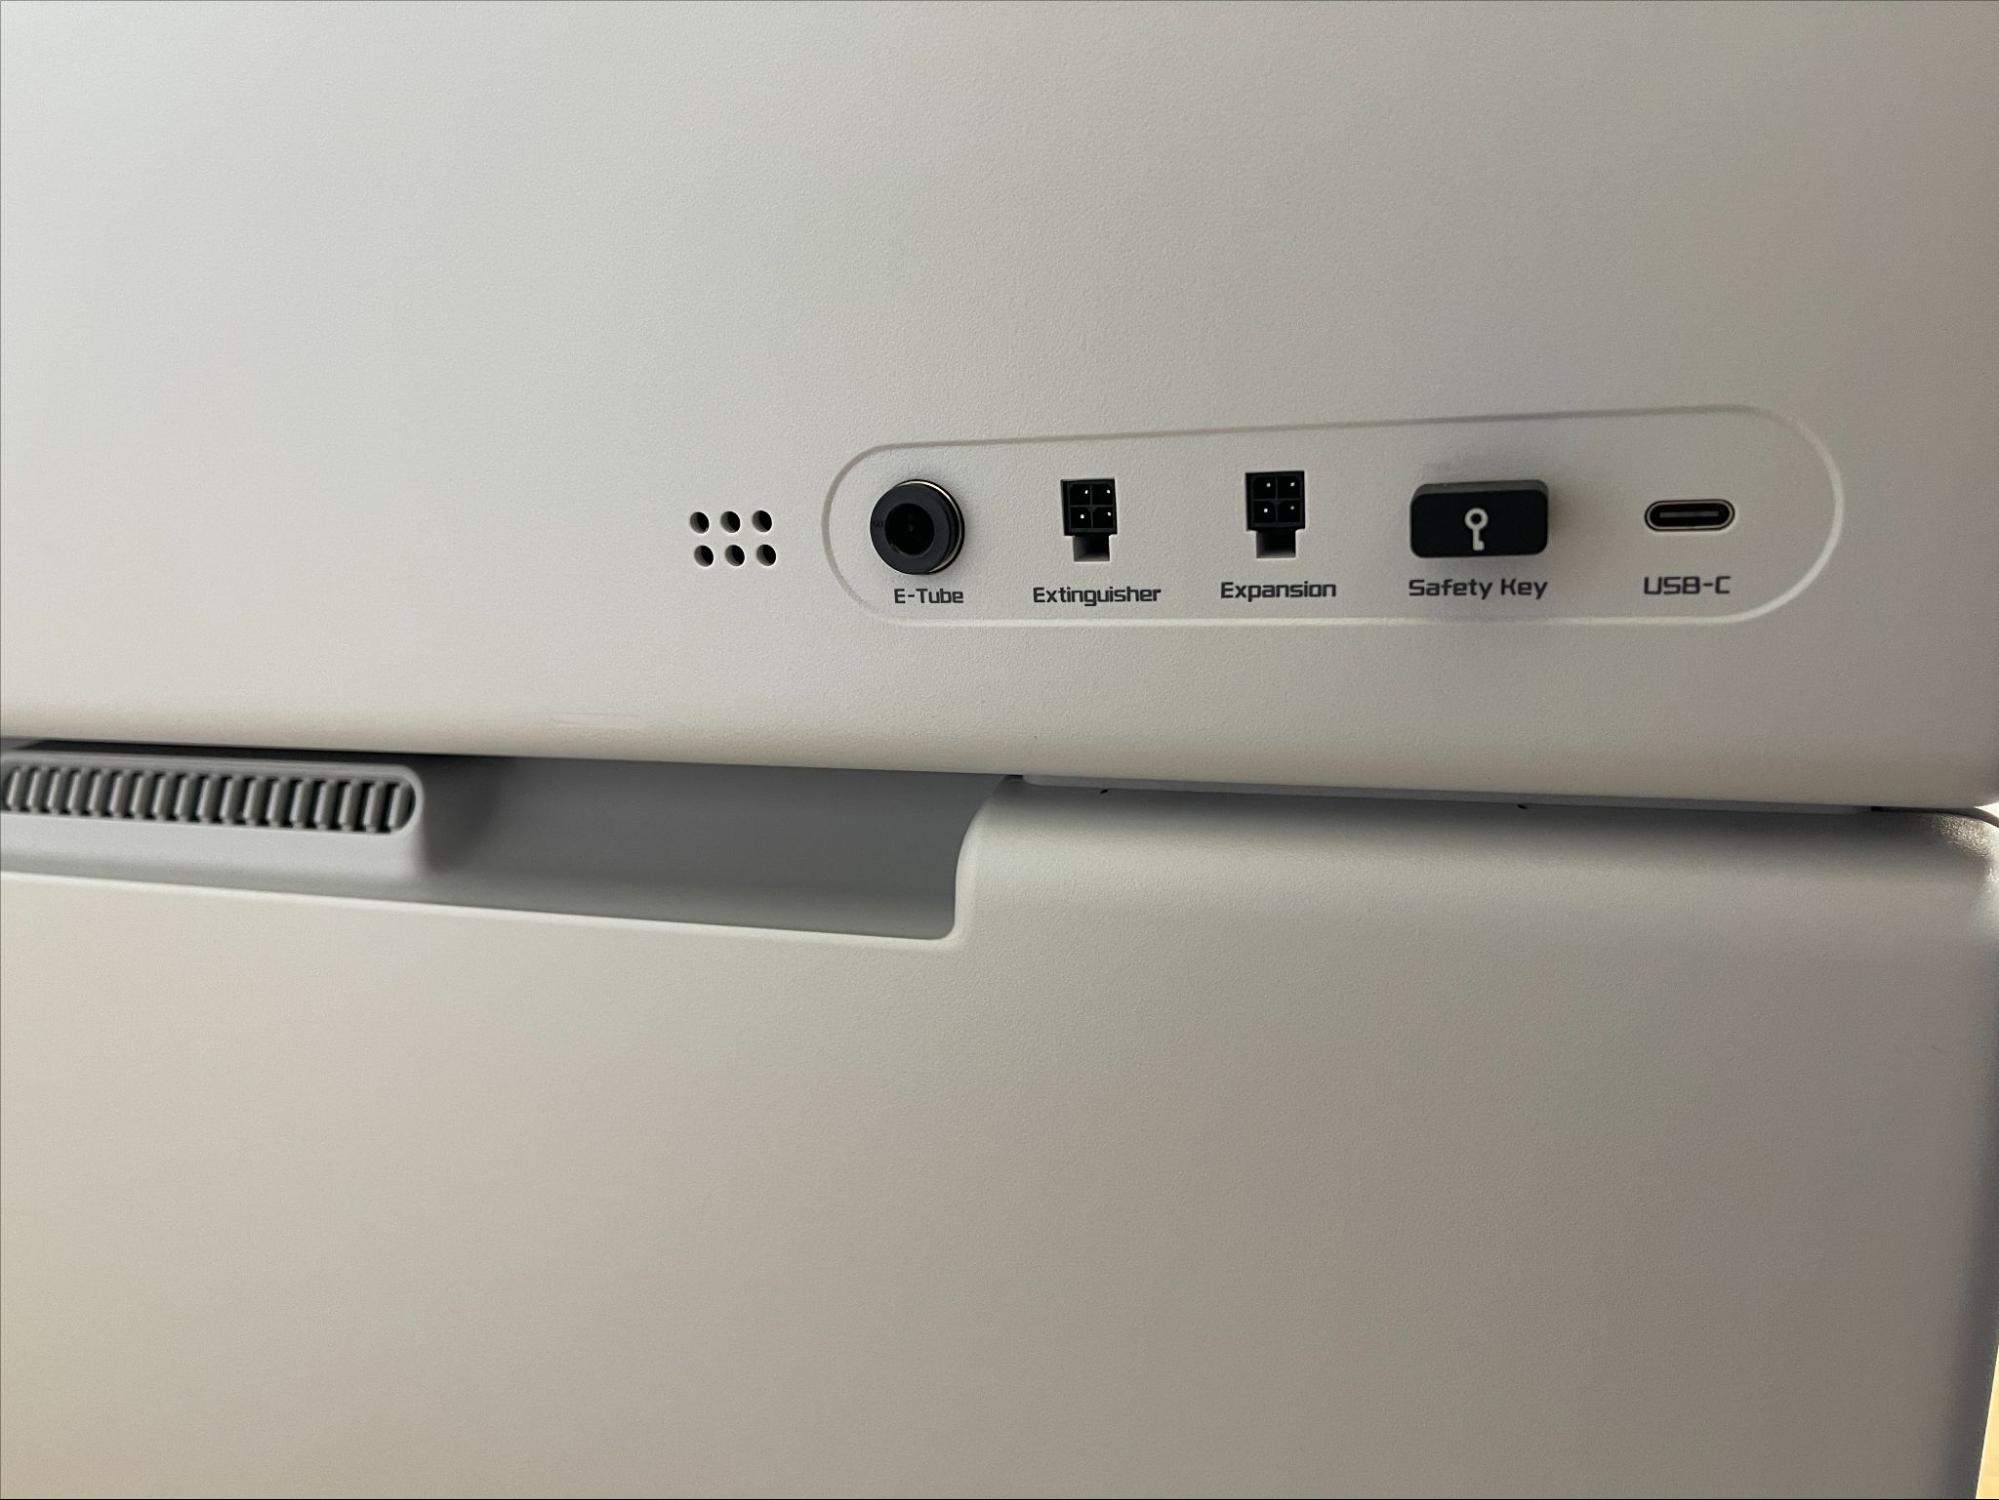
The automatic fire extinguisher ports, USB-C, and safety key are located on the left side of the laser.
The emergency stop button is located on the right side of the laser.
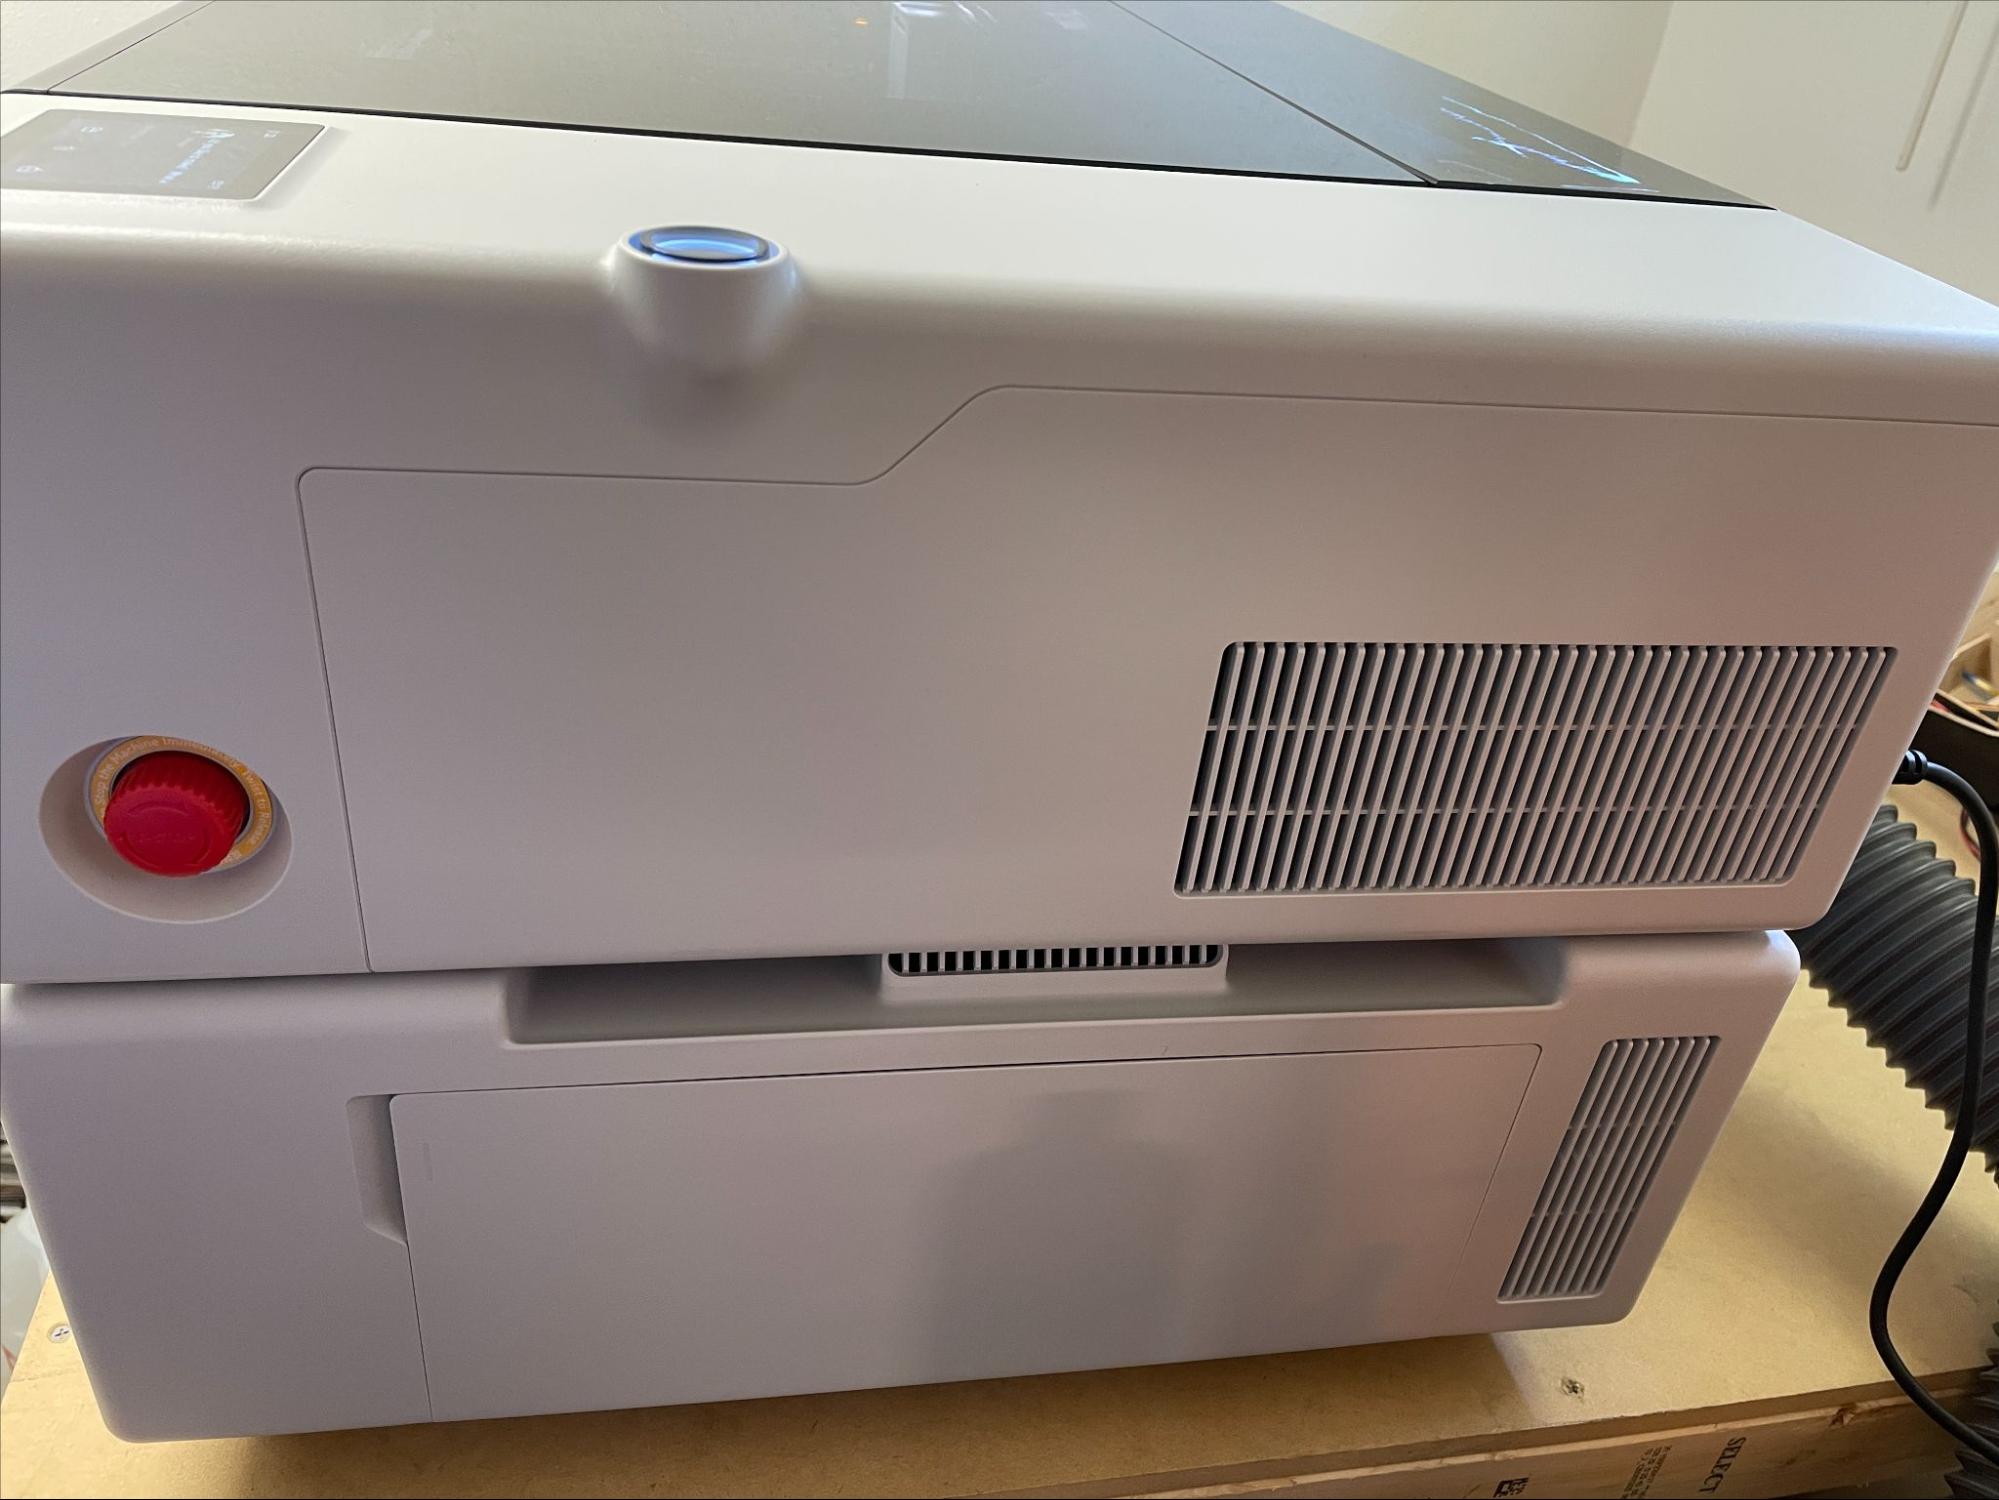
Only the power switch, the exhaust fan, and the coolant filling point are located on the rear of the unit.
Unlike most other lasers, a CO2 laser has a large, glass, liquid-cooled laser tube at the rear of the unit. Antifreeze is mixed with distilled water for the coolant to prevent the glass tube from freezing should it be kept in a garage, basement or even if you lose power in your house during the winter.
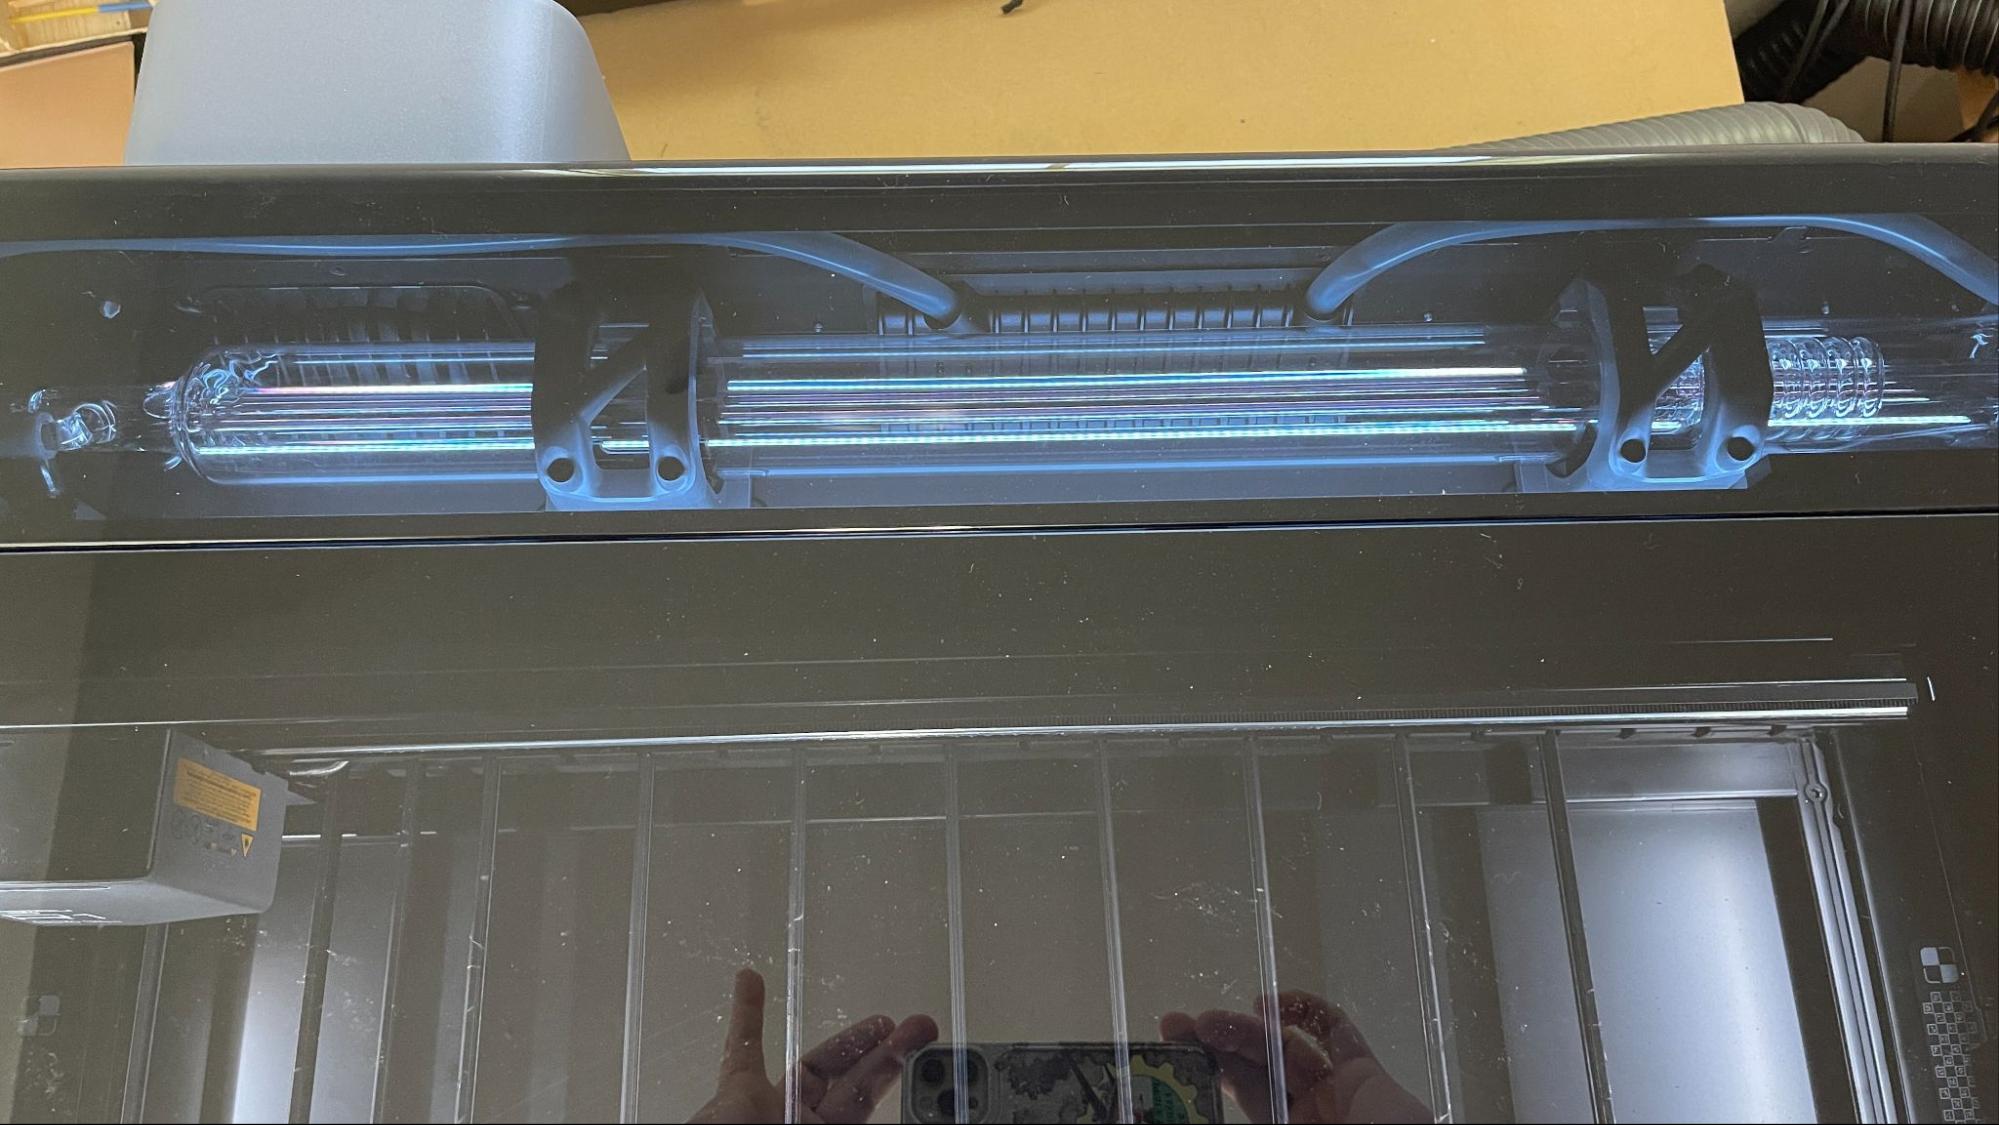
The laser fires a beam which is directed to the tool head with mirrors.
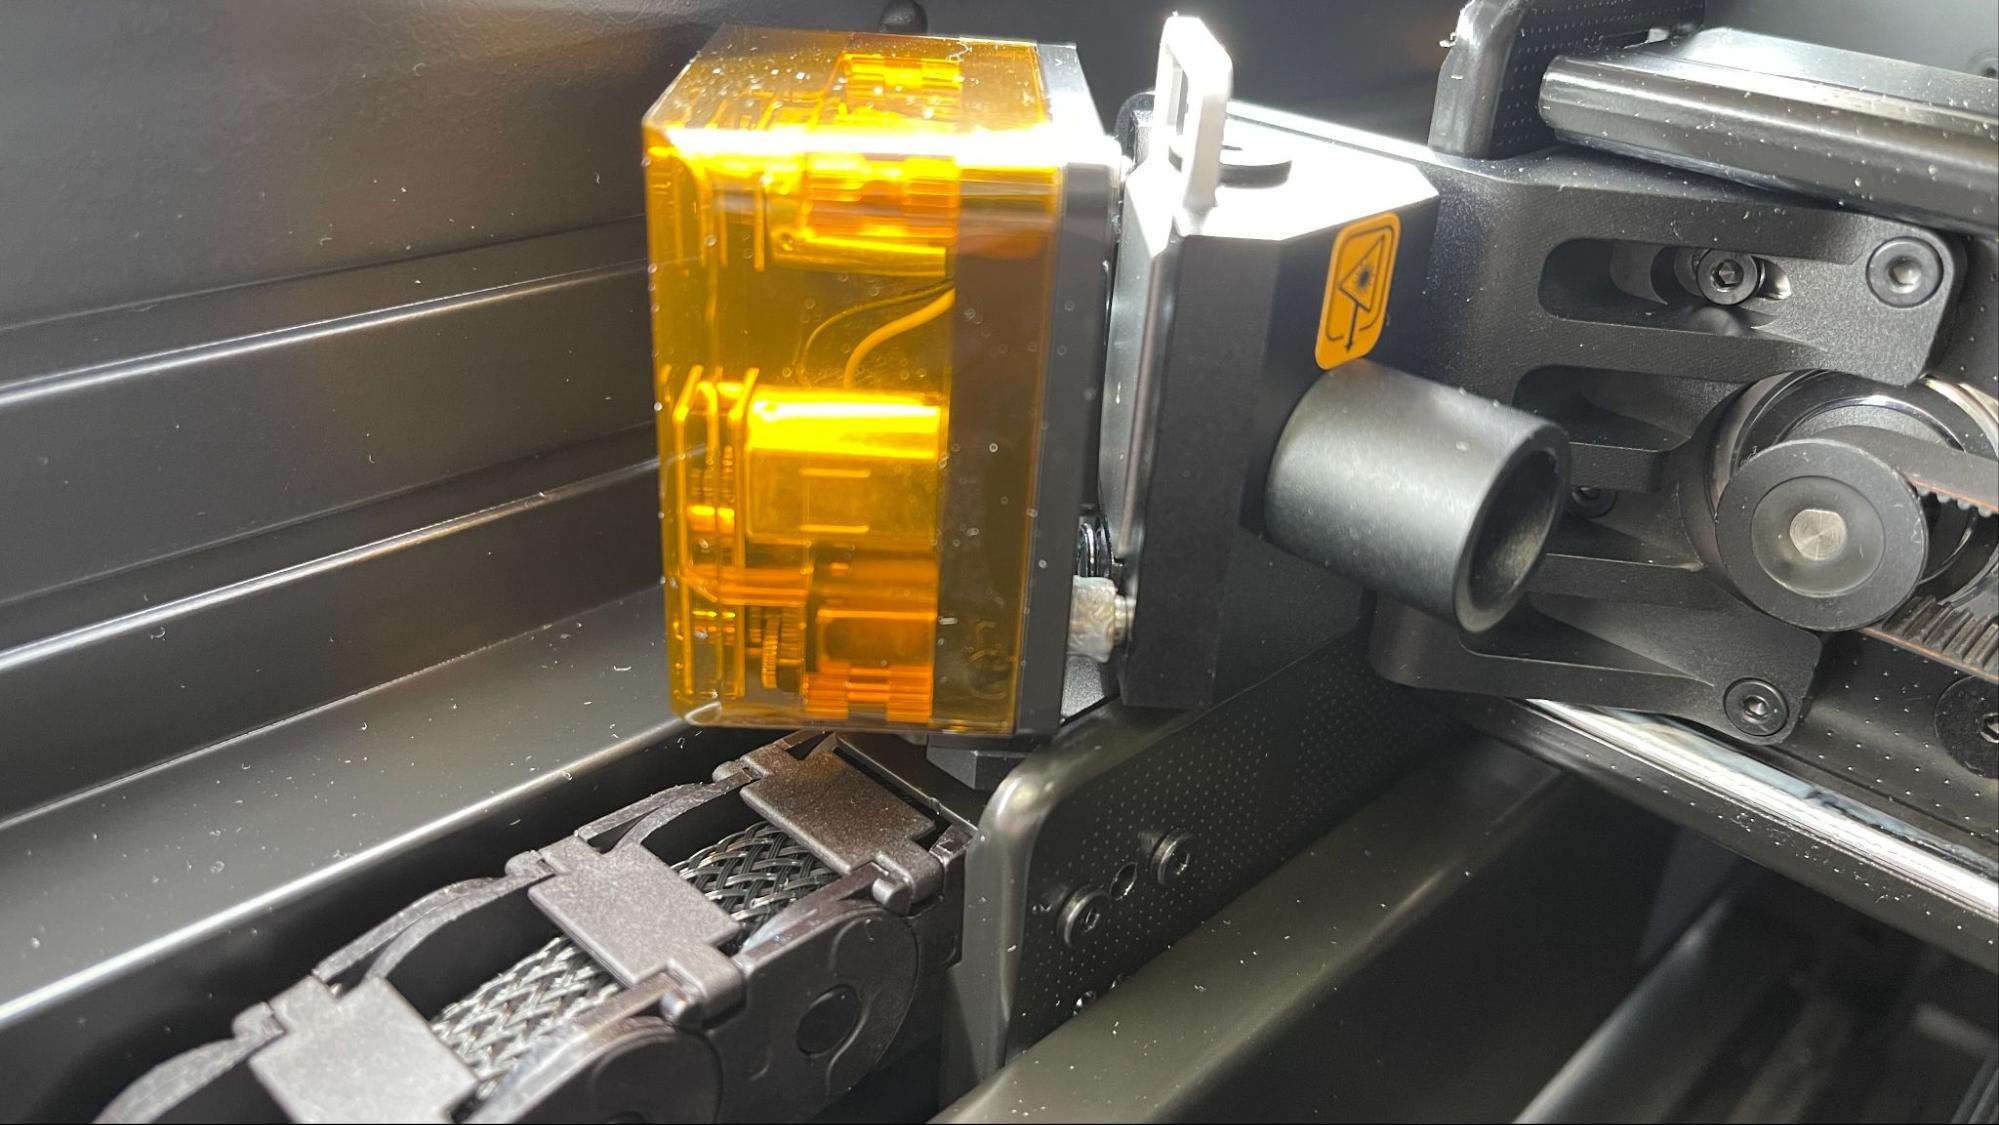
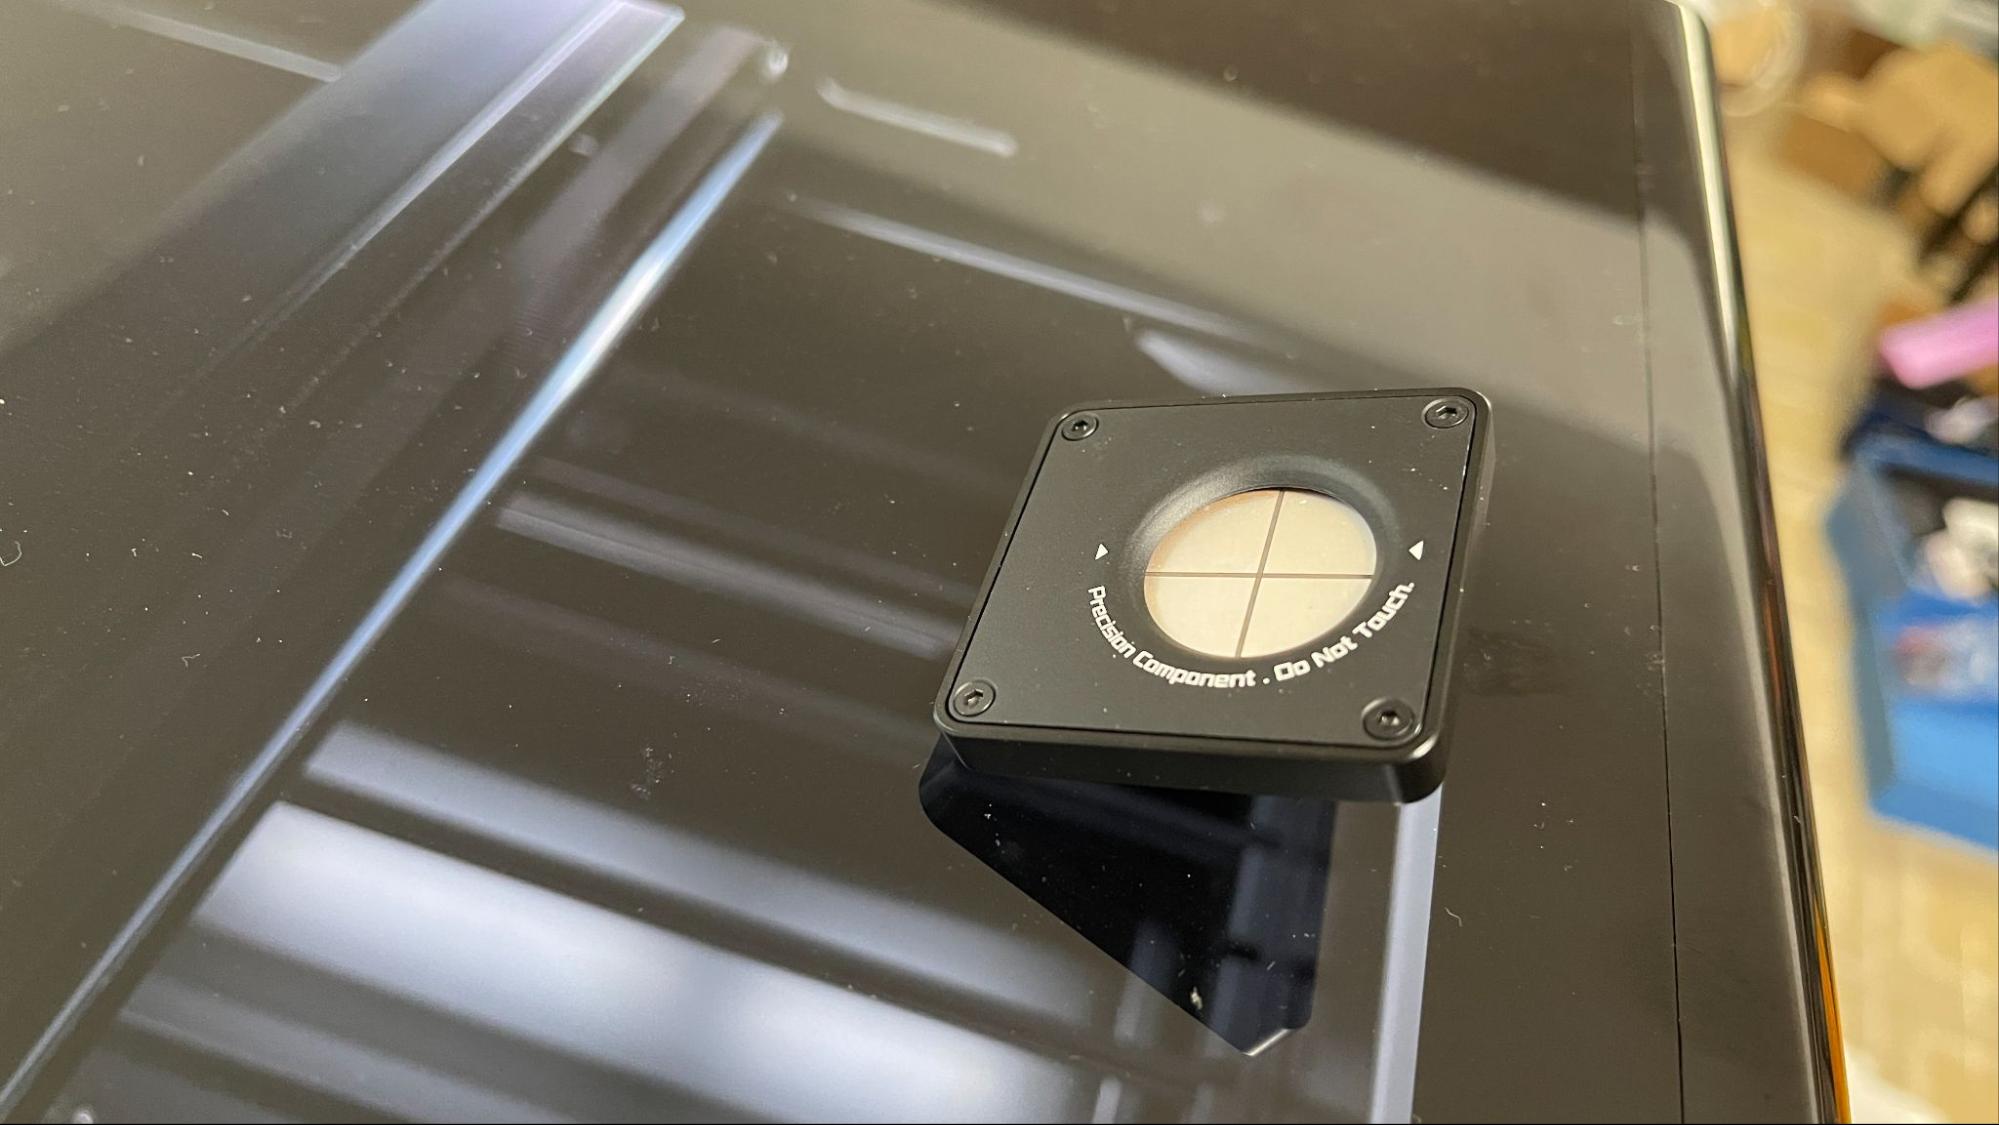
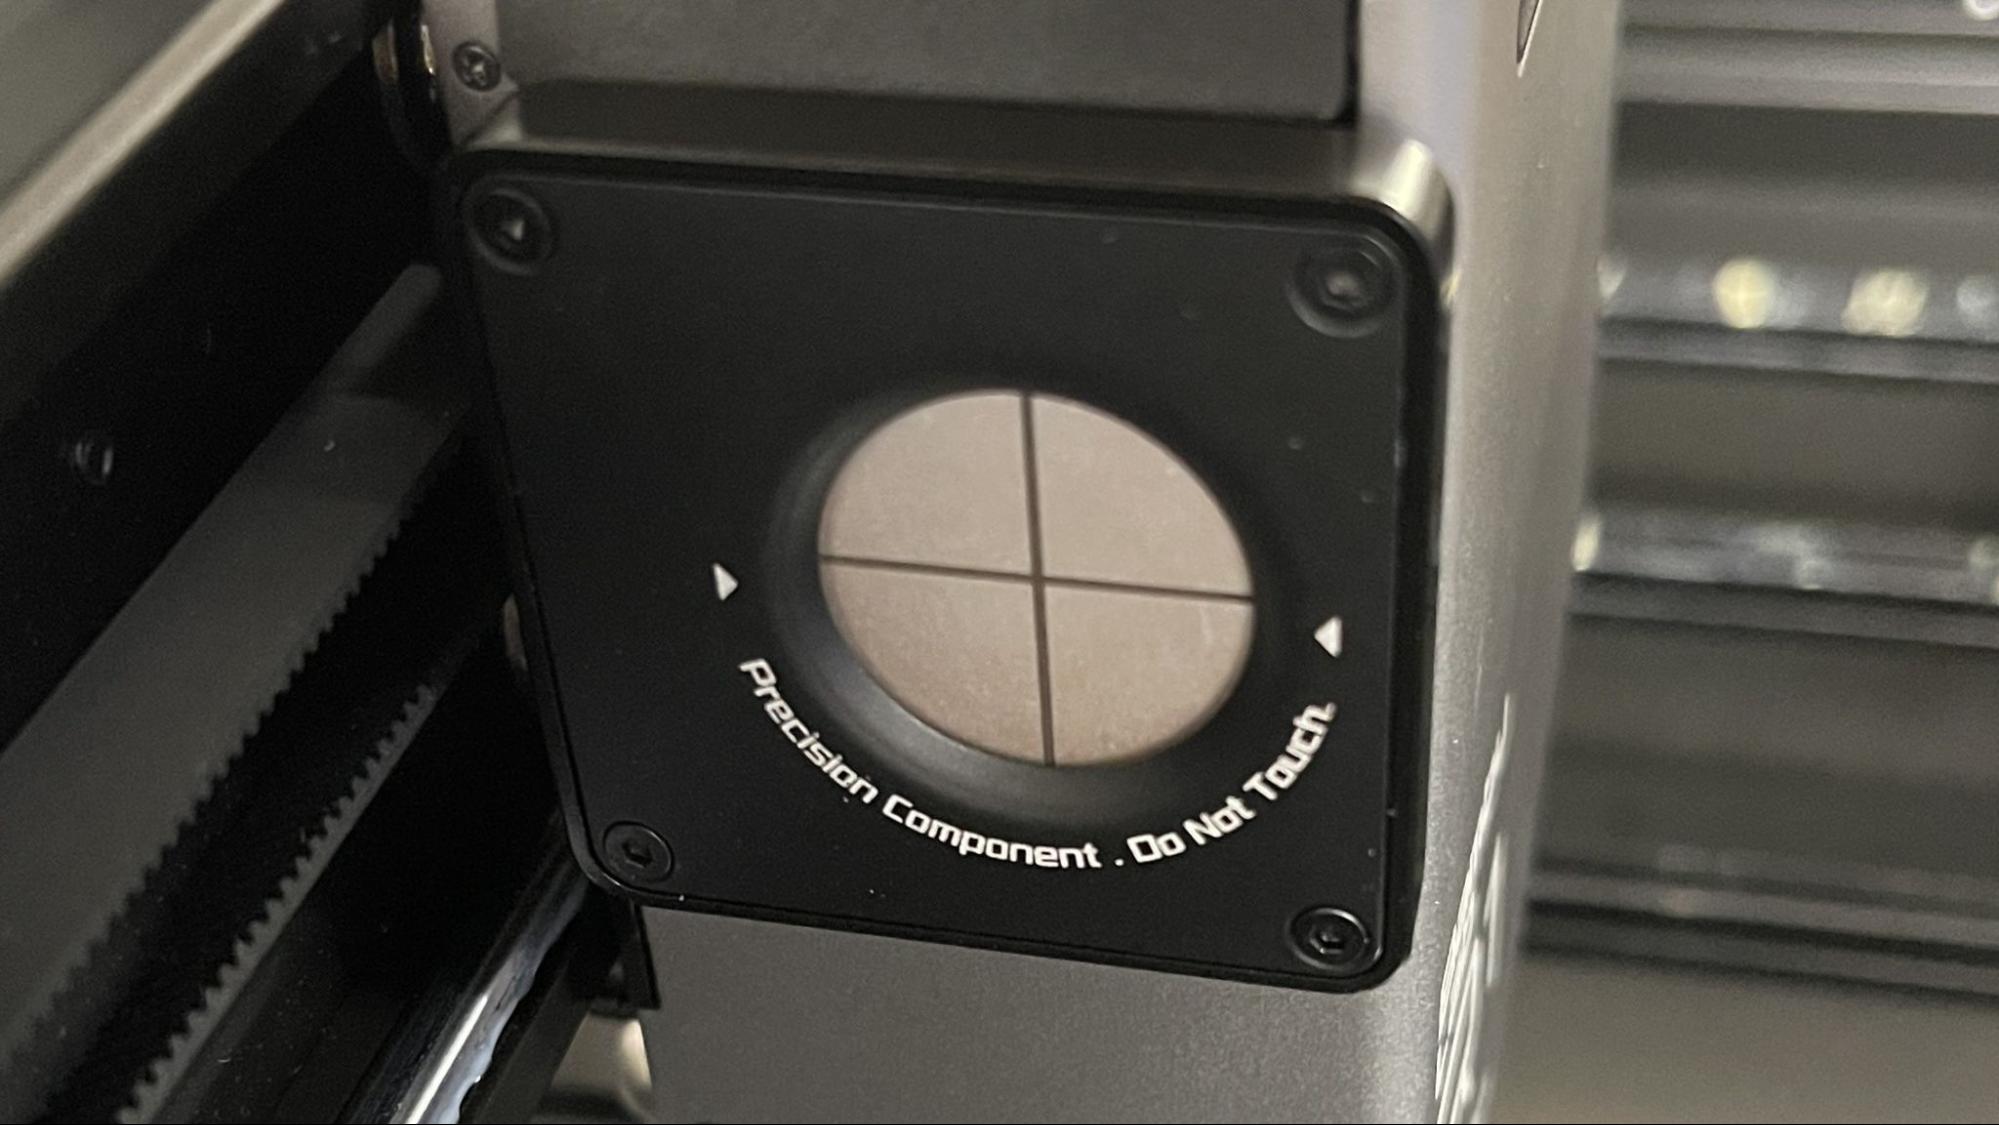
On some lasers, calibrating these mirrors can be a chore. Bambu Lab developed a laser alignment sensor, which clips to the toolhead and allows the laser to align the mirrors itself in just about a minute.
The Bambu Lab R1 has an excellent positioning system. There is a bird's eye camera on the lid of the laser, which requires that the lid be up when measuring. This takes a little getting used to since I reflexively shut the lid of a laser when I walk away from it. There is a camera mounted on the toolhead as well as a distance-measuring laser, instead of a clunky mechanical probe. The R1 tracks the toolhead position with XY encoders. The system worked great out of the box with no camera calibration needed. The camera is listed as having a .2mm positioning accuracy.
The Bambu Lab R1 is rated to cut up to 18mm wood and 20mm acrylic but doing so requires changing the focus lens in the tool head and then doing a five minute vision accuracy calibration. To change lenses, you need to remove two extremely tiny 1.5mm screws from the toolhead cover and four screws from the focus lens. It would be nice if they could develop a quick release for the lens, since as it is, this is not a process I’d want to have to do frequently.
A built-in air assist works to keep charring down and keep the laser lens clear. It is not adjustable, being either on or off, and it's powerful enough to move lightweight objects if they are not stuck down.
Given its size, the R1 is not likely to be used anywhere other than a shop or workroom, which is great because this thing is loud. The cooling fans in the laser don’t ever stop, and they are pretty loud on their own. When the laser is activated, it sounds like a jet engine spooling up. Between the noise of the laser and the air purification, it’s the loudest laser I’ve reviewed.
Assembling the Bambu Lab R1
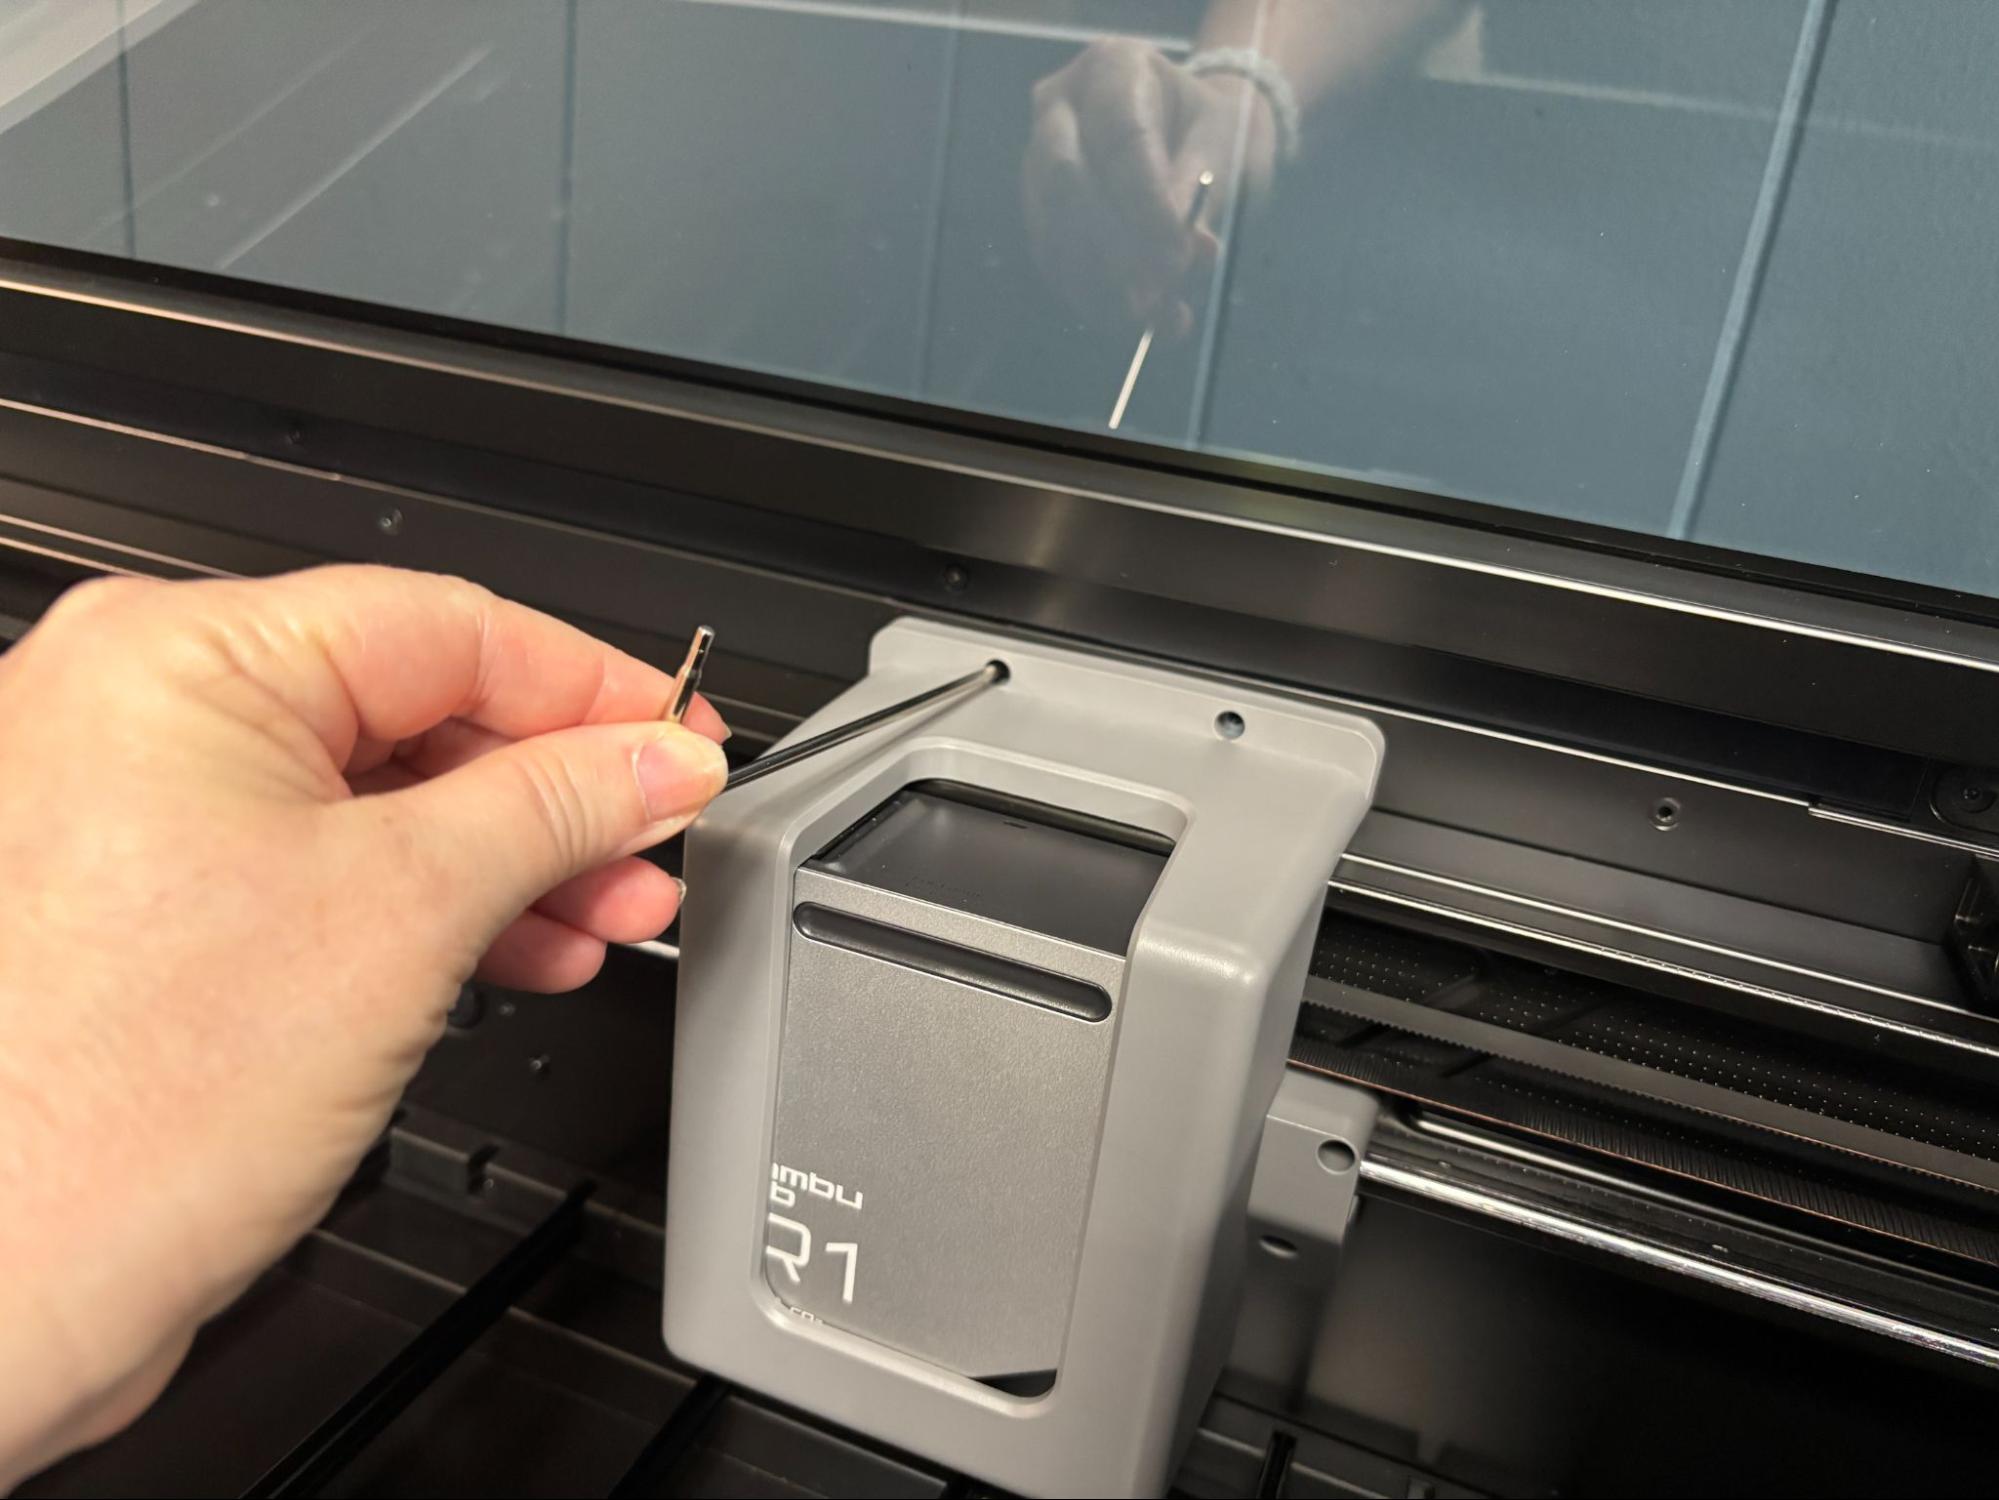
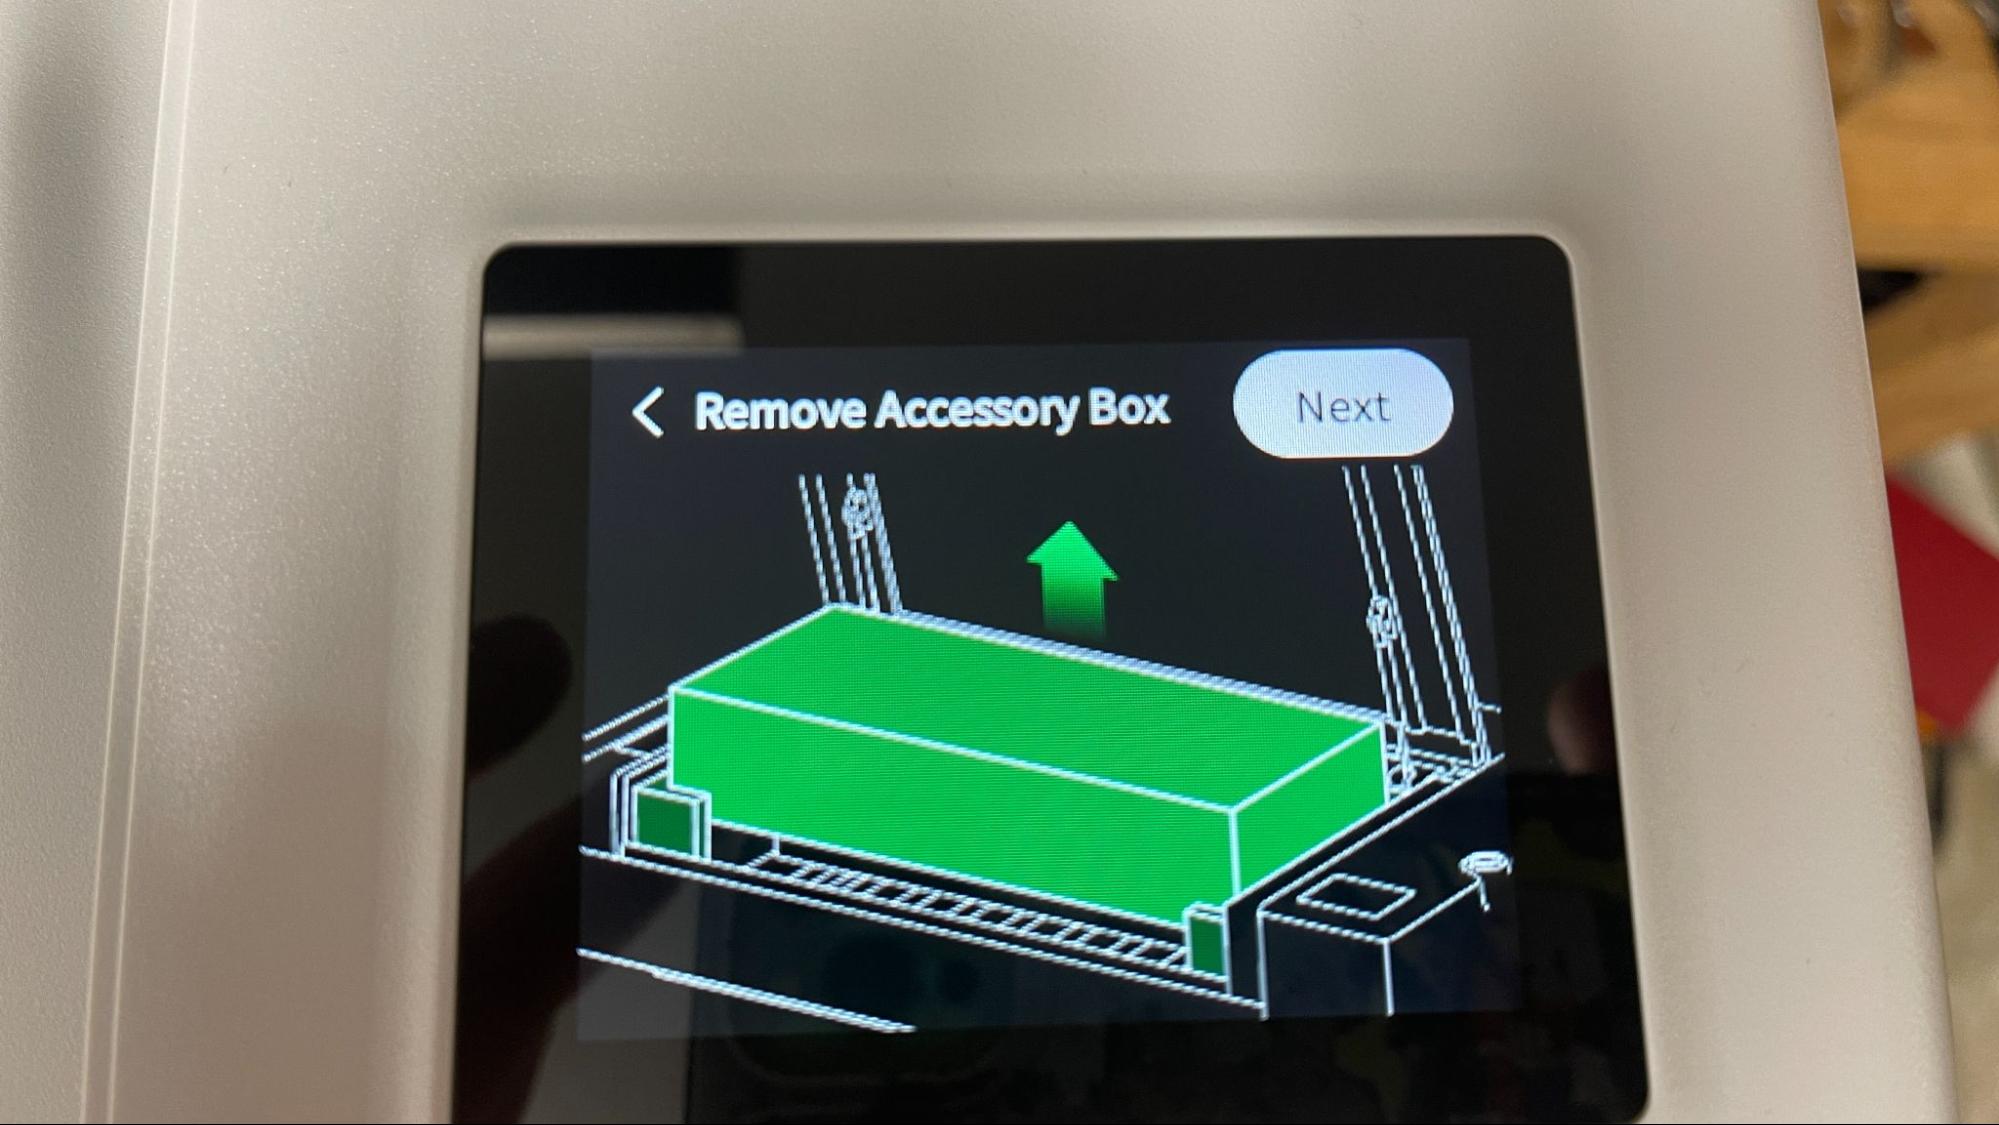
The Bambu Lab R1 is fully assembled out of the box. Setup requires removing the accessory box, removing a cage around the tool head, and removing two stops holding the XY carriage in place for shipping. At initial power up the printer walks you through these steps from the touch screen.
There is a short calibration routine that automatically calibrates the laser’s mirrors by clipping the laser alignment sensor to the toolhead. In no time at all, you are ready to go.
The riser base comes in four large assemblies that are screwed together. You need to remove the base plate from the laser before setting it atop the riser. A data cable runs from the laser to the riser base, and requires deft hands to attach. Rubber feet on the bottom of the main laser unit hold it the correct position
The laser is cooled with a mixture of distilled water and antifreeze, which is poured into the rear of the laser with an included funnel. Pay close attention to the instruction booklet when adding coolant. The instructions call for “preparing” 1500ml of distilled water, then adding antifreeze to an indicated level on the rear sight window. But what it means is to pour in the antifreeze, then add as much of the 1500ml of water as needed to hit the correct level. Getting this backward makes a bit of a mess. After mopping up, I added the correct amount of water and coolant to the laser. The coolant must be topped off after turning the laser on, so don’t move the laser into a position where you cannot access the coolant port until you do this.
Safety Precautions for the Bambu Lab R1
The Bambu Lab R1 is a fully enclosed and safe Class 1 laser by itself. When running with the riser base and conveyor, it moves to a Class 4 laser. Operating a Class 4 laser requires laser-safe glasses that are not provided with the laser. I was not able to see any leakage of laser light through the riser base, but it is unavoidable when running with the conveyor. Laser light can cause severe damage to eyes and skin, and care should be taken to keep small children and pets away while the laser is in use.
The R1 has a number of built-in safety features. There is an equipment key preinstalled on the left side of the laser. When not in use this key can be pulled to prevent unauthorized access. The laser will not operate with the enclosure’s lid up and will quickly pause the job if the lid is raised while in use. If there is a problem with the job, the machine can be stopped from the touch screen, and for major problems, there is a red kill switch on the right side of the machine, which will quickly cut power to the machine completely. The laser has flame sensors which will stop the job if they detect any issues. Bambu Lab provided its optional auto fire-extinguishing system for the review. This unit has a replaceable gas canister and plugs into the left side of the laser.
Even with a good air purifier, some materials should not be burned with a laser due to their chemical makeup. Dallas Maker Space has published a list of safe and hazardous materials to use with their laser. The list of no-nos includes some plastics like PVC, fiberglass, and certain types of foams.
Software for the Bambu Lab R1
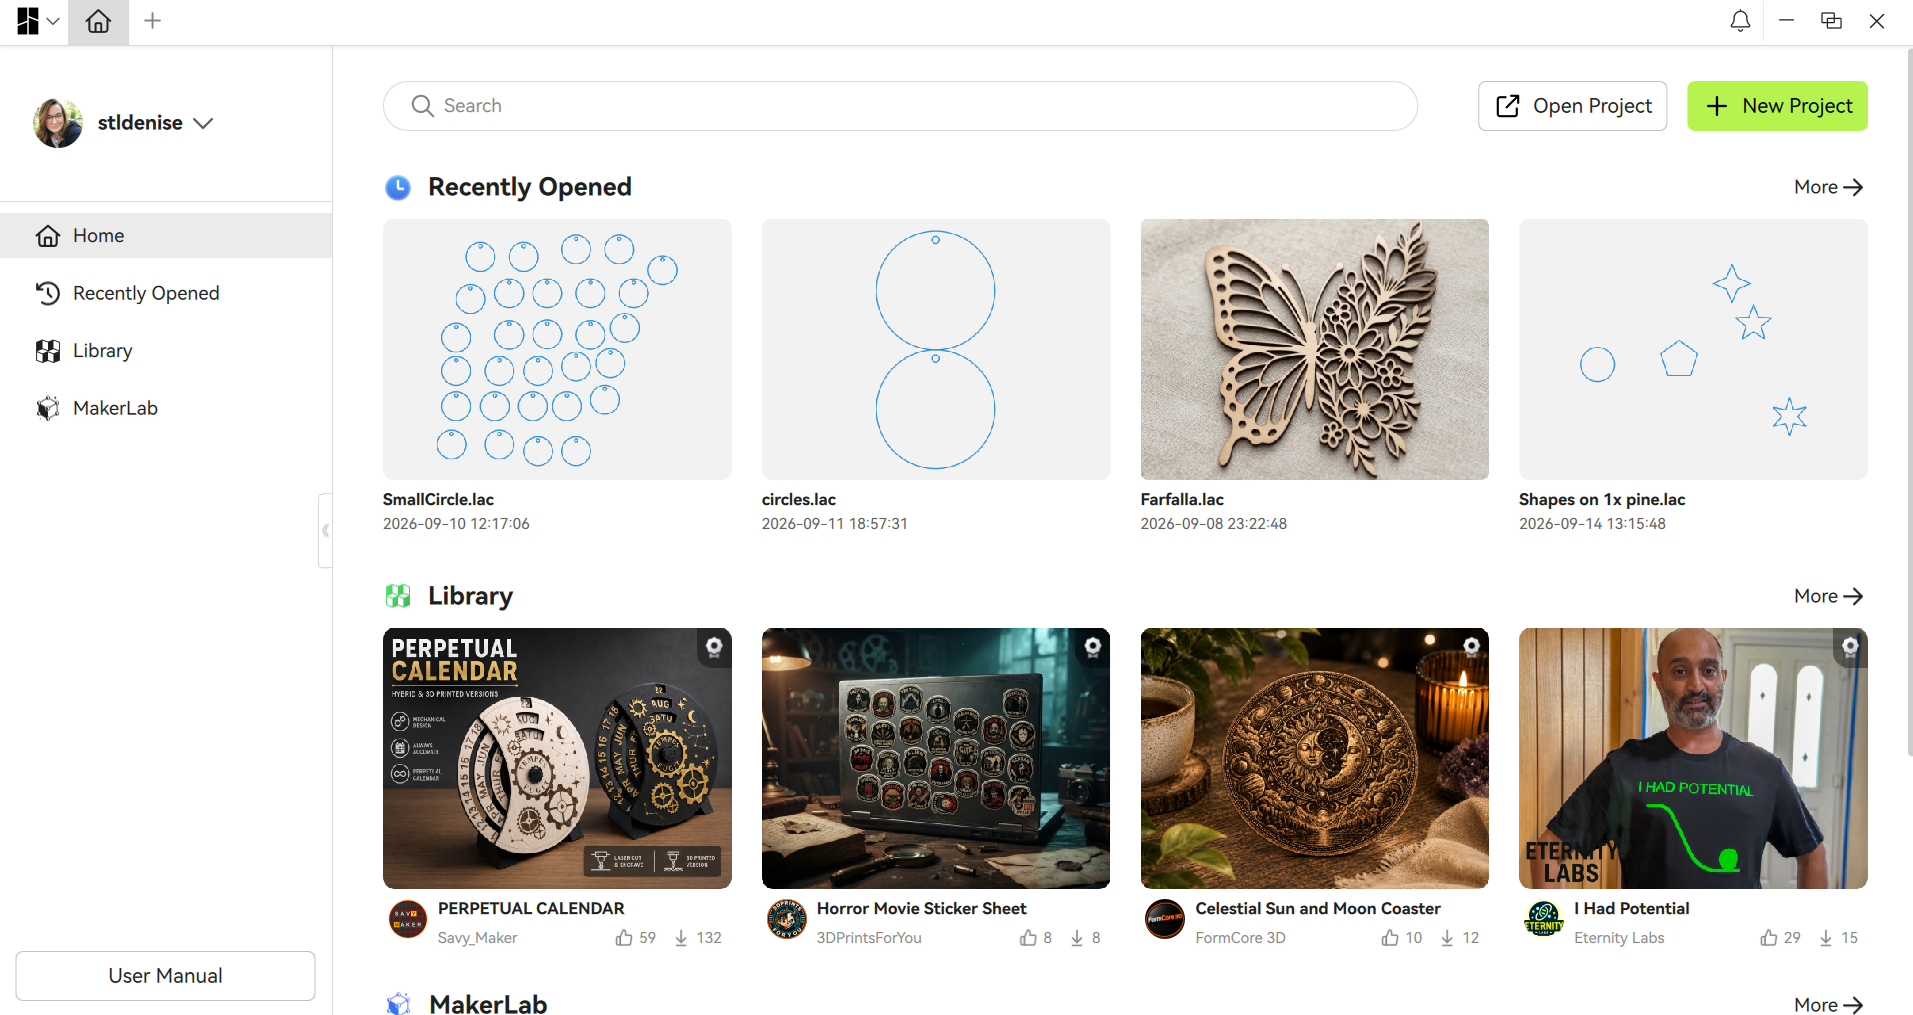
Bambu Suite was developed to run the lasers on the H series and also handle the cutting function on H2 and A2 printers. It might be the easiest to use laser software I’ve seen. The laser is connected to Wi-Fi from the touchscreen, and Bambu Suite connects to it just like a 3D printer. You import whatever you want to cut or engrave, choose the process type, hit Prepare, then select Measure, line up your art with the material, and pick the material you are using. Finally, you press Make and off it goes.
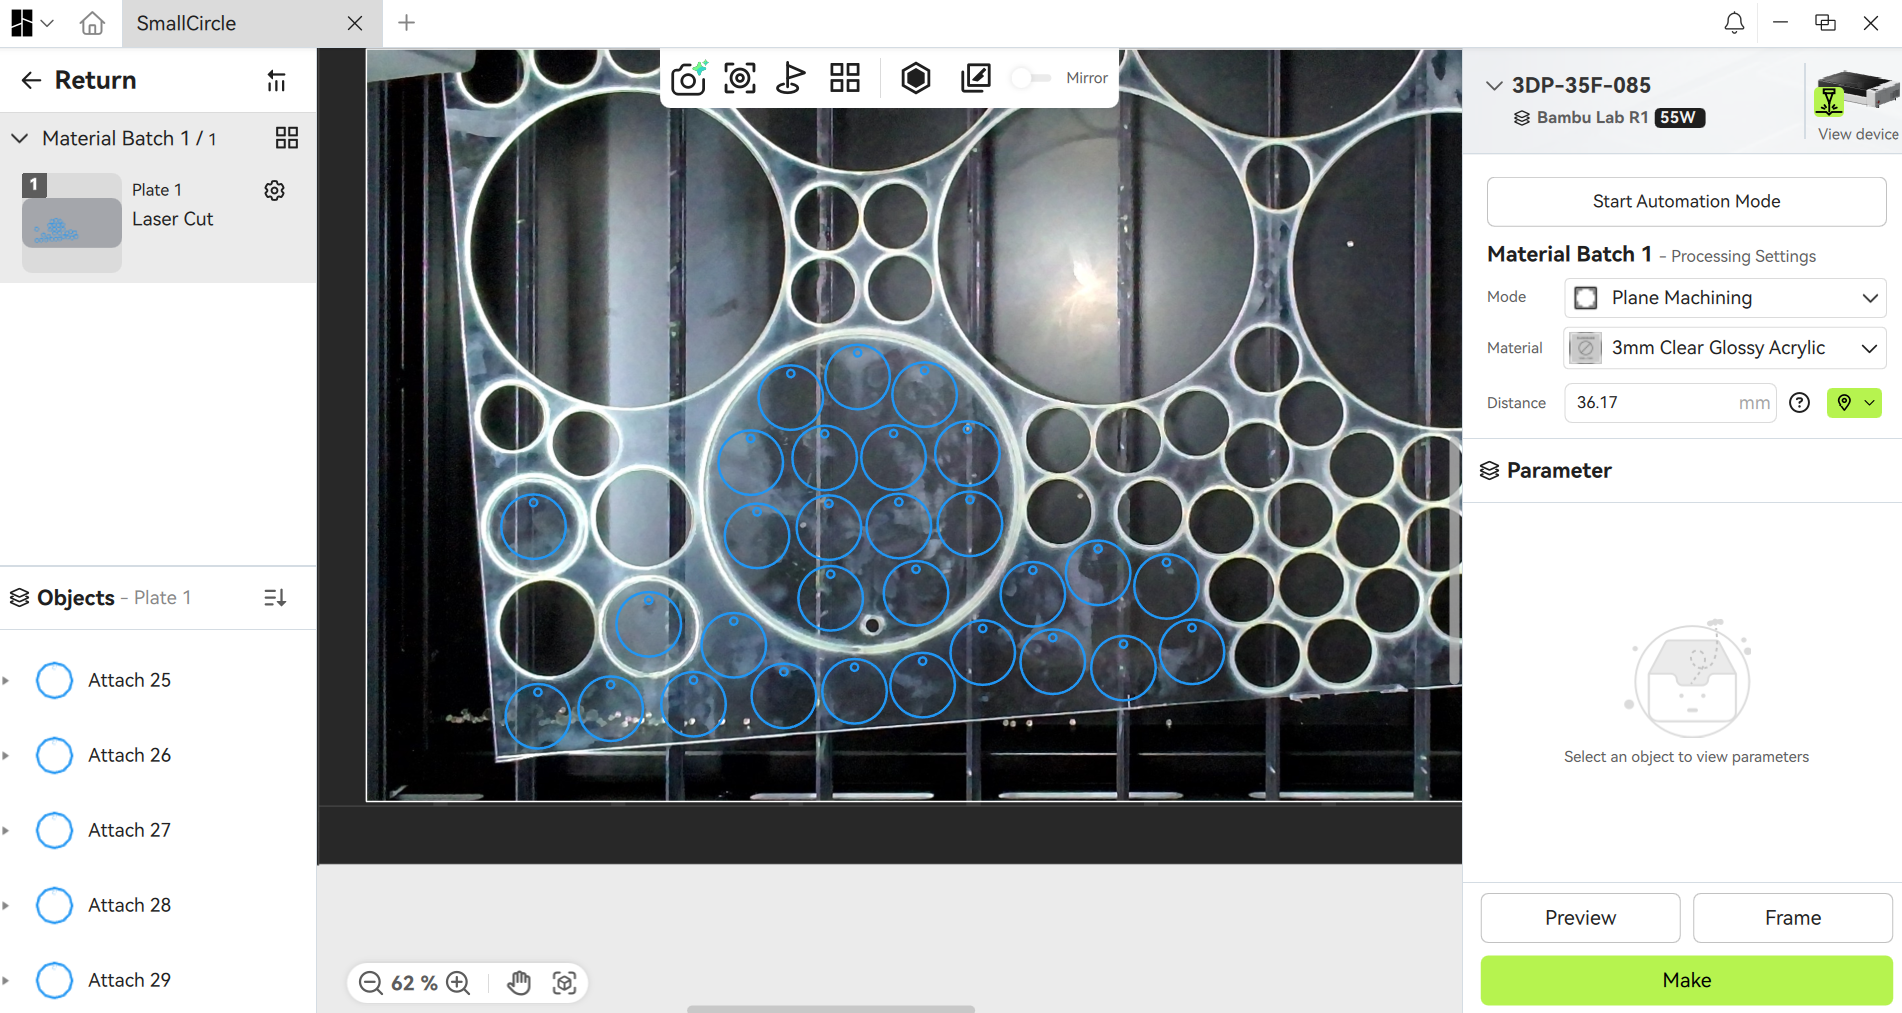
The only thing that the software doesn’t have is a large list of default materials. The basics are there, but hopefully more will be added over time. As it is, a number of the projects I did required internet searches and guesswork to find material settings that worked.
Makerworld is accessible directly from Bambu Suite, and it has an expanding group of shared laser projects to help you get started.
Engraving / Cutting with the Bambu Lab R1
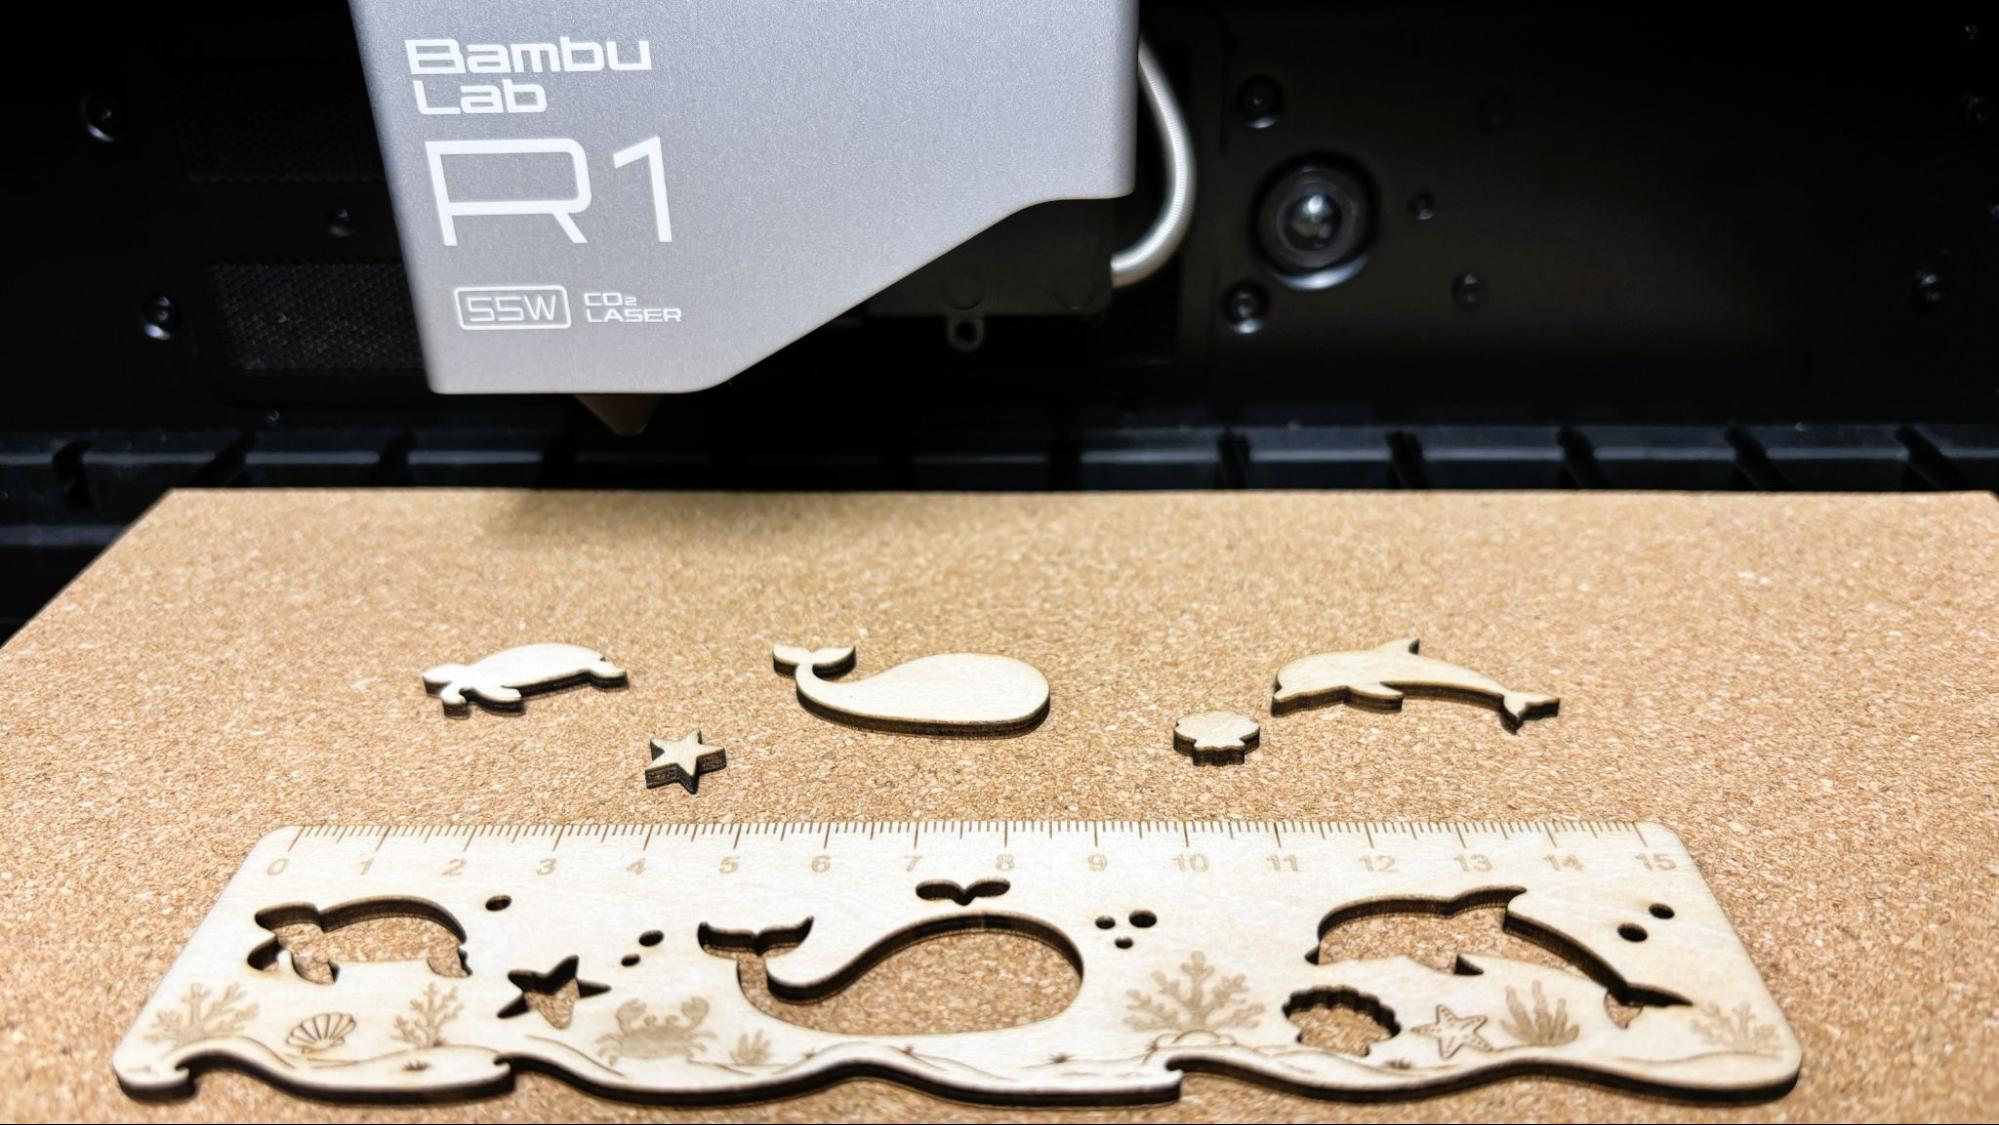
For the first job, we used the test file from Bambu Lab that includes line drawing, engraving, and cutting on 3 mm basswood plywood. The test file did not list the settings, but the overall job took under two minutes to complete and looks really good. The cuts show much less charring than you would see on a diode laser.
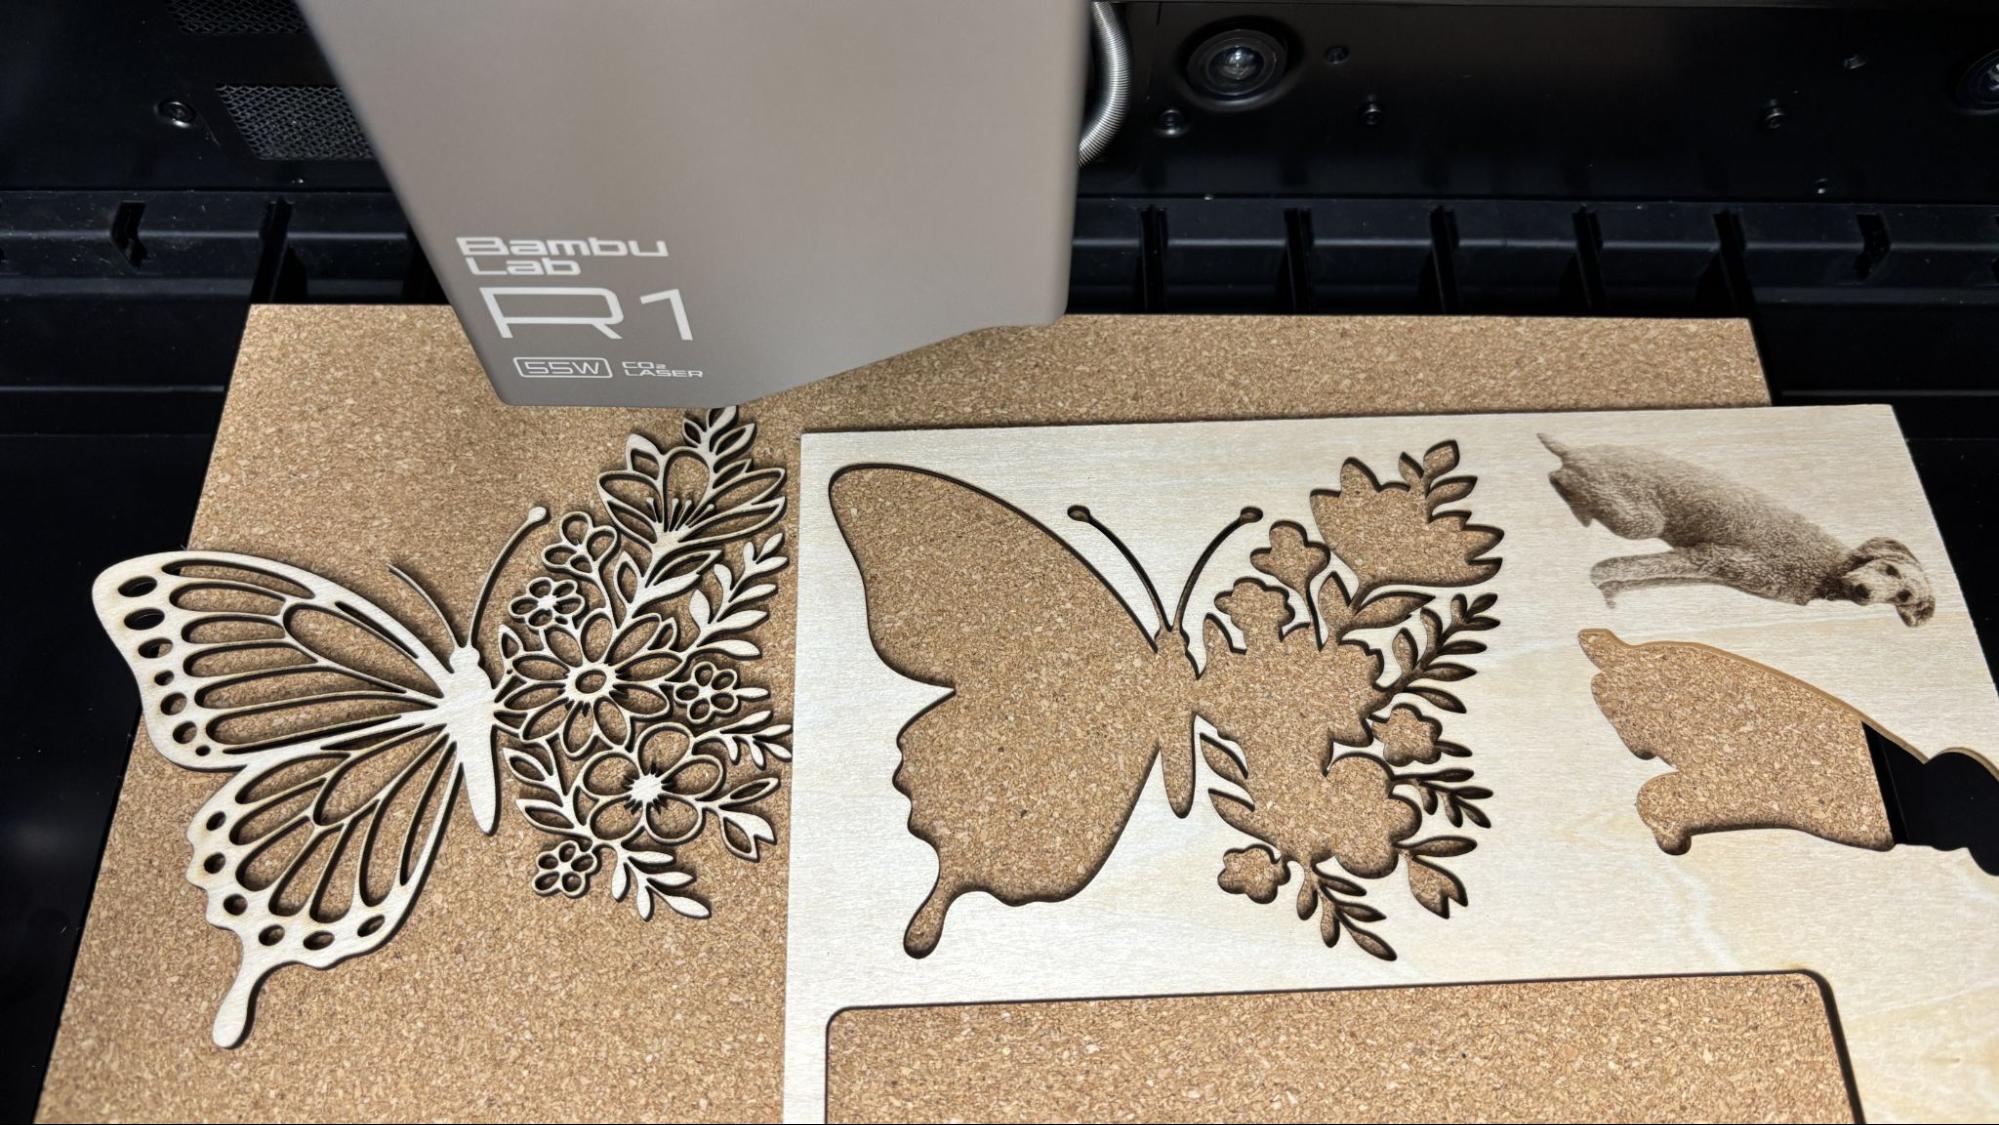
Next, I tried a really intricate butterfly decoration from PabloLab on Makerworld.com. Using the default material settings for 3mm basswood, 75% power at 30 mm/s, the cut was perfect. The butterfly and the interior cuts dropped out of the material with no weeding needed. I should point out I broke off one of her antennae in handling.
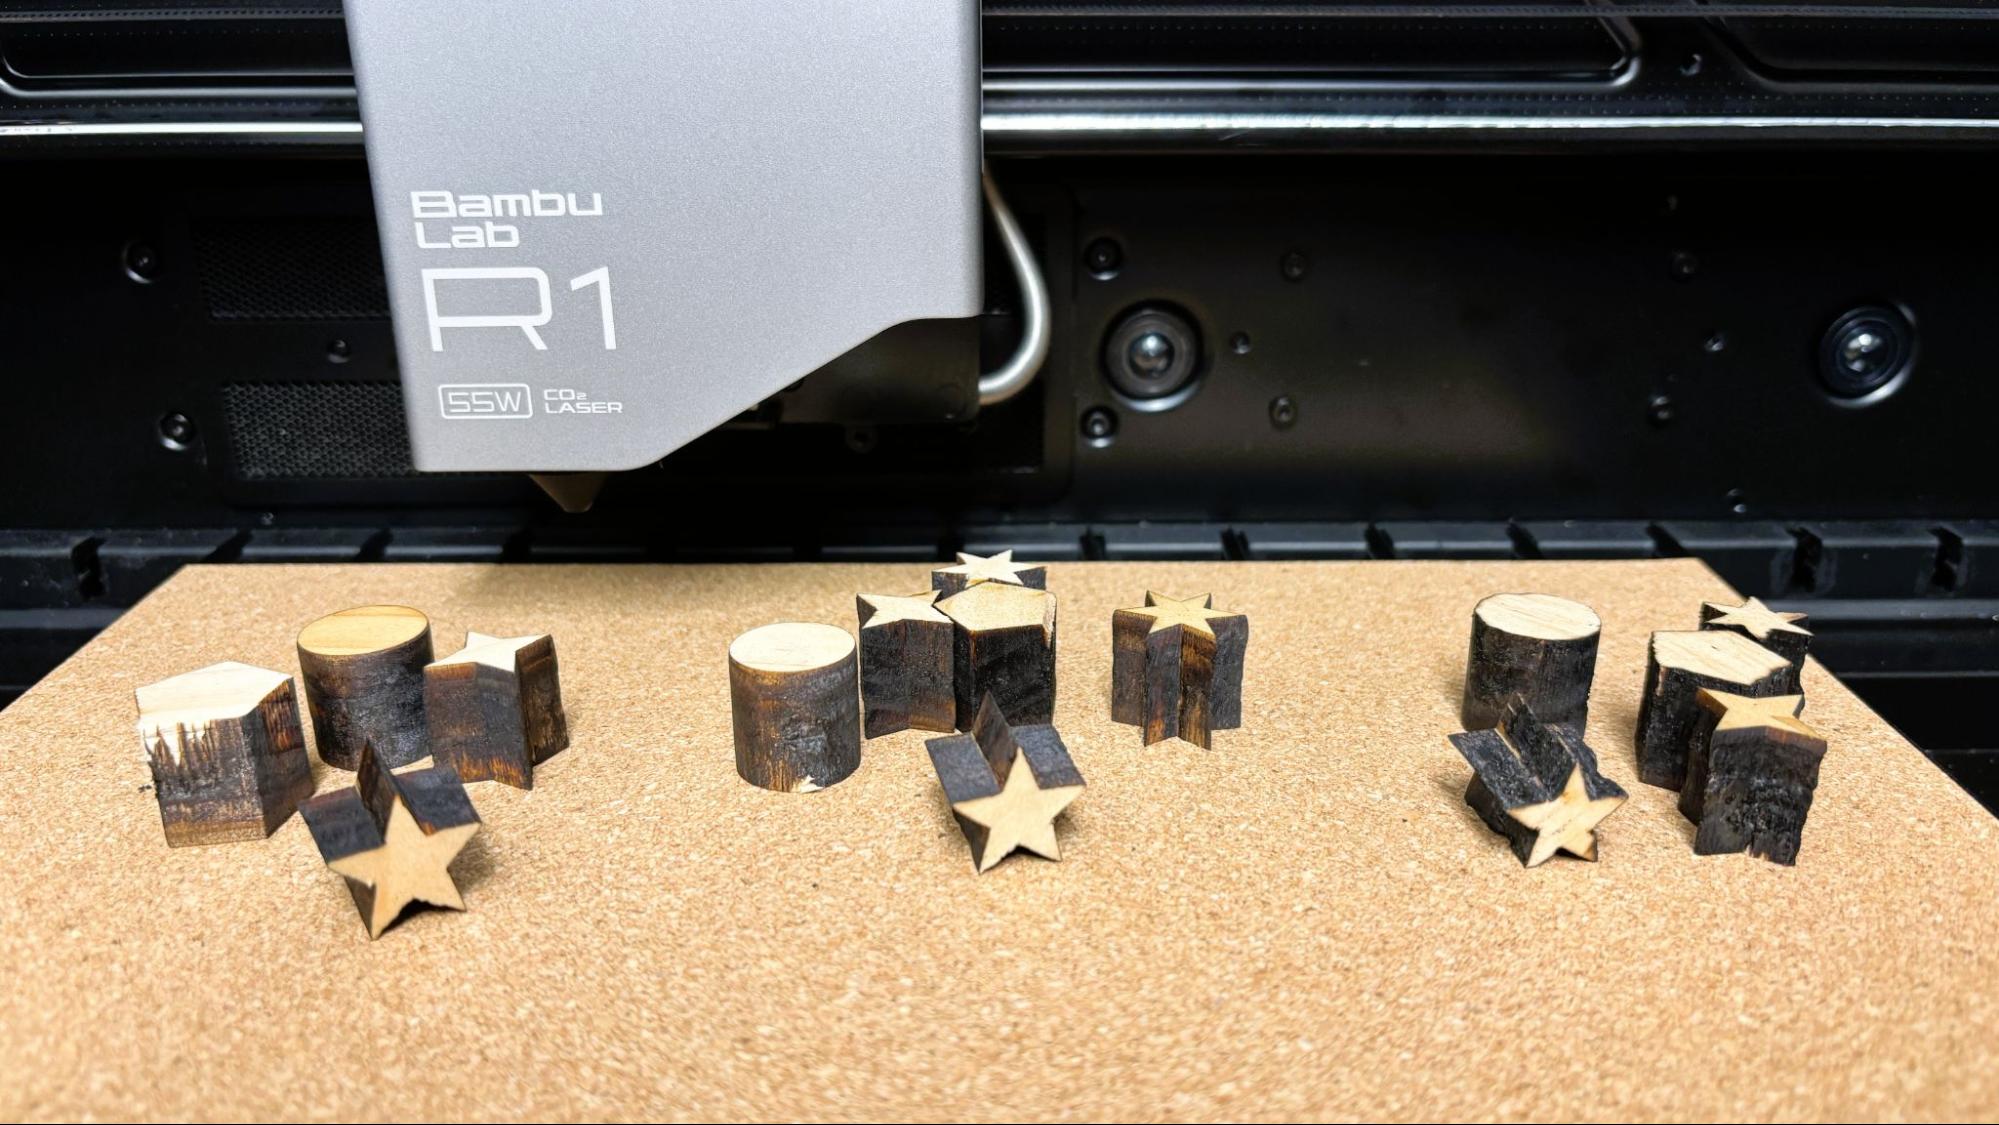
The Bambu Lab R1 is rated to cut up to 18mm black walnut and 20mm acrylic, but the thicker wood requires the optional medium or long focus lenses. I tested cutting on a piece of pine lumber that is 19.5mm thick but is much softer than black walnut. There was no material default for anything thicker than 3mm. The cut on the left used the long focus lens and did the best cut at the lowest power, using 80% power at 10mm/s and 4 passes. The cut in the middle used the medium focus lens at 85% power at 5 mm/s and required 5 passes. The short focus lens really did not totally punch through the bottom of the material. The cuts are charred due to using 100% power at 4 mm/s through multiple tries.
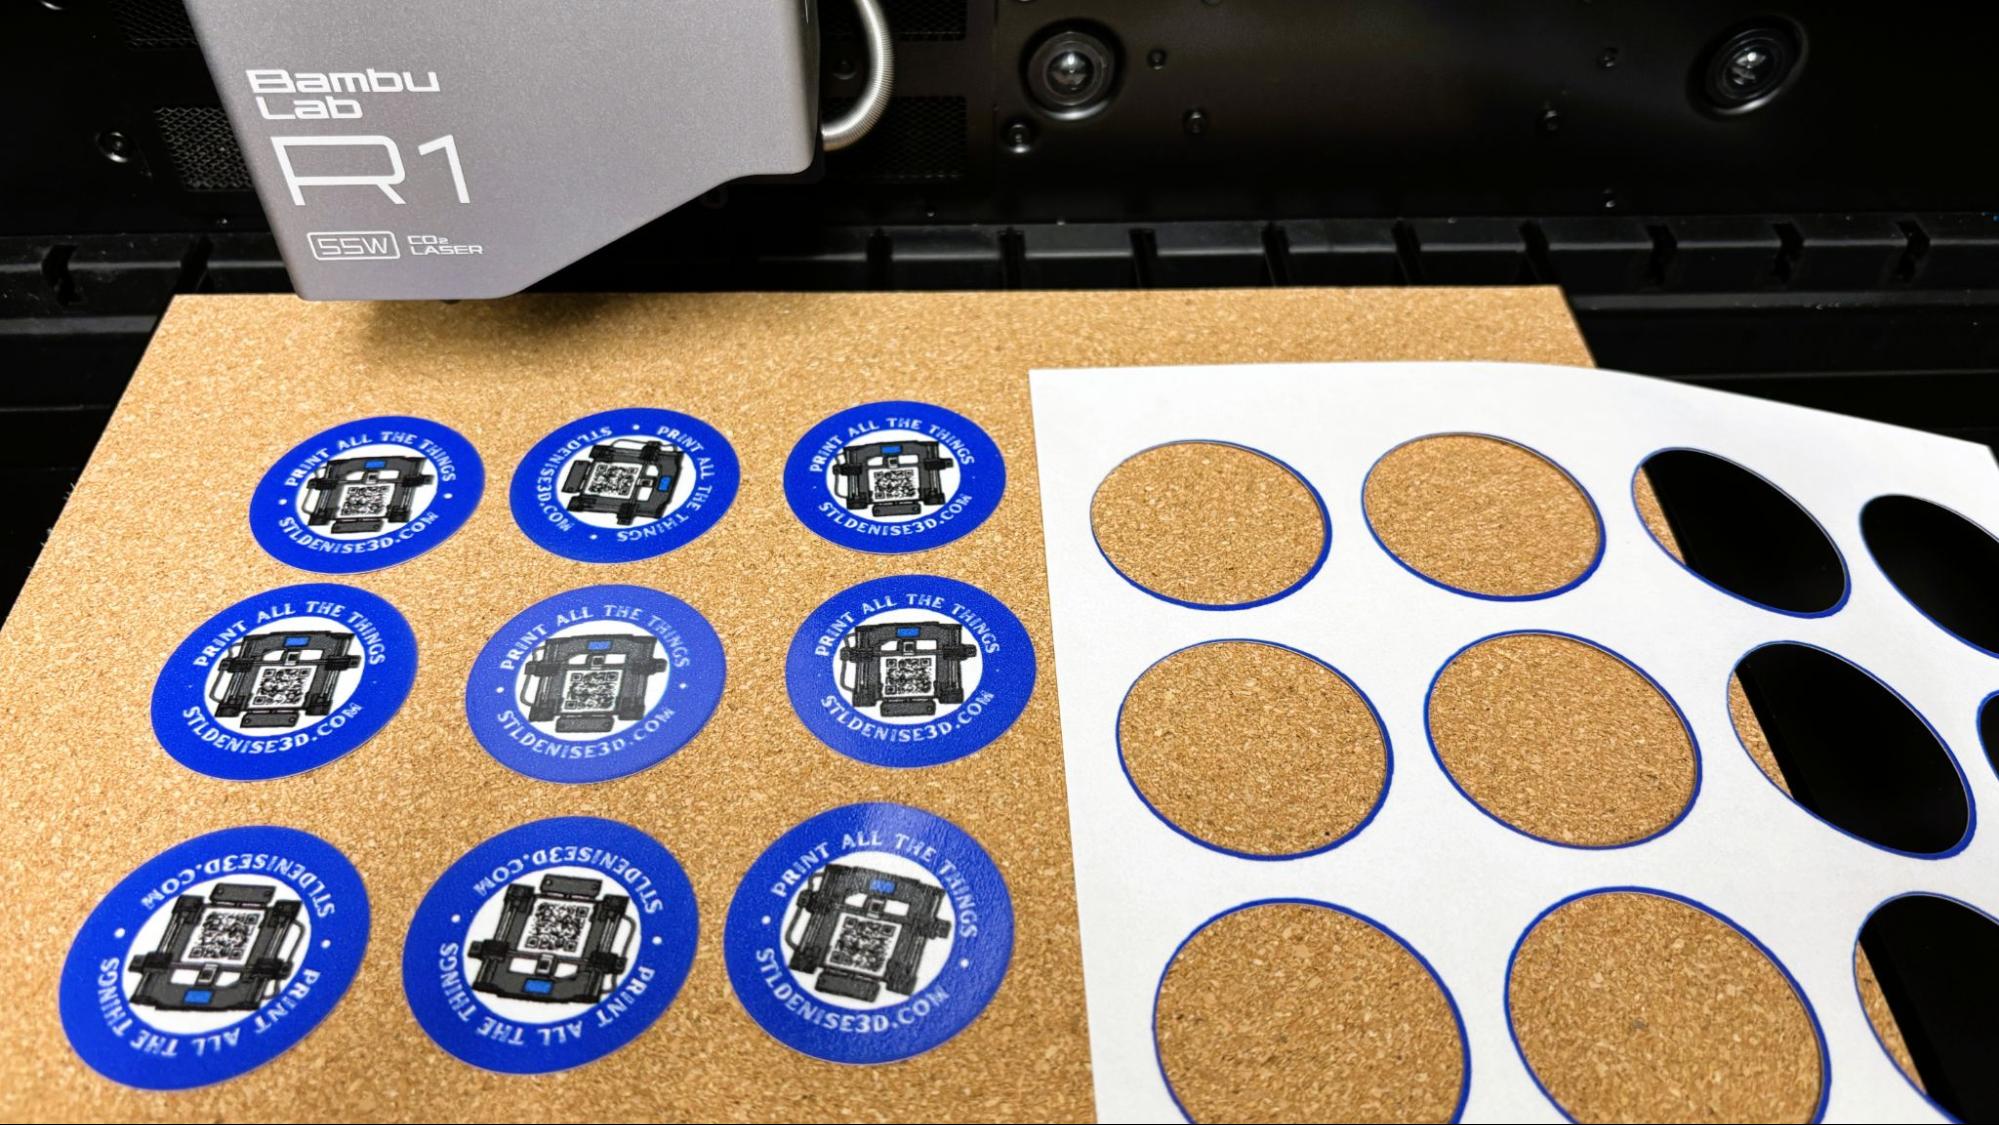
For cutting out stickers out of sheets of sticker paper, we used the material preset for 200g kraft paper, 45% power at 250mm/s. The cuts were perfect and only took a few seconds. With a jig mounted on the cutting plate, the results are repeatable page after page.
There was no material preset for PETG so with a little trial and error we stepped that down to 65% power at 35mm/s for 2mm PETG and 20% power at 20mm/s for 1mm PETG. With air assist, the results were terrific, with just a very little smoke cloudiness at the edges of the PETG cuts. At these speeds, the cuts all took less than a minute.
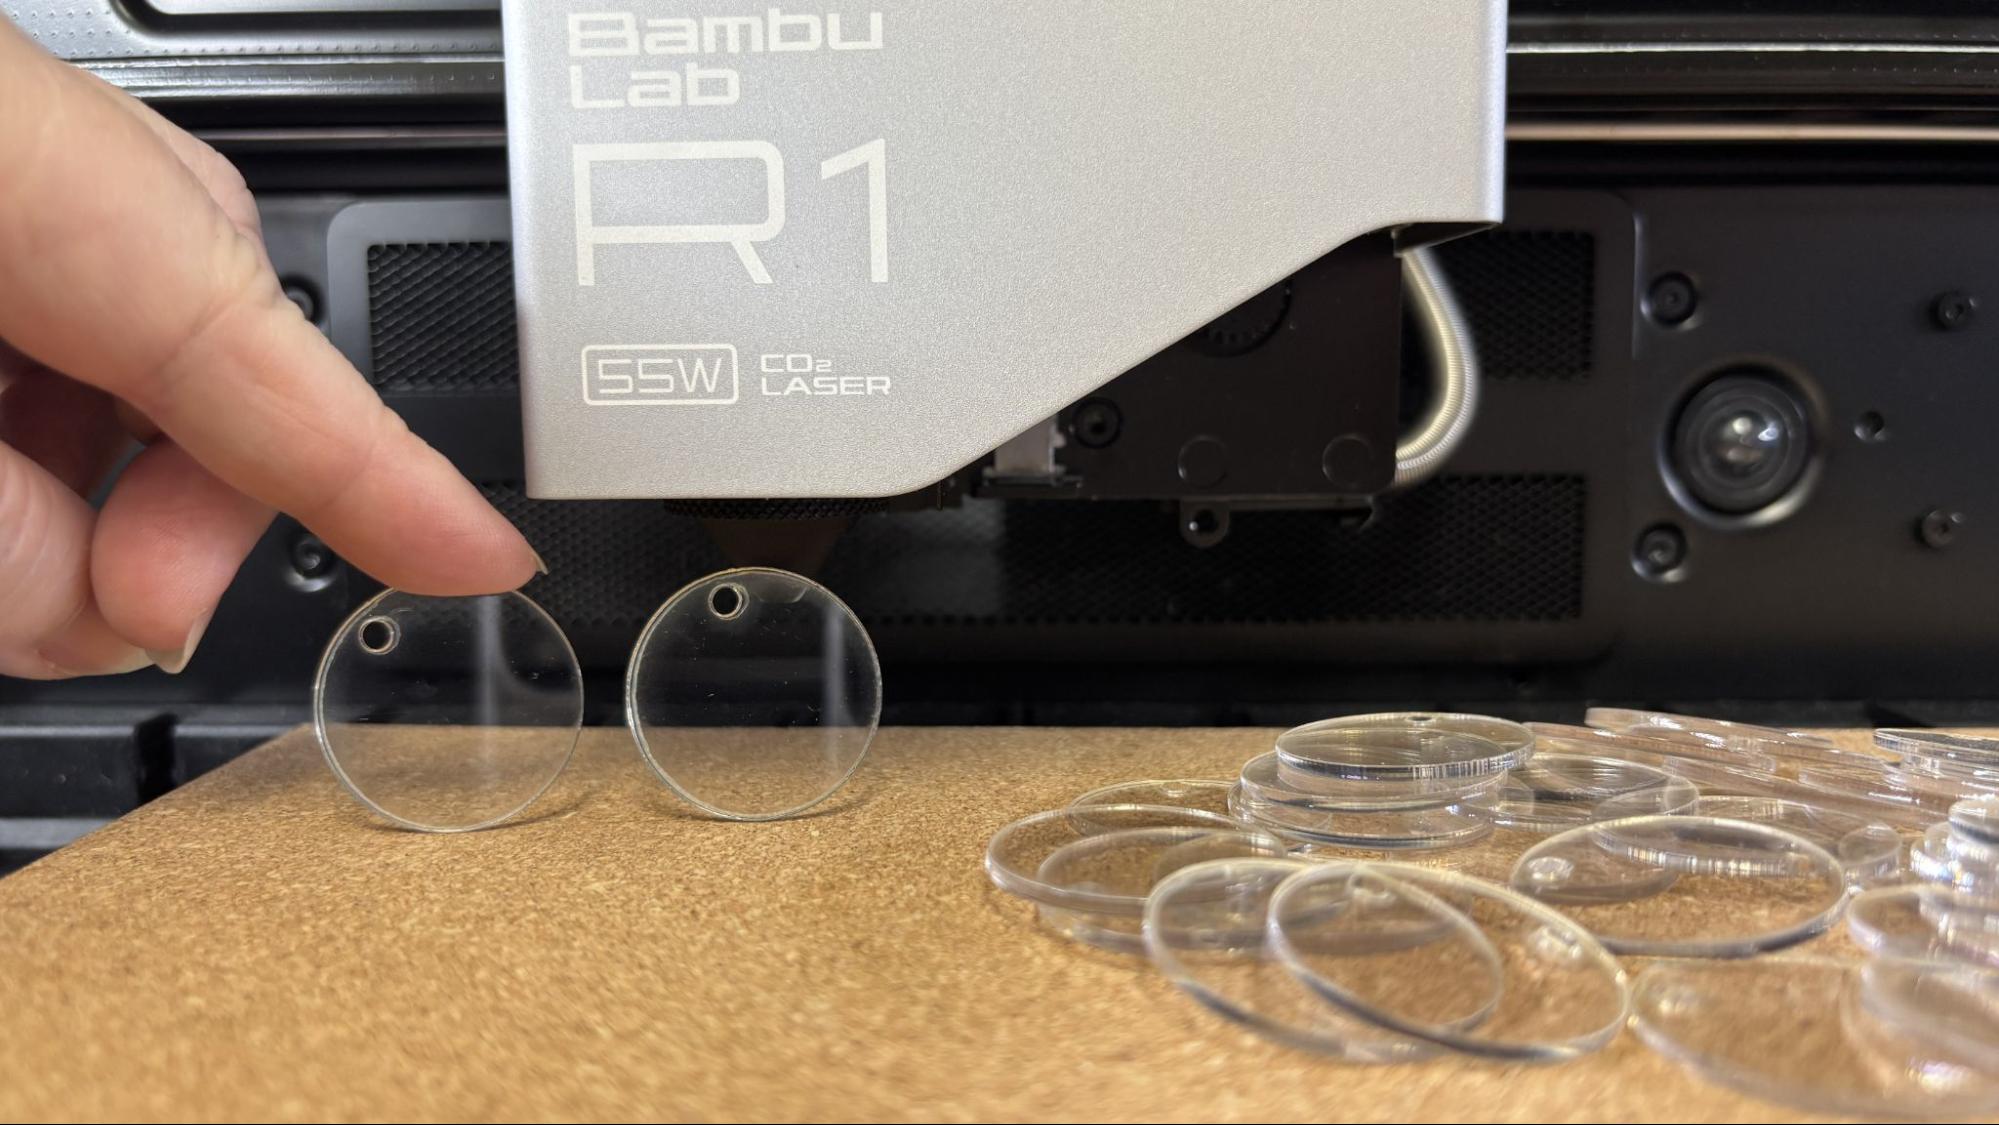
Where most lasers just pass right through clear materials, CO2 lasers run at a high enough frequency to cut and engrave them. Using the shape library in Bambu Suite for the designs, we cut a bunch of blanks for use with our UV printer out of clear PETG sheets and clear acrylic. The material settings in Bambu Suite were perfect for 3mm clear acrylic at 80% power at 10mm/s speed.
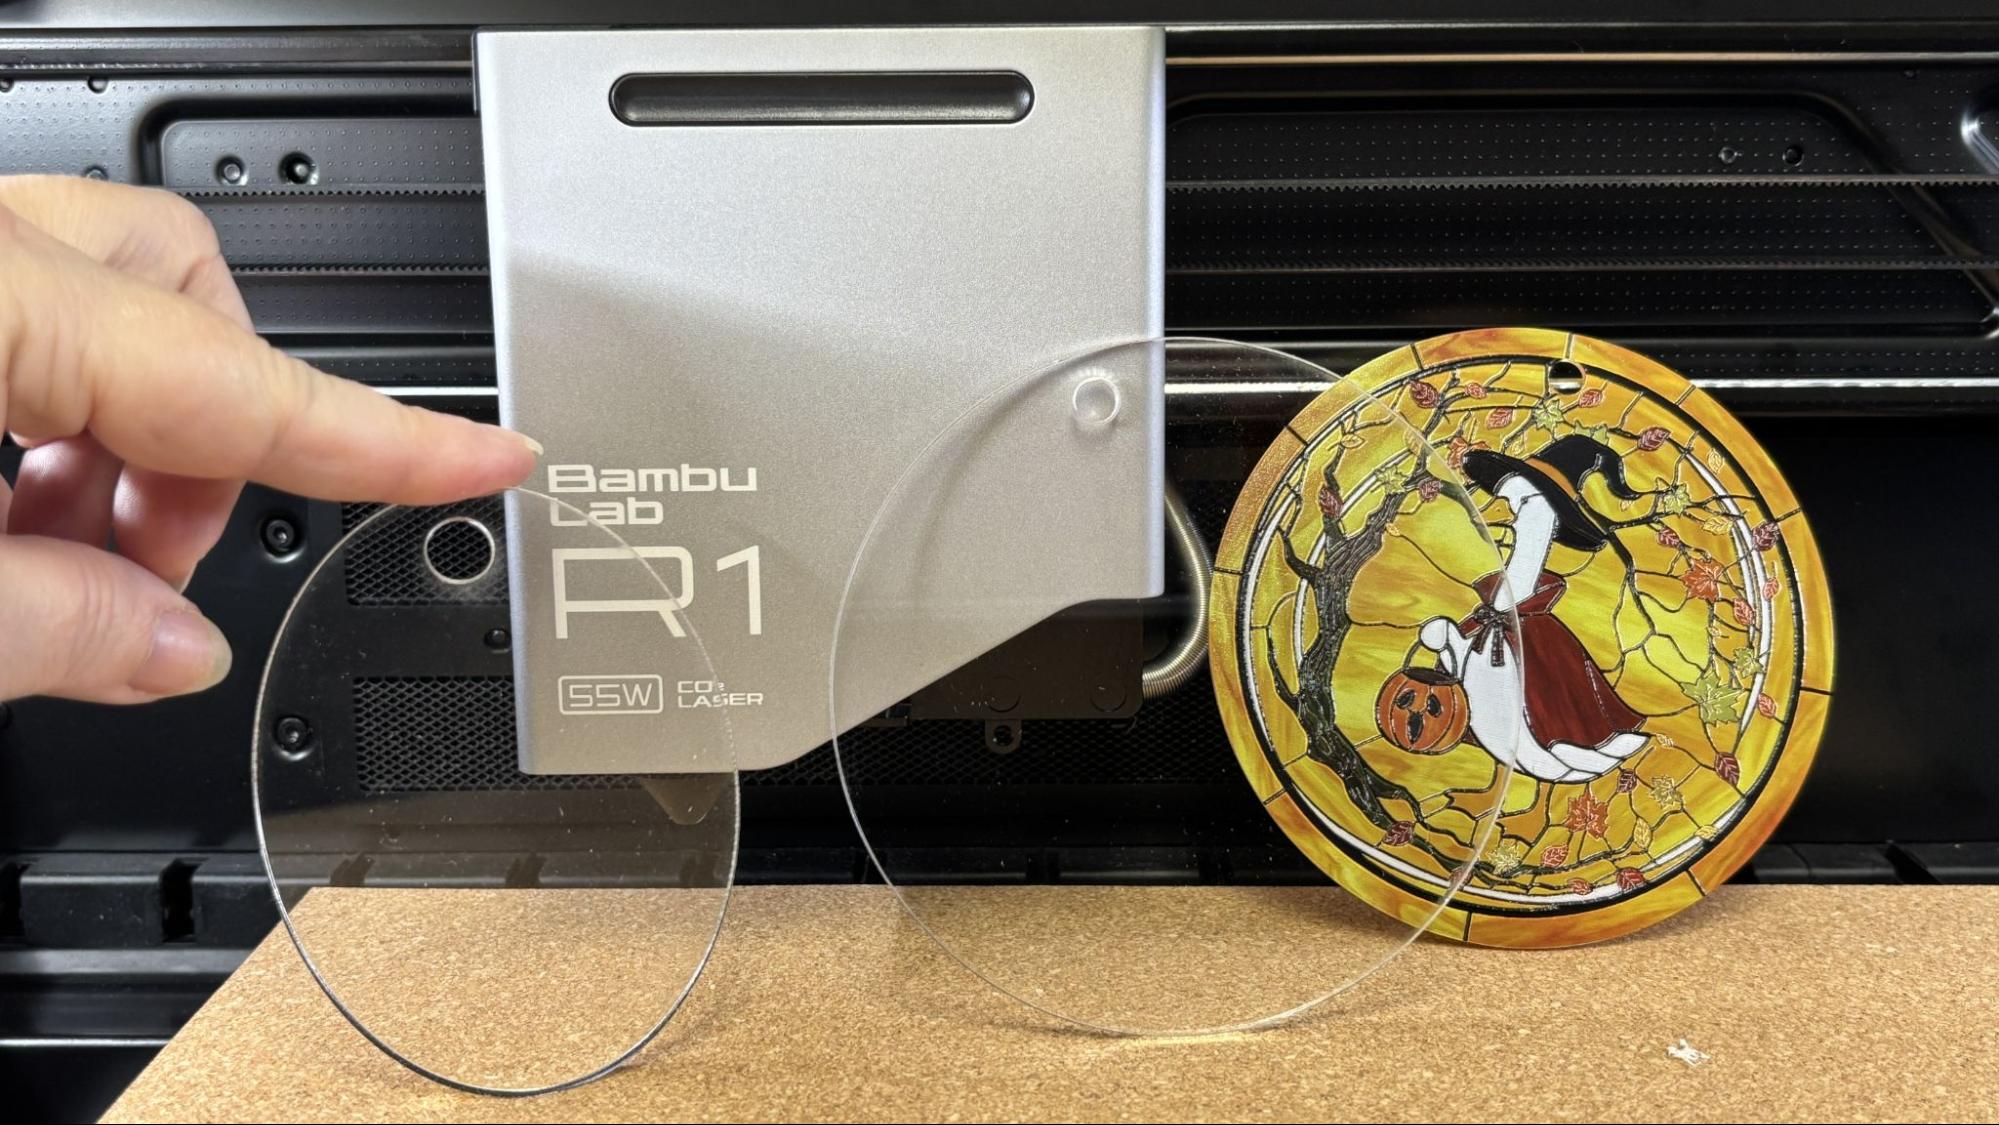
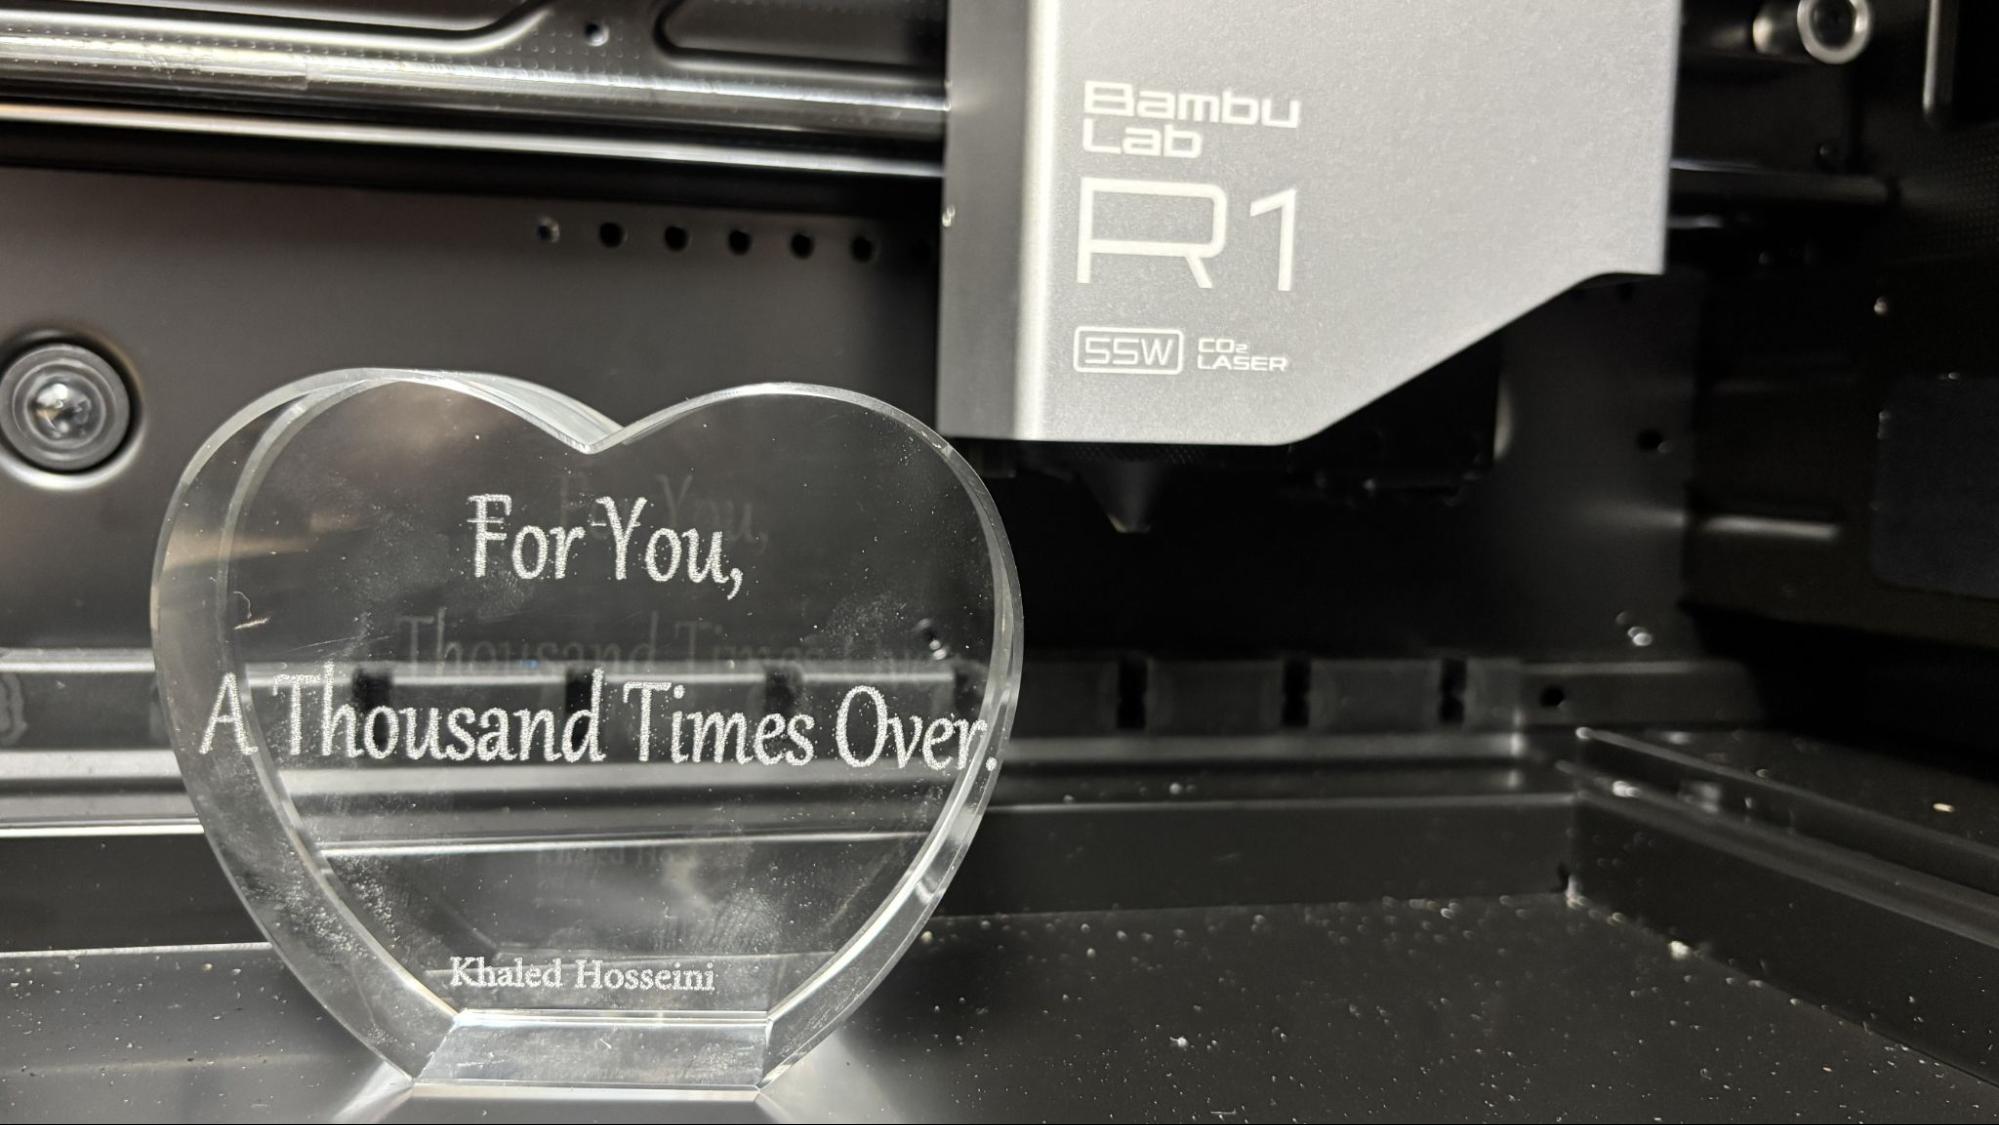
CO2 lasers can also engrave glass with no masking needed, though a thin smear of liquid soap is suggested to keep chipping down. There was no material preset for glass, so a quick internet search led to settings from a competitor’s 55-watt CO2 laser. Using 30% power and 250mm/s, with air assist on, the engraving took just seconds and looks excellent.
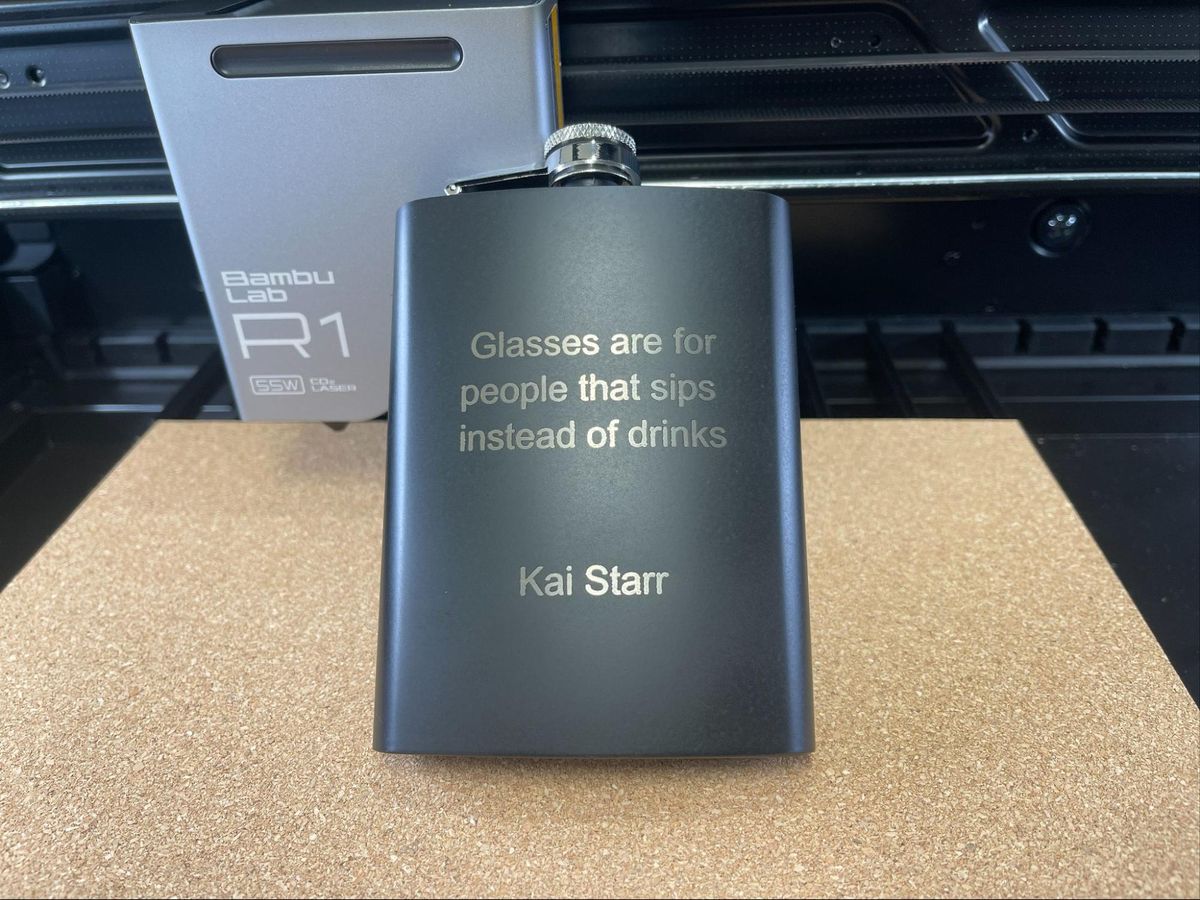
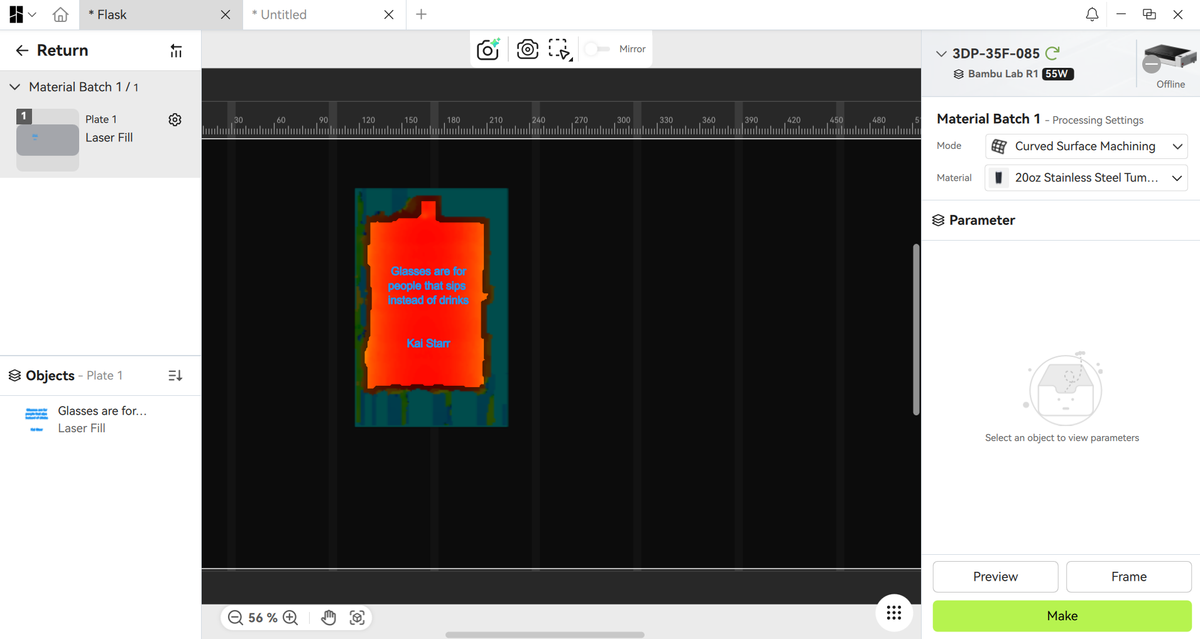
CO2 lasers can’t cut metal, but they do a good job engraving coated metal. The Bambu lab R1has a curved surface machining mode for curved surfaces like this flask and tumblers. The auto measure function creates a 3D map of the material’s surface and shows the engravable area. Using the settings for aluminum business cards, 70% power at 400mm/s, the job took less than a minute and looks sharp and clear.
Image 1 of 2
Bottom Line
The Bambu Lab R1 is an impressive step into the laser market. Good hardware with even better software makes the R1 an excellent choice for makers and small businesses needing an easy-to-use CO2 laser. It’s simple enough for a beginner to use, leaving you with more time to focus on making art, not fussing over settings.
Retailing at $2,499, the R1 is more expensive than a hobby-level diode, but a downright bargain compared to the competition. If you’re serious about making cool things or running a small business, the price is worth it.
By combining a 55W CO2, a generous 600 x 300 mm work area, and automated mirror calibration, it delivers high-grade cutting performance through wood, acrylic, and glass with minimal charring. While the manual lens swap process is a minor hassle and the operational noise requires a dedicated workspace or shop environment, its performance outclasses most competitors in its price range.
If you’re not ready to invest in a professional-grade machine, check out the Creality Falcon A1 Pro, a very capable 20W for $1,099. If you’re thinking about engraving glass or handling materials without charring, the xTool F2 Ultra UV is a great “cold” laser that runs for $4,299. If you want to take your laser with you, a portable xTool F1 laser is a heck of a deal at $819.






 English (US) ·