
The R1 isn’t Bambu Lab's first venture into laser engraving; of course, we first saw the small-capacity engraver in the H2D, which enabled, with the cutter and 3D printer, a full range of manufacturing tools in one not-so-small machine. The R1 is something altogether more serious and much closer to machines such as the xTool P2 that I've previously tested.
It's also an important machine for Bambu Lab and shows them expanding further into the growing maker space. The R1 is the company's first dedicated product outside 3D printing and is based around a 55W CO2 laser rather than a diode; the H2D utilised diode lasers. Using CO2 rather than diode laser technology lets the machine work with a wider range of materials, most notably clear acrylic and glass, while also providing considerably more cutting power; most diodes currently top out at 40W, although several far more powerful heads exist.
However, as with Bambu Lab’s entrance into the 3D print market, the machine technology and market aren’t new, and plenty of other players already exist. xTool, LaserPecker, Glowforge and Creality have already demonstrated how far enclosed desktop laser cutters have progressed in recent years. Five years ago, many of the smaller laser engravers I looked at were open-frame machines that required assembly and considerably more caution, to the point where I will no longer cover them. These days, fully enclosed machines are really where the technology is at, and there are some great options at very reasonable prices.
Latest Videos FromTechRadar
While there are plenty of machines in the sector, this is Bambu Lab, and with their first laser, they also bring much of the knowledge of 3D printing with them, along with their own approach to automation.
The R1 handles focusing, material positioning and optical alignment, with cameras, lasers and encoders helping the machine understand where the material is and where the toolhead is moving. On paper, this looks great because it will speed up workflows; however, it was only during testing that I realised what a difference it can make.
I've been using the R1 for around three weeks, mostly cutting 3mm basswood ply and acrylic, but also testing MDF, leather, paper, ceramic, glass, coated metal, and plenty of irregular wooden objects. What I have found during that time is that the hardware is exceptionally polished, and while Bambu Suite is good, it still has some catching up to do to realise its and the machine's full potential.
Bambu Lab R1: Price & availability
The Bambu Lab R1 launches at $2,499 in the US direct from the company site and £2,249 from the UK site. Pre-orders start on September 22, 2026 and shipping scheduled to begin in October.
The short-focus lens is included. The Riser Base, Conveyor, Rotary attachment, medium- and long-focus lenses, Vision Encoder, E1 Pro Air Purifier and Auto Fire Extinguishing System are optional extras.
Bambu Lab R1: Design
Specs
Laser technology: 55W CO2
Working area: 600 x 300mm
Working area with Conveyor: 600 x 3000mm
Maximum speed: 1,000mm/s
Maximum acceleration: 20,000mm/s²
Positioning accuracy: < 0.2 mm
Absolute motion accuracy: < 0.1 mm across 600mm with Vision Encoder
Dimensions: 940 x 560 x 200mm
Weight: 33.5kg
Maximum input power: 780W
Software: Bambu Suite
Supported OS: Windows, macOS
Connectivity: Dual-band Wi-Fi, USB
Laser safety: Class 1 in standard enclosed configuration
Short-focus spot: 0.11mm
Medium-focus spot: 0.17mm
Long-focus spot: 0.19mm
Maximum cutting capacity: 18mm black walnut with medium/long-focus lens; 20mm acrylic.
Standard lens: Short-focus
Supported cutting/engraving materials: Wood, acrylic including clear acrylic, leather, fabric, paper, EVA foam and shell
Engraving materials: Glass, ceramic and coated metal
Optional accessories: Riser Base, Conveyor, Rotary, medium/long-focus lenses, Vision Encoder, E1 Pro Air Purifier and Auto Fire Extinguishing System.
Unpacking the box, and having already checked the specifications before the machine arrived, I was surprised the packaging was smaller than expected. It still required two of us to manoeuvre the box into the workshop, but once unpacked and at 33.5 kg, I could lift and position it with little issue. It’s still heavy, but looking at the slight curve that’s left in the desk from the previous test, it's not quite as heavy as the previous 3D printer that took up the space.
The weight and, for that matter, the size are actually very manageable, and with a footprint of 940 x 560mm, the machine was able to sit on the standard section of the 60cm-deep workshop bench. While the main machine sits quite happily in that space, you’ll also need to consider venting and leave enough vertical clearance to open the lid.
Once in position, the R1's design is unmistakably Bambu Lab. The finish is superb; everything feels properly manufactured rather than assembled from off-the-shelf laser components, and I was pleased to see the machine arrived largely configured; I just had a few small setup procedures to follow before I could start.
As with all engravers, the first job was to attach the exhaust to the filter, and in my setup this was paired with the optional E1 Pro filtration system. You also need to fill the cooling reservoir with distilled or de-ionised water.
The instructions suggest adding antifreeze if you live in a colder climate. My workshop can drop below 5°C during winter, so I filled the system to the -10°C protection mark. Once I removed the transport restraints and checked the interior, the R1 was ready to power on.
The initial startup takes roughly 30 seconds before calibration begins. The automated self-check and initial calibration took around half an hour. Once that completes, you can then run the laser alignment procedure, and this is the first sign that this laser is something a little different.
Unlike the more manual approach of other CO2 lasers, here all you need to do to calibrate is to lift the small cover on the toolhead, then attach the supplied Laser Alignment Sensor, which clicks into place magnetically. Select the alignment function from the touchscreen, and the R1 handles the rest. The complete process took me approximately five minutes, including fitting and removing the sensor.
That's longer than Bambu's roughly one-minute claim for the alignment operation itself, but from my perspective there was virtually nothing to do. Then inside, there are a few removable slats that help to support the material that is placed within.
These are all easy to reposition, but again I would have liked more of them, although there are a few more than when I looked inside the LaserPecker LX2 in my recent review. The main issue is that small cut pieces can fall between the gaps, and for detailed work I still prefer a proper honeycomb bed, which I used for most of the review.
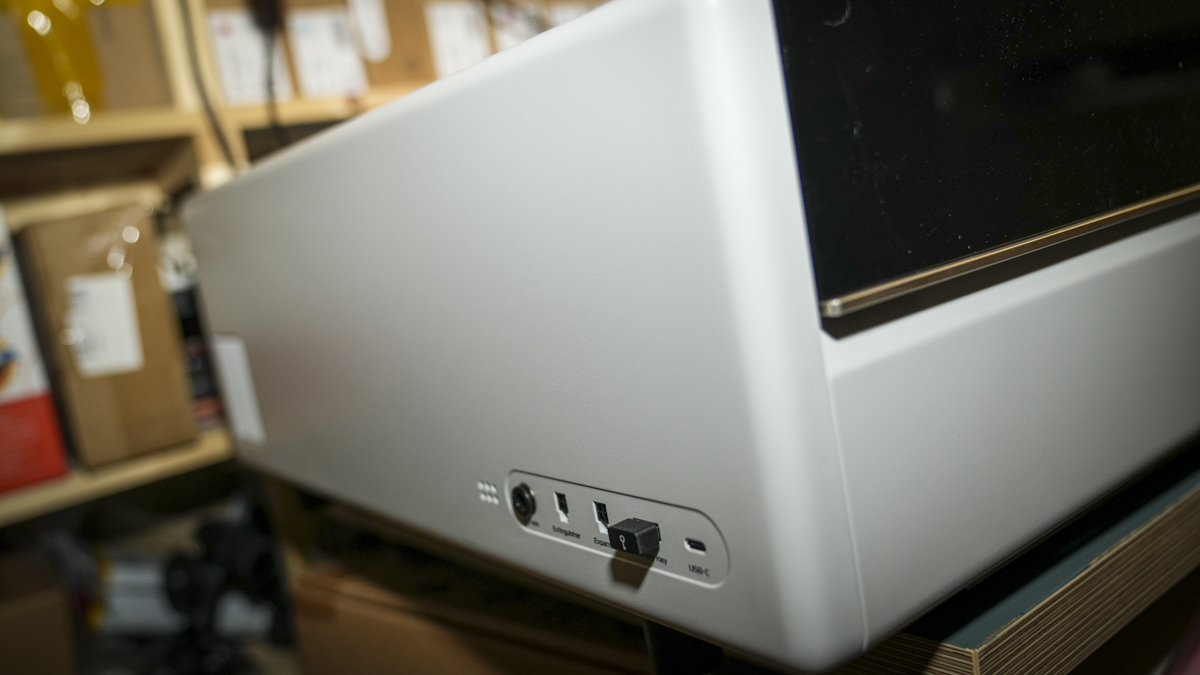
Around the machine, things are similarly clean. The exhaust and main power connection are at the rear, while Air Assist is integrated. Accessory connections sit on the side, alongside USB, and an easily accessible emergency stop is included. Unusually for a laser engraver, it has a small touchscreen, which is extremely useful. Most laser cutters force almost every operation back through the computer. Having direct access to machine functions makes the R1 much easier to use.
Bambu Lab R1: Features
A look through the specifications, and the first thing to note is that this is a 55W CO2 laser; at present, there are only a few CO2 laser engravers at this price aimed at the enthusiast and small-business sector, and the only real competition is the xTool P2.
Inside is a very decent 600 x 300mm working area, which, from my testing, is large enough for most projects; if you need to go larger, there is an optional conveyor. Based on my testing of the base unit alone, I found I could place two standard 300 x 300mm basswood sheets side by side, which was useful when cutting multi-part models, such as the flower box and an RC boat I’m partway through. If you need longer than 300mm, the Conveyor enables working lengths of up to 3000mm, but you are still limited to the 600mm width.
After reviewing all the information, Bambu Lab is keen to highlight the Auto Laser Alignment. This is because, in the past, this process has been very hands-on with other machines, as a CO2 laser relies on mirrors to direct the beam through the machine, and those mirrors need to remain aligned.
On most machines, these mirrors are pre-calibrated, but they do occasionally need recalibration, which can be time-consuming; here, however, that process is fully automated with motorised mirror actuators and an alignment sensor.
For design placement accuracy on materials and tight measurements, the machine uses a TriSense system. This combines the BirdsEye Camera, Toolhead Camera, Pinpoint Laser, distance-measurement laser, and XY encoders to locate material, measure its surface, and monitor movement.
During testing, I accidentally put this to the test when I made an error importing a cutting design and left the paths set as lines rather than cuts. I ran the job, removed the basswood from the machine and only then realised the mistake. Normally, that could easily mean starting again.
Instead, I put the sheet back into the R1, used the camera view to align the cutting paths with the lines already engraved into the material, changed the operation to Cut and reran it. The cuts followed the previous lines accurately, with no obvious signs of the mistake.
When it came to small objects, the positioning was equally impressive. I placed pre-cut objects such as placemats around the work area, positioned the artwork through Bambu Suite, and achieved results very close to what I had on screen.
Alongside the hardware is the Bambu Suite software, which offers plenty of functionality, and I found it to have good overall stability when working on macOS, but the workflow isn't yet as fluid as the hardware deserves.
Importing a DXF, for example, involves selecting Open Image, when Open File would make considerably more sense. Once you import a design, you can assign Cut, Line, and Fill operations. Then you move into Prepare, where you set up the machine and material.
This separation isn't always convenient. If you realise you've assigned the wrong operation later, changing it isn't as immediate as right-clicking the object in the earlier screen.
Capturing the work area also requires you to enter the preparation workflow. During testing, I occasionally found the workspace remained blank until I selected Measure and ran through the capture procedure again. On the Mac version, I also occasionally saw a ghost of the previously captured image underneath the current one. However, none of this stopped me from working.
After a couple of days, the workflow logic did make sense, and after three weeks I could move through jobs quickly, although I still didn’t feel that the workflow was as fluid as it could have been. Material profiles cover most common materials, while manual control gives you plenty of flexibility when experimenting with less conventional materials and objects.
Bambu Lab R1: Performance
I started the test with the setup process, and while this was straightforward, there was a little to-and-fro with attaching vents and making sure the filter vent was routed outside. I then had to fill the machine with distilled water and antifreeze before running through the calibration processes, which all took around an hour.
Starting the tests, I focused on using 3mm basswood ply; this is for a couple of reasons: it's a common material used by crafters, model makers, and many small businesses. Second, I’m familiar with how it reacts under lasers and the initial results I should expect. As I started the process, the Bambu Lab philosophy that I’ve seen with their 3D printers started to become obvious.
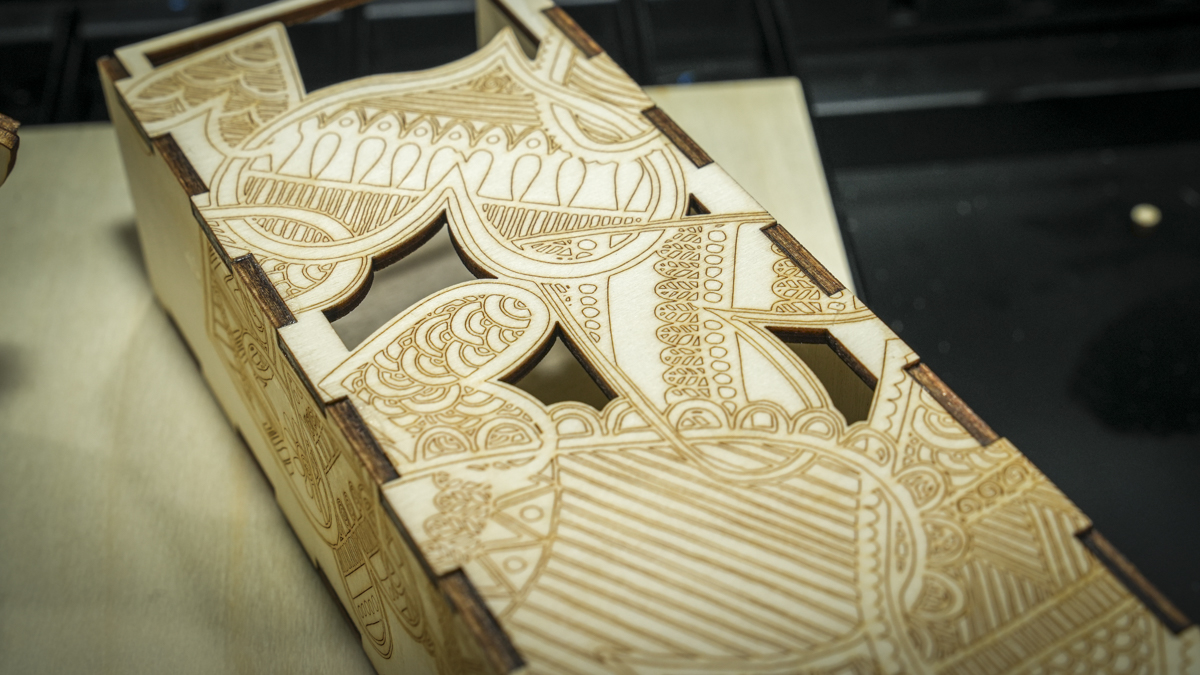
One of my standard initial tests is a flower-box project. I imported the design, detached individual components and rearranged them across two 300 x 300mm basswood sheets to make better use of the material. I tried the auto layout, but because I hadn’t regrouped the paths, the design scattered across the work area. Undoing the mistake didn’t work, so I had to reload the design.
Once I’d re-laid out the design over the two sheets, I hit the Make button, and then the main button of the machine the R1 started the process of engraving and cutting, and with decent speed that I seen with other CO2 engravers. The complete model took around 10 minutes to cut across those two sheets, and the result was close to perfect.
However, there was one issue. Once the pieces were cut free, the smaller parts dropped between the support slats, and a couple of scorch marks appeared where they fell into the laser's path. Moving the slats closer helps, but this is where a honeycomb grid should really be used.
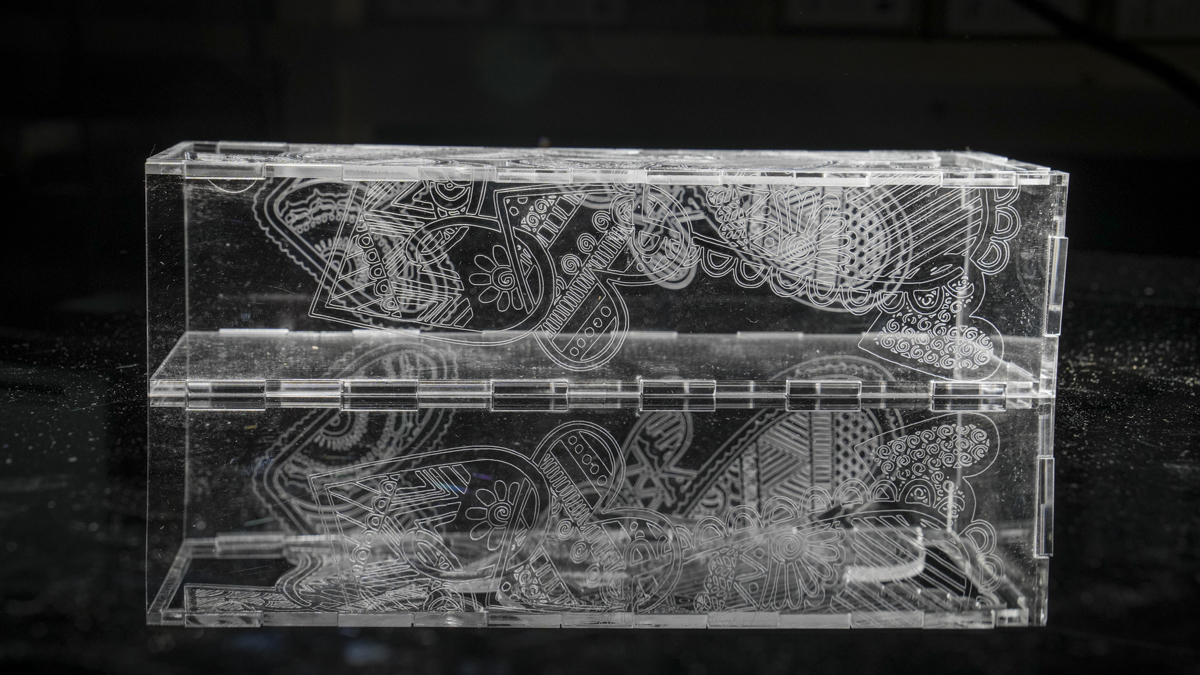
After several impressive results in basswood ply, I then produced the same flower-box design in acrylic. This took considerably longer at around 29 minutes, but the finish was exceptional, one of the best results I've achieved with this particular cutting plan in acrylic. The use of this material is one of the reasons that you would want to go for a CO2 laser over a conventional diode laser.
I also pushed the R1 beyond thin sheet material, testing materials ranging from lightweight paper through to 16mm MDF; in the case of these materials I tended to opt for the manual control so that I could get the best possible cut, and I was pleased to see it was possible to save down the settings as presets.
In the engraving tests, I used leather, ceramic, coated metal, and glass. Across those materials, the CO2 source's added power and flexibility became apparent, especially compared with the smaller diode engravers I've used.
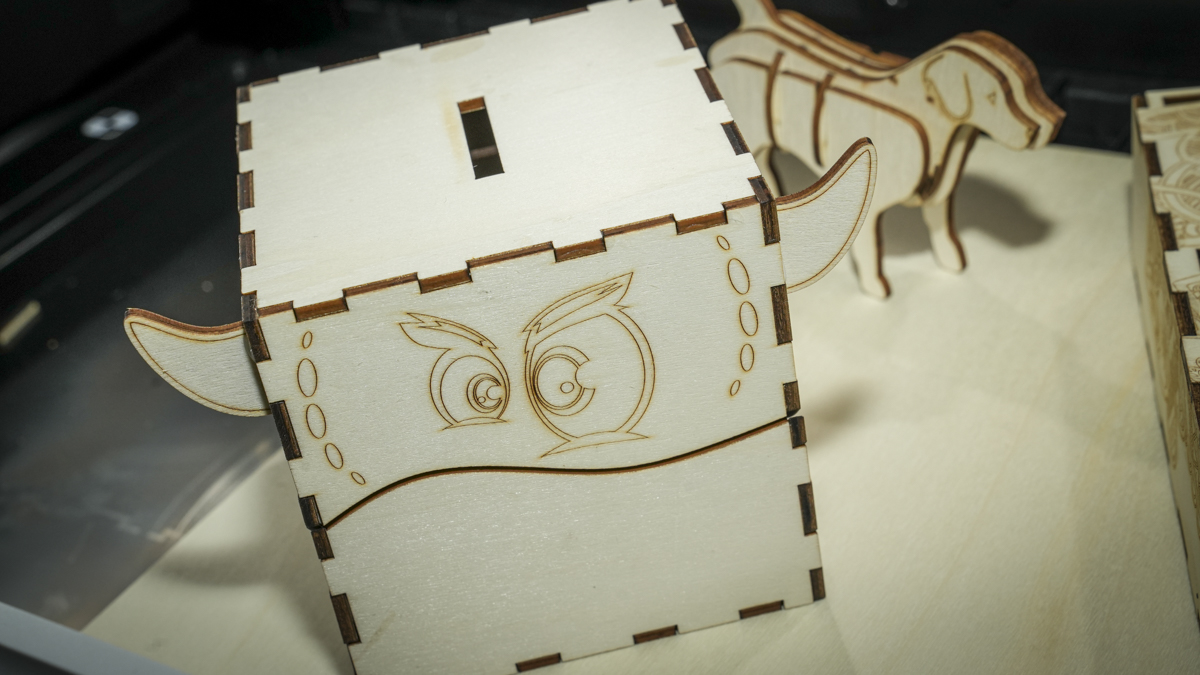
Through the test, the raw cutting power was impressive, and by slowing the engraver down and maxing out the power, I was able to cut through an 18mm sheet of ply. However, the positioning accuracy is what has really impressed me.
For small objects, the position shown in Bambu Suite and the finished engraving were exceptionally good. Once I'd grouped individual elements of a design correctly, the automatic positioning tools made batches of pre-cut objects far easier, although I was equally as impressed by the xTool and Creality machines that I’ve looked at recently in this respect.
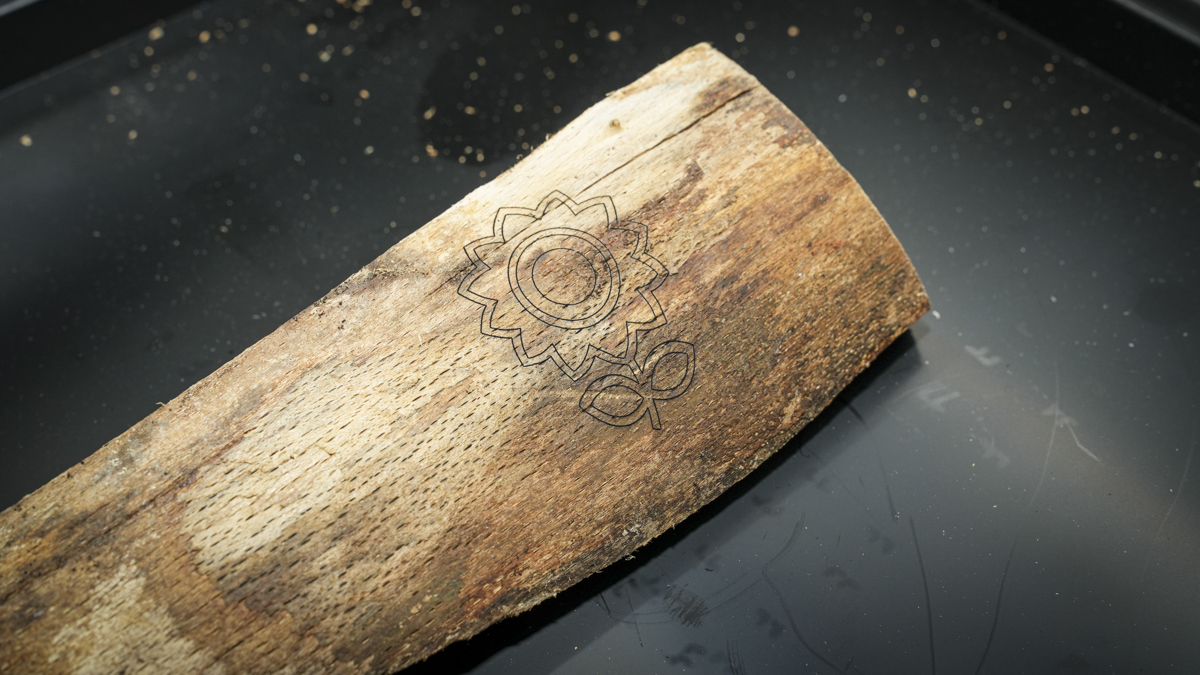
Curved-surface engraving, however, was one up from what I have experienced before as it was easy to set up and use. Essentially, I can place something such as a bowl or piece of timber into the R1, select curved-surface machining, and manually check that there's enough clearance for the toolhead.
The machine then measures multiple points across the object to gauge the changing surface height and generates a height map. I could then position the artwork and run the job the same way I would on a flat sheet.
I tried this with curved wooden objects, including a log, and the resulting lines stayed clear and focused as the surface height changed. There is a bit of physical interaction involved. The lid needs to be raised and lowered as the R1 works through parts of the measurement process, and an automated lid would make the experience even slicker.
Bambu Lab R1: Final verdict
Bambu Lab may be arriving relatively late to the dedicated desktop laser market, but the R1 doesn't feel like a first attempt. After three weeks of use, what stands out isn't just the 55W CO2 laser; it’s that Bambu Lab's formula has been applied, which means it looks great, is easy to use, and produces great cuts and engravings.
The automatic optical alignment seems to do its job and removes some of the more complex maintenance tasks that come with owning a CO2 laser. Then there's the TriSense system that makes positioning objects and designs easy, and the curved-surface measurement procedure just works exceptionally well.
I even felt that the material presets were spot on, enabling me to get excellent results without spending the first afternoon with the machine producing endless power-and-speed test grids. Something I’m all too familiar with.
The physical design is excellent and weight and size means it sits perfectly in the workshop with teh 600 x 300mm work area enabling enough rooom for most of the jobs that I would want to do on this style of machine.
Bambu Suite does, however, need more work. I'd like quicker access to camera capture, a more fluid transition between design and preparation, clearer terminology, and a few interface bugs ironed out. I'd also like more support slats in the actual machine, or preferably a honeycomb bed that was supplied with the machine and not an optional extra.
Also, on the interior, a little more headroom would have been nice, but then you can use a raiser, but that or the use of the conveyor changes the machine from a class 1 to a class 4.
The R1 has been designed to be part of the Bambu Lab ecosystem and is designed for makers who are already invested in Bambu. Putting laser engraving and 3D printing together at scale does provide a solid base for personal manufacturer and it is exciting.
For small businesses, workshops, model makers and serious crafters, this is a fast, accurate and unusually easy to use CO2 machine.
Should you buy the Bambu Lab R1
Swipe to scroll horizontally
Value: |
Premium price, but with serious production capability |
4 |
Design: |
Considering the size of the work area it's relatively compact and exceptionally solid |
4.5 |
Features |
Automation brought over from 3D printing makes complicated jobs simple. |
5 |
Performance |
Excellent cuts and detail with superb positioning and minimal scorching |
5 |
Total |
Exceptional CO2 cutter, software needs some workflow issue resolving. |
4.5 |
Buy it if...
You already 3D print
Pairing the R1 with a Bambu 3D printer creates an exceptionally flexible workshop for combining printed components with wood and acrylic.
Accuracy really matters
Camera positioning, surface measurement and automatic alignment make placing detailed engravings onto pre-cut and curved objects remarkably straightforward and repeatable.
Don't buy it if...
Space is limited
The R1 is compact for its capacity, but at 33.5kg with extraction and filtration, it still requires a proper workshop setup.
You want simplicity
The hardware is exceptionally polished, but Bambu Suite's current workflow requires some familiarisation and could still benefit from further refinement.
For more crafting tech, I've tested and reviewed all the best 3D printers and the best laser engravers.





 English (US) ·