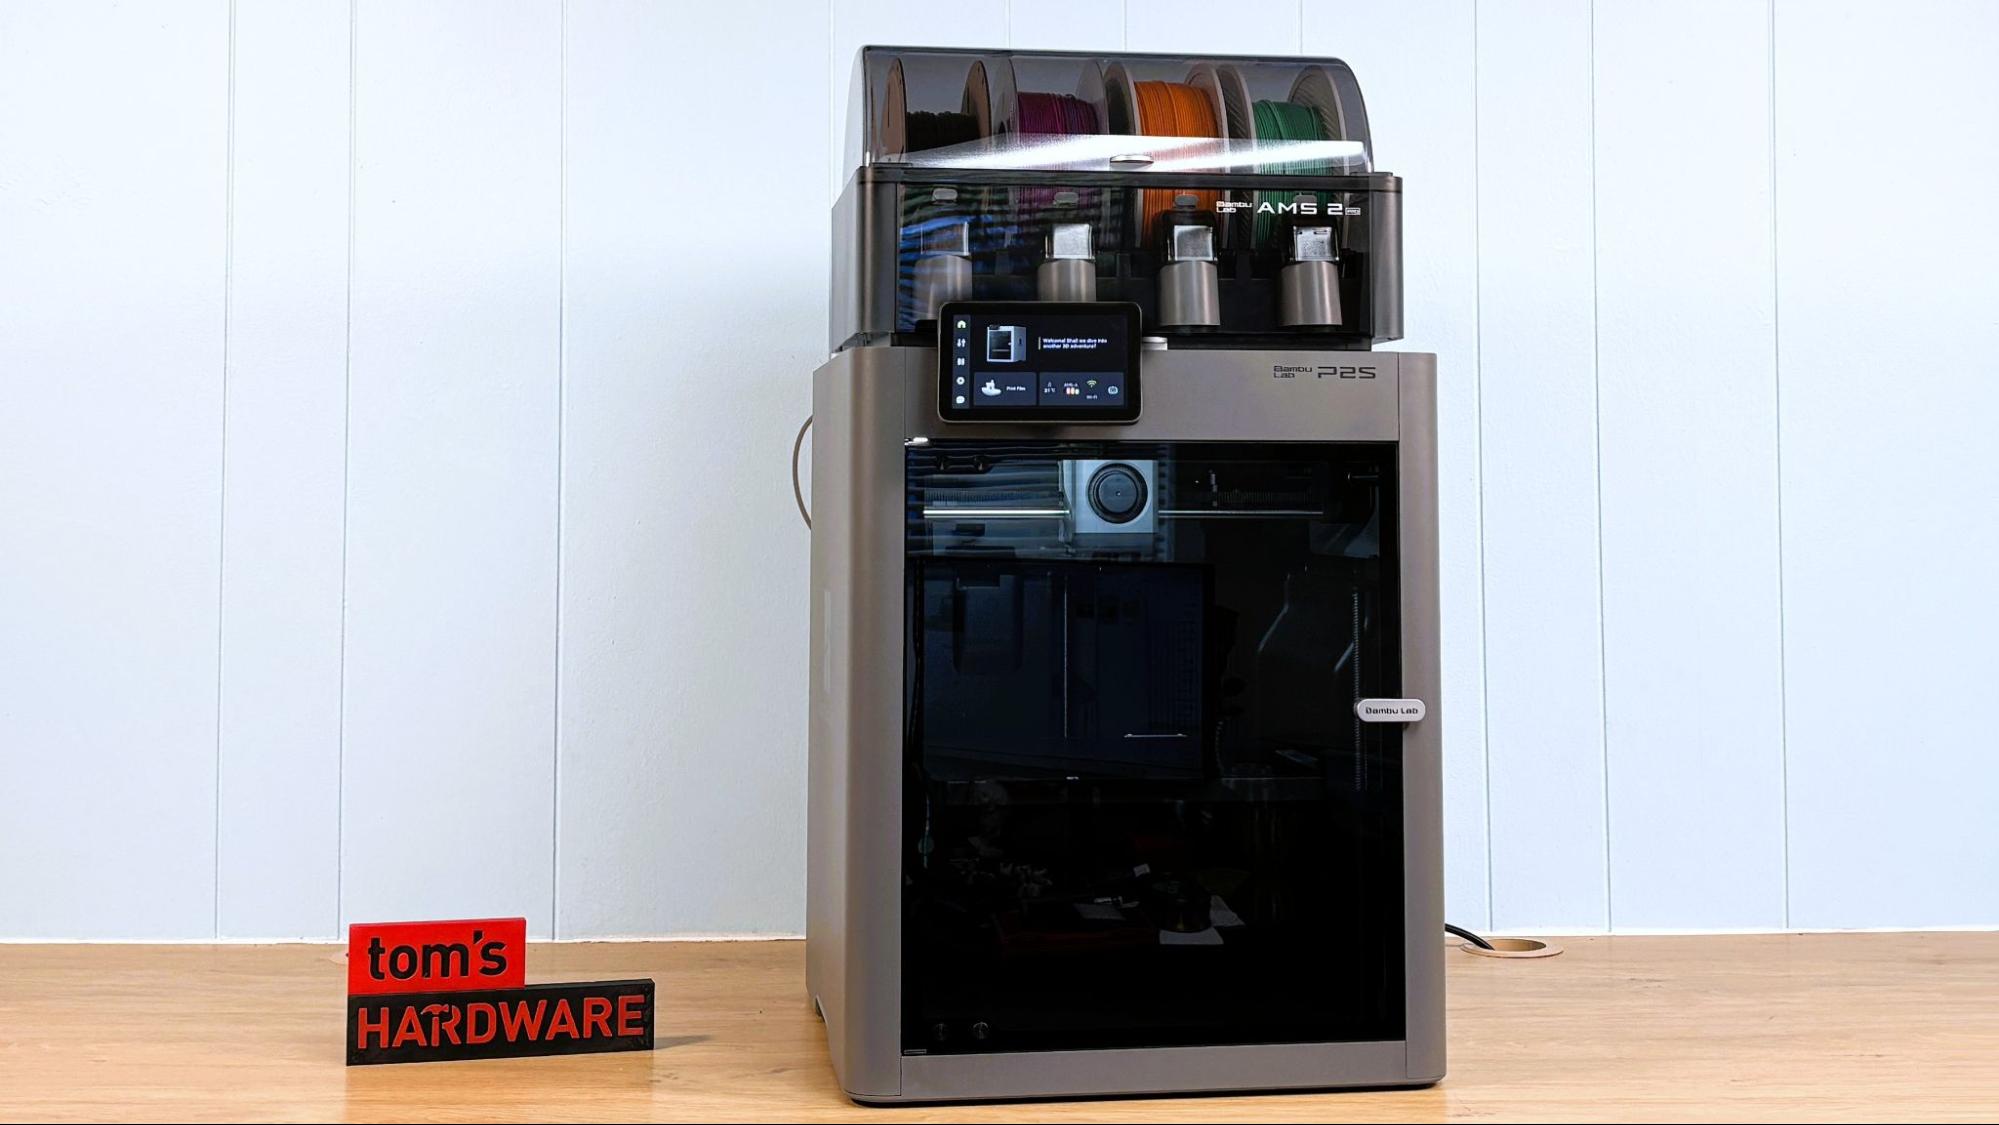
Bambu Lab has updated its “Goldilocks” 3D printer, the P1S, for 2025. When launched, the P1 series sat right between the budget A1 bed slinger and the more deluxe X1 Carbon. With the H2D taking over as Bambu Lab’s high end 3D printer, it’s only fitting that the mid-range machines get a refresh.
Enter the Bambu Lab P2S Combo, a machine that borrows some of the best features from its siblings while remaining an affordable option in four-color printing. It took the color touch screen from the X1 and the swappable nozzle from the A1 – or rather, the H2’s improved versions of the screen and nozzle. It has a better camera, a USB port, an upgraded cooling system, AI camera monitoring to prevent spaghetti monsters, and it comes standard with the new AMS 2 Pro.
Like the P1S, it has everything you need while leaving some of the high end perks on the table. This printer still has the traditional Bambu Lab 256 mm cubed build volume, but has no lasers, no dual nozzles, no fancy air flaps, and definitely no LiDAR. And best of all, it doesn’t need any of that.
The P2S maintains Bambu Lab’s exceptional level of speed, quality, and ease of use, making it one of the best 3D printers we’ve seen this year.
Specifications: Bambu Lab P2S
Swipe to scroll horizontally
Build Volume | 256 x 256 x 256 mm (10 x 10 x 10 inches) |
Material | PLA/TPU/ABS/PC (up to 300 degrees) |
Extruder Type | Direct drive |
Nozzle | .4mm hardened steel |
Build Platform | PEI textured spring steel sheet, heated |
Bed Leveling | Automatic |
Filament Runout Sensor | Yes |
Connectivity | USB, WiFi, Bluetooth |
Interface | 5 inch Touchscreen |
Machine Footprint | 392*406*478 mm (15.4 x 15.9 x 18.8 inches) |
Machine Weight | 14.9 KG (32.8 lbs) |
Bambu Lab P2S: Included in the Box
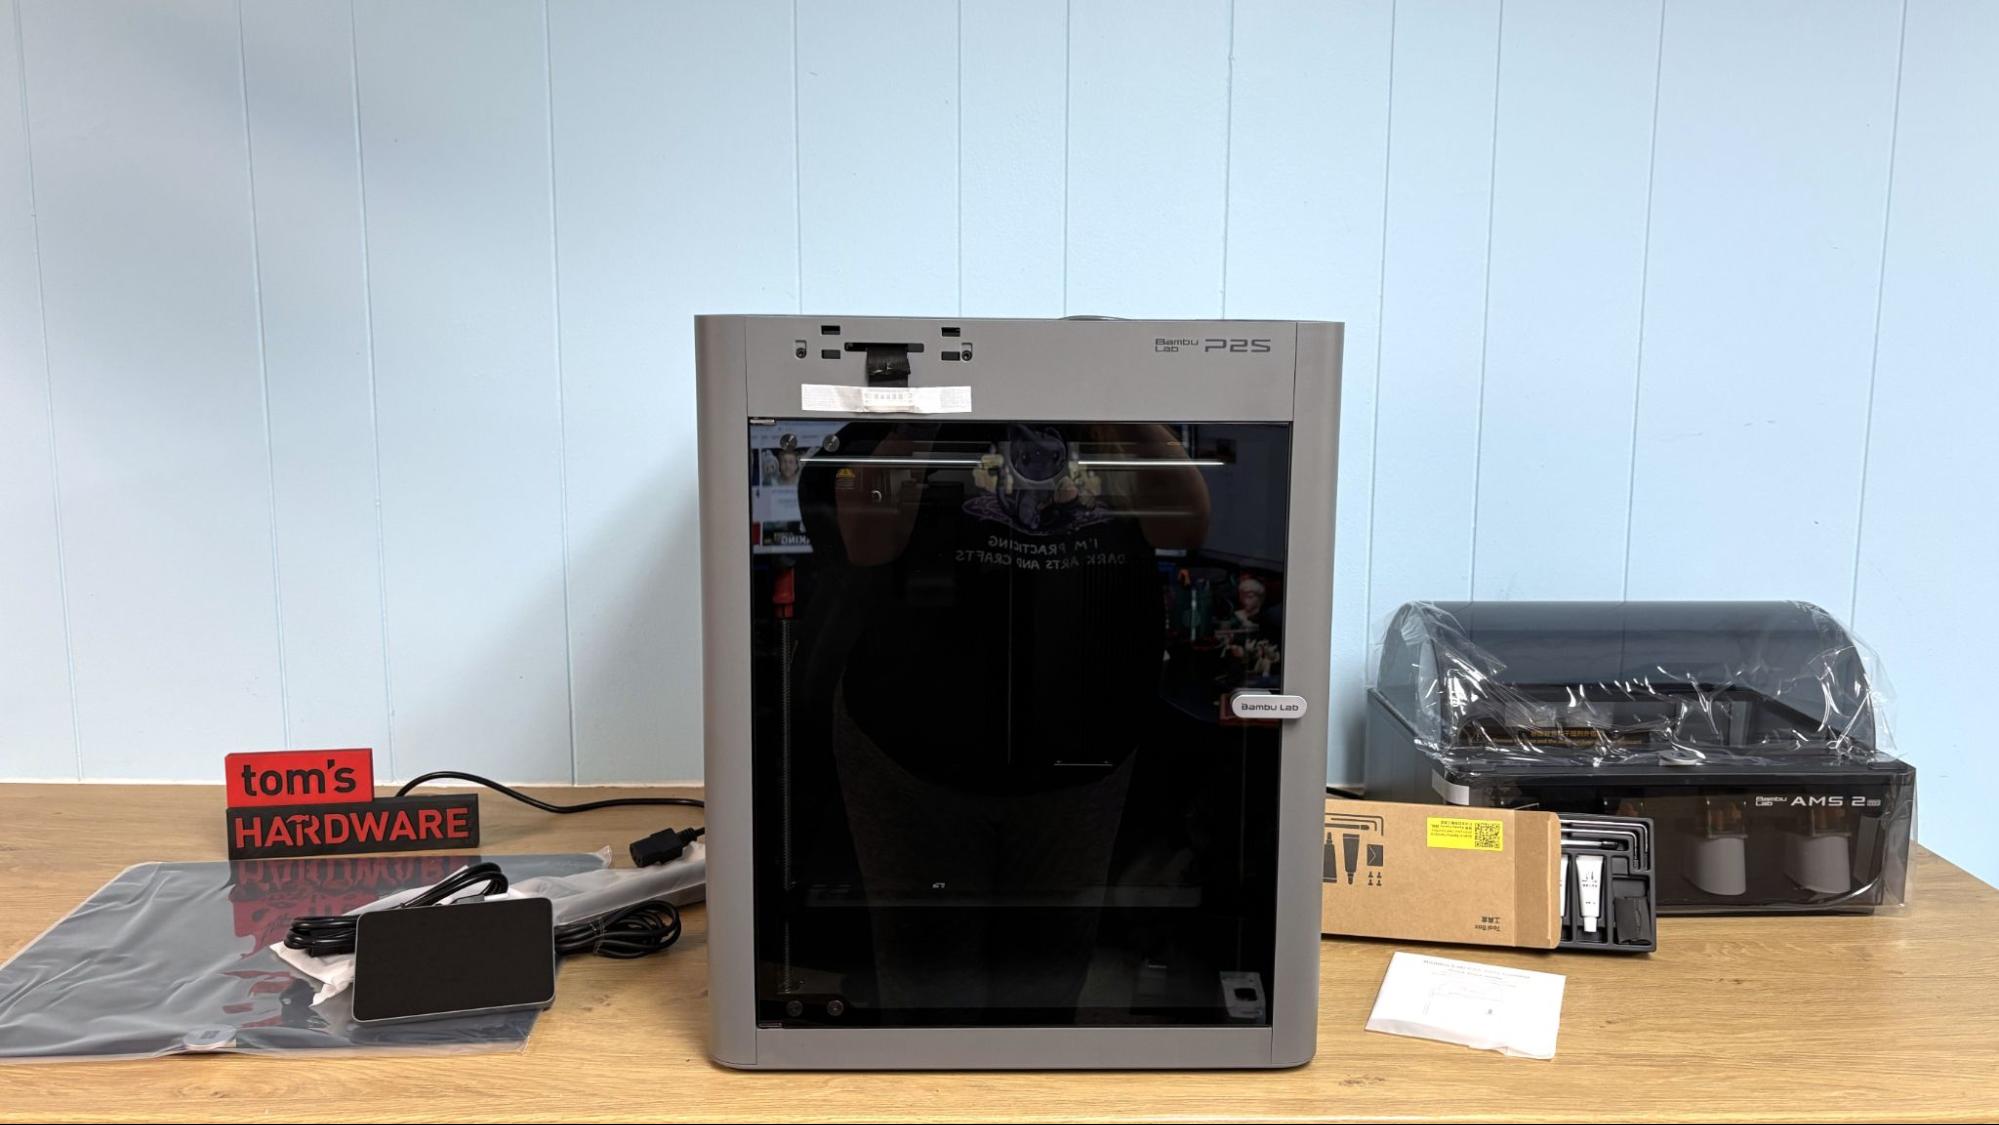
The Bambu Lab P2S comes with everything you need to get your printer set up, as well as a few extra parts. You get tools to maintain the printer, spare nozzle wiping pads, and a .5KG full full-sized (refillable) spool of white PLA.
The printer comes with test models loaded in its memory, including a scraper that you can print and assemble with parts provided in the toolbox. It does NOT come with a USB stick, which you will need to take time-lapse videos. There’s a paper getting-started guide and instructions on how to access the slicer and phone app. The box has a QR code printed on the inside flap that leads to an unpacking video.
Design of the Bambu Lab P2S
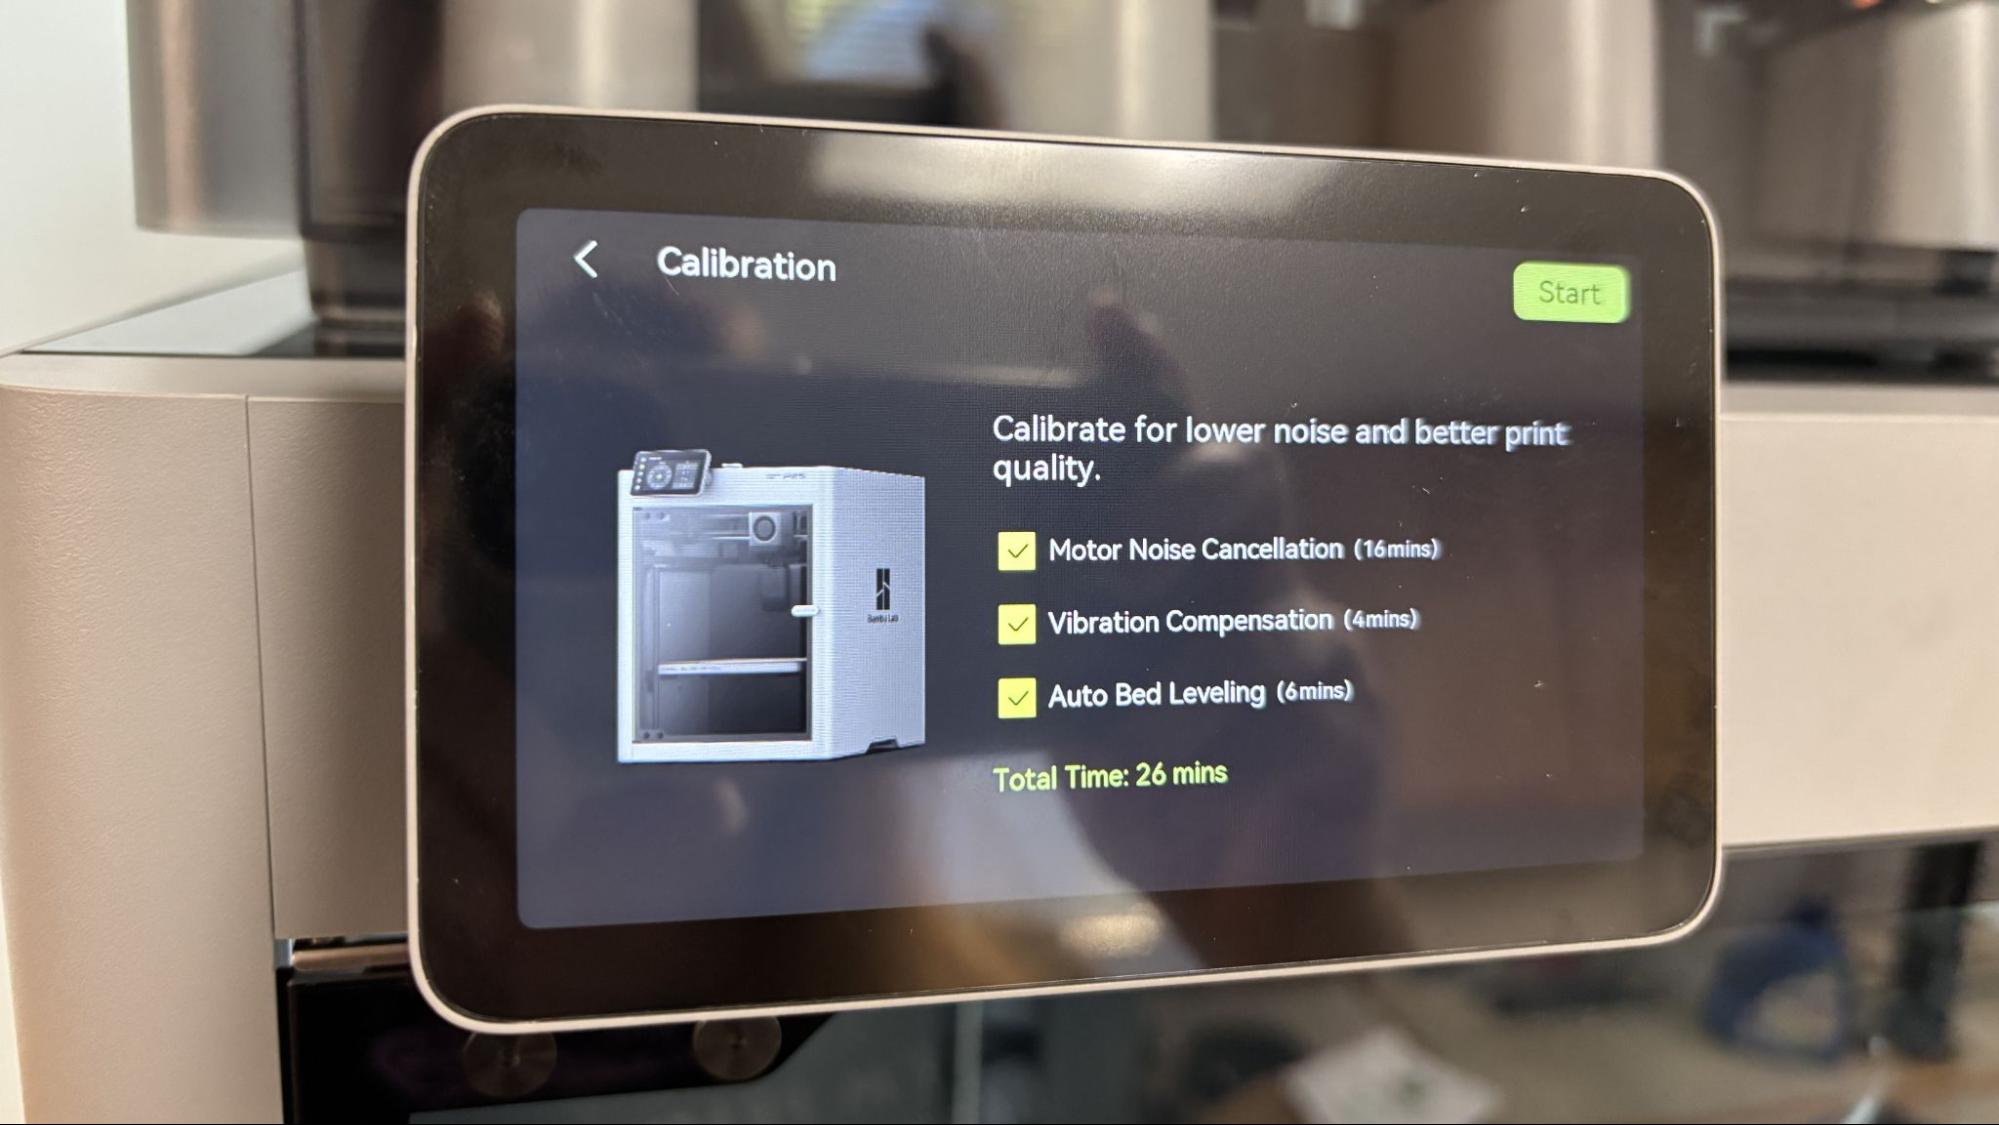
The most obvious improvement to the P2S is the touch screen, which is the same as the high end H2 series. The previous machine had a barely functional D-Pad LCD screen that drove its users nuts and made the P1 feel cheap.
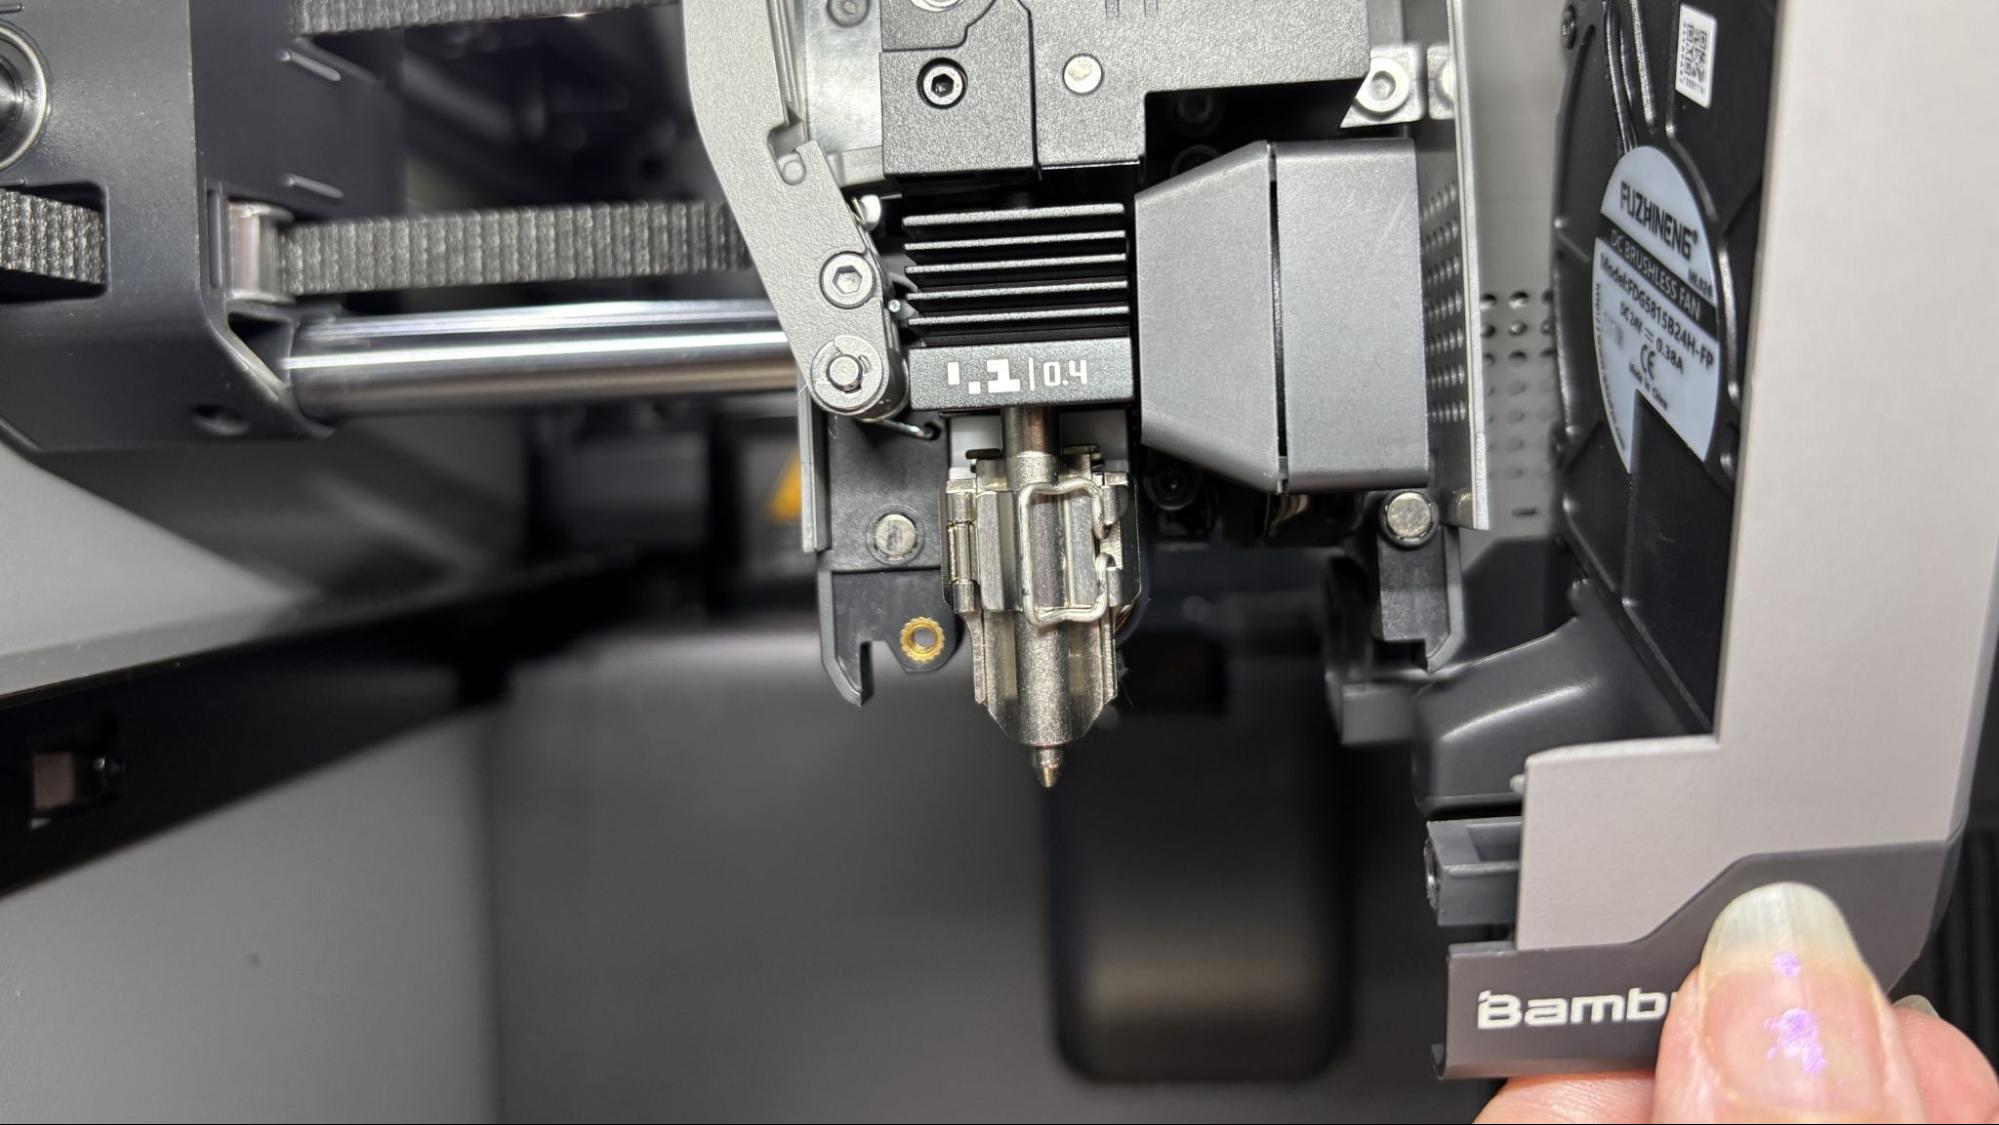
The tool head also takes a page from the H2 series and uses the same steel-tipped A1-but-not-an-A1 nozzle. Confused? Me too. The new nozzle looks similar to the removable A1 nozzle and is held on with the same buckle and magnet system. The P2 and H2 nozzles have higher flow rates to match their faster Core XY machines. Bambu says you can use the new nozzle in the A1, but doesn’t recommend putting an A1 nozzle in an H2 (and I assume P2). I wouldn't be surprised if Bambu phases out the old A1 nozzle for more efficient stocking. Either way, I’m happy to see this style in the P2S, as it is way easier to remove for troubleshooting or just swapping sizes.
The P2S also gets a new Active Airflow system, which solves one of my personal pet peeves: leaving the door open while printing PLA. Many new users think the door is there to keep children/cats/dust out of the printer, rather than provide a controlled environment for high-temperature printing. The airflow system feeds cooler air from the room to the auxiliary cooling fan on the sidewall. During testing, the chamber temperature hovered around 33C and I had no issue with nozzle clogs or overhangs.
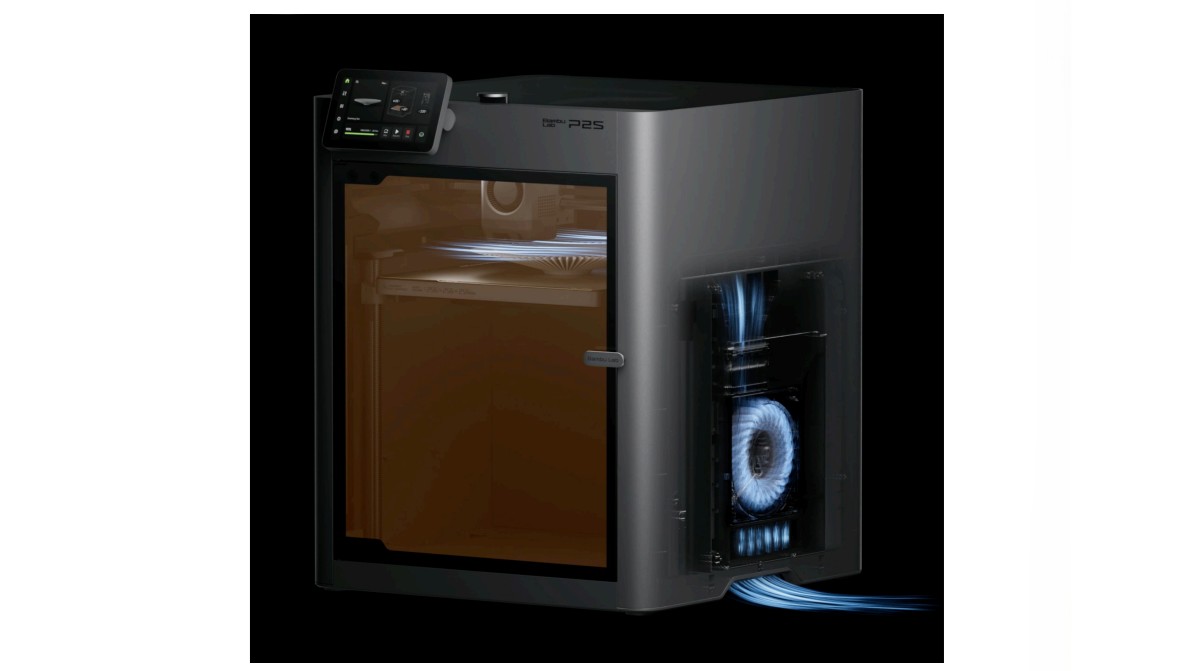
The printer does not have active heating. But instead, it relies on the bed heater to do all the work. It makes this easier by shutting down internal flaps and only pushing air out of the chamber through a carbon filter. I was able to run ABS without issue.
The P2S also gets a new USB port, which is one of those little things that really means a lot. Having a USB port allows you to easily transfer files without going through the internet, something the older micro SD card made challenging. It's also where the P2S stores timelapse footage.
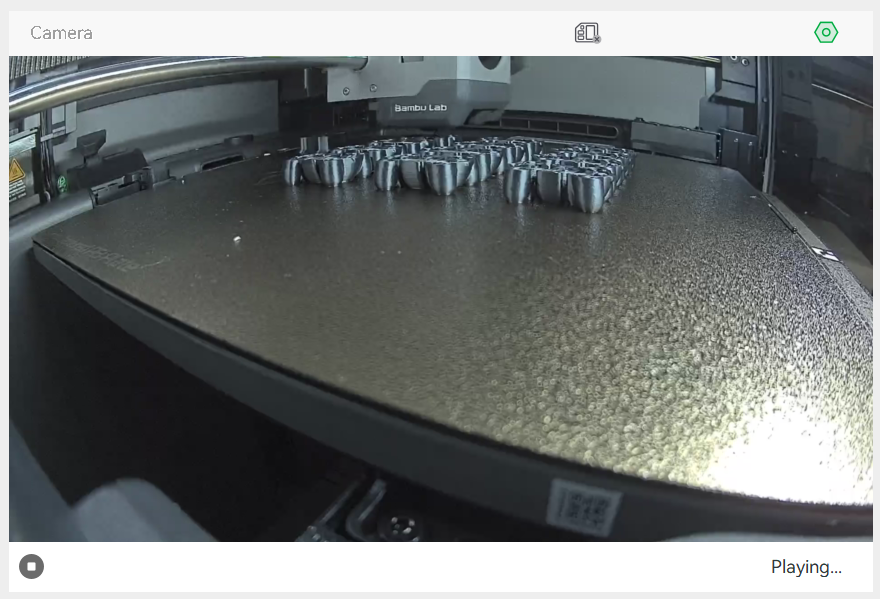
The camera has also been upgraded to a 1080 high frame rate model, and when combined with enhanced chamber lighting, it delivers much better results. The camera is also part of a new AI computer monitoring system that makes sure you have the same plate installed as the slicer settings and watches for nozzle blobs and spaghetti printing.
Nozzle pressure is measured with an eddy current sensor, and the machine automatically adjusts the flow rates for you. Flow rate is also backed up by the new extruder system, with a PMSM servo delivering 8.5 kg max of extrusion force. That’s about 70% more than the old system. The printer also monitors the system to detect filament grinding or clogs. Combined with a tangle sensor in the filament hub, the P2S is well-equipped to keep printer failures at bay.
Another small, but important improvement is the removal of the dead zone in the forward left corner. The older machines reserved this space for a permanently mounted prong to push the cutter. Now the machine deploys a foldable prong from the side of the frame.
And the much maligned carbon fiber rods for the X gantry are gone, replaced with a more easy to clean steel.
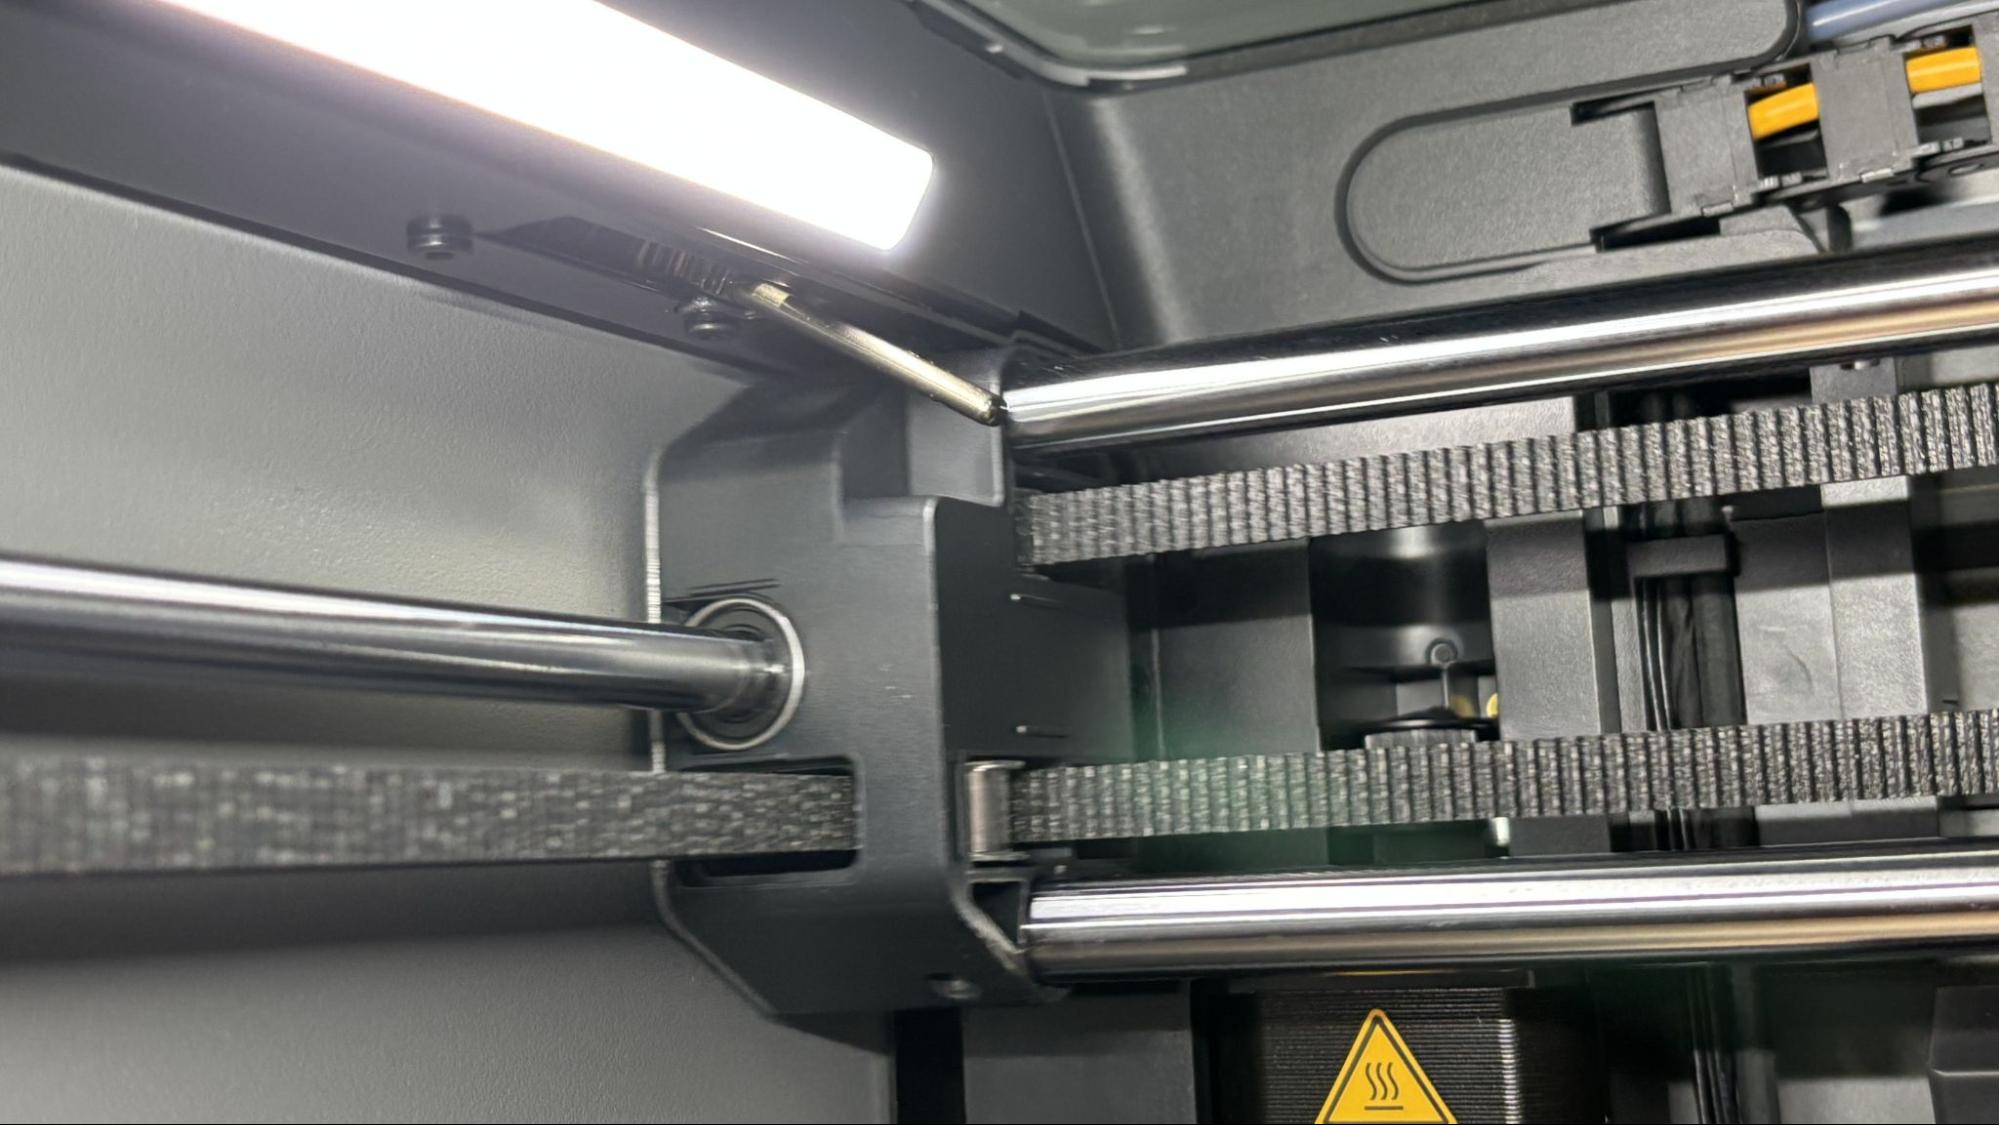
The rest of the printer is largely the same: a 256 mm cubed build volume and a speedy, highly accurate motion system. In case this is your first Core XY, the motion system uses a combination of belts to move the X and Y axes in tandem for smoother, faster printing. The print head stays at the top of the machine while the build plate slowly lowers. When combined with vibration-damping input shaping, the results are exceptionally smooth, high-quality prints.
The printer’s highly sensitive auto bed leveling system makes for a perfect first layer. There is no need to adjust the Z height. After a few minutes of auto calibration, the printer just works.
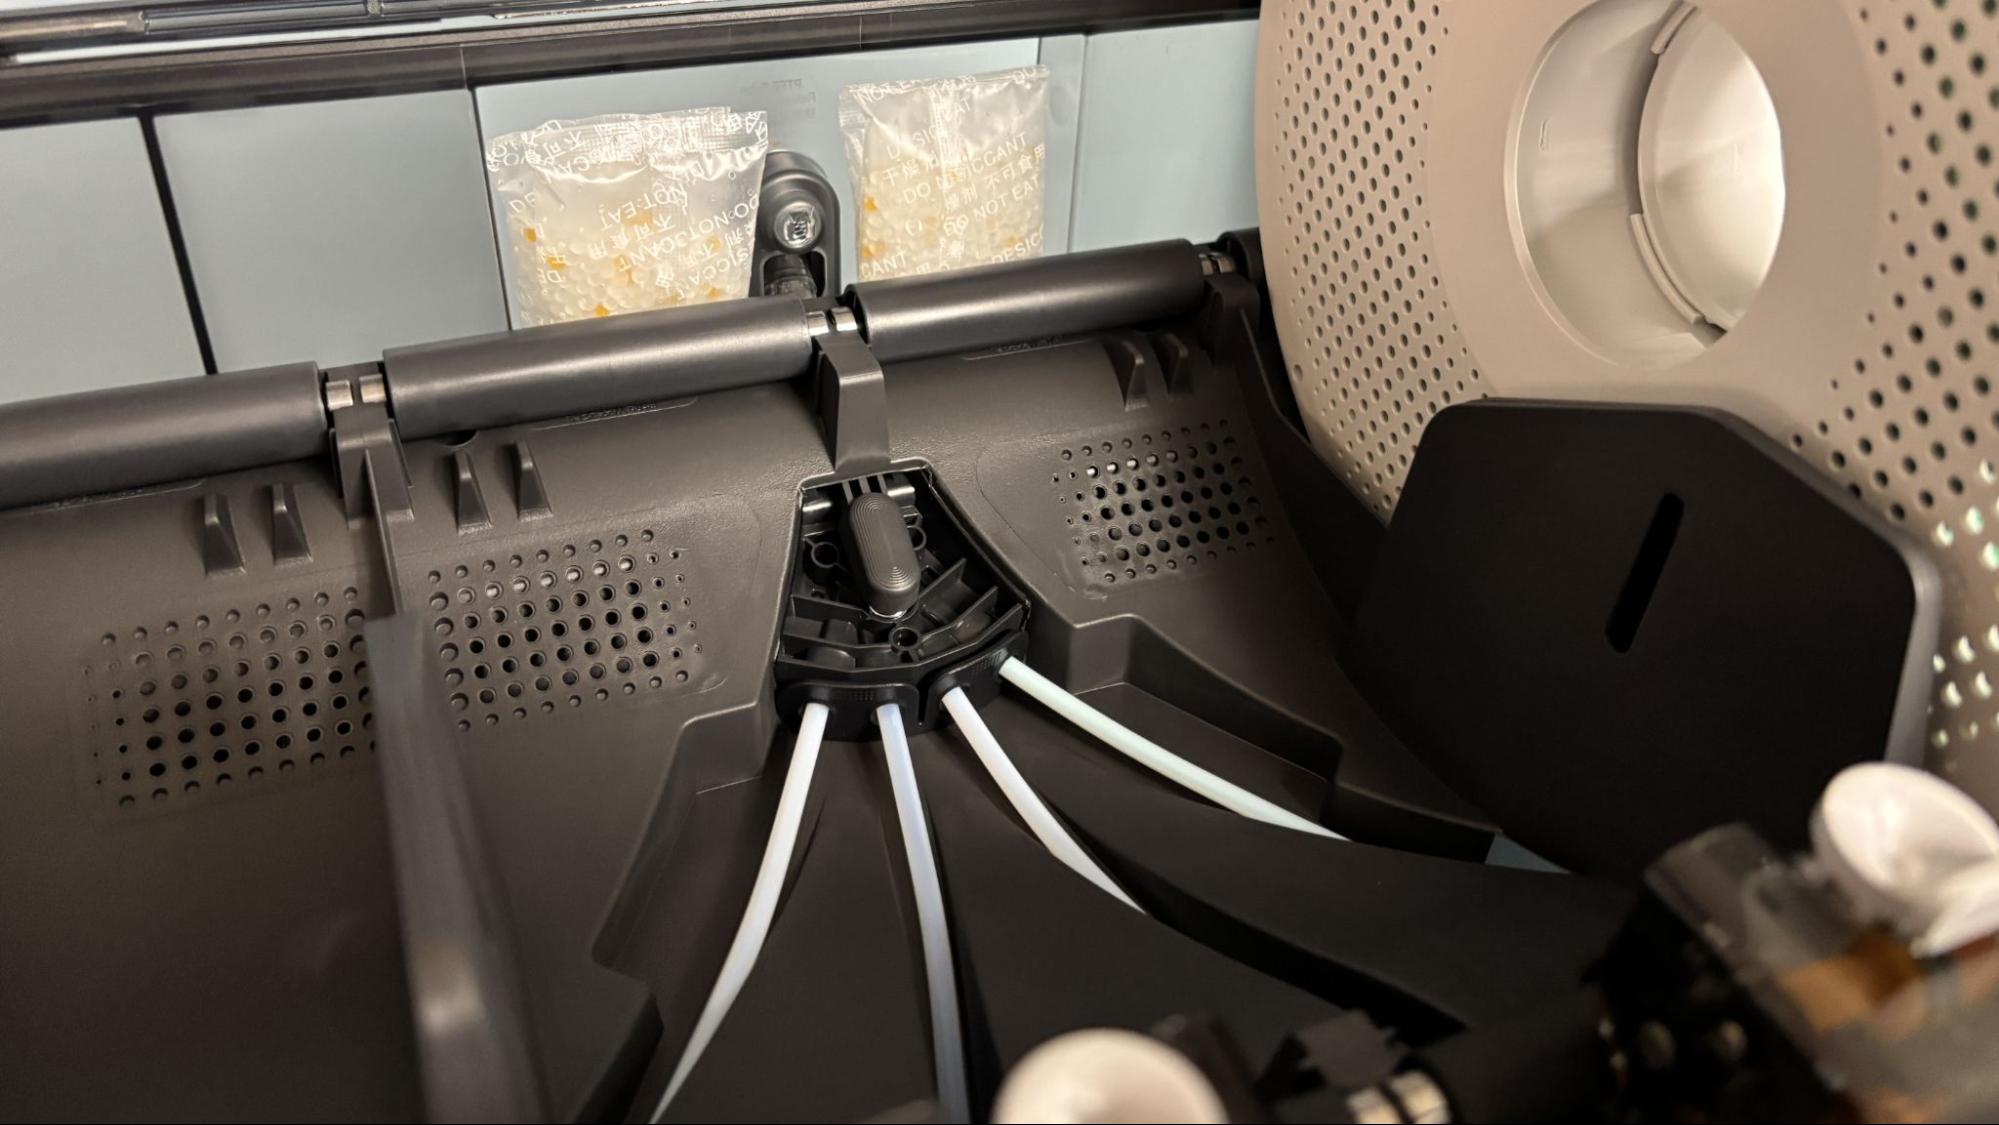
The P2S Combo comes standard with the new AMS 2 Pro, a four-color Automatic Material System. This new AMS can double as a filament dryer with active venting to maintain low humidity when the lid is kept closed. It still needs desiccant packs to keep moisture at bay because the dryer doesn’t run while it prints.
The AMS 2 Pro is now easier to maintain with the tubes exposed. This makes it a lot easier to fish out scraps of filament that might snap inside the unit.
Like all the other Bambu Lab machines, P2S needs a collection bucket for its inevitable pile of filament poops. There are various community-designed solutions to the problem, or you can just put an empty filament box at the back of the machine. I do wish Bambu would address this issue.
Bambu Lab says the P2S can obtain a top speed of 600mm/s and 20,000 mm/s acceleration, which is still twice the default speed of the slicer. We still have “sport” and “ludicrous” speed modes, which are 124% and 164% faster than normal, but with somewhat sketchy quality results. It’s fine for a quick draft, but I’d still stick with standard speed.
When the P2S has an error, the touch screen can show us the same helpful assistant as the higher-end machines. It will provide a QR code you can scan with your phone, offering troubleshooting advice from the Bambu Wiki, a knowledge base for operating any Bambu printer. The Wiki will help you identify and fix the problem, often with quick video tutorials.
Bambu Lab Automatic Material System (AMS)
The P2S comes standard with Bambu Lab’s new AMS2 Pro system – a four-spool feeder that unlocks the ability to print in four, eight, twelve, and even sixteen colors. Each unit costs $359 and can be placed on top of or next to the printer. It can still use an older AMS if you have extra or just want to save a couple of bucks.
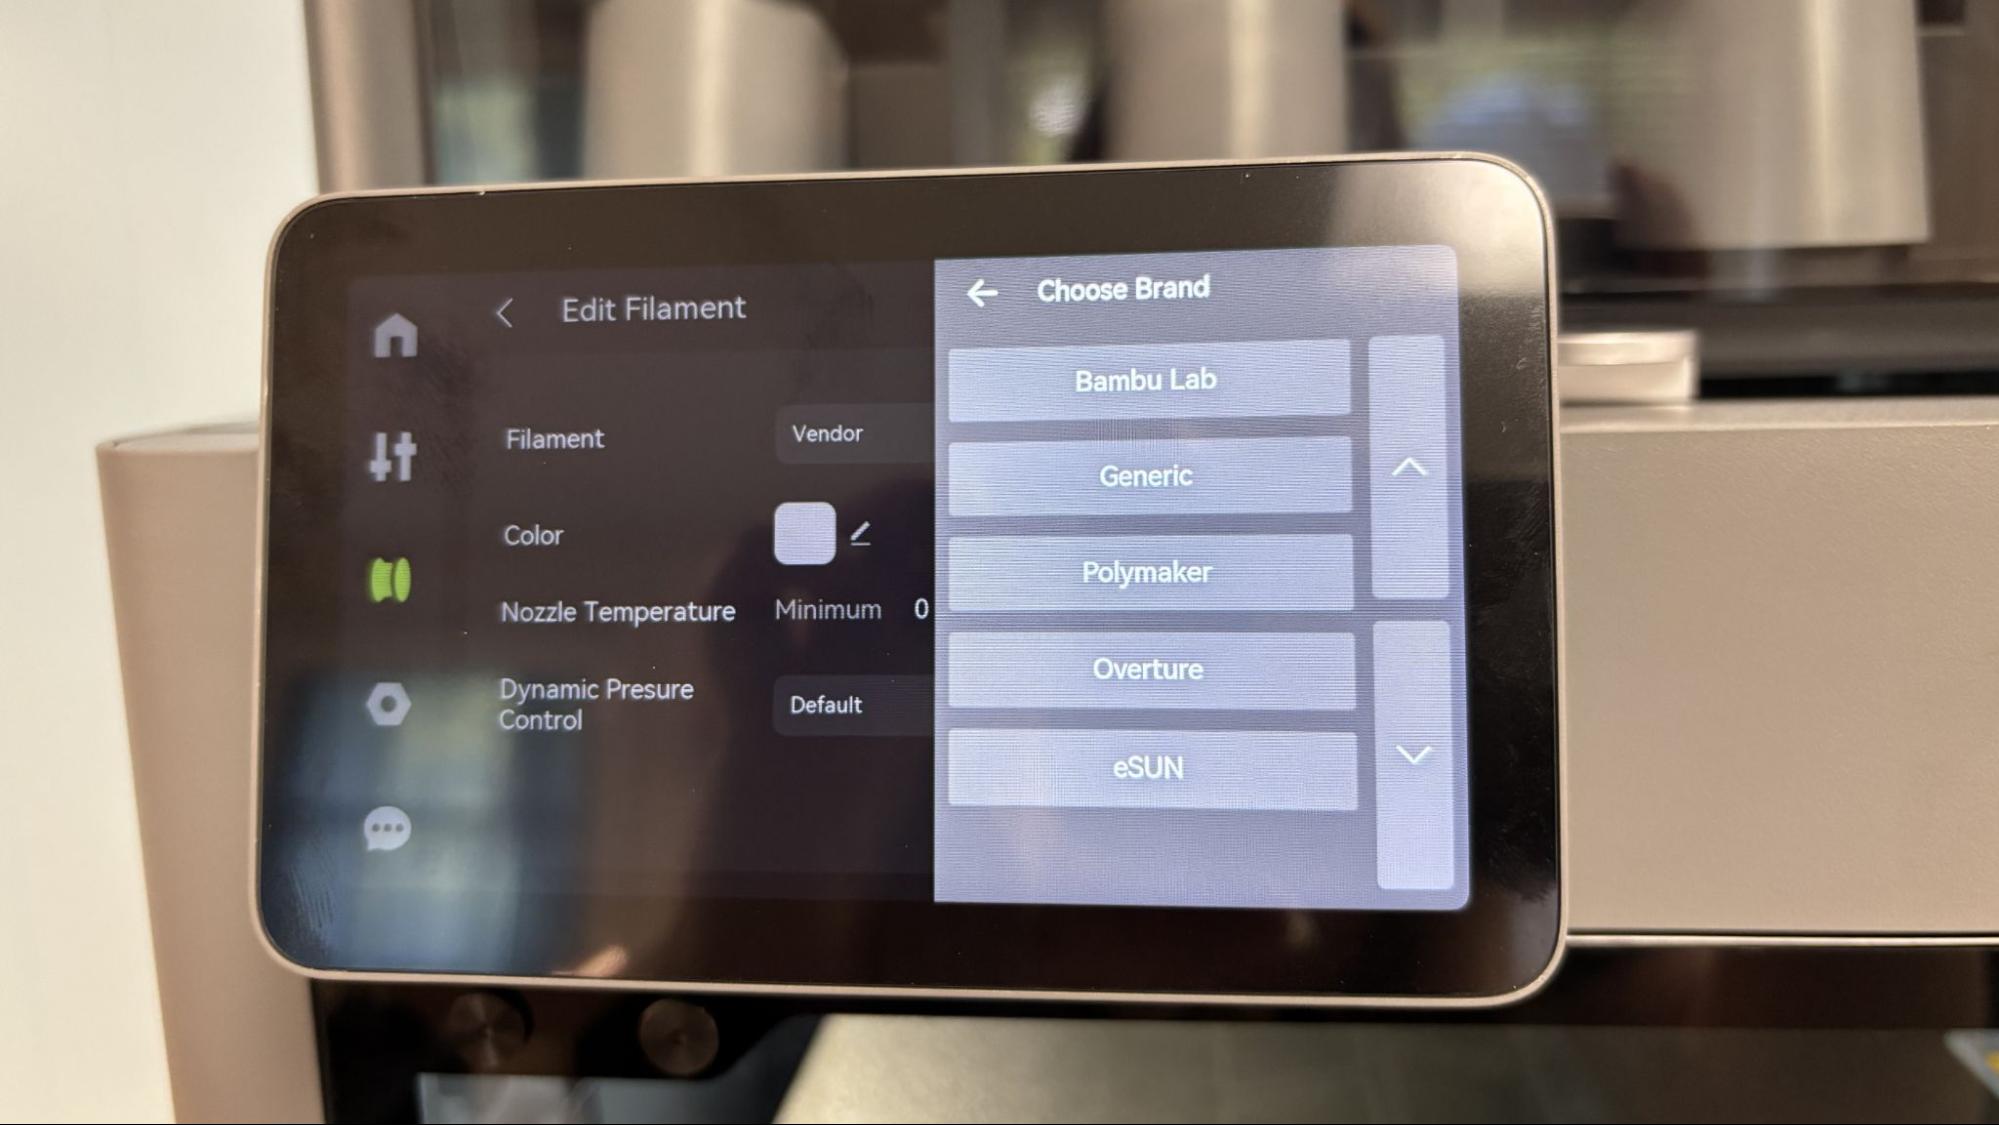
The new screen (love that screen) lets you program filament colors while standing next to the printer, and also lets you change the colors or spool placement on sliced files.
The AMS unit can read RFID ID tags that the company installs on each roll of its own filament for easy identification. These tags tell the printer what type and color of material you have installed, and then match it with presets in Bambu Studio. If you use 3rd party filament, you’ll have to fill that information in by hand.
The AMS has pockets for descant and seals tightly, allowing you to use the AMS as a drybox for temperamental filament like Nylon. The AMS 2 Pro does double duty as a filament dryer, though only while it is not printing.
There’s also a “backup” option for the AMS, which will allow it to automatically switch from one slot to the next instead of tripping a run-out sensor. This could be handy for using up partial spools or prints that will need more than one spool. To use this setting, you’ll need to have identical spools loaded.
Assembling the Bambu Lab P2S

The Bambu Lab P2S comes mostly assembled and only needs to be unpacked. You only need to attach the spool holder if you need it, pop on the touch screen and connect the cords and tubes. The printed guide walks you through each step.
Leveling the Bambu Lab P2S
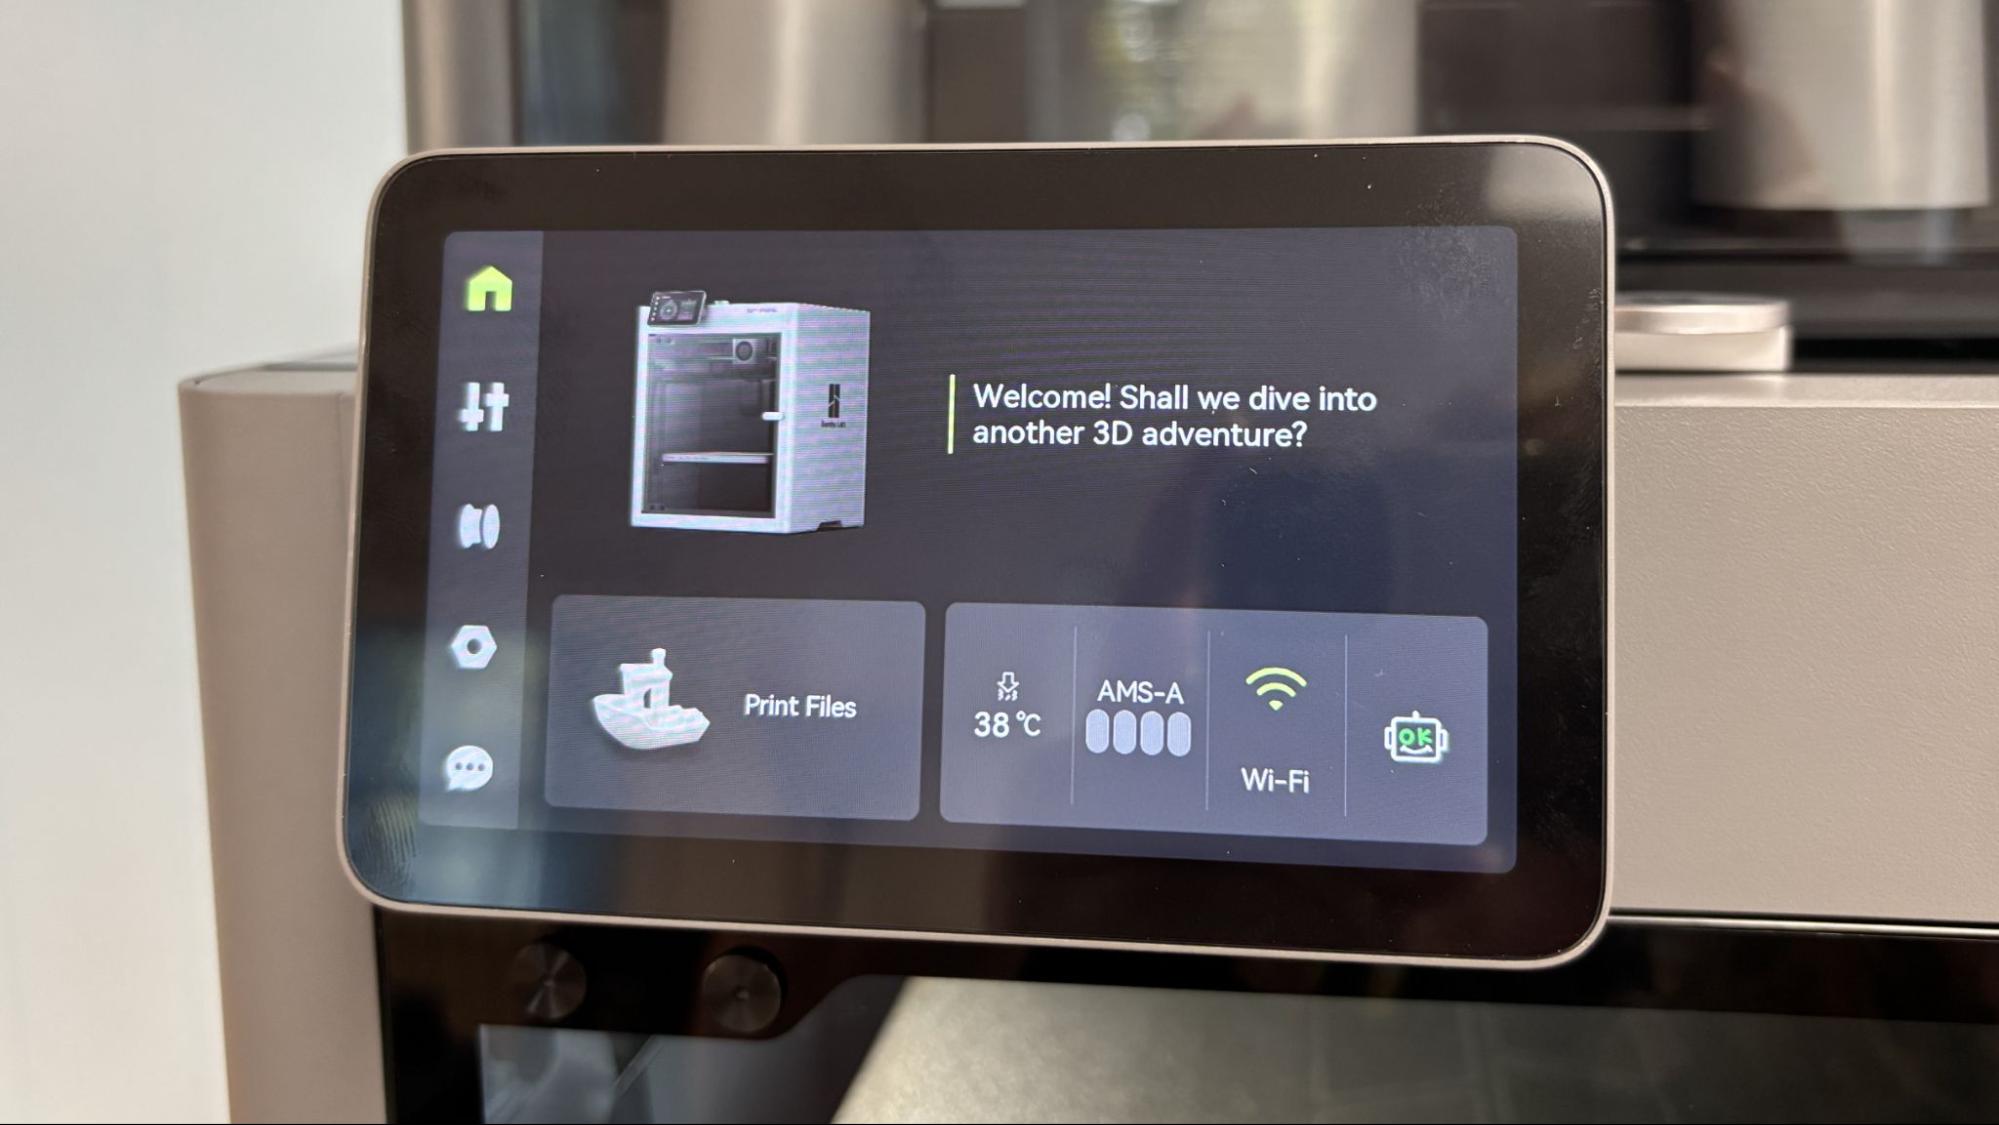
The Bambu Lab P2S has an excellent auto-leveling system combined with vibration compensation, pressure advance, and automatic belt tensioning. It runs a thorough self-test after unpacking the machine to make sure everything is in working order.
Once you’re set up, the machine will also automatically run a bed leveling check before each print. This takes a few minutes, but you’re free to uncheck the option if you don’t want to take the time.
There is no need to set the Z height or Z offset. In fact, there’s no option or button to do so, because the P2S handles this setting on its own.
Loading Filament on the Bambu Lab P2S
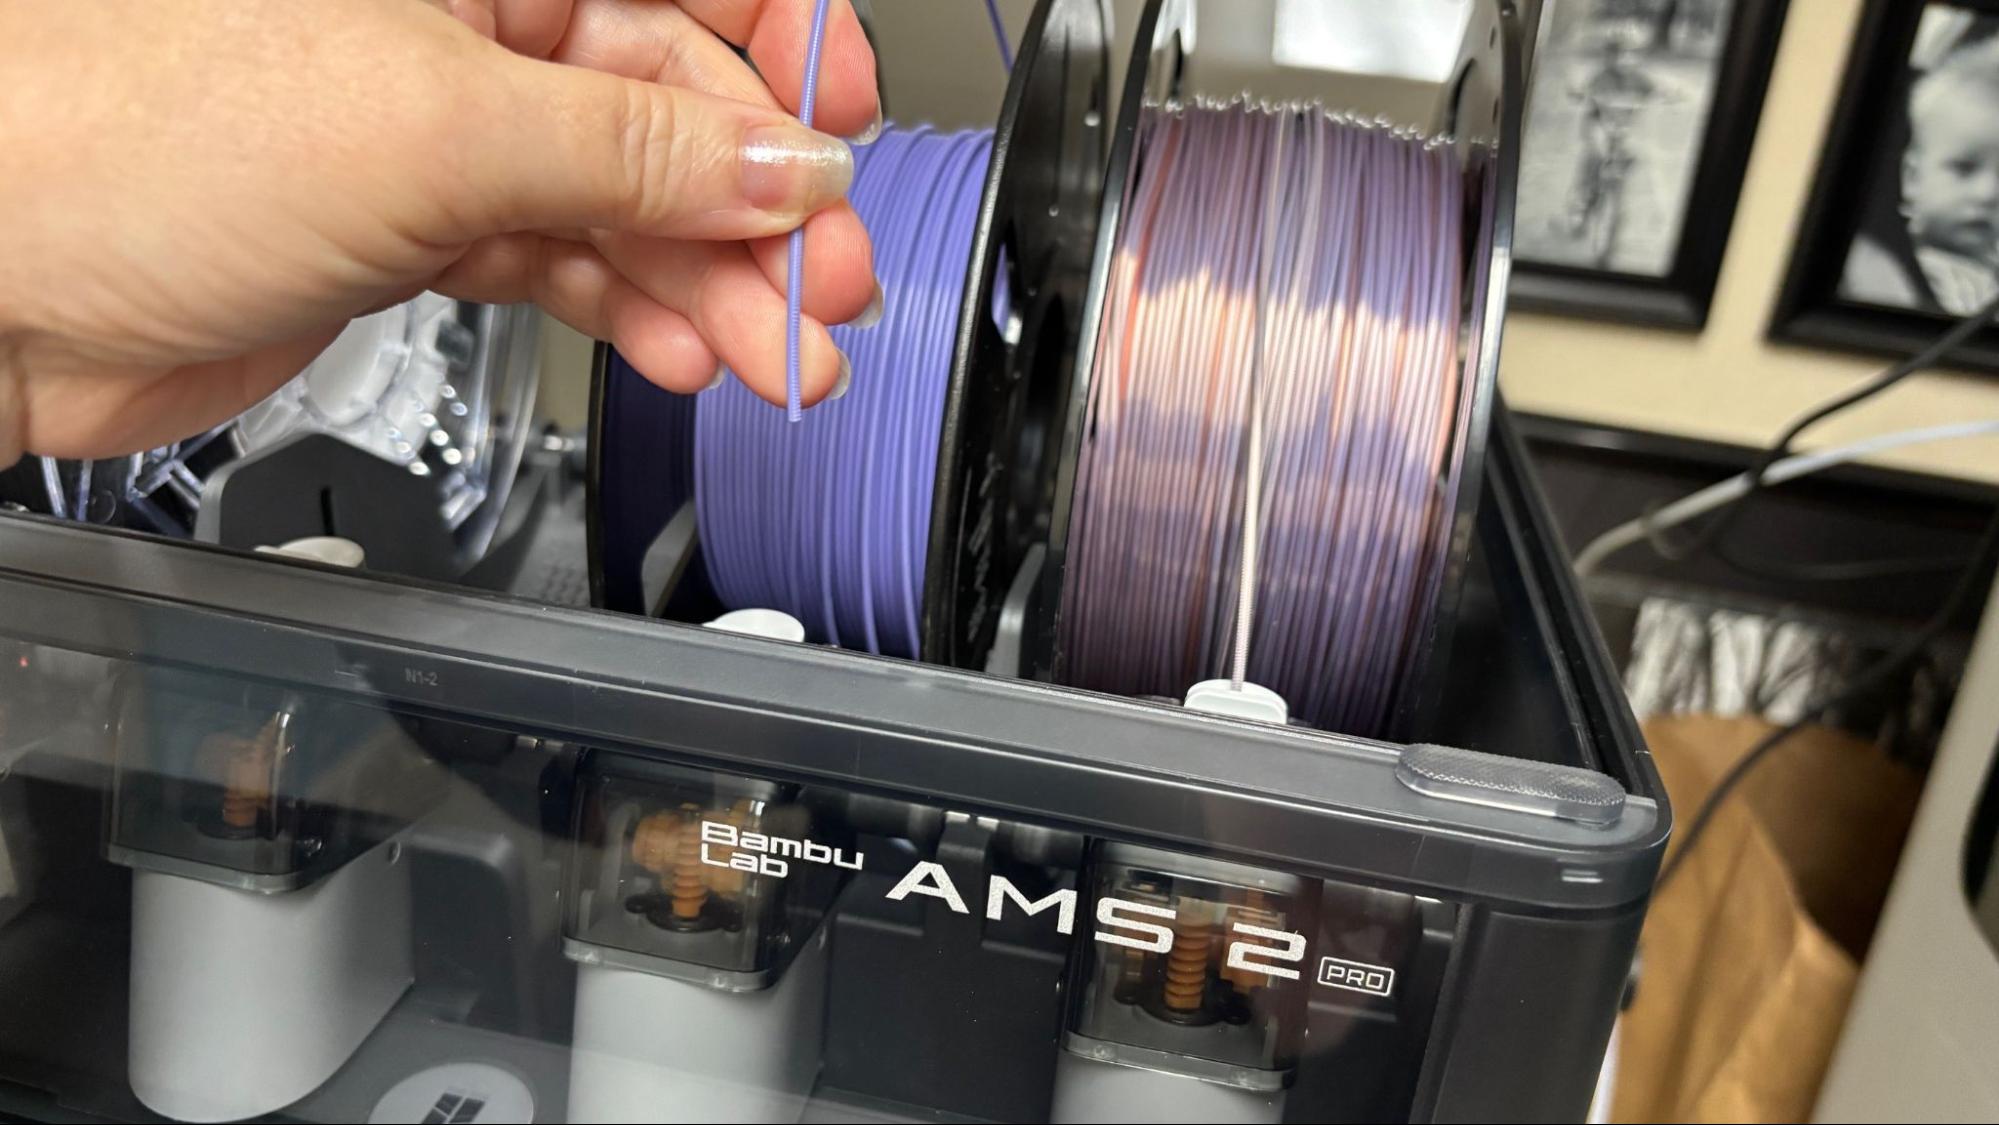
The P2S comes with a single spool rack if you didn’t opt for an AMS, or for running TPU, which can’t go through an AMS. The single spool is mounted on the side and is much easier to deal with than the old rear-mounted P1S spool.
The AMS 2 Pro, which comes with the combo, works the same as the old AMS. Just insert the filament and walk away.
The P2S automatically unloads filament when it’s done printing.
Preparing Files / Software for Bambu Lab P2S
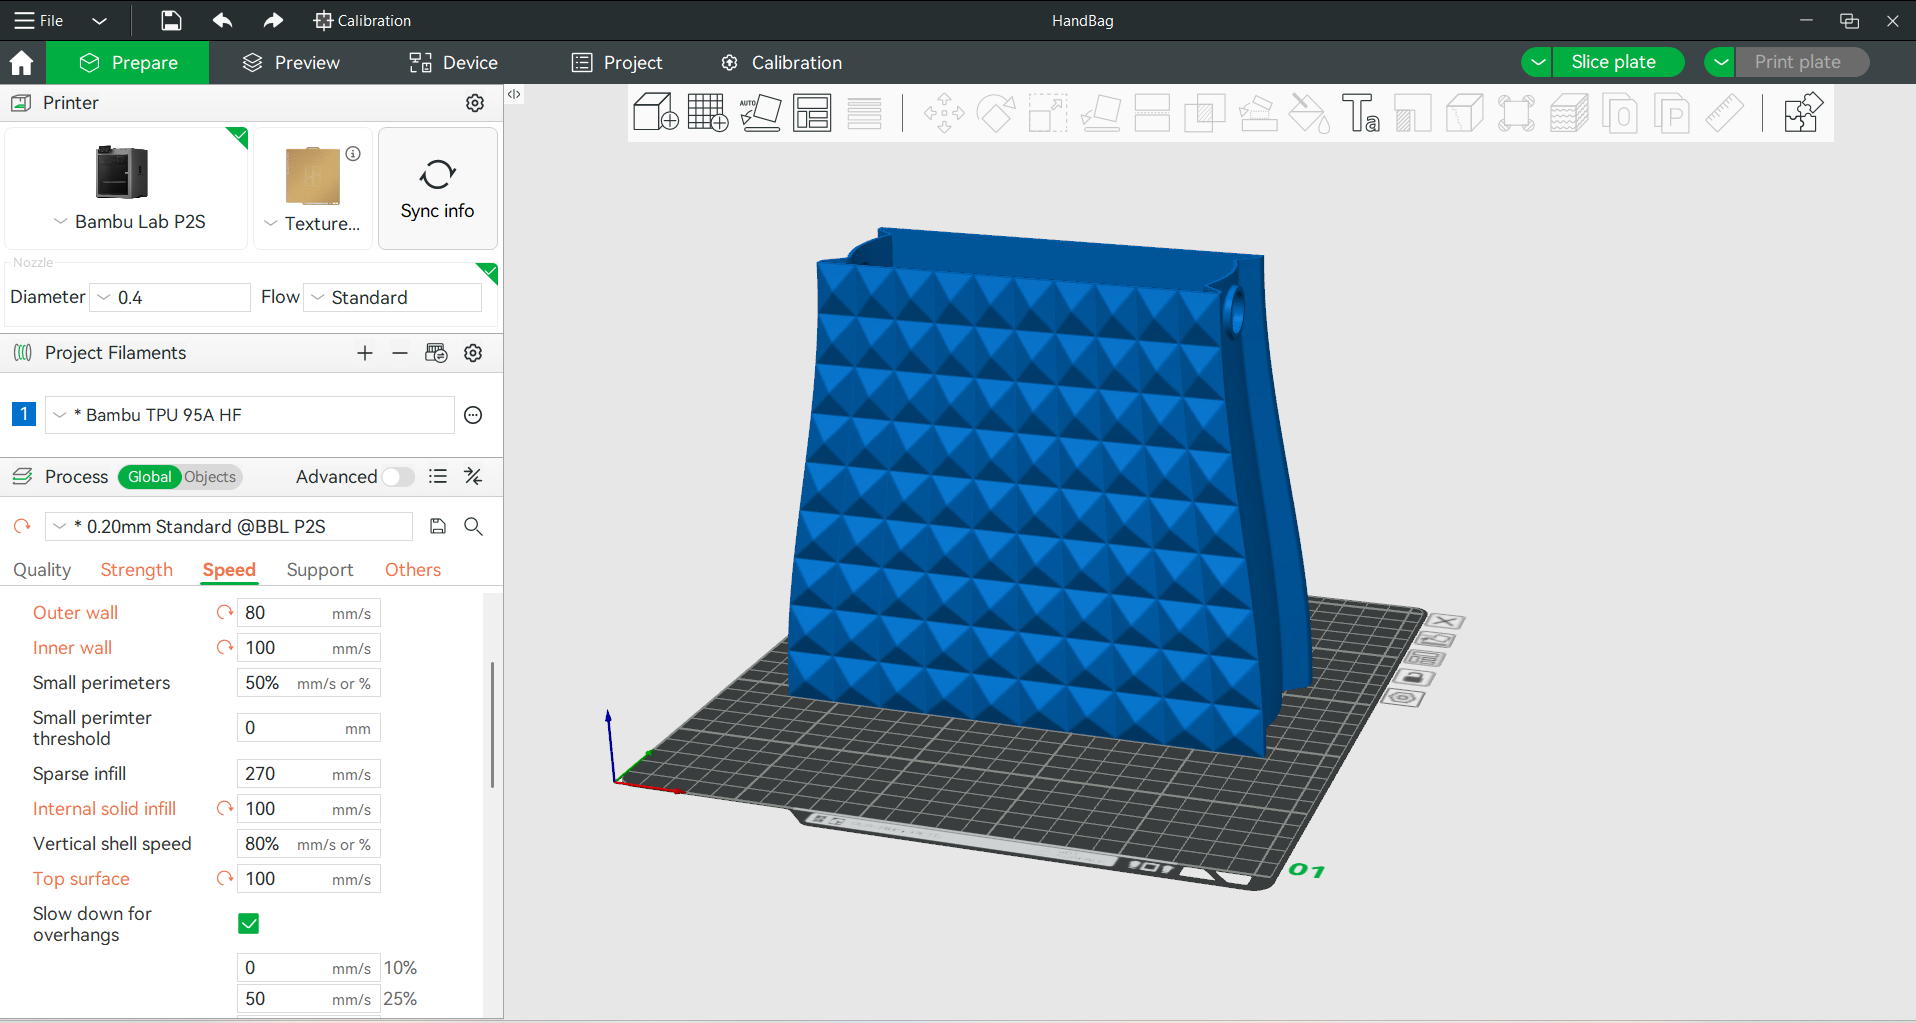
Bambu Studio is the custom slicer for the P2S and its fellow 3D printers. It’s largely based on PrusaSlicer, though the layout is a bit different. If you find the settings overwhelming, it’s generally fine to run with the default presets.
The device tab is where you can send files via LAN or the Cloud, watch time-lapse videos from your camera, and remotely tweak the speed and temperature of your printer.
A link to MakerWorld on the homepage allows you to easily search for models designed to work on Bambu machines. While signed in to MakerWorld (and using the Cloud), you can also send presliced files directly back to your printer.
Printing on the Bambu Lab P2S
Our P2S review unit came with a partially filled spool of while Bambu Lab PLA. This is great to get you started, but you’ll want to check out our guide to the best filaments for 3D printing for more suggestions.
The printer came with several pre-sliced files to print, like this phone stand I printed using Epax PLA Magic, and it turned out pretty nice.
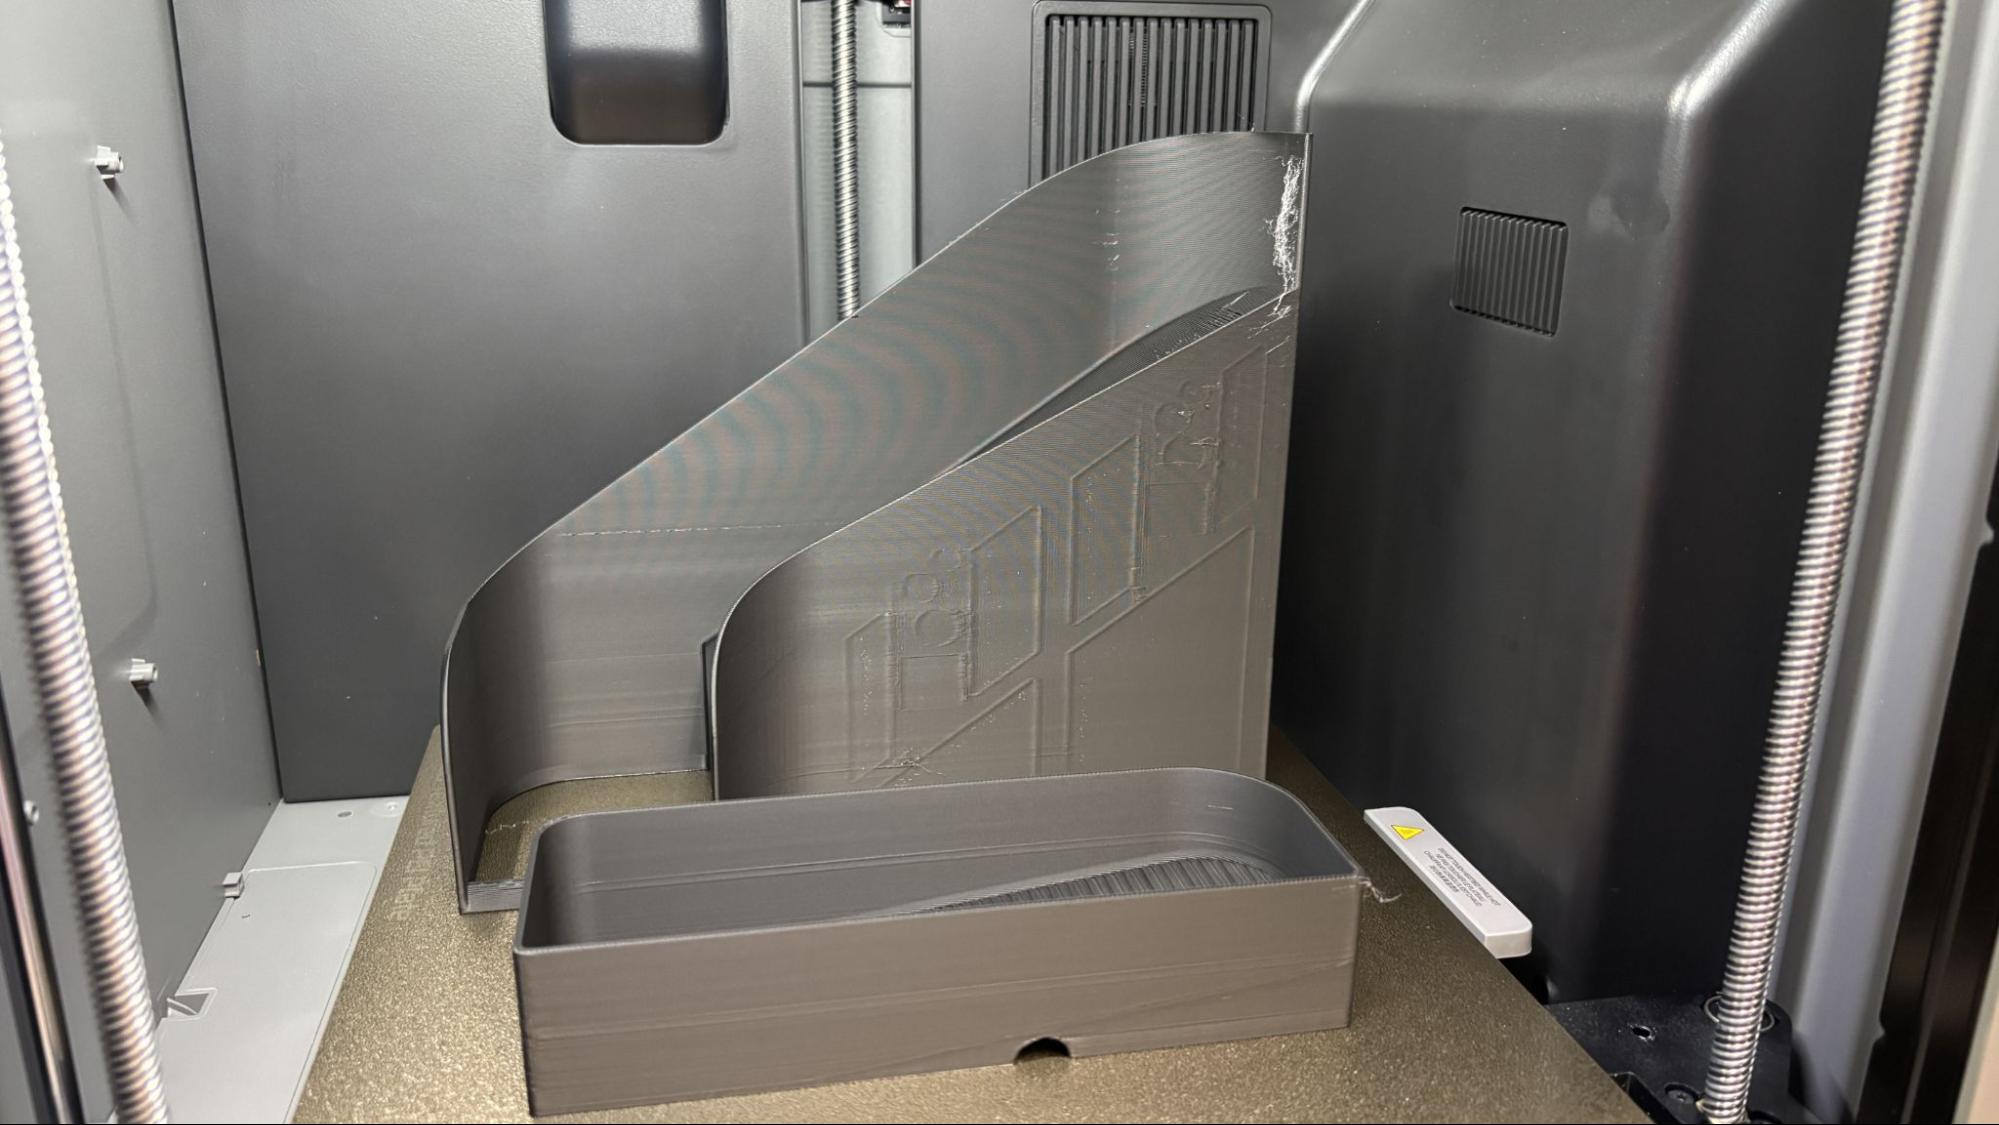
Of course, the first real print had to be a Poop Chute. Otherwise, the P2S was going to spray filament waste all over the floor behind its shelf. Unfortunately, the P2S is a tiny bit larger than the P1P, and as this printer is not public at the time, the chute I printed didn’t quite fit. It could probably be scaled up a bit on the X axis to work.
This chute is very basic and was designed to be super thin, making it a quick print. I further sped up the process by using a .28 layer height. This was printed using Polar Filament Black PLA for four hours and 30 minutes.
More impressive is this Analog Tetris game, which I printed in batches using lots of different filaments. Each plate of blocks took about 2 hours and 40 minutes to print, using standard settings and a .2mm layer height. The blocks use a mix of Bambu Lab PLA and a spool of Flashforge Aurora Red PLA, which has an amazing sparkle.
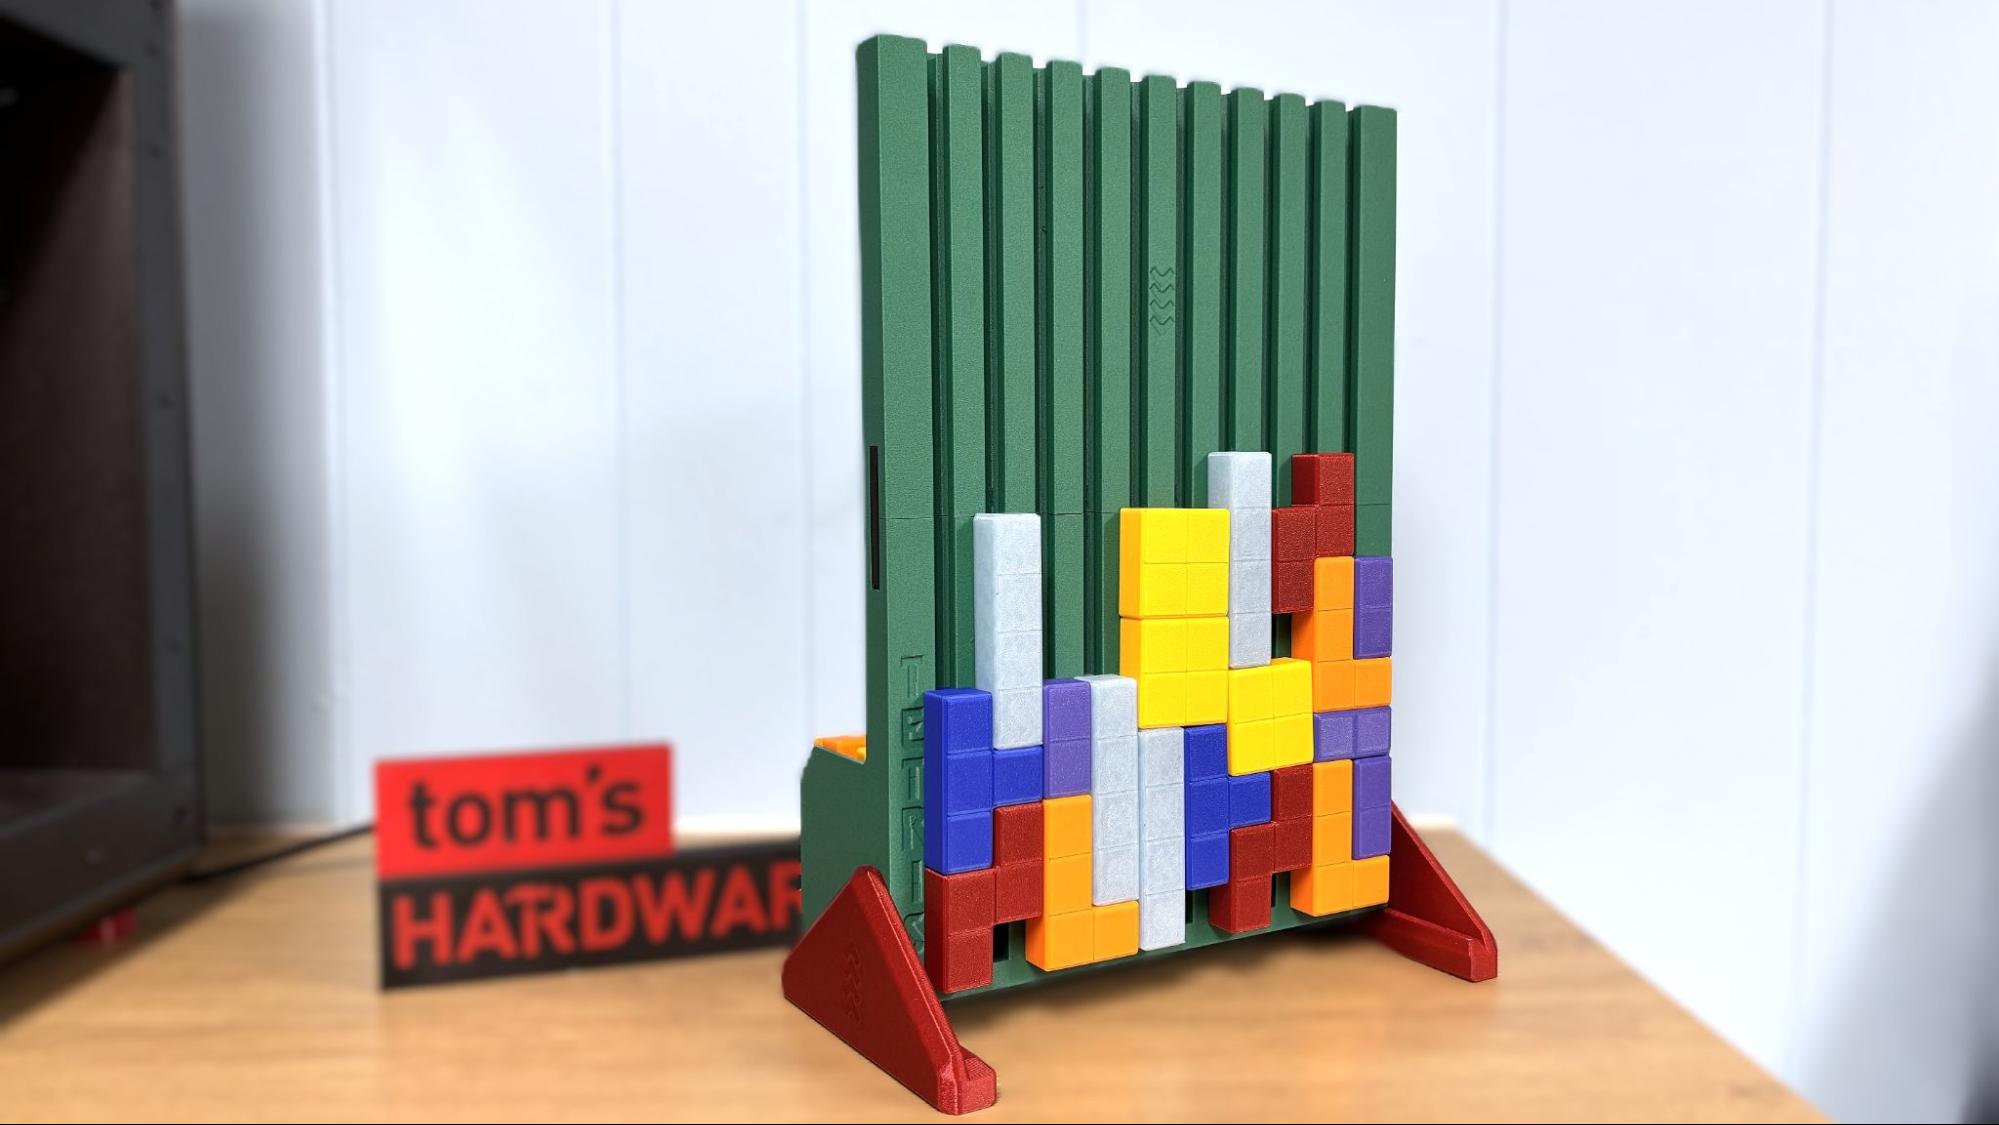
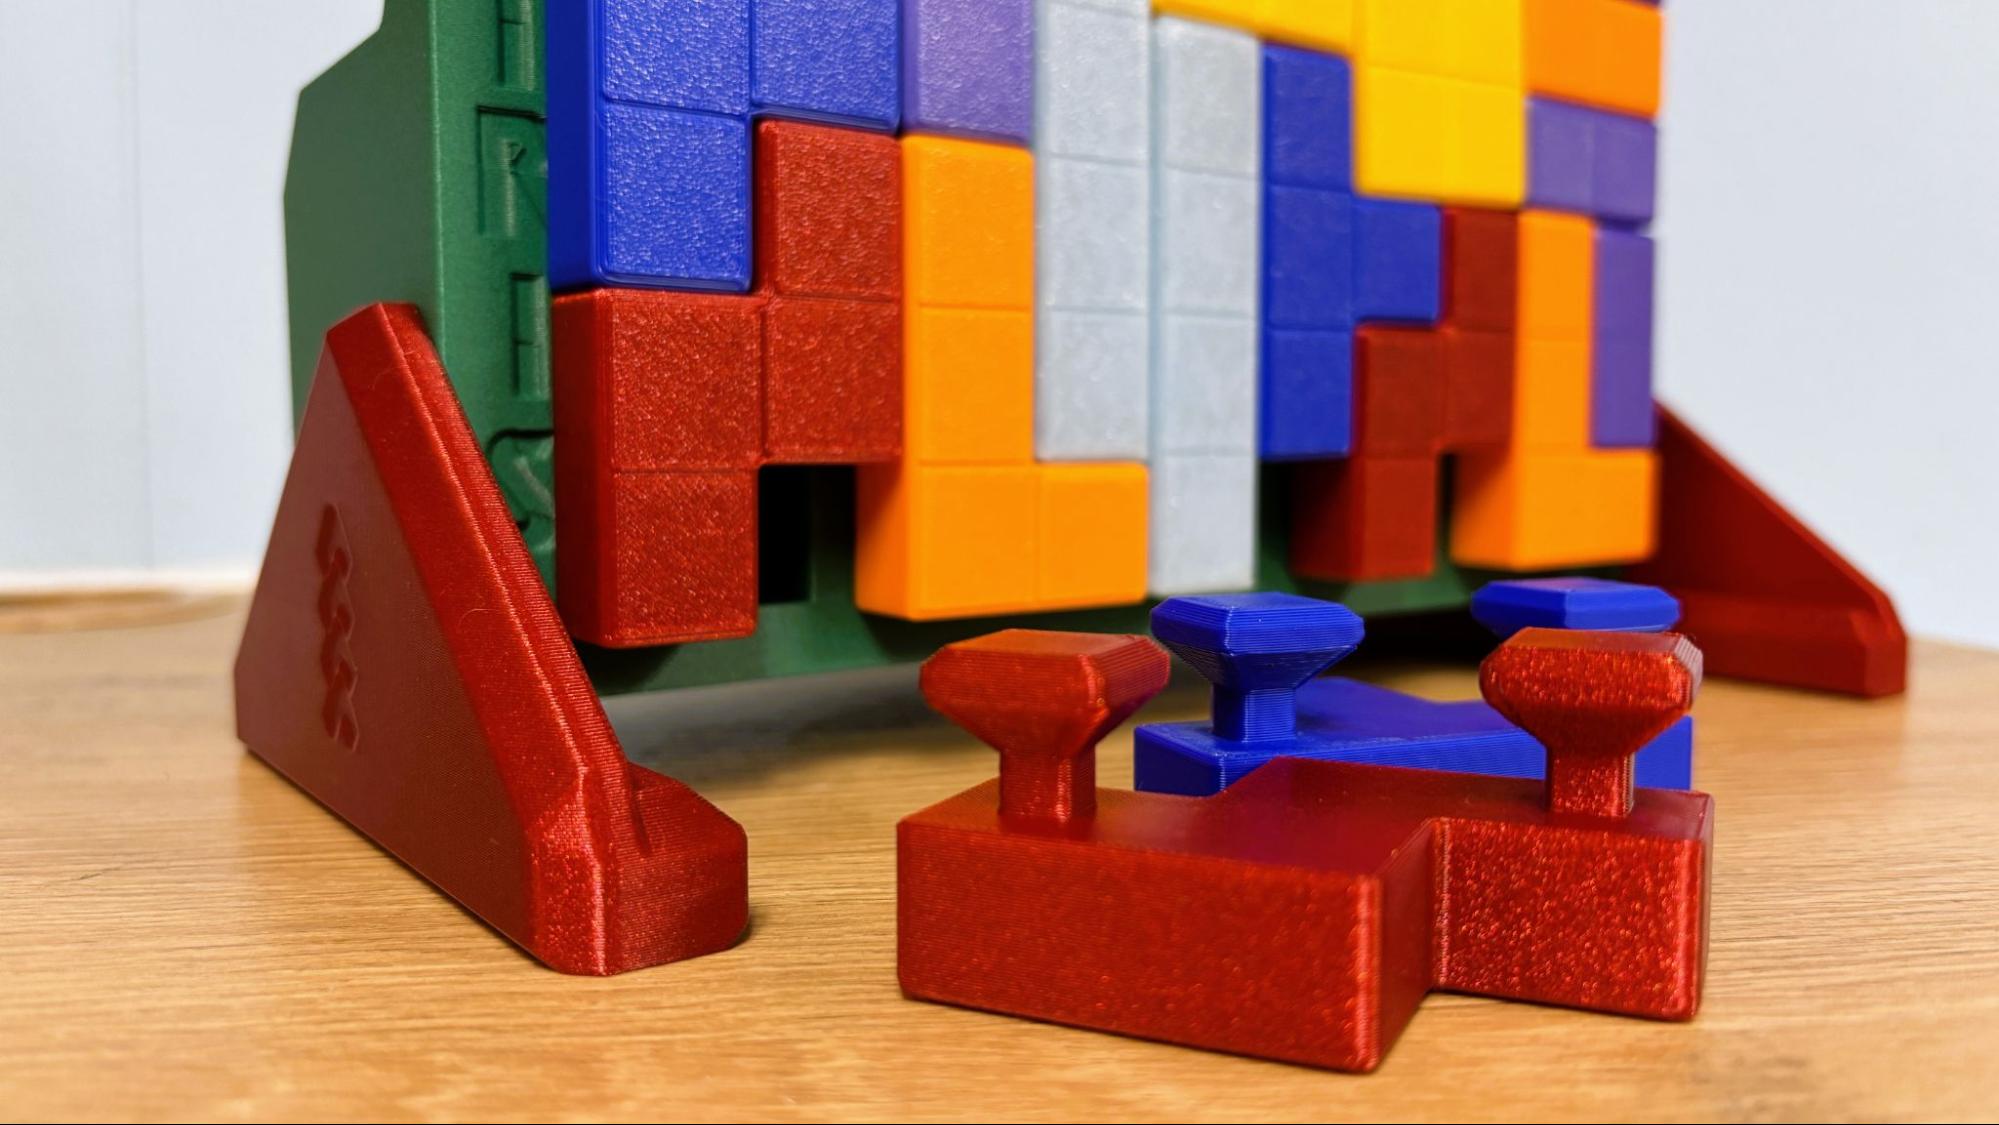
The game board was a longer print and was designed in two sections with tabs to snap it together. This was printed using Bambu Lab PETG Carbon Fiber, and was Glooped together. I used a .2 layer height, default speeds, and a 15% gyroid infill. The print took 20 hours and came out absolutely perfect.

ABS was super easy to print. This fighting top was printed in PolyLite Galaxy Purple ABS and PolyLite Blue ABS. I wanted it to be very strong, so I used 4 walls and 20% gyroid infill. It took 3 hours and 12 minutes to print. The blue dots were added in Bambu Slicer with the paintbrush. The print is definitely strong, but there was a tiny gap in the layers on one side. It’s less noticeable with the naked eye. The two parts have no trouble fitting together.
This print is a mash-up of Nozzle Spinning Top by Rayjizza and the Spinning Top by KasKap.

TPU ran like a dream, but I did have trouble with the spool holder. You’re supposed to take the lid off and run TPU without the Bowden tube directly into the extruder. I didn’t feel like taking the lid off, so I got out a spare spool holder and ran it through the entry point on the right side of the machine (the yellow part). This avoided about half the Bowden tube, but still used the tubes inside the printer. It worked fine. The eternal spool provided by Bambu was on the wrong side of the printer for this set up to work, but in their defense, filament is meant to go through the tangle sensor located in the buffer.
The purse took 6 hours and 46 minutes to run, using a .8mm nozzle with a .2mm layer height, 4 walls and otherwise standard TPU settings. The pyramid pattern got a little bit wispy, but otherwise the purse looks great and has been very functional as my everyday bag for about a month now. It’s printed in CookieCad Sunset TPU.

Bottom Line
Bambu Lab is continuing to innovate its Core XY printers and stay competitive in a tough market full of copycats. I’m impressed that Bambu was able to keep the price of the P2S so close to the first P1S while adding so many new features.
Retailing at $799 for the Combo, the P2S is a strong choice for anyone wanting to upgrade their 3D printing experience. Its simple setup and ease of use make it an excellent first printer for a newbie or the 10th printer for a farm.
The original Bambu Lab P1S will continue to be sold, and is currently still priced at $749, but I wouldn’t be surprised if that goes on sale soon. If you’re looking for a more affordable entry point into the world of color printing, Bambu Lab’s A1 Mini is still my favorite recommendation for first-timers and is only $399 for a combo unit. And if you want more space with full color, the Bambu H2S for $1,999 is hard to beat.

 1 month ago
41






 English (US) ·