For many of us (me included) our gateway to the world of making was via the Arduino. It may not have Megabytes of memory, and Gigabytes of storage, but it does have GPIO pins that we can control using code. The Arduino Uno is still a powerful machine for imagination and experimentation, but what if you’re just getting started with electronics? Well you will need a kit, and the $78 Arduino Plug and Make Kit makes it so much easier to get started, thanks to a great series of tutorials, and a range of “Modulino” add on boards that simply connect to each other.
Is the Arduino Plug and Make Kit for you? What can we make with it, and more importantly, is it worth our money? Let's find out.
Arduino Plug and Make Kit Technical Specifications
Swipe to scroll horizontally
| Microcontroller | Renesas RA4M1 (Arm Cortex-M4 running at 48 MHz) |
| Wi-Fi | ESP32-S3 running at up to 240 MHz, 384KB ROM, 512KB SRAM |
| RAM | 32KB |
| Storage | 256KB Flash |
| GPIO | 14 x Digital IO, 6 x PWM, 6 x Analog, DAC |
| Row 5 - Cell 0 | 2 x I2C, SPI, CAN, UART |
| Row 6 - Cell 0 | 12 x 8 LED Matrix |
| USB | USB C |
| Power | 6-24V Input voltage |
| Row 9 - Cell 0 | 5V Operating voltage, 8mA per GPIO pin. |
| Dimensions | 68.85 x 53.34mm |
| Modulino | Modulino Knob, Pixels, Distance, Movement, Buzzer, Thermo and Button |
| Row 12 - Cell 0 | Modulino Base (140 x 140mm) |
| Cables | USB C for Arduino Uno, 7 x Qwiic connectors |
| Machine parts | Various screws and nuts to mechanically attach the kit to the Modulino Base |
Assembling the Arduino Plug and Make Kit

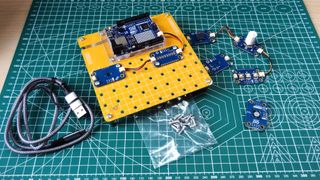
Inside the rather lovely box is everything we need to get started. The Arduino Uno R4 WiFi board is the heart of the kit, but it's the “Modulino” boards that are the stars. Each of these boards are basically Stemma QT / Qwiic add-on boards for RGB LEDs, distance and temperature sensors, rotary encoders, buzzers and buttons. It's next to impossible to incorrectly plug these in and that makes them ideal for learners

In the kit we get the following Modulino boards
- Modulino Knob: for super-fine value adjustments
- Modulino Pixels: eight LEDs to shine bright, dim down, or change color – you choose!
- Modulino Distance: a time-of-flight proximity sensor to measure distances with precision
- Modulino Movement: to perfectly capture movements like pitch, roll or tilt
- Modulino Buzzer: to generate your own alarm sounds or simple tunes
- Modulino Thermo: a sensor for both temperature and humidity data
- Modulino Buttons: three buttons for quick project navigation
All of the Modulino’s are standard electronic components which have been made into modules that use the I2C protocol to communicate with the Arduino. This means that we can daisy-chain the modules using the included wires.
The Arduino Uno R4 introduced the Qwiic connector to the Uno range, and it is great to see it being used so effectively in this kit. We can build the Modulino boards on our desk, or into a project enclosure, but Arduino also provides a 140 x 140mm board on which we can build a project. This board is made from PCB material, and is essentially a large PCB, but it doesn’t become part of the circuit. Rather it is there to offer a mechanical means to attach the Modulino and Arduino boards using the supplied screws and nuts. It's a great way to secure and demonstrate a project, and it reminds me of the display stands used at events.
Once you are done with your project, it all fits back into the box, yes, even when it is assembled. So next time you build a project, you can just take it out of the box and get started.
Using the Arduino Plug and Make Kit

The Arduino Plug and Make kit has a full range of tutorials that take advantage of the Arduino Cloud, an online IDE where we can create projects which are called “things” that are a mix of web dashboards and Arduino code “sketches.”
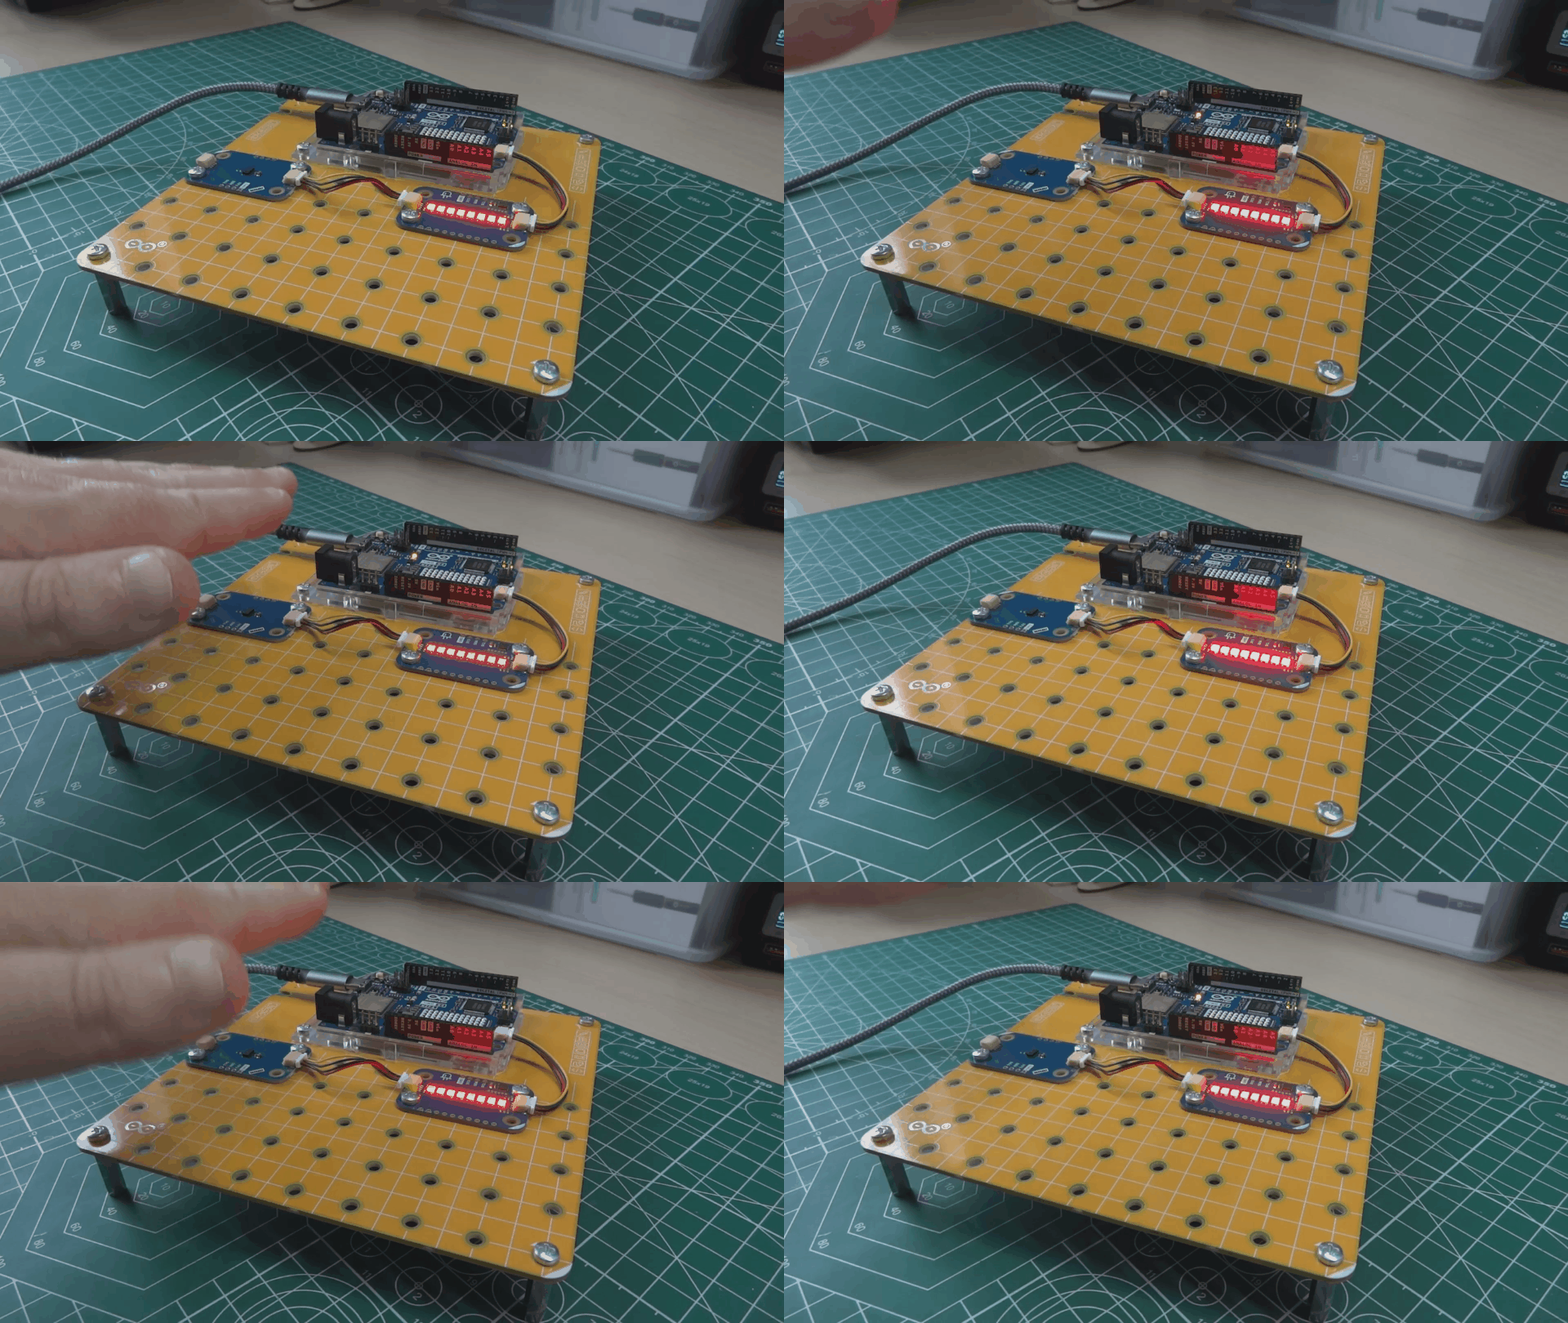
You don’t need to know anything about the Arduino Cloud to use this kit. Follow the getting started example and use the provided template to create a web interface (dashboard) for your first Thing. The dashboard will suggest combinations of Modulino boards to build example projects. Adding the Modulino Buttons and RGB LEDs will create a simple race game, where players have to press a button to get to the other side of the strip before their opponent does. Using the temperature modulino will get the temperature and humidity and then display this information on the Arduino Uno R4’s 12 x 8 LED matrix.
Let's back up a little, how does this Arduino Uno R4 WiFi communicate with our web app? Arduino has thought about this, and part of the install process sees your Arduino and Cloud IDE paired together, so that they can communicate using the Uno’s onboard ESP32.

With the getting started project out of the way, Arduino has a series of supporting projects that we can use to get to grips with the kit. I tested out the gesture controlled lamp, and the 8-bit synth. The tutorials were easy to follow, and the writers explain what the context, purpose and goals are for each section that we work through. Once you are confident with the kit, you are free to make your own “Things” using the Modulino boards.
Keep in mind though that the free tier for the Arduino Cloud has limitations on the resources that you can use, so you may have to pay for the next tier, or delete some old project files. The free tier has become better over time, and I can see why Arduino places limitations on the free tier, but I’d still prefer to write my code using the offline editor. And while I can easily do this, the problem is that it loses the purpose of this kit. You see, creating Things and dashboards is part of the appeal of this kit, and something that the offline IDE is not capable of doing to the same standard as the Arduino Cloud.
If you are buying this kit, then most of the intended audience will be new to Arduino, perhaps moving on from the Raspberry Pi. You’ll be ready to follow the Arduino Cloud process, and likely eager to drop some cash on a paid tier. For this old Arduino hacker, I’ll use the Arduino Cloud when I need to, I still prefer to use an offline IDE, which has come on leaps and bounds in recent years.
Who is the Arduino Plug and Make Kit For?
Educators, learners, eager minds, you’re the audience for this kit. If you are an experienced Arduino user, there isn’t much to see here. Sure the Modulino boards are interesting, to an experienced maker, but you’ll likely have a huge stash of boards and sensors already.
Bottom Line

I like this kit; it offers everything a beginner needs to take their first steps with the Arduino. The kit price is right. The Arduino Uno R4 WiFi is $27 on its own, so we’re paying the difference for the Modulino boards, tutorials and supporting hardware.
The Modulino boards are great, and offer a quick and easy workflow to using sensors and add-ons with your Arduino. The Modulino standard is basically Qwiic / StemmaQT and that means we can purchase a plethora of additional components to create further projects. Your mileage may vary though, as the Arduino Uno R4’s Qwiic connector introduces an issue with the wire library which is used for I2C communication. Some libraries are for other Stemma QT or Qwiic boards, so read up before you make a purchase.
The Arduino Cloud is great fun, and the free tier should be enough for all but the most serious users. It's not a perfect product, I find the Arduino Cloud workflow to be a little cumbersome, but once you get into the flow, you’ll do ok. Educational users will love this kit, and will likely add it to their classrooms.

 5 days ago
6


 English (US) ·